Even when stopping down a macro lens to f/16, you often won’t have enough depth of field (DOF) to keep your entire close-up subject sharp. Fully stopping down a macro lens to, say, f/22 or smaller won’t yield a meaningful increase in DOF, but will likely make your entire image appear less sharp due to diffraction.
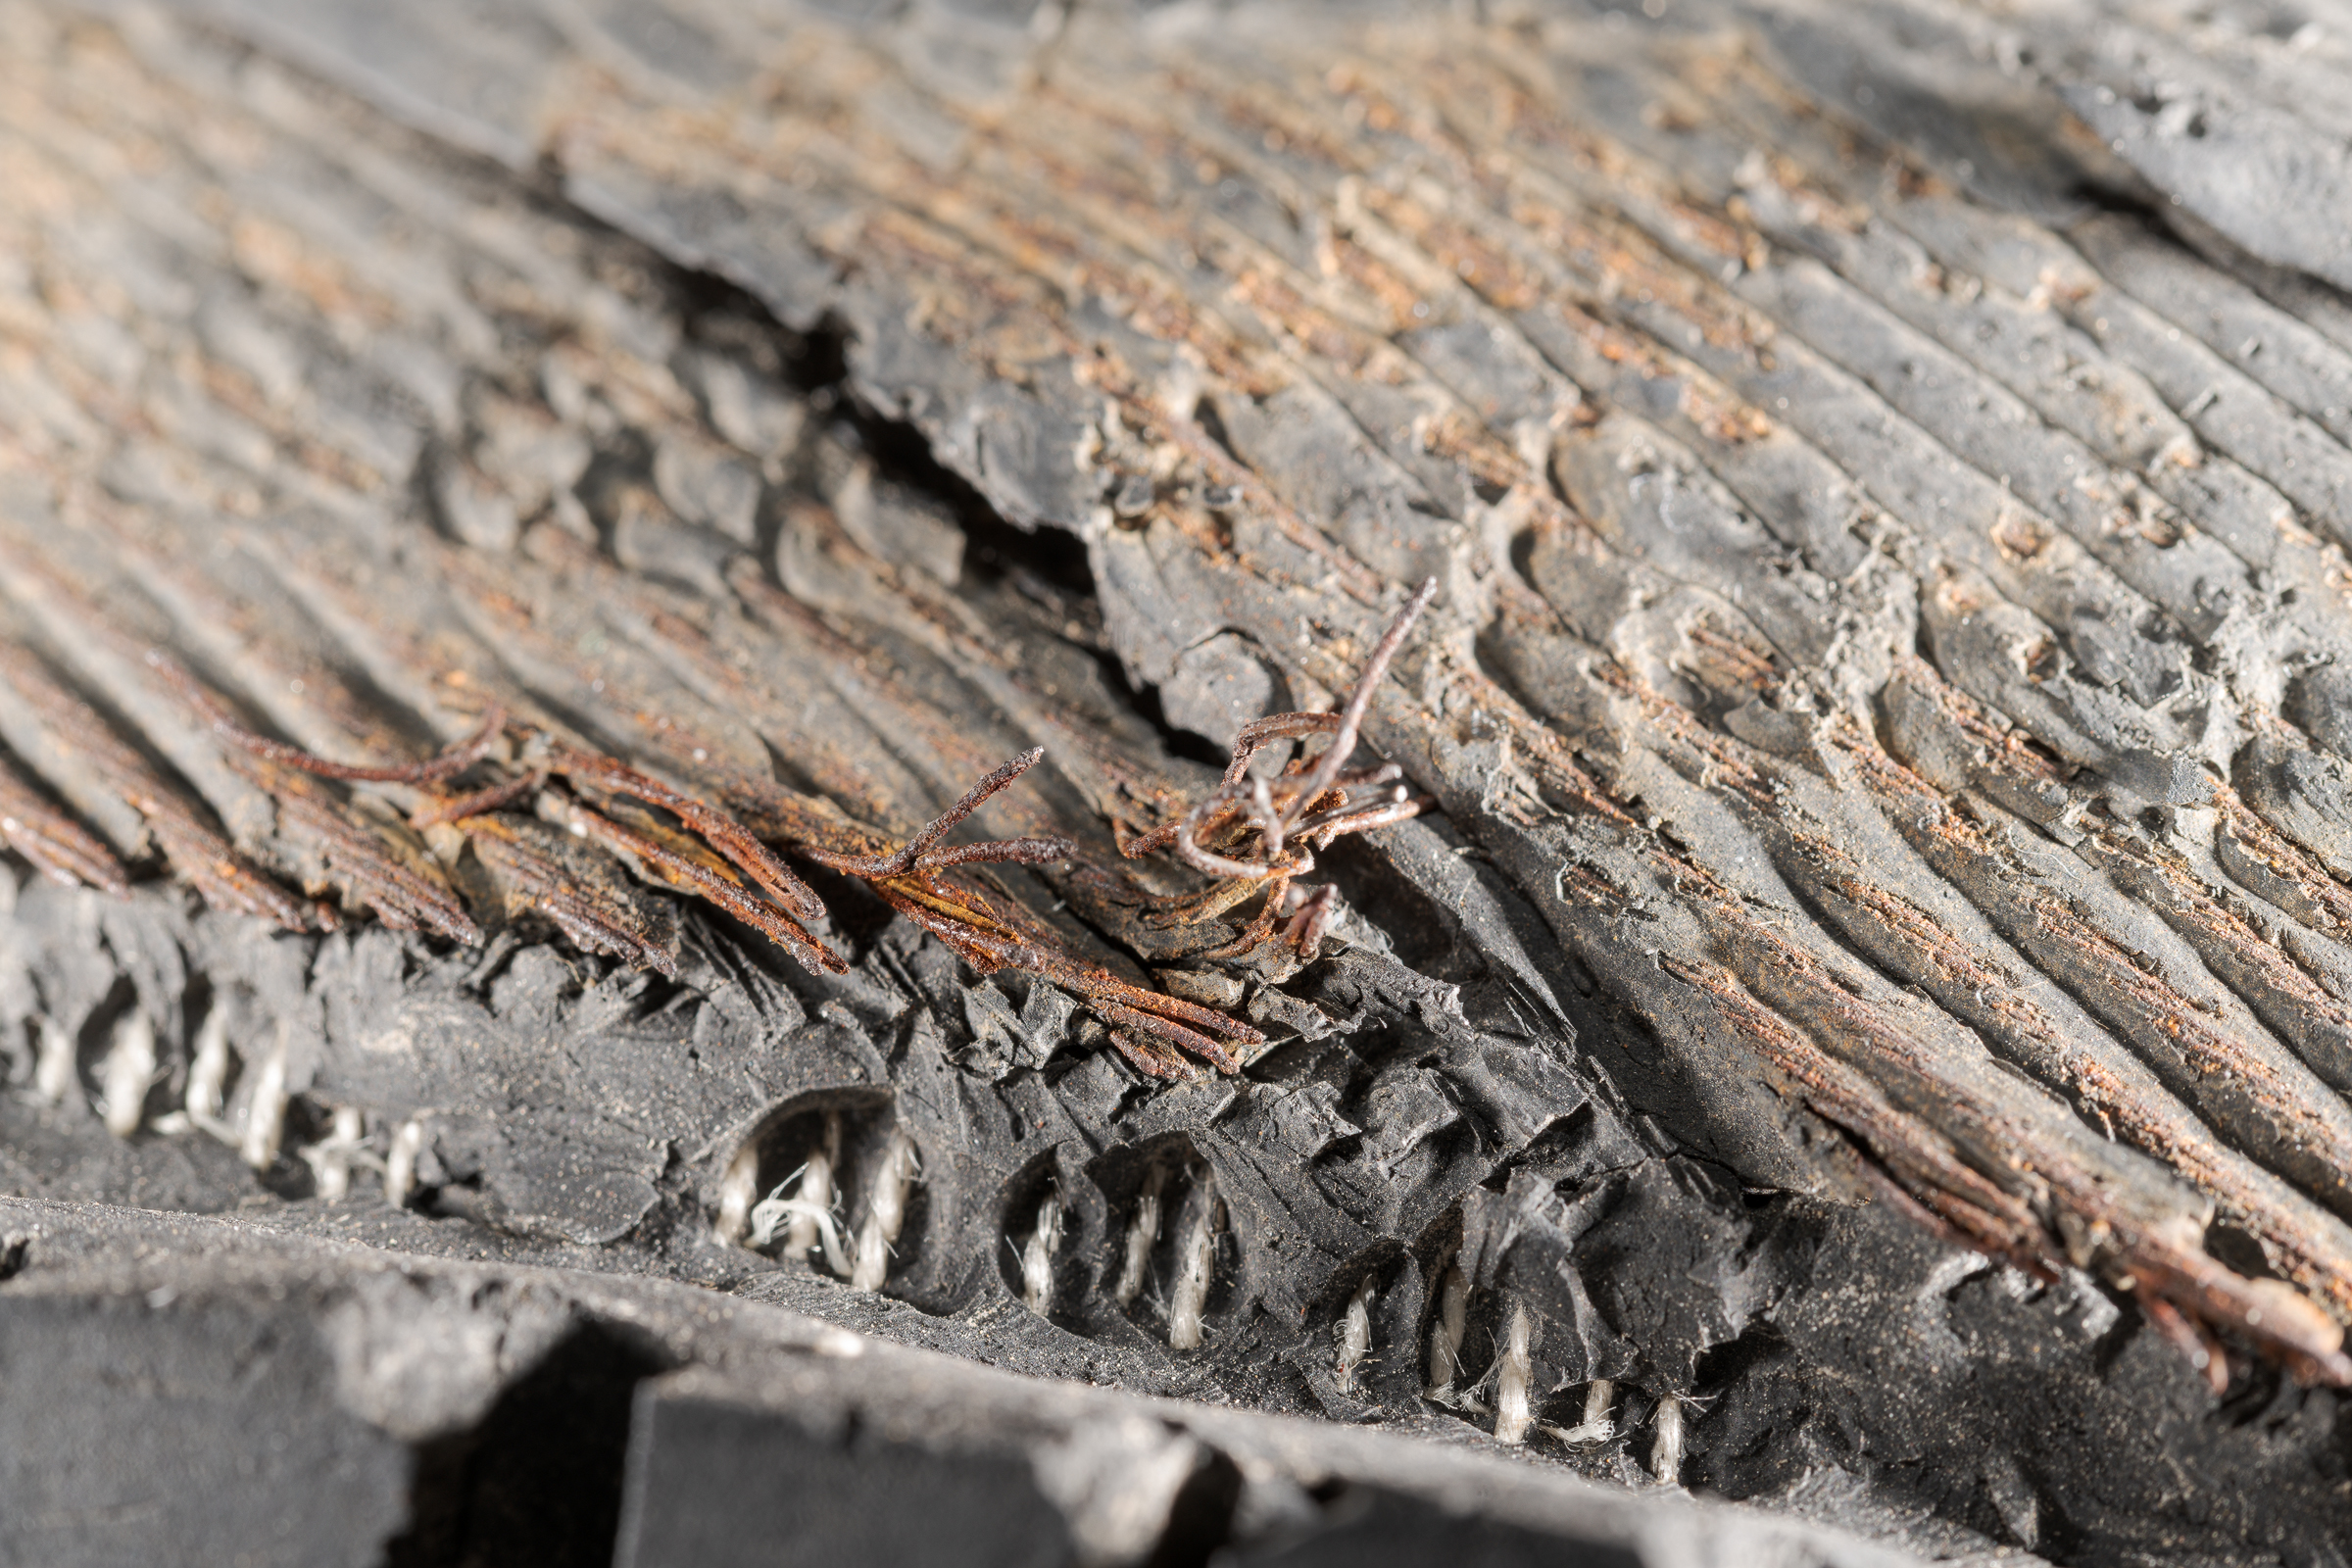
Here is an example photo of the rusted ends of steel belt cords made at f/16:

Some of the ends of the cords are sharp, but both the wires closer to the camera and the rubber skim coat of the belt farther away were soft. Focusing closer to the ends of the wires would make everything below them more out of focus. Focusing on the belt rubber would cause all the wire ends to be soft.
The solution is to take a series of photographs using a middle aperture (usually between f/5.6 and f/11) starting with the focus on the part of the subject closest to the camera. Focus slightly further away from the camera for each subsequent photo until you’ve focused on the part of your subject furthest from the camera. All exposure settings should be set manually and held constant for each frame; only focus should be changed.
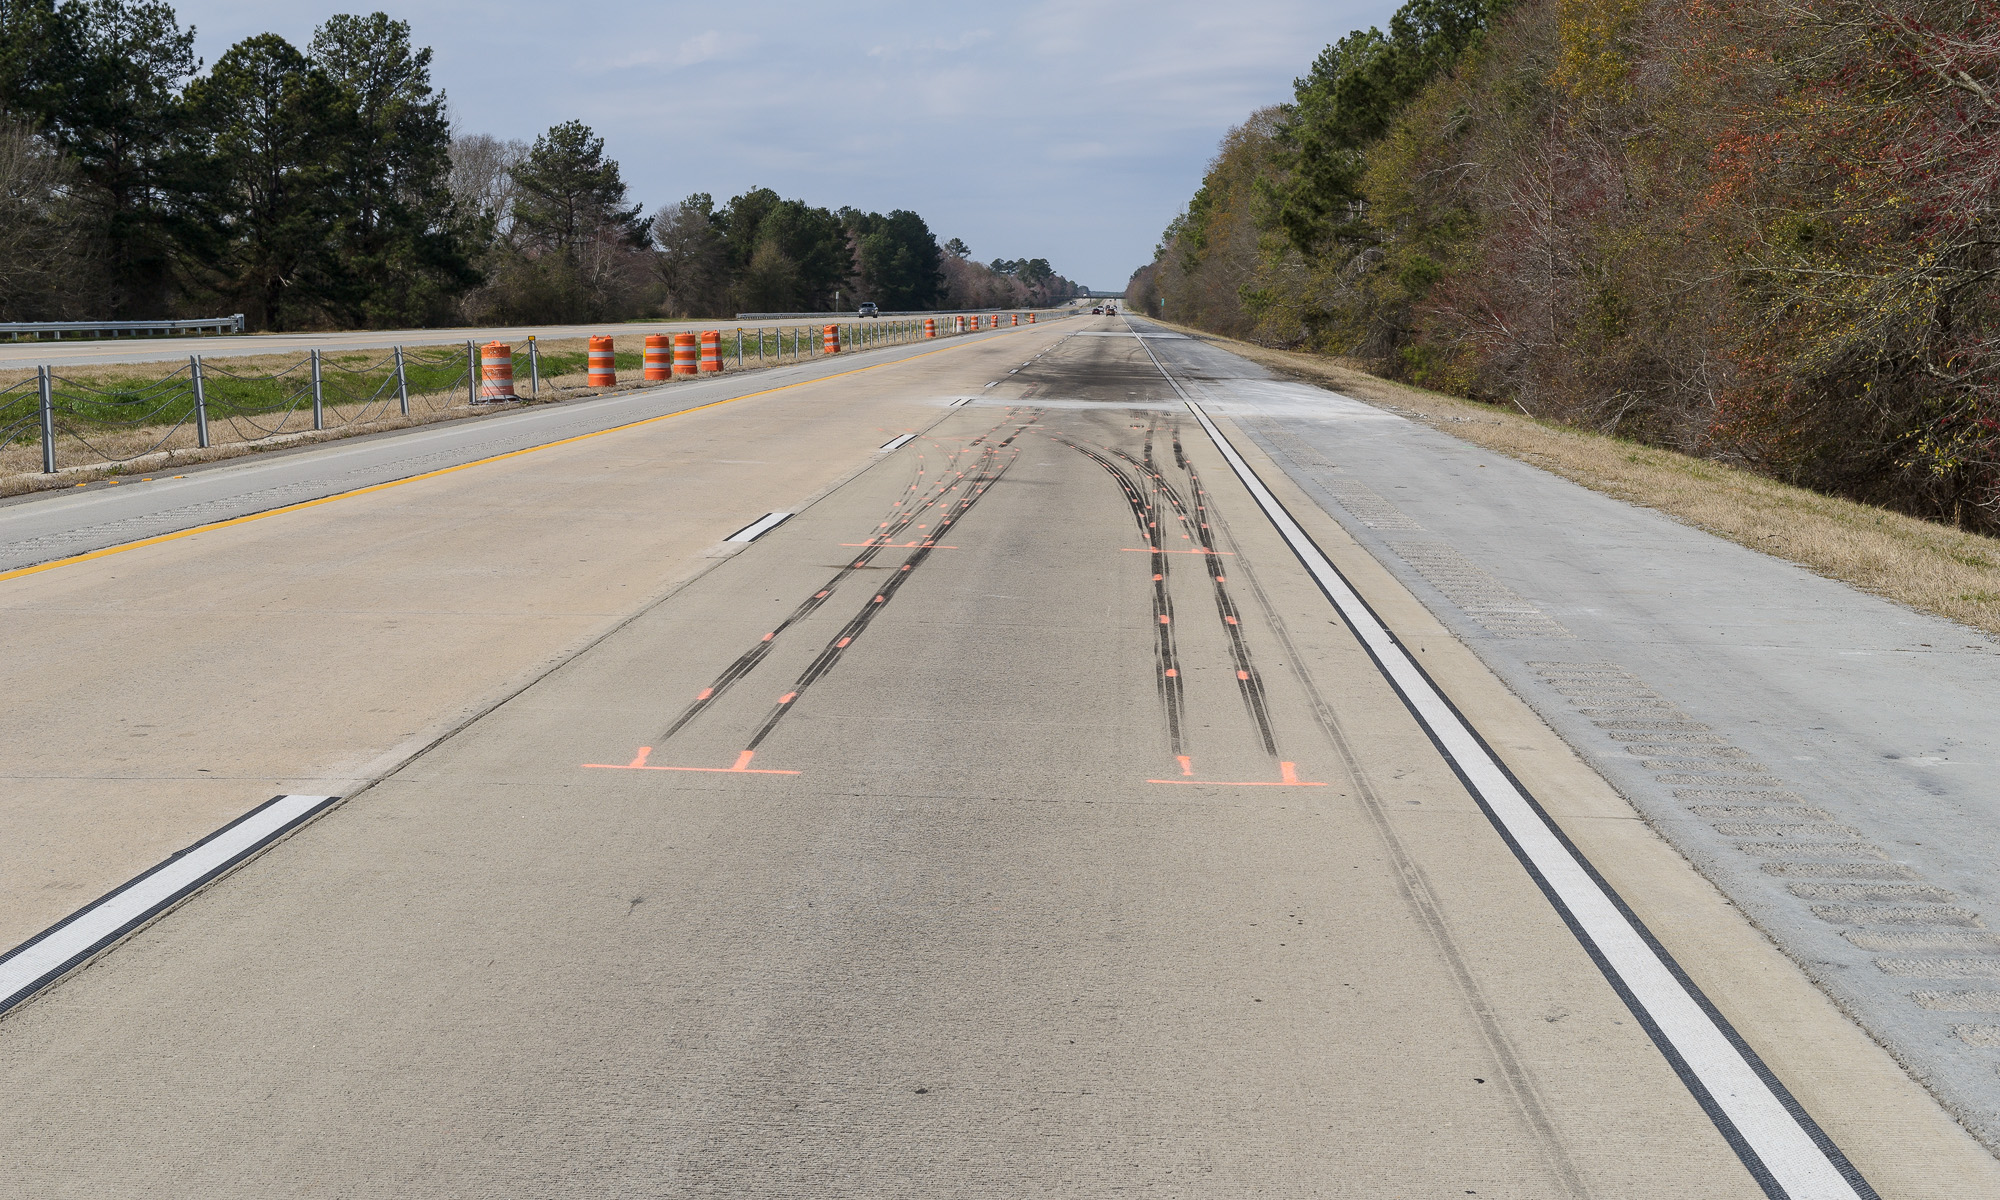
For larger subjects including vehicles and accident sites, only two or three frames might be needed. More on that in another post. But close-up or macro images will typically need several more.
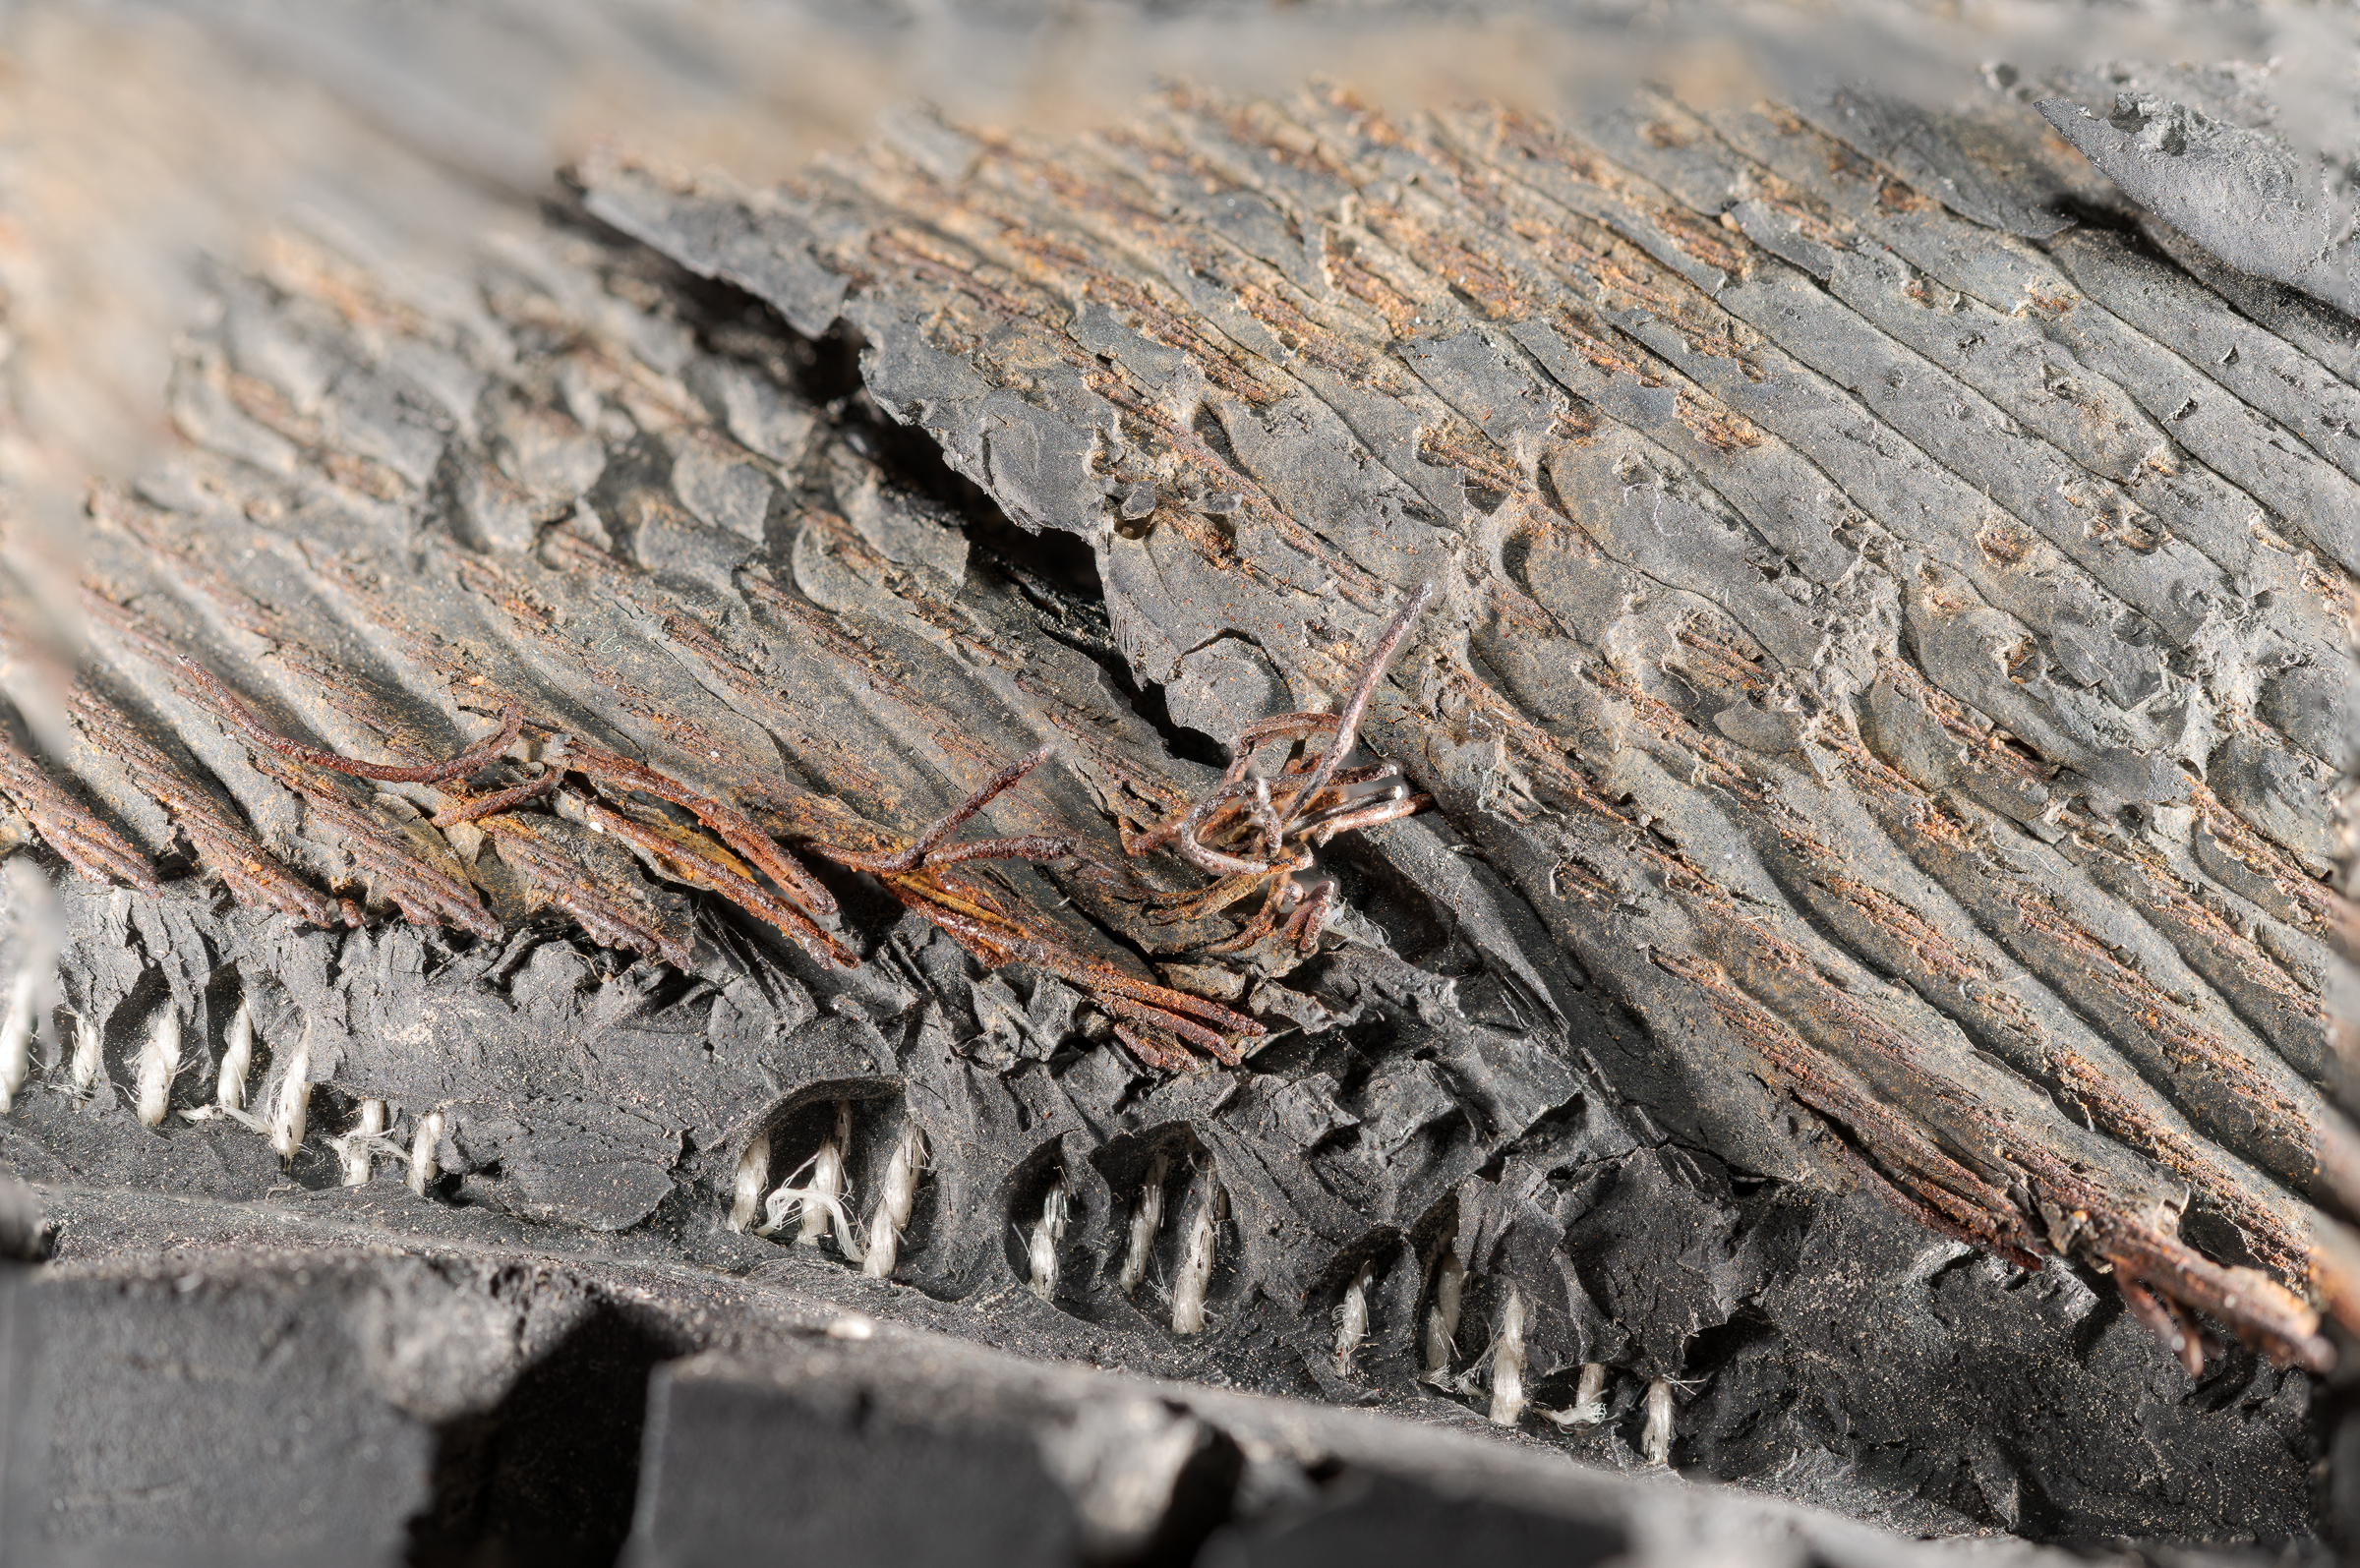
To create an image with all the belt edge wires sharp, I made thirteen photos at f/11, changing only focus. I started by focusing on the tip of the wire closest to the camera. Subsequent photos were made focusing slightly further from the camera with each frame.
All thirteen images were brought into Photoshop through Adobe Camera Raw as individual layers into a single image. All layers were auto aligned, then combined in a stack. As you can image, thirteen 45 megapixel Nikon D850 images brought into a single image resulted in a gigantic file. In fact, at five gigabites(!), it was too big to save as a PSD (Photoshop Document) file; I had to save it as a PSB (Photoshop Big) file. Of course, I flattened it, reduced its size, and saved it as a JPEG to send to my client and (even smaller) to post here:

If you look closely, there are some small artifacts around the edges of some wires. With a bit of work, these can be removed, but they are unobtrusive enough to ignore, unless an image will be used as a trial exhibit.
As alternatives to Photoshop, I also use Zerene Stacker and Helicon Focus to process stacked images. Different software processes create different artifacts, so sometimes I’ll process the stacked images in all three, then choose the best.
If you already own Photoshop, it’s well worth practicing focus stacking. It’s an effective tool that can produce images that can’t be captured in a single shot. I use it regularly for tires and products, and have even used it at accident sites on occasion (usually, as mentioned, with only two or three images stacked).
