
I posted an example earlier illustrating the effects of using a polarizer and a fill flash on a car in a junk yard. In this post, you’ll see the effect of a polarizer on a large, slab-sided vehicle like a trailer or an RV.
Many people believe that polarizers are only effective on sunny days, and when the sun is at a 90° to the camera lens. But as these examples will show, a polarizer is just as effective in multiple directions on a heavy overcast day.
These images will also show that, just as on sunny days, the polarizer eliminated different amounts of reflected glare depending on the angle of the camera to the RV. As you will see when you look through and rotate a polarizer, the glare effectively moves around the scene. It’s up to you to decide what is the most important part of your image, and to rotate the polarizer until you eliminate the glare or get it just where you want it.
I inspected this RV in a salvage yard in Florida on a very cloudy day. [Click on the image to enlarge it, then click on the back arrow to return to the post.]

As with all of my vehicle photos, I used both a polarizer and a fill flash. In this image, you can see the thick overcast sky and the bright glare reflected on the side of the RV. I had the polarizer on my lens, but for illustration, I rotated it to minimize its effect. That’s what the RV looked like to the naked eye.
Keeping the camera and fill flash settings the same, I rotated the polarizer while looking through the viewfinder until I reduced the glare as I wanted. [Click on the image to enlarge it, then click on the back arrow to return to the post.]

As you can see, there was very little glare left along the side of the RV, which allowed its true colors to show through.
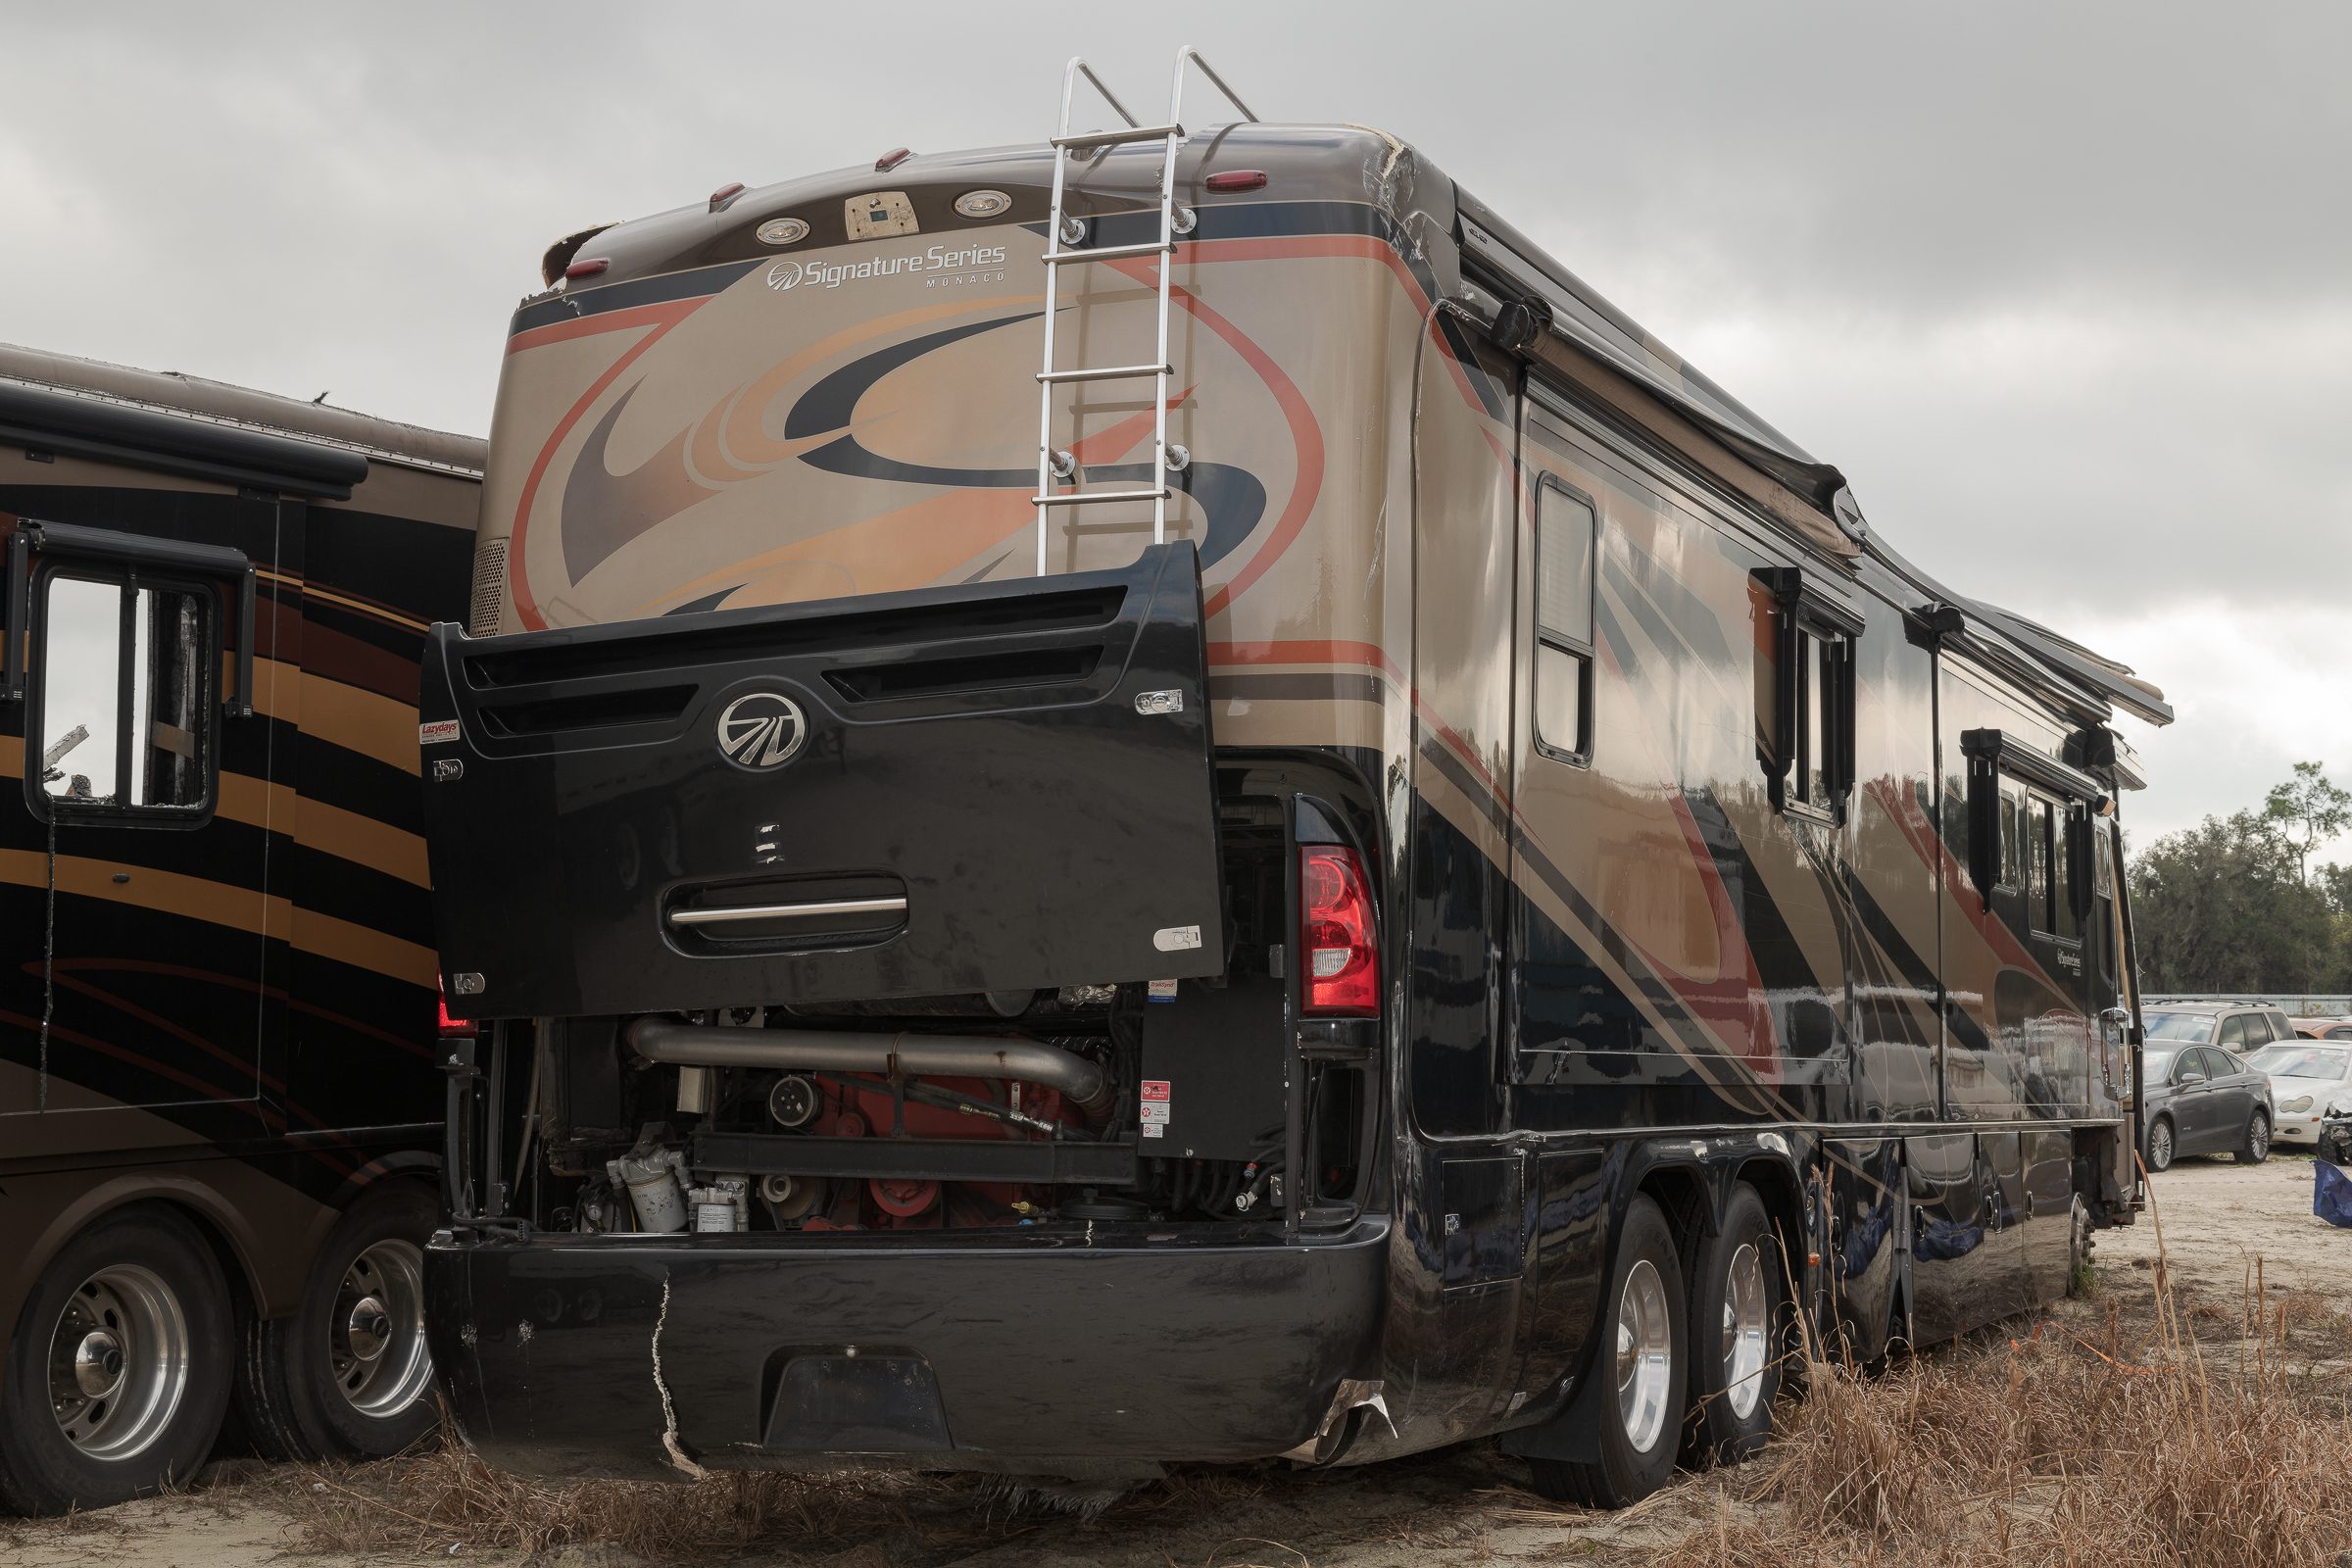
Moving around toward the 3/4 right rear position, I made another pair of photographs to illustrate the effect from a different angle. First the polarizer is minimized. Again, notice the reflections and the glare. [Click on the image to enlarge it, then click on the back arrow to return to the post.]

From this angle, I could not completely eliminate the glare regardless of how much I rotated the polarizer, so I chose the area where I wanted to eliminate the glare, and set it there. [Click on the image to enlarge it, then click on the back arrow to return to the post.]
From the right front, the side of the RV was again partially obscured by glare. [Click on the image to enlarge it, then click on the back arrow to return to the post.]
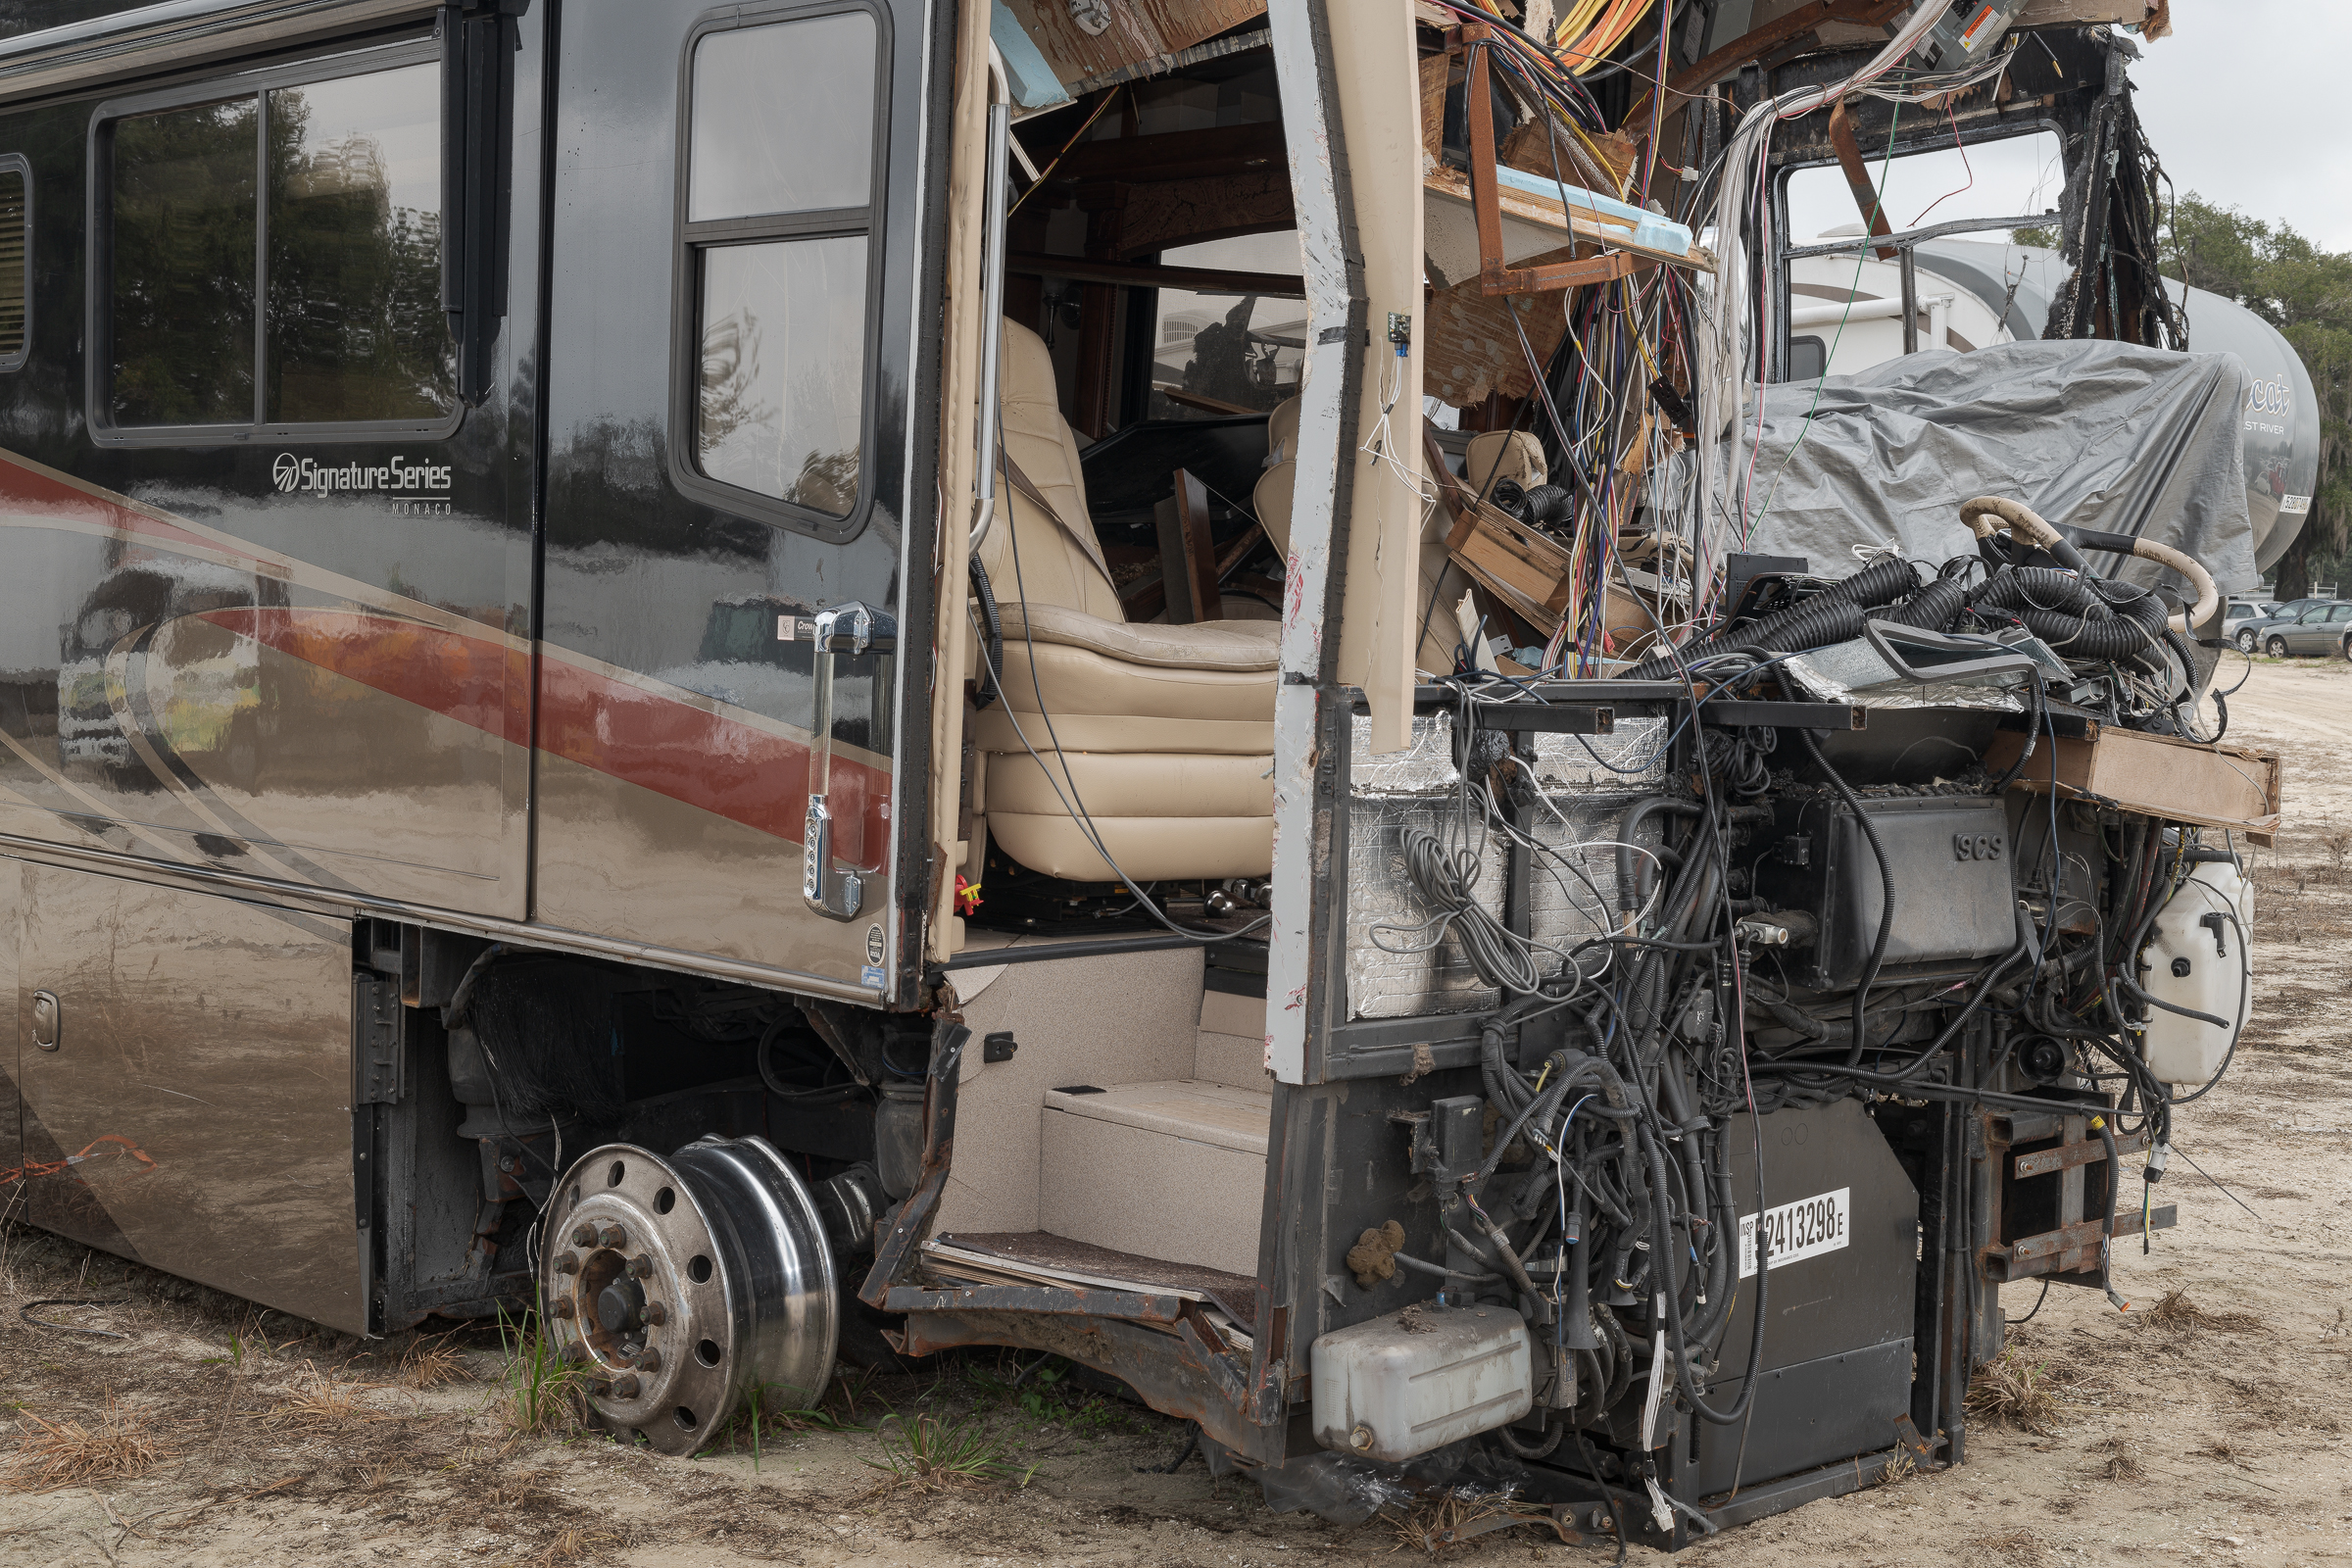
From this angle, I was able to rotate the polarizer into a position that eliminated the glare on both the right side and the front end. Notice how you can even see through the side windows now. [Click on the image to enlarge it, then click on the back arrow to return to the post.]

Here are the takeaways:
-1- Use a polarizer when you want to eliminate reflected glare off of vehicles.
-2- Use fill flash with a polarizer to bring out detail in vehicle photos.
-3- Polarizers are effective on overcast days when light is scattered everywhere. Polarizers are not just for sunny days.
-4- Polarizers can be effective at angles other than 90° to the light source.
-5- The only way to determine the best setting for a polarizer is to rotate it until it gives you the effect you want.
-6- Last but most important, you MUST rotate your polarizer before each shot to get the desired effects.