A subject lit from any light source (natural or artificial) coming from the direction of the camera toward the subject is said to be front lit. Front lit subjects are easy to expose for since the light is flat and even. That’s why in the film days, the little paper in the box with a roll of Kodak film recommended shooting with the sun at your back. Although the result was a dull, flat, two-dimensional look, the lighting was so predictable that even using the full Auto mode would nail the exposure.
To give the impression of three dimensions in a two-dimensional medium requires a combination of light and shadows. As noted landscape photographer and teacher Chas Glatzer stresses, “Light Illuminates, Shadow Defines”.
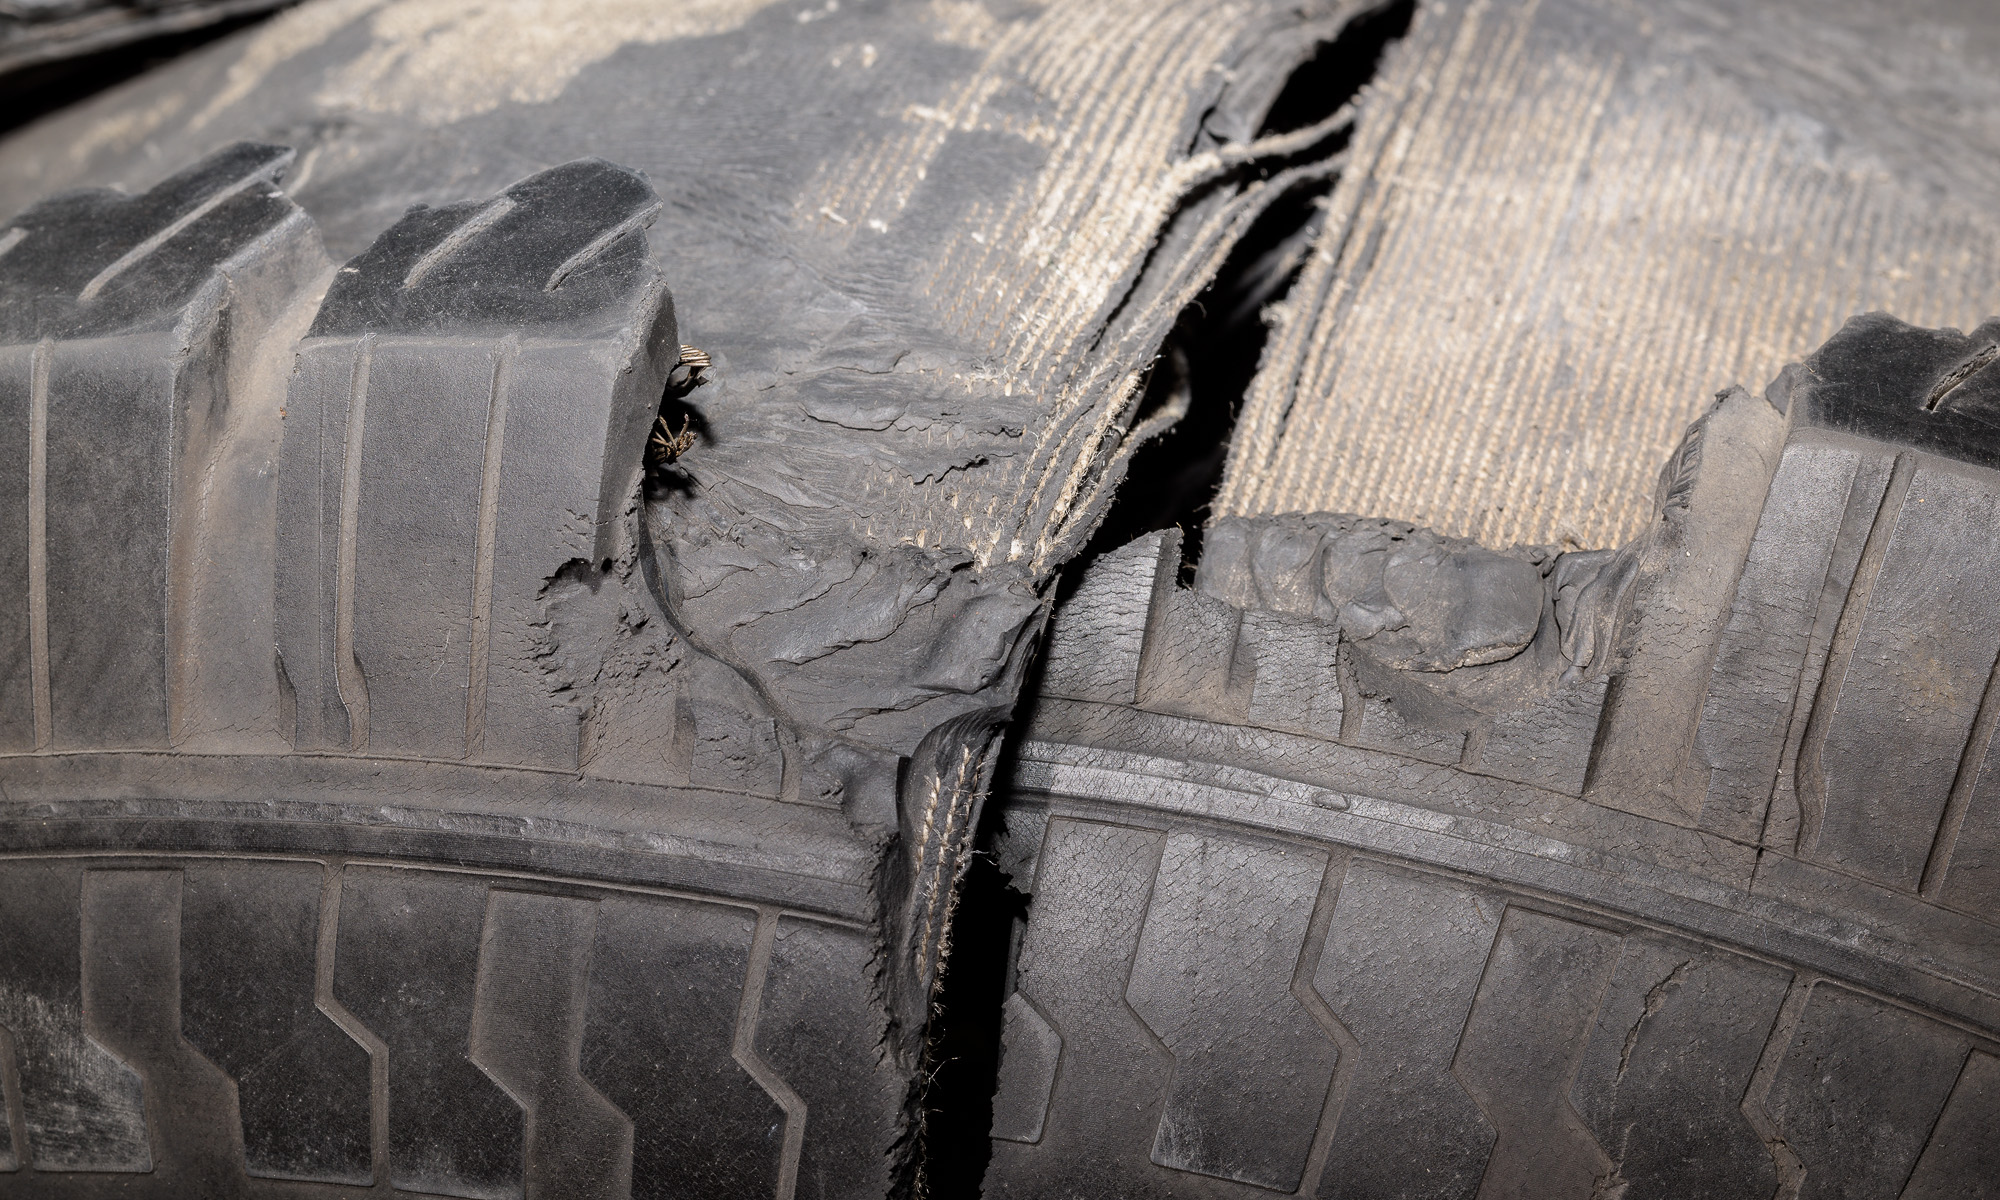
For subjects that are not shiny, front lighting yields consistent color, but lacks texture. (Shiny subjects reflect glare with most front lighting—a subject for a future post.) For lighter colored subjects, the best way to show that texture is to have a light skim across the textured surface from the side. (Black textured objects respond differently. This will also be addressed in a future post.)
Although it’s unlikely you’ll be asked to photograph sponges, they are easily accessible subjects to use to practice bringing out textured surfaces in a photograph. I came across this demonstration in the excellent book Light: Science and Magic, 5th Ed. by Hunter, et al.
For this first image, I held the head of a Nikon SB-910 flash in Remote mode along the barrel of the lens at its bottom right. (You can tell where the flash head was placed by looking at the hard-edged shadow along the top and left side of the sponge.) That flash was triggered by another SB-910 flash mounted in the hot shoe on top of the camera’s pentaprism. It was set to Master mode with its own flash light turned off so only the remote flash fired. [Click on the image to enlarge, then click on the back arrow to return to this post.]

To make the second image, I put the remote SB-910 on a light stand to the right of the camera at a height between the end of the lens and the top of the sponge. I aimed the head of that flash across the face of the sponge. Again, the shape and location of the shadows show where the light was placed. As with the first image, that flash was triggered in Remote mode by the flash in the camera’s hot shoe set in Master mode with its own flash head turned off. [Click on the image to enlarge, then click on the back arrow to return to this post.]

Both images were made with the same manual exposure mode and with the same manual flash exposure mode. Moving the light to the side resulted in both light and shadows, giving the sponge a three-dimensional appearance in a two-dimensional photograph.
You can see similar results using a sponge and a flashlight, but it’s worth duplicating these photographs yourself to understand how to use light to emphasize or minimize any texture you encounter. Illustrating texture is all about the amount and direction of the light—which you can control.
Remember to Think Light (and Shadow).
