
When your subject has multiple similar features, you’ll need to mark each of them to distinguish among them in your photographs. These markings must be repeated on the other side of your subject, too, if applicable.
Since you are dealing with evidence, you should never make permanent marks unless agreed to by all parties involved beforehand. Instead, it’s best to use removable stickers or labels.
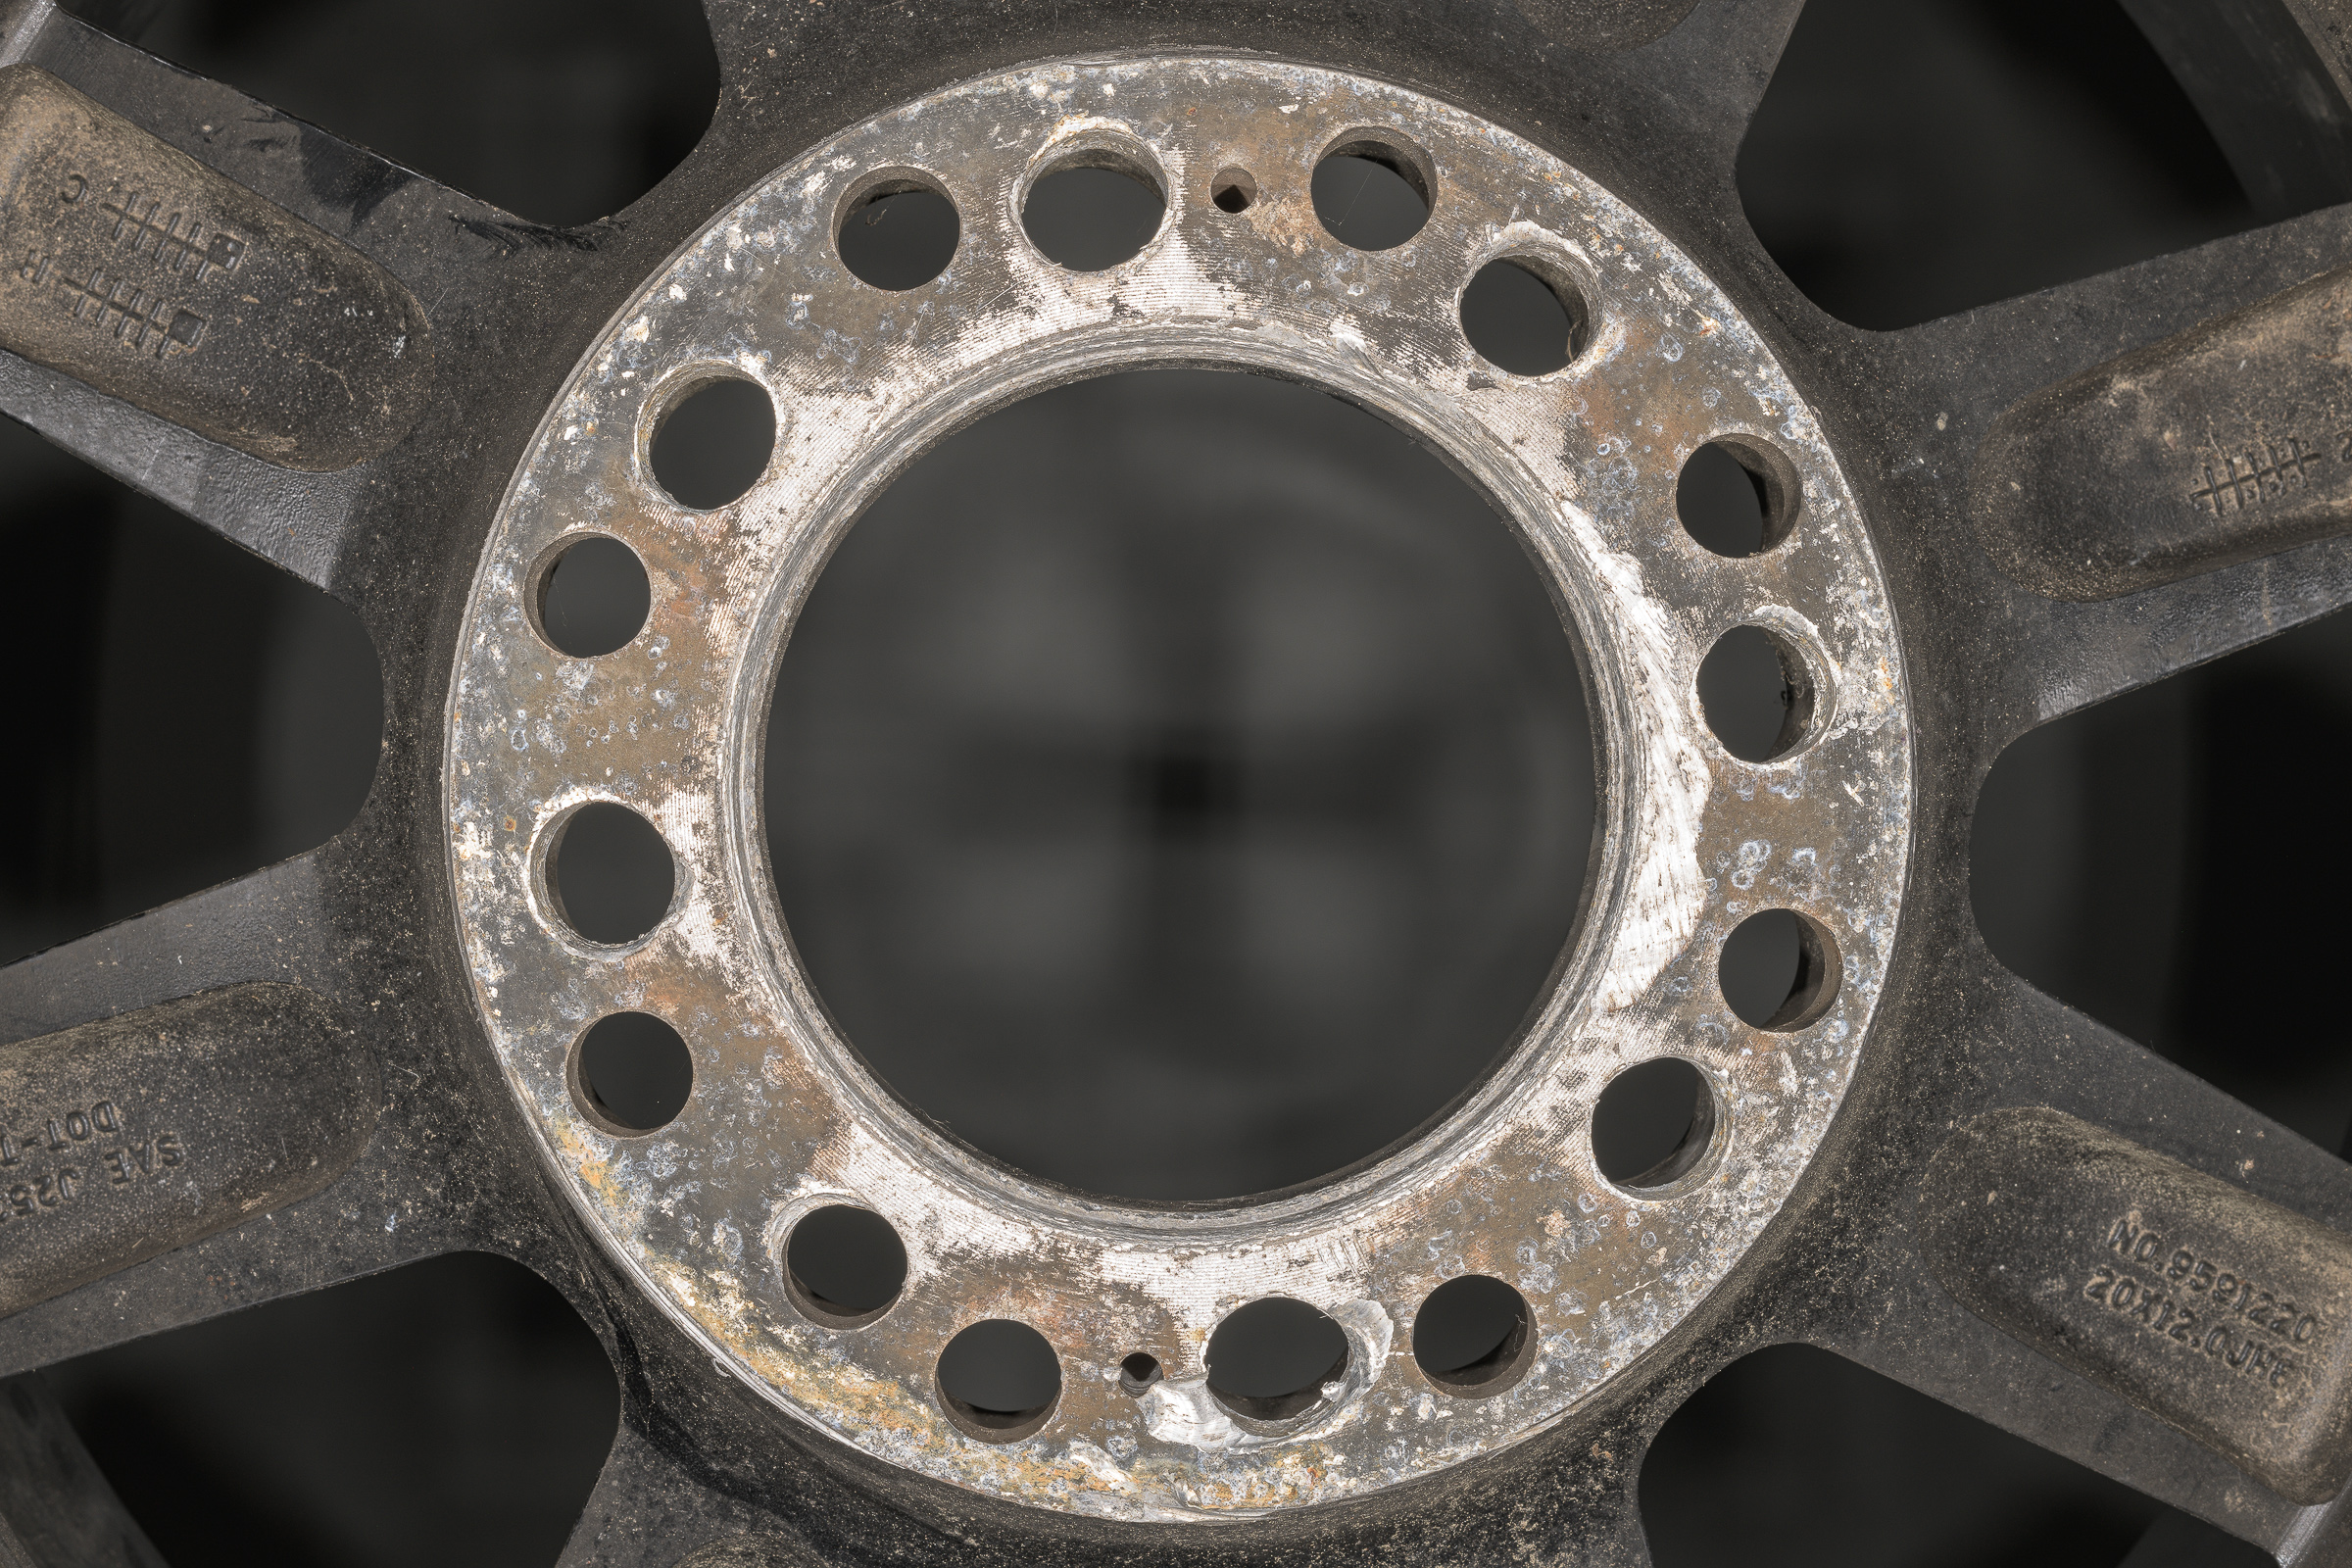
Before applying any labels, photograph the subject as you received it. This will ensure no part of the evidence is masked. As an example, here is a photograph of the mounting surface of an eight-bolt wheel with sixteen holes so it can be used with more than one bolt circle. (Click on image to enlarge, then click on the back arrow to return to this post.)
Using a Brother P-touch labeler, I made one long label with two strings of numbers from 1 through 8, then cut between each number to create small labels of each individual number. The goal was to make the labels as small—yet as legible—as possible so they would mask the least amount of the evidence.
Choose a font with legible numbers, and set the font style to bold. Depending on the color of evidence, I usually use either white on black or black on white labels. On rare occasions, I have used black on clear labels. It’s advantageous to have all three label tapes available.
A label maker creates labels that are more legible and more professional looking than writing numbers by hand on torn pieces of tape.
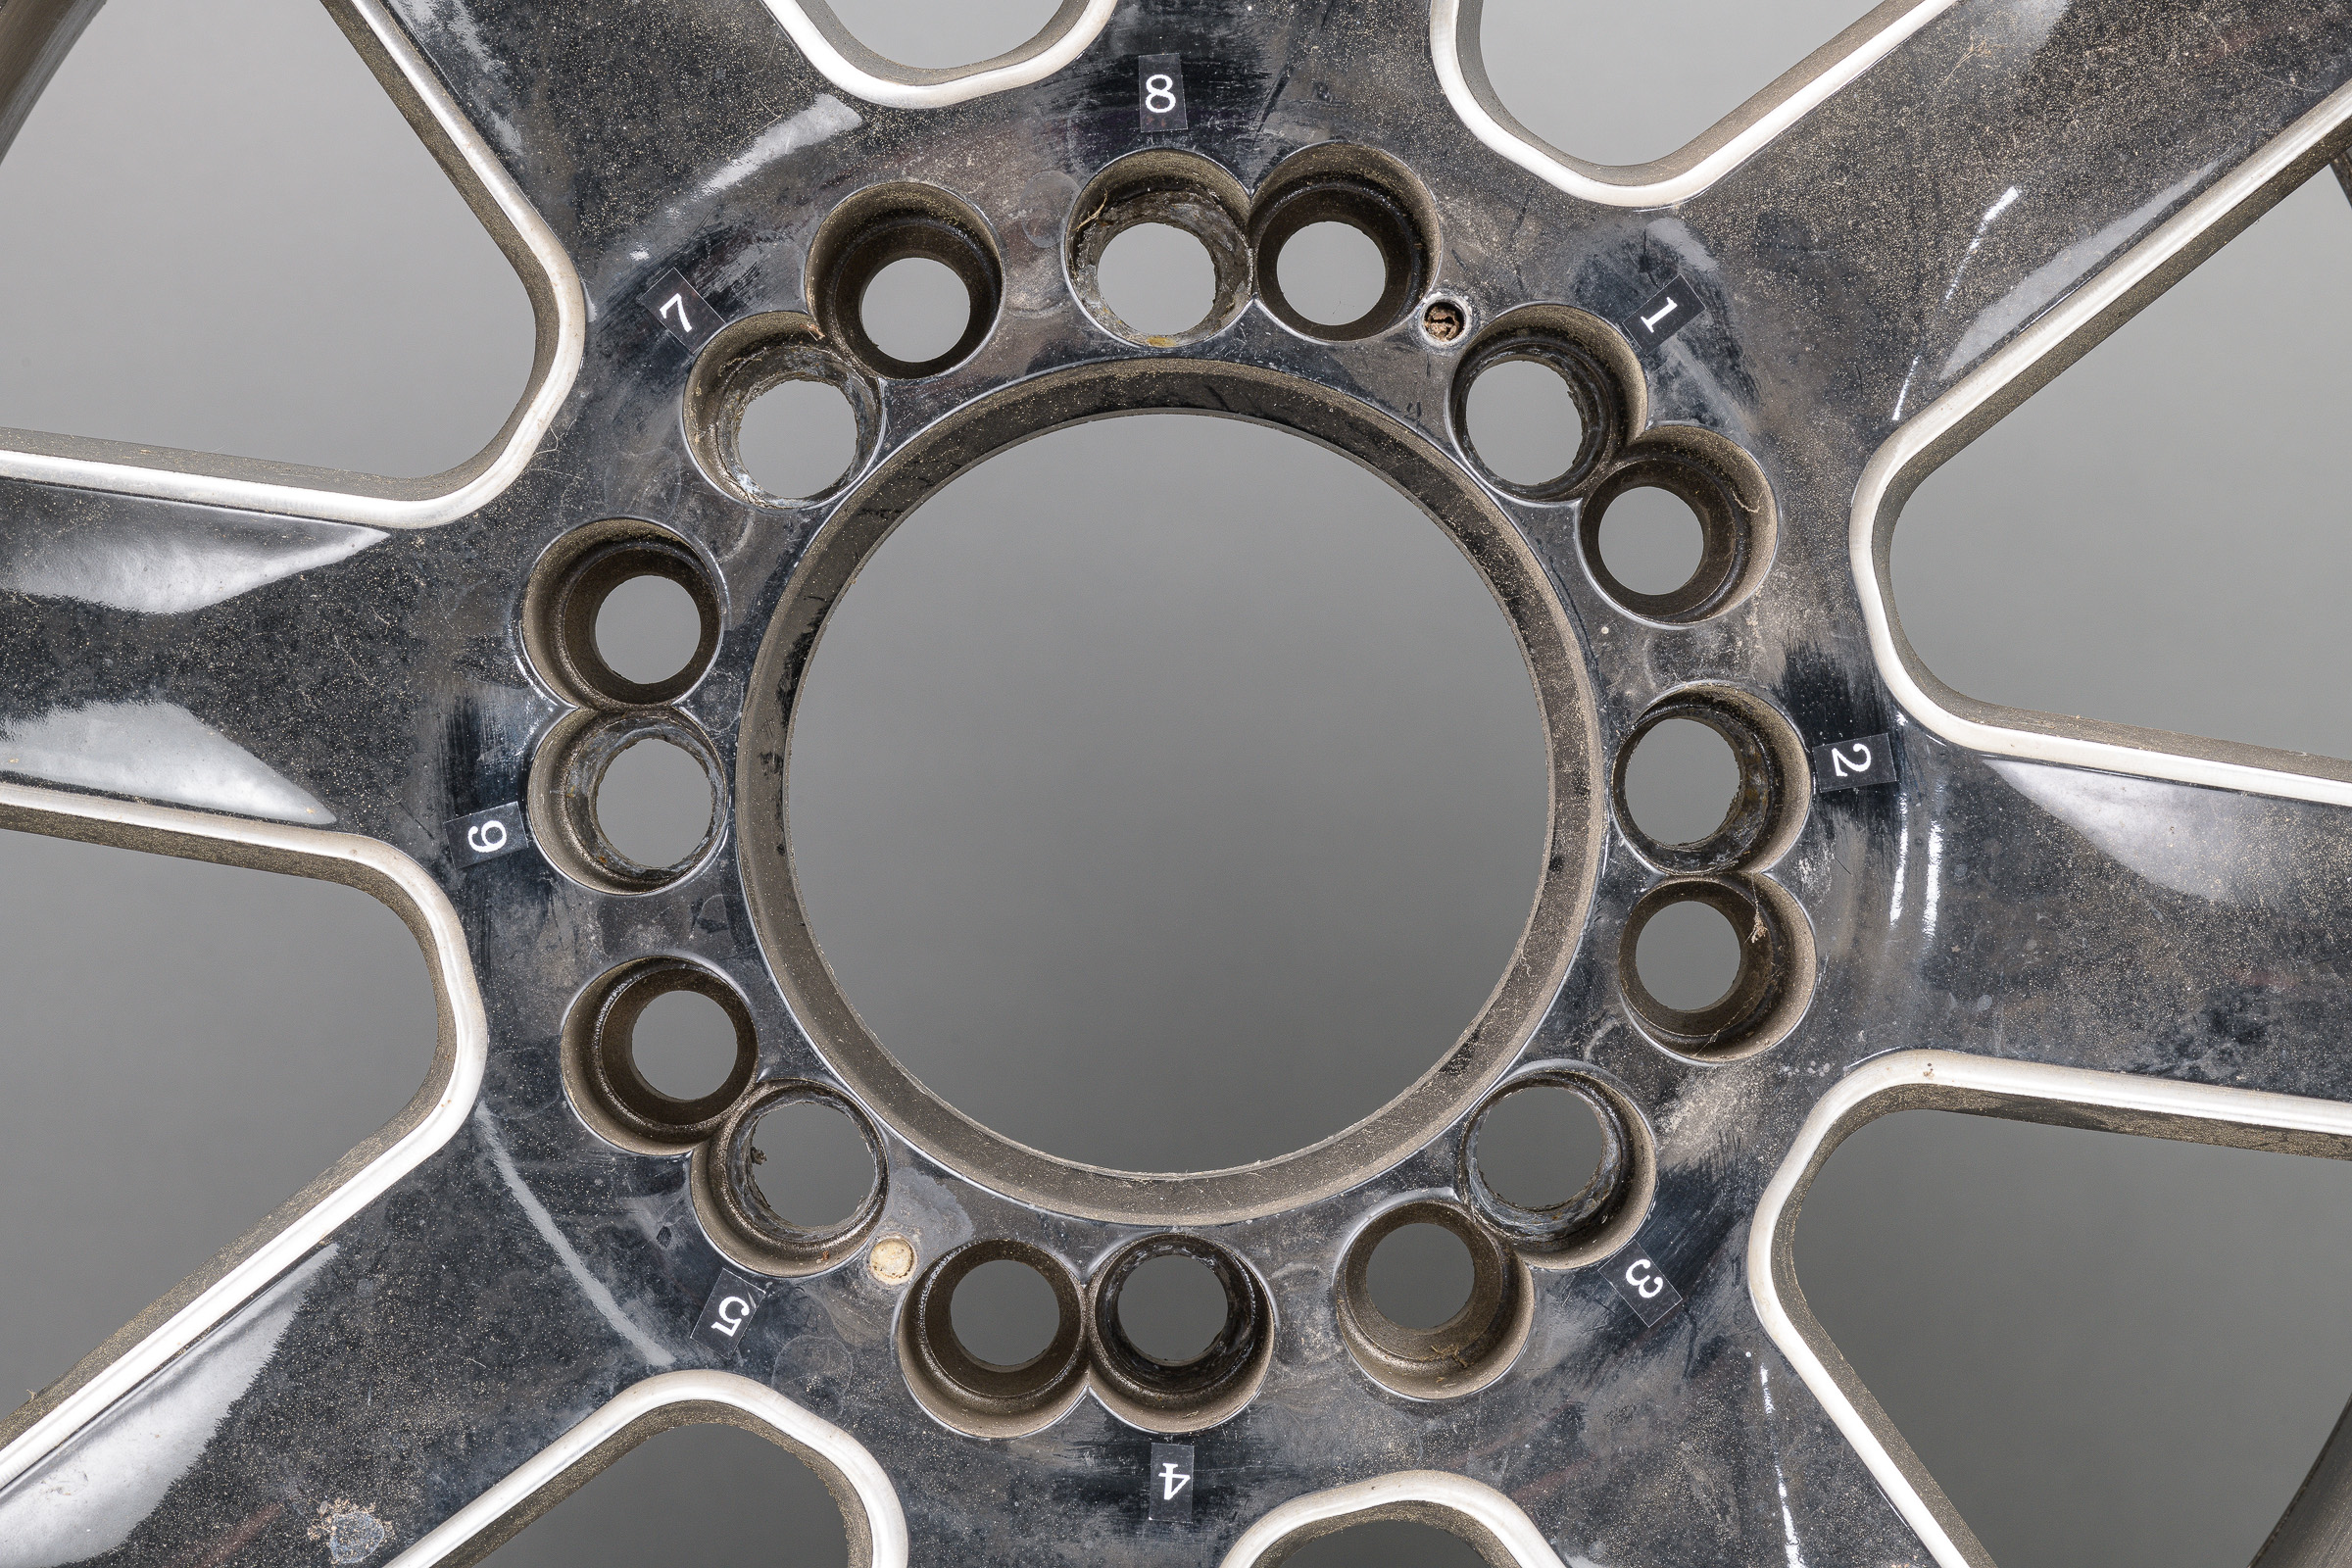
For this wheel, I numbered the holes in pairs. Note that the numbers are counterclockwise on the inside so they will correspond with the same numbers on the outside of the wheel, which were clockwise. (Click on image to enlarge, then click on the back arrow to return to this post.)

Here is the outside of the wheel showing the clockwise bolt hole pair labels. (Click on image to enlarge, then click on the back arrow to return to this post.)
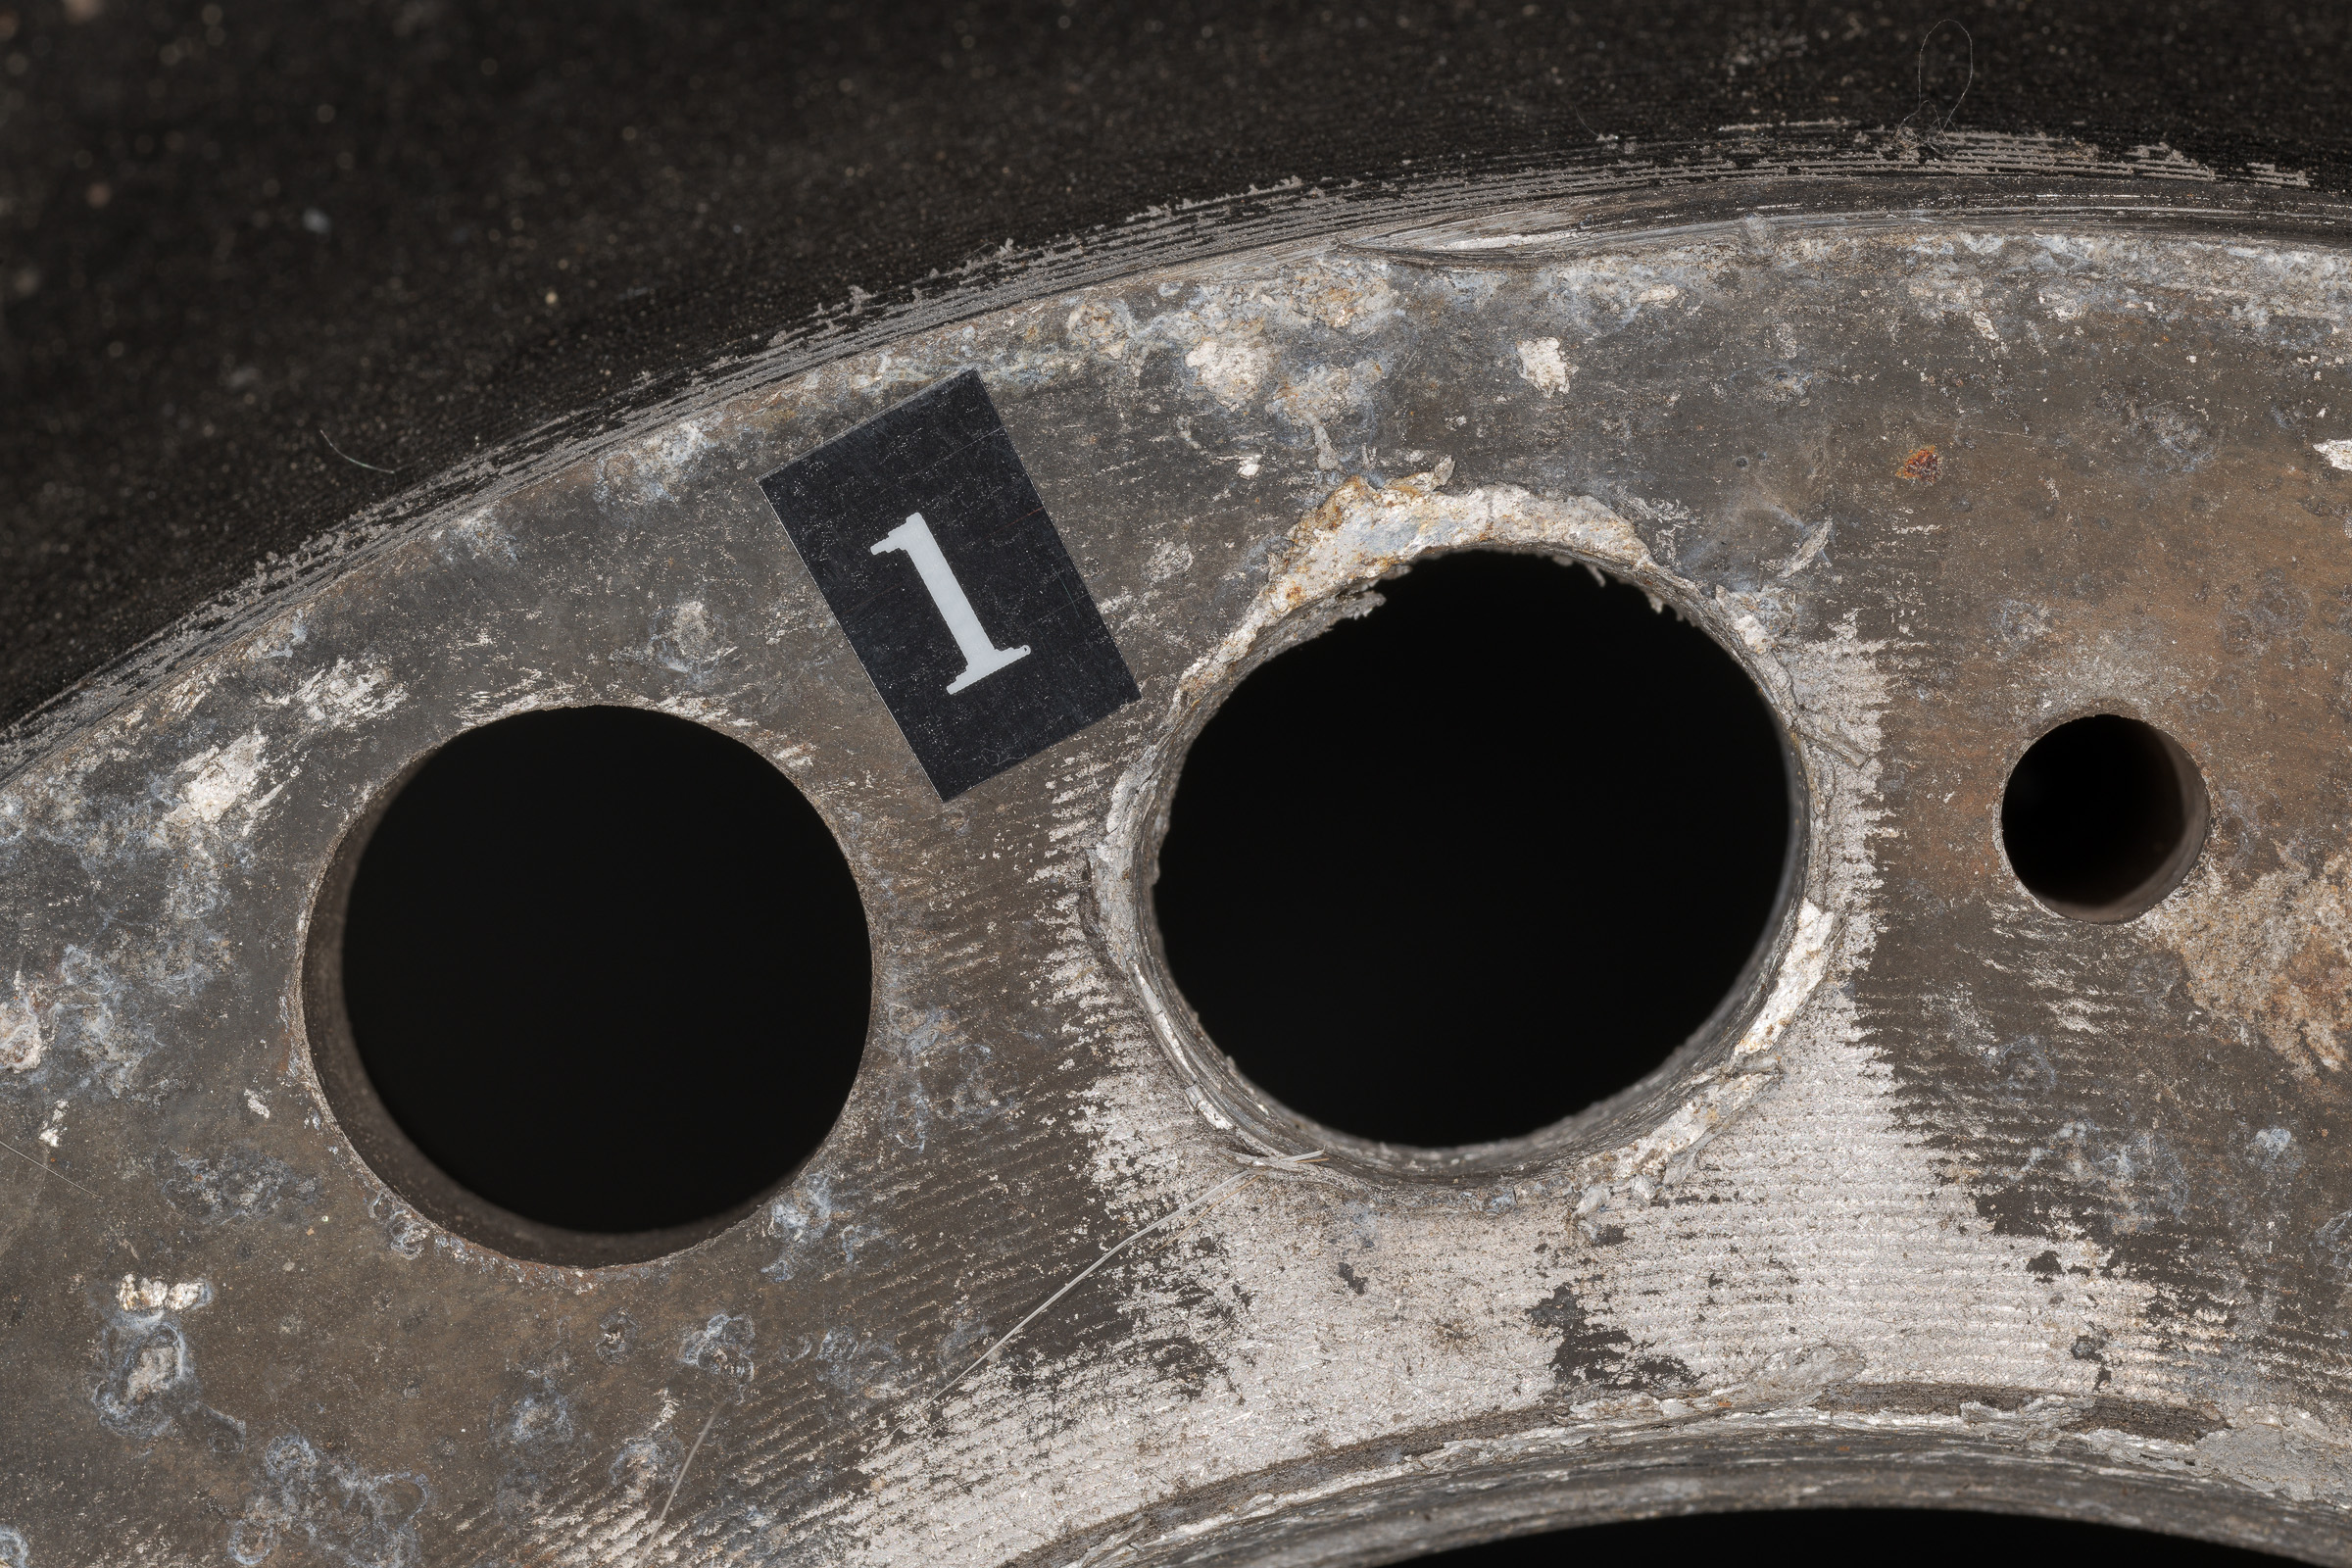
Now close-ups of every hole will be easily identified whether on the inside…
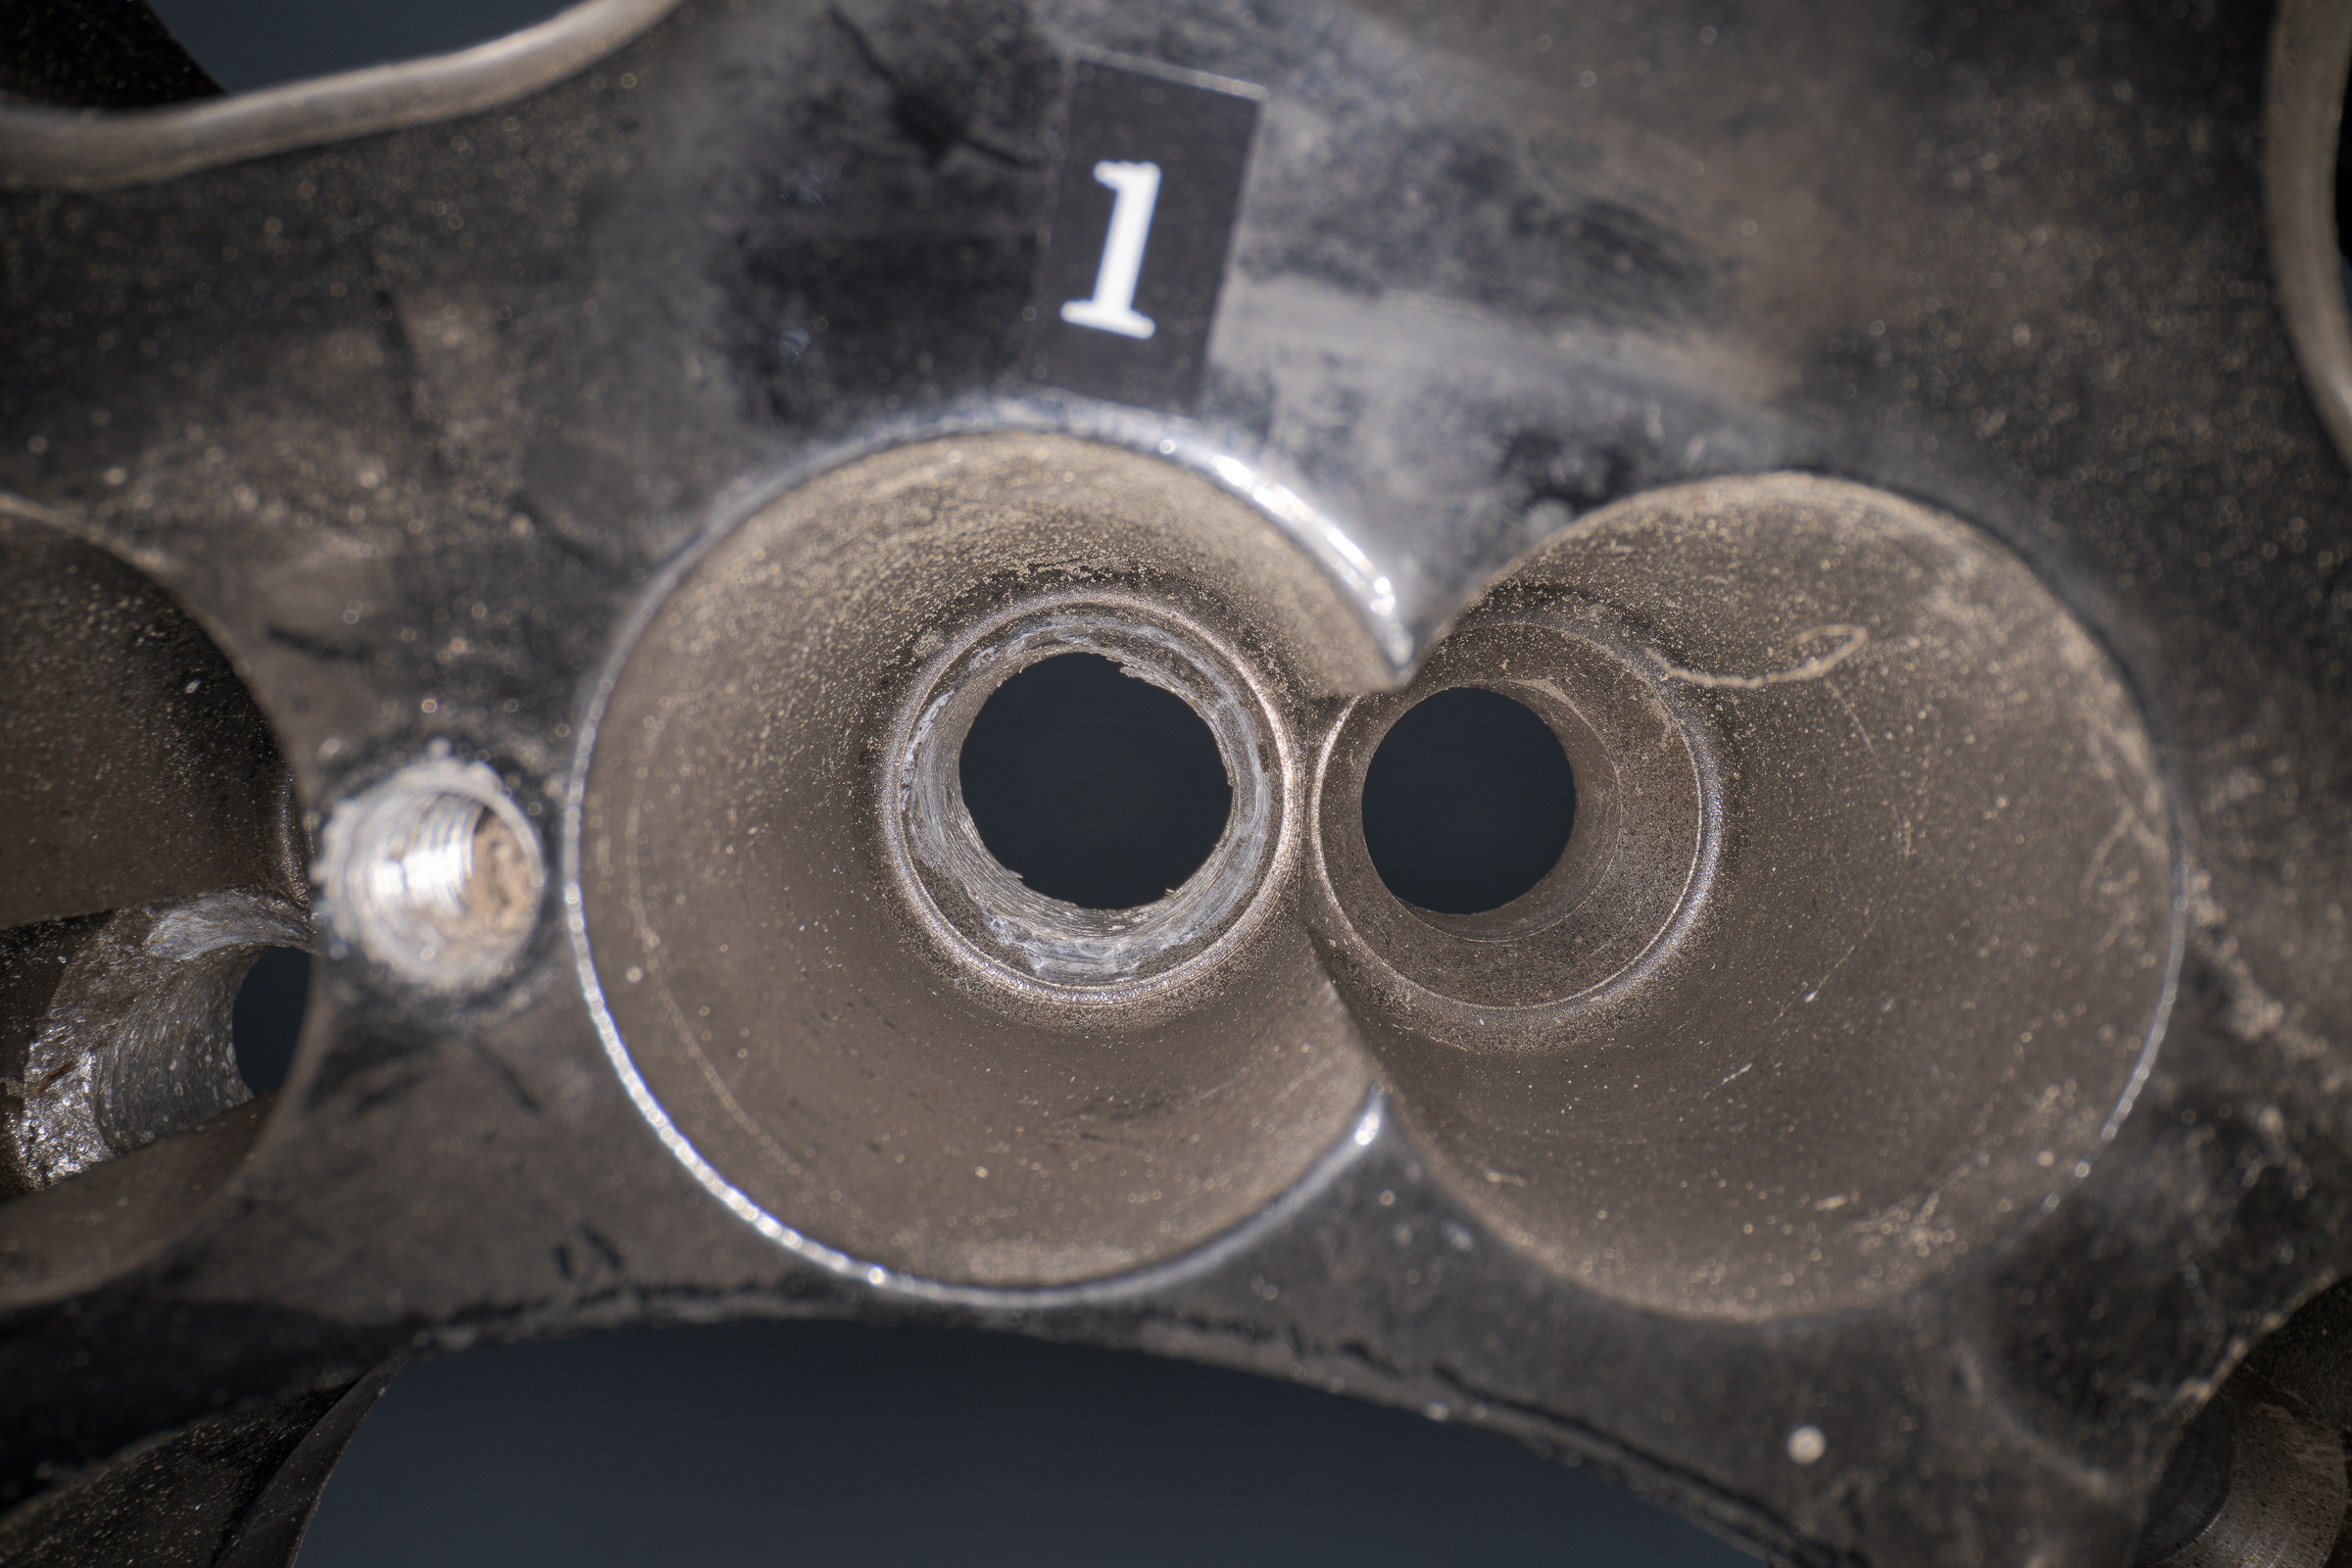
…or the outside of the wheel. Note that the labels are a good size in the close-ups without overwhelming the subject. Also note that the label is still effective even if it is out of the depth of field of the subject and is slightly out of focus.
Takeaways:
-1- After photographing evidence as found or received, mark repetitive features on any sides that will be photographed.
-2- Do not make permanent marks on evidence.
-3- Mark evidence with small, legible, and removable labels instead of handwritten numbers on torn pieces of tape.
-4- While labels should be included in close-ups, they do not have to be within the depth of field of the subject as long as they are still discernible.
-5- After making each close-up image with its label, you may want to remove the label and take another photograph without it. Having your camera on a tripod will allow you to made identical shots both with and without the label.