Many times, we can’t choose when we will inspect vehicles or accident sites. That means you’ll have to deal with whatever light conditions you encounter. It’s up to you as a professional to come back with good photographs, despite the adverse light.
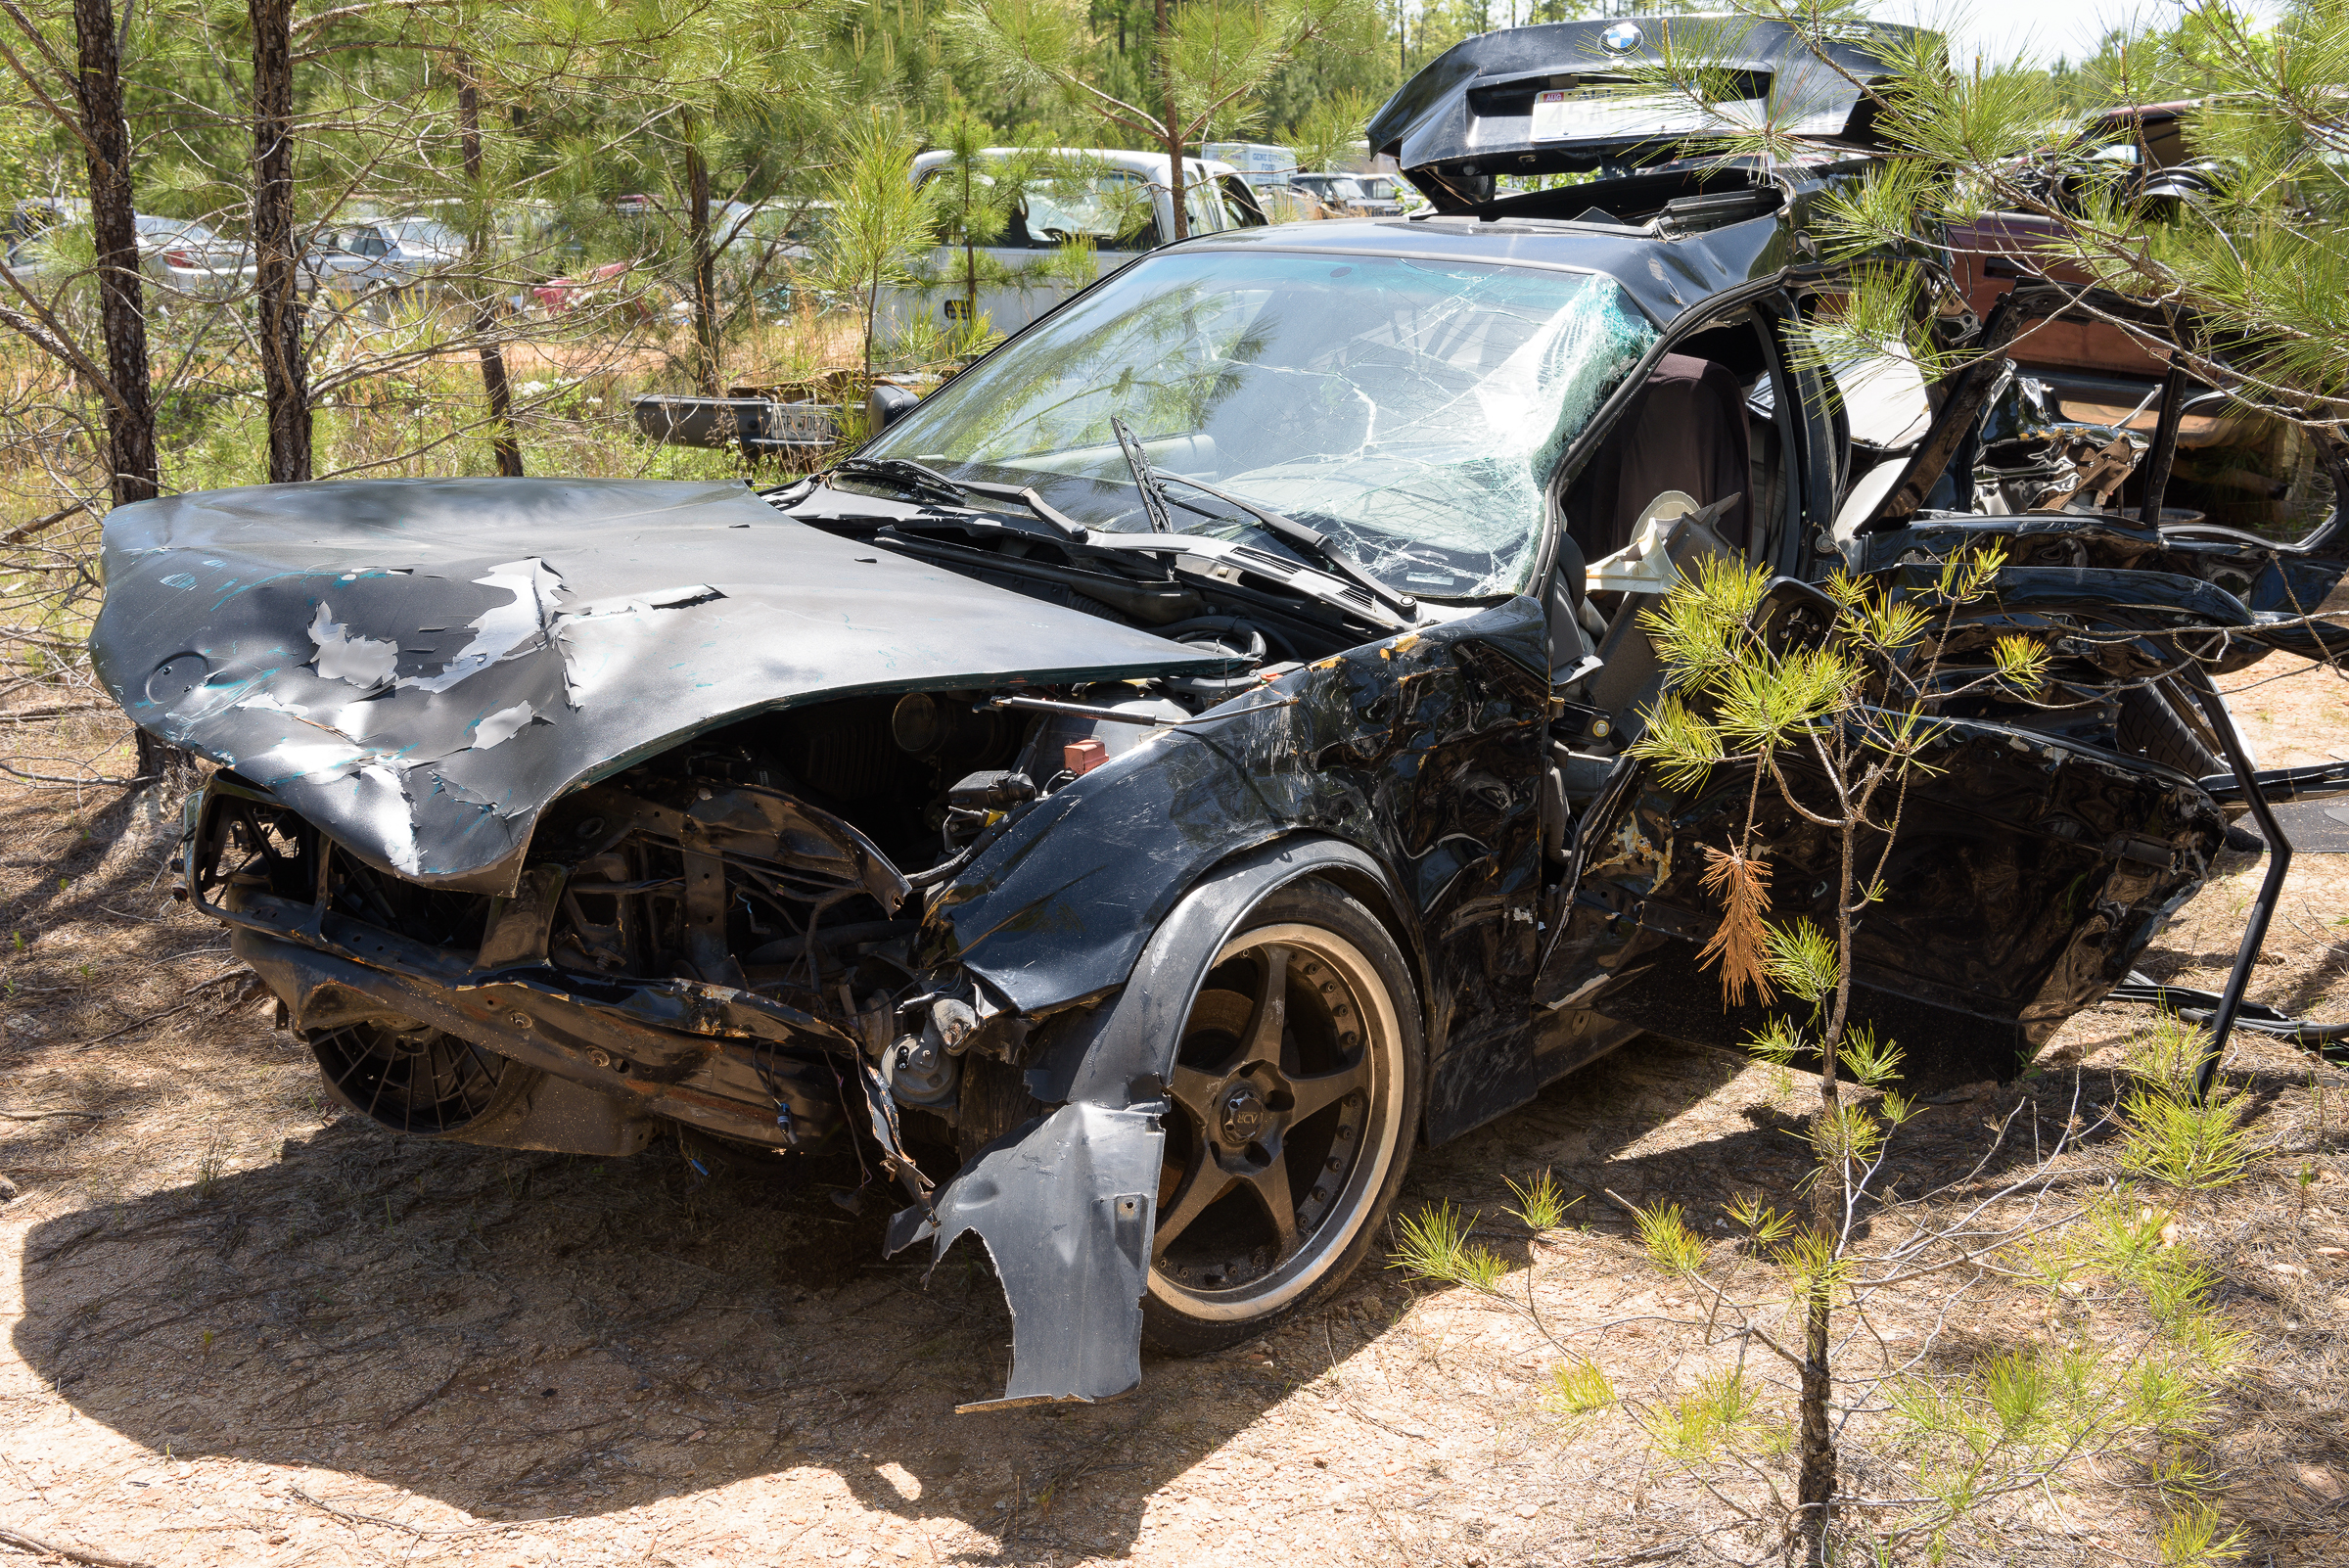
One example was a black BMW in a tow yard field on a blindingly bright day close to noon. As you can tell from the hard edge of the shadow under the car, the sun was almost directly overhead. Any details in the upper body panels were obscured by glare, while the shadows were too dark to show any details. (Click on an image to enlarge. Click on back arrow to return to post.)

Even though this image was properly exposed, between the glare and the blocked shadows, you can’t get much information about the damage to the car. That defeats the purpose of even making the photo.
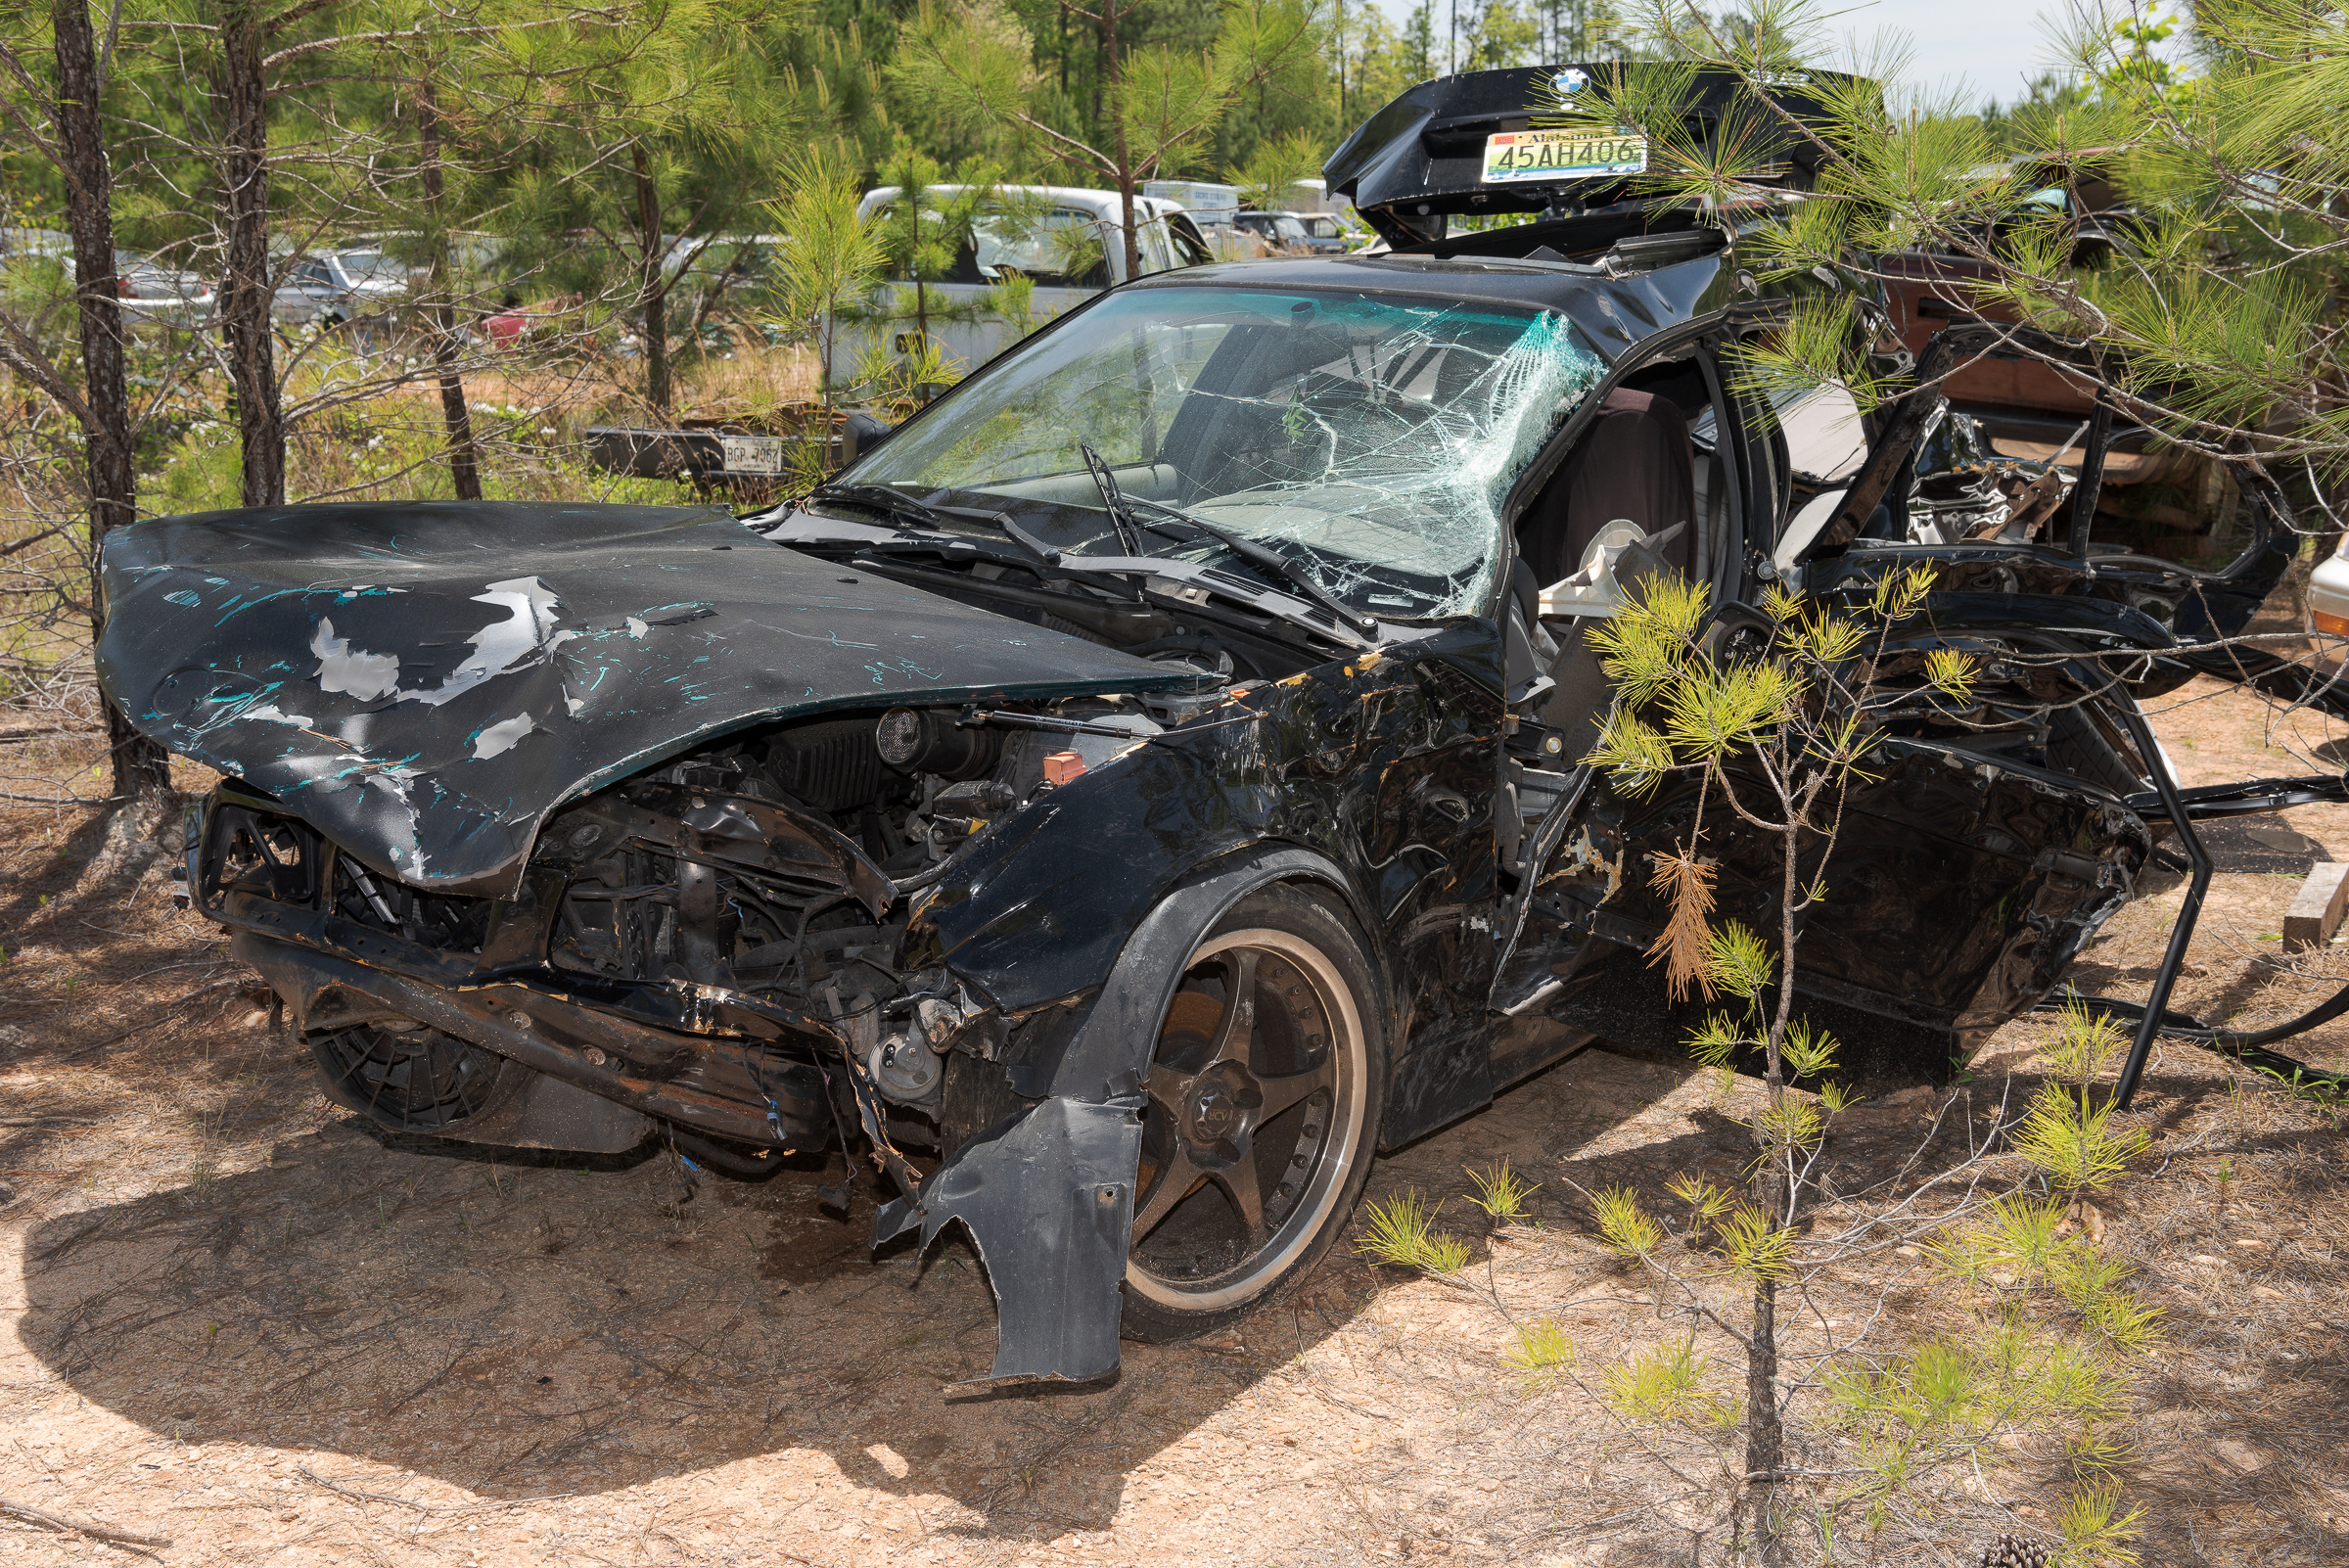
To counteract the glare, I used a polarizing filter and rotated it until most of the glare was gone. To open up the shadows, I added a flash in the hot shoe of the camera to create fill flash under the hood and down the left side.

This second photograph was also properly exposed, even though it was 1/3 stop darker overall—by choice. This image demonstrated that the combination of the polarizer for the glare and fill flash for the shadows yielded a much more balanced image which showed details that just couldn’t be recorded without those tools.
It should be noted that I use a one-stop polarizer. This means you only lose about one stop of light when using it. Many (most?) polarizers cost you about two stops of light. Also note that fill flash, being fill and not the main light source, did not affect the overall exposure; it just brought out detail in the shadows.
Besides using a tripod, regular use of both a polarizer and fill flash for vehicle photos ensure you’ll consistently capture all the data you’ll need to show details in your vehicle photos.
