
Most accident reconstructionists and product liability engineers have had to photograph a vehicle, vehicle component, or other product in a dark area such as a warehouse, storage facility, lab, or even an office. Conditions can be even worse for building or fire investigators, especially if the power is out. By definition, what is missing in any of these situations is light!
But despite the lack of light, you might only get this one chance to inspect the evidence. You’ve got to come back with well-exposed, well-lit professional photographs—photos that accurately portray what you saw, represent you well to your clients, and reflect the quality standards of your work, especially during depositions and trials.
Unless you are trying to capture a low light scene as it is (which is a completely different discussion), you have several options to make a photo in low light.
One is light painting by moving a flashlight over your subject during a long exposure. This is tedious and time-consuming, especially if you have to make more than one or two images. It is also hit-and-miss, even if you are experienced with it. Of course you need a sturdy tripod for every shot, since the exposures are long. These long exposures also risk generating noise. So light painting might be good in an emergency, and it’s sometimes necessary for illuminating vehicles at nighttime accident scenes.
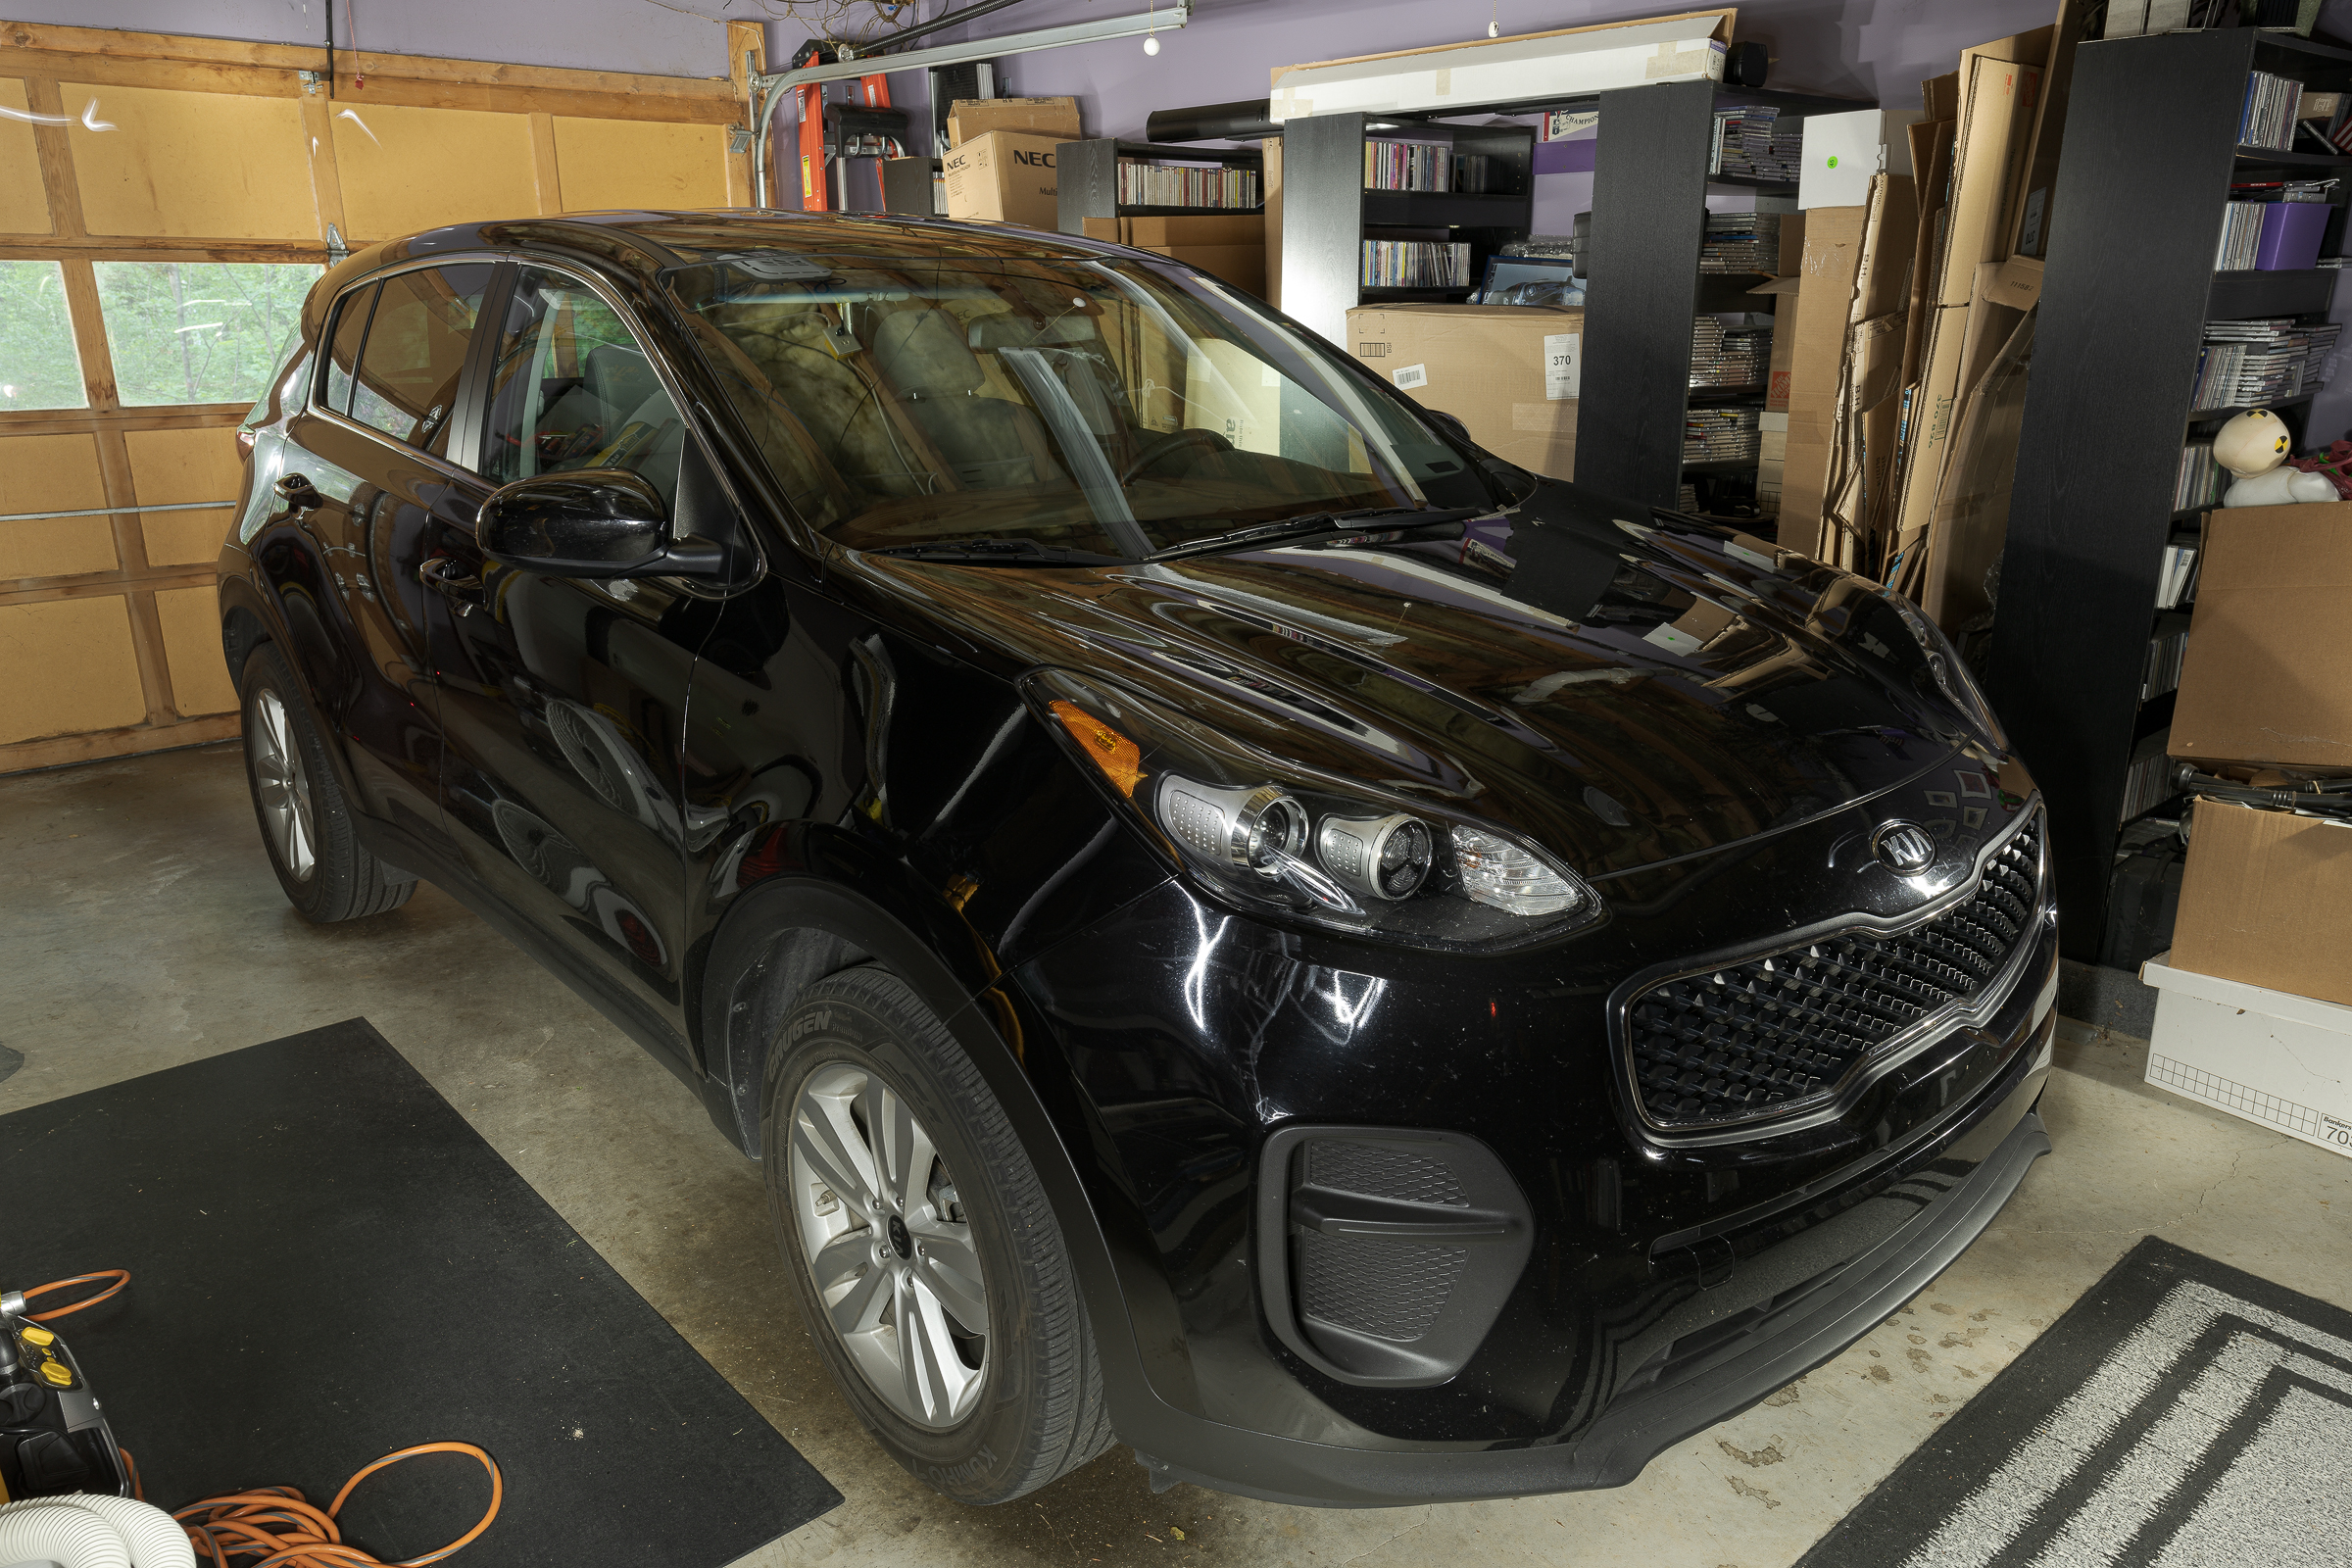
It can work, as shown below, but it’s not recommended for making inspection photographs. This photograph of a rental car was made at dusk with no lights on in the garage. The only light came from when I walked around the vehicle constantly moving a flashlight, painting both the car and the garage bay. Note how the long (74 second) exposure made the outdoors look brighter than it was. (Click on image to enlarge, then click back arrow to return to this post.)
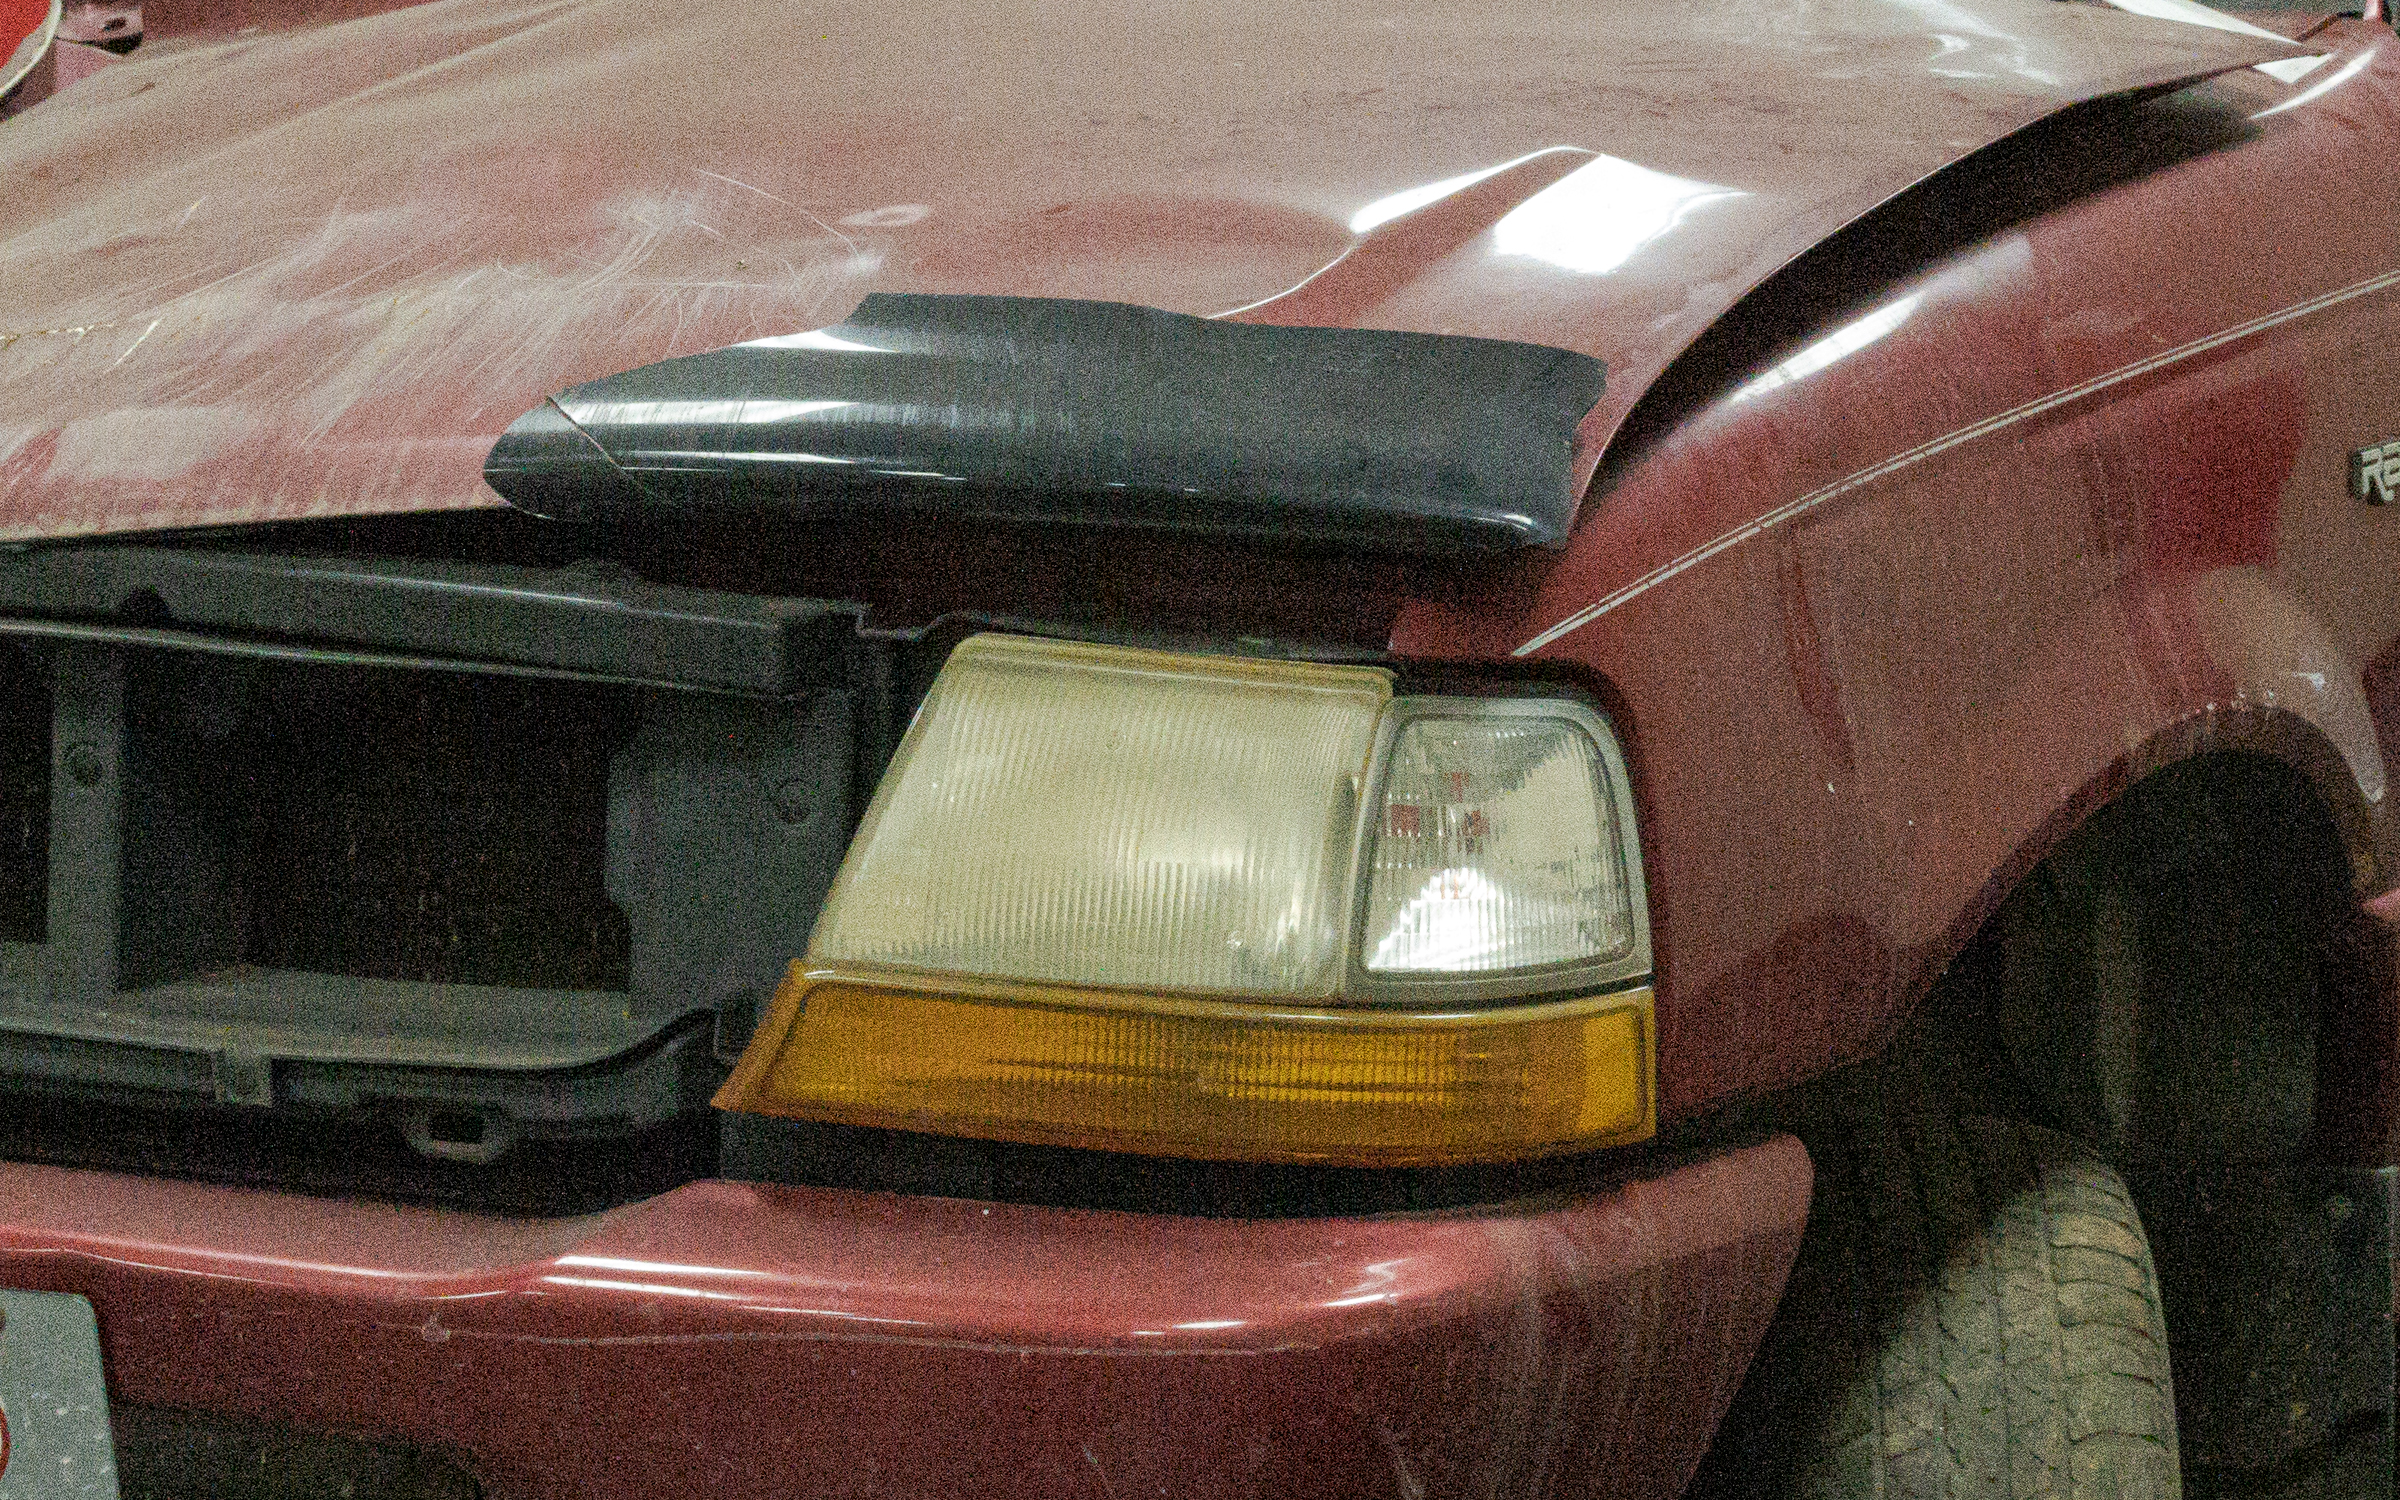
Another option is use high ISO sensitivities. On all digital cameras, the higher the ISO, the more noise and less dynamic range there is. With newer cameras, neither the increased noise nor the dynamic range loss are obtrusive until the middle or higher ISO values (say ISO 800 or even 1600). Here’s an example made at ISO 200,000 and cropped from the full frame. (Click on image to enlarge, then click back arrow to return to this post.)
As a third option, continuous light sources are better than nothing, but none are bright enough to avoid having to use a long shutter speed and/or to raise your ISO. Most fluorescent lights flicker and have an undesirable color cast. Halogen shop lights get hot and have a very warm color cast. Quality LED lights have good color control, but still aren’t bright enough. Even the larger LED panels made for photo studios don’t put out enough light, plus the brighter ones are big and unwieldy to transport and setup. Again, none of them put out enough light to allow a low ISO and a shorter shutter speed.
Flash is your best option, by far. But the tiny built-in flash on a point-and-shoot, the popup flash on a DSLR or mirrorless, or even a professional flash in your camera’s hot shoe won’t always be sufficient. You’ll need additional light.
There is a learning curve to using flash, since you can’t see the effect of the light until after you’ve made the photograph. But as long as you think about where and about how much light you need, it’s something you’ll pick up with a little practice.
Since I shoot Nikon, I always carry three Nikon Speedlights (flashes) with me. (You don’t need flashes made by your camera manufacturer, but those will always work with your camera, and are usually quite robust.) One flash goes in the camera’s hot shoe, and I put the other two where needed. I usually carry two small, lightweight, travel light stands with me so I can place the lights where they will do the most good, but I will often just prop them up on something nearby. (Within the next couple days, I will write a post about the gear I mention in this post.)
Since I do a lot of tire analysis, I often need even more light than the Speedlights can put out. Besides, Speedlights can take a long time to recharge their capacitors between shots.
Especially for tires, I use Profoto B10 battery-powered studio flashes on the road and battery-powered Profoto B1x studio flashes in my Studio Lab. Again, more on these in a post later this week.
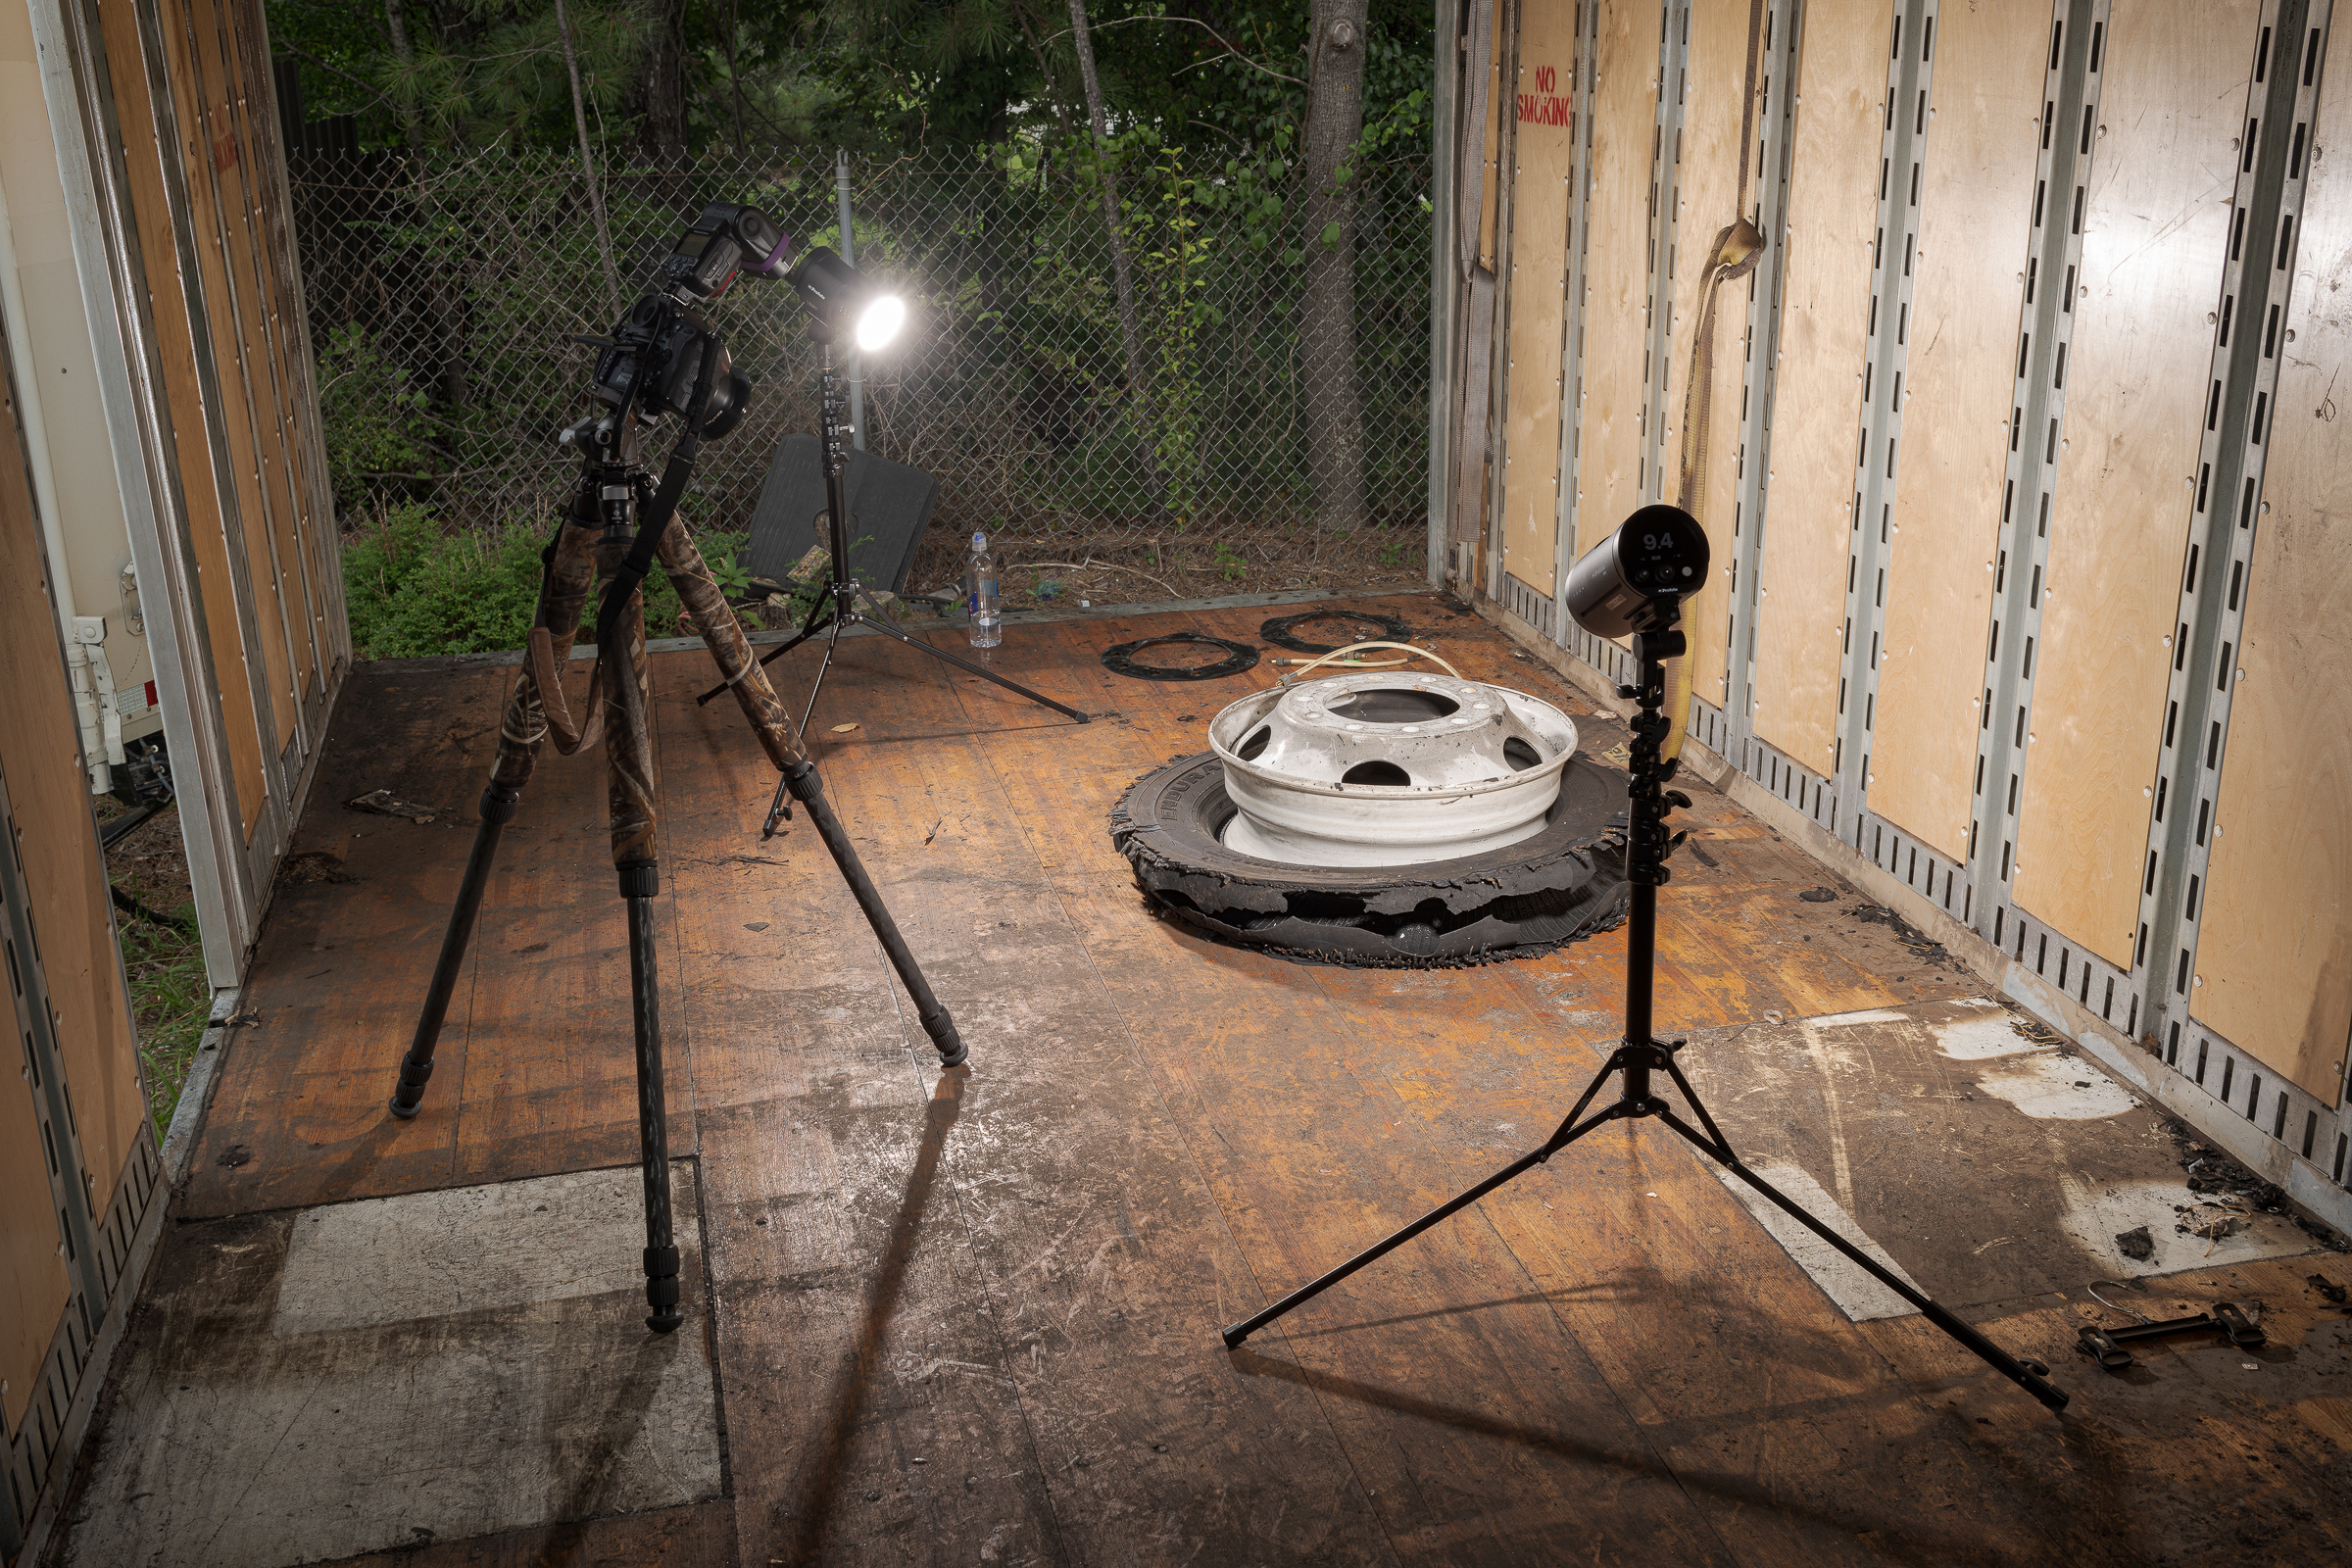
Recently, I had to inspect tires and wheels inside a semi-trailer. Even though my inspection was close to noon on a sunny day, and the trailer had a couple side doors I could open, I knew it would be pretty dark inside the trailer for photography. I set up my two Profoto B10 flashes on my travel light stands. They were fired by a Nikon SB-910 flash in my camera hot shoe. Exposure and flash powers were all set manually. (Click on image to enlarge, then click back arrow to return to this post.)
Here is a resulting image from that setup. (Click on image to enlarge, then click back arrow to return to this post.)
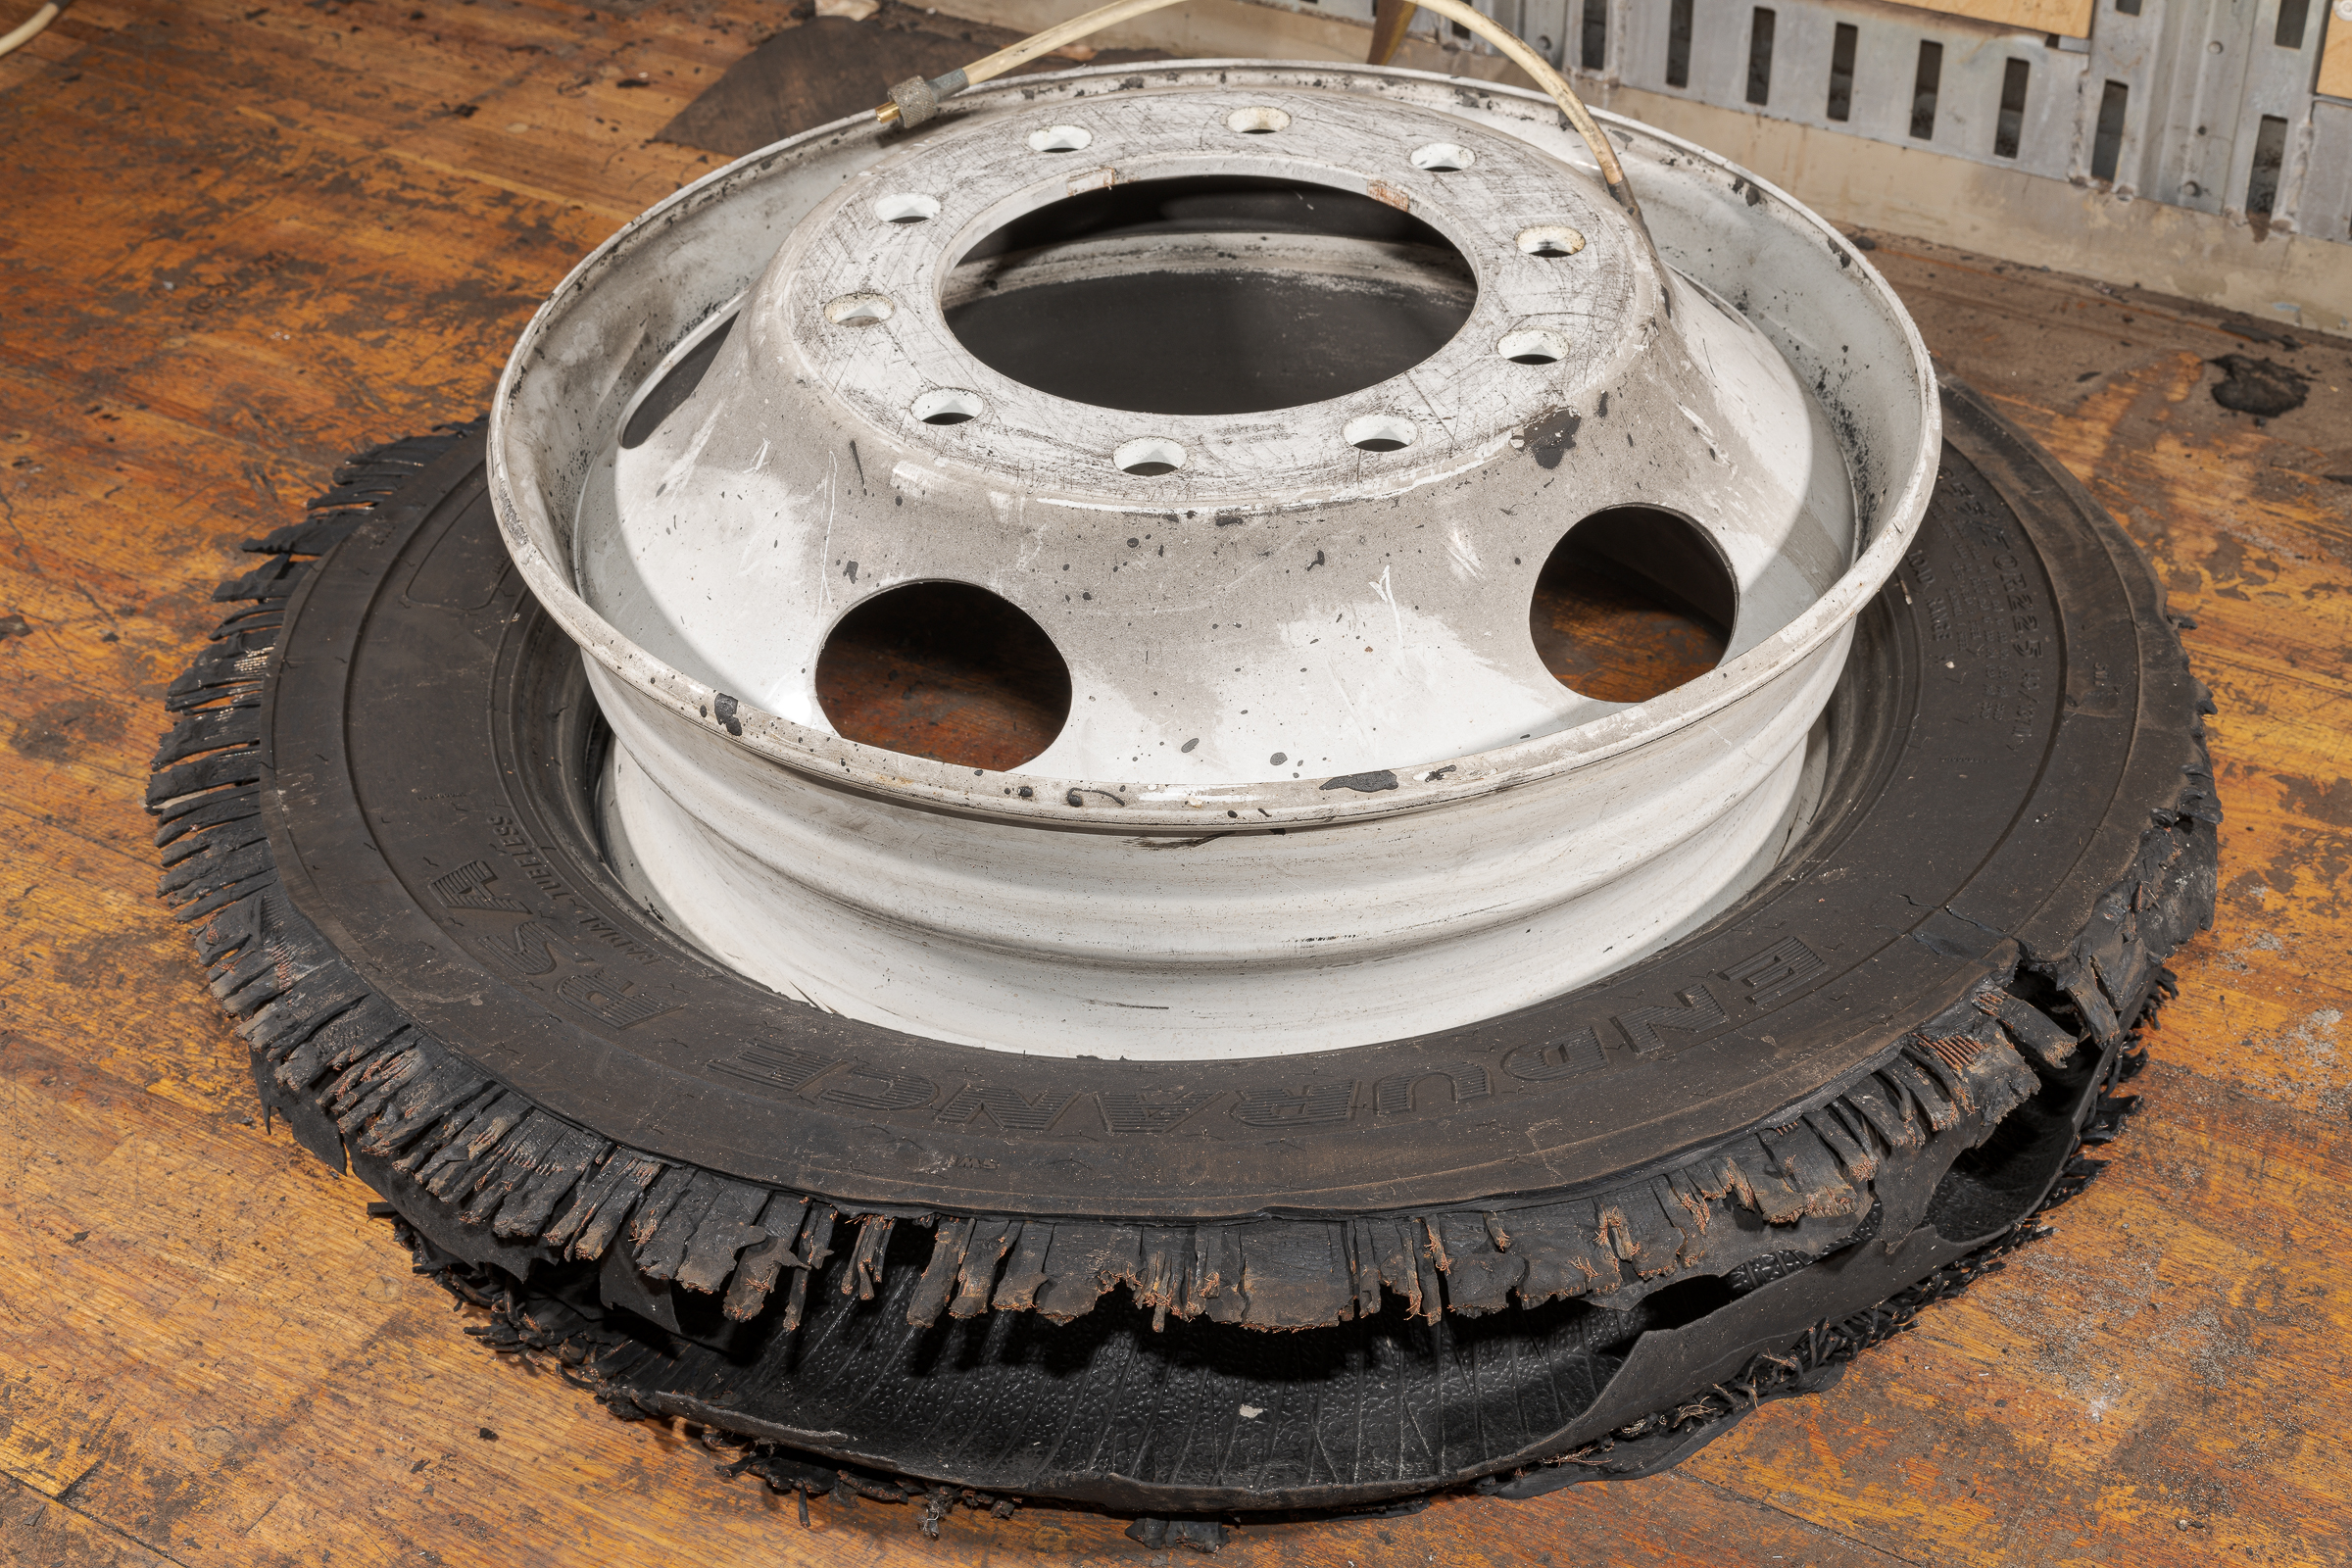
A single flash on the camera—even Nikon’s most powerful Speedlight—could never have provided enough light to evenly illuminate this tire and wheel. The Speedlight and battery-powered strobes not only provided nice even lighting, but allowed me to shoot at ISO 64, which is the lowest on a Nikon D850. This minimized the noise and maximized the dynamic range to show the most detail possible.