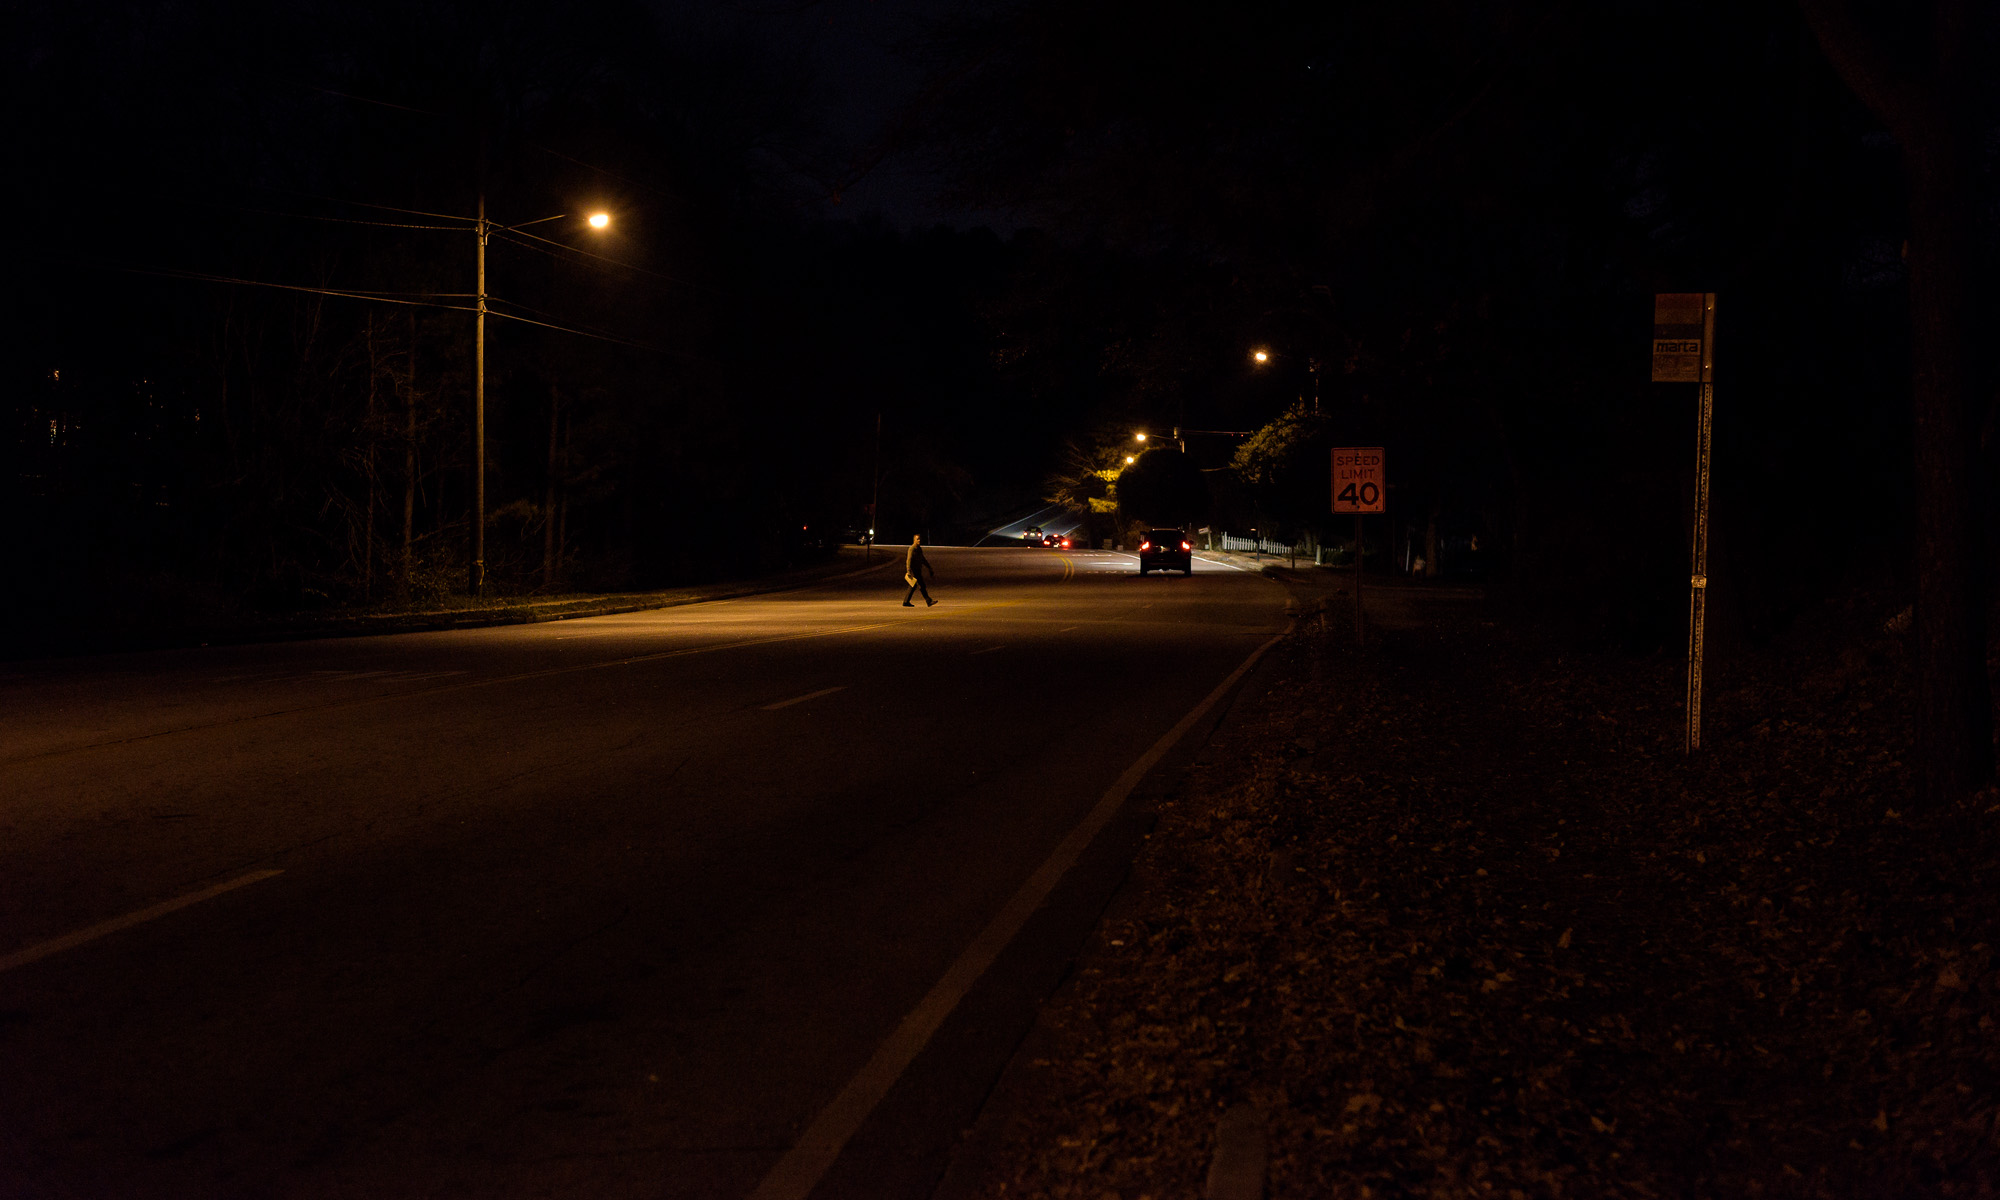
You can make photographs—without using flash—regardless of the light that’s available. But not using flash has three major limitations:
-1- You can’t change the relative brightness between elements in the image. Any change in exposure will raise or lower the brightness of all elements equally. Flash lets you emphasize any element in relation to any other.
-2- You won’t always be able to properly expose for every important part of the photo. If you properly expose to show details in the shadows, brighter areas can be blown out with no details. If you expose for highlight details, shadows can be blocked up with no detail and with digital noise. Flash lets you add light in the shadows to balance the image.
-3- You can’t handhold the camera with long shutter speeds. The less ambient light there is, the more exposure you need. Exposures requiring longer shutter speeds require a tripod, or the photos will end up blurry. Flash can add enough light so you can get a shutter speed you can handhold.
Except for accident sites, I use flash for almost every shot I make. I always use flash with tires and wheels, and with almost every vehicle or vehicle component—indoors or out. The only exceptions are for certain reflections, for close-ups of certain marks, and occasionally for light bulbs.
In my previous post, I described how to photograph a small wear gauge in place on a rim flange. All those photos were made in using flashes in my studio lab. Since I do many of my tire and wheel inspections there, I installed a bunch of bright LED shop lights overhead. They make the area really bright to the eye, but it’s still dark enough to require flash for most images. Here is a photo of the rim wear gauge setup using only the ambient LED shop lights. (Click on image to enlarge, then click on back arrow to return.)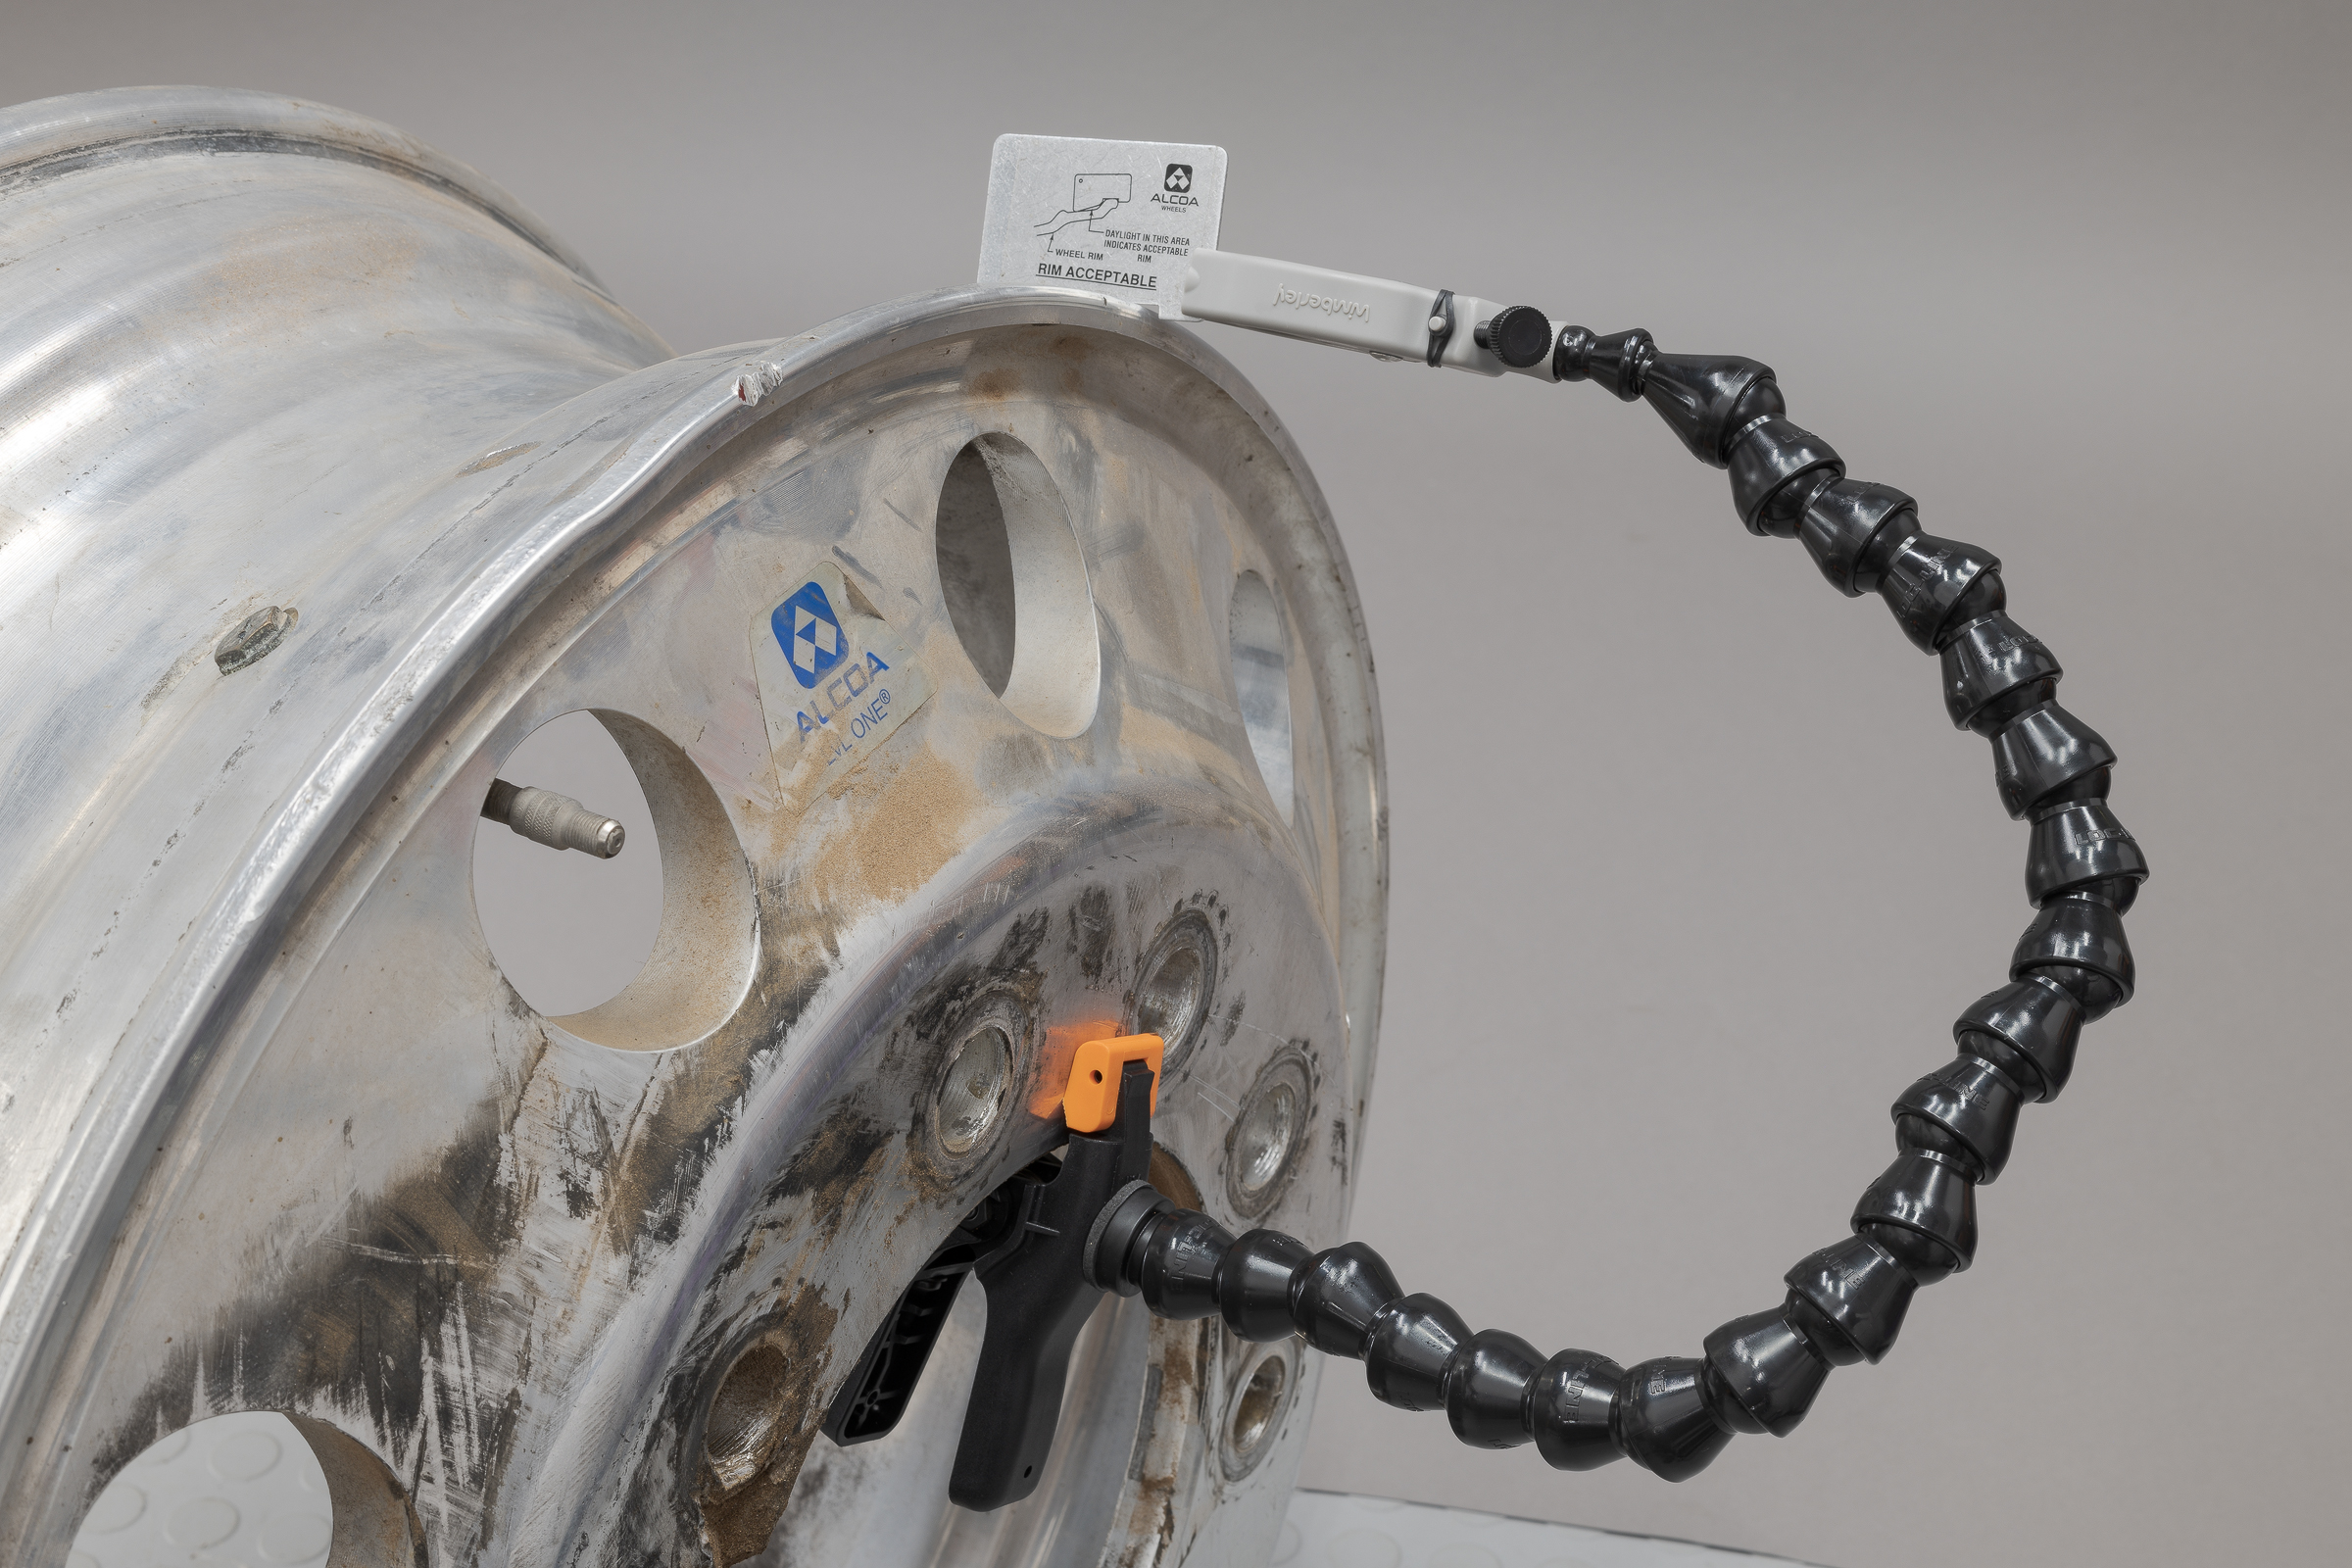
Now, from the previous post, here’s the setup shot using flash.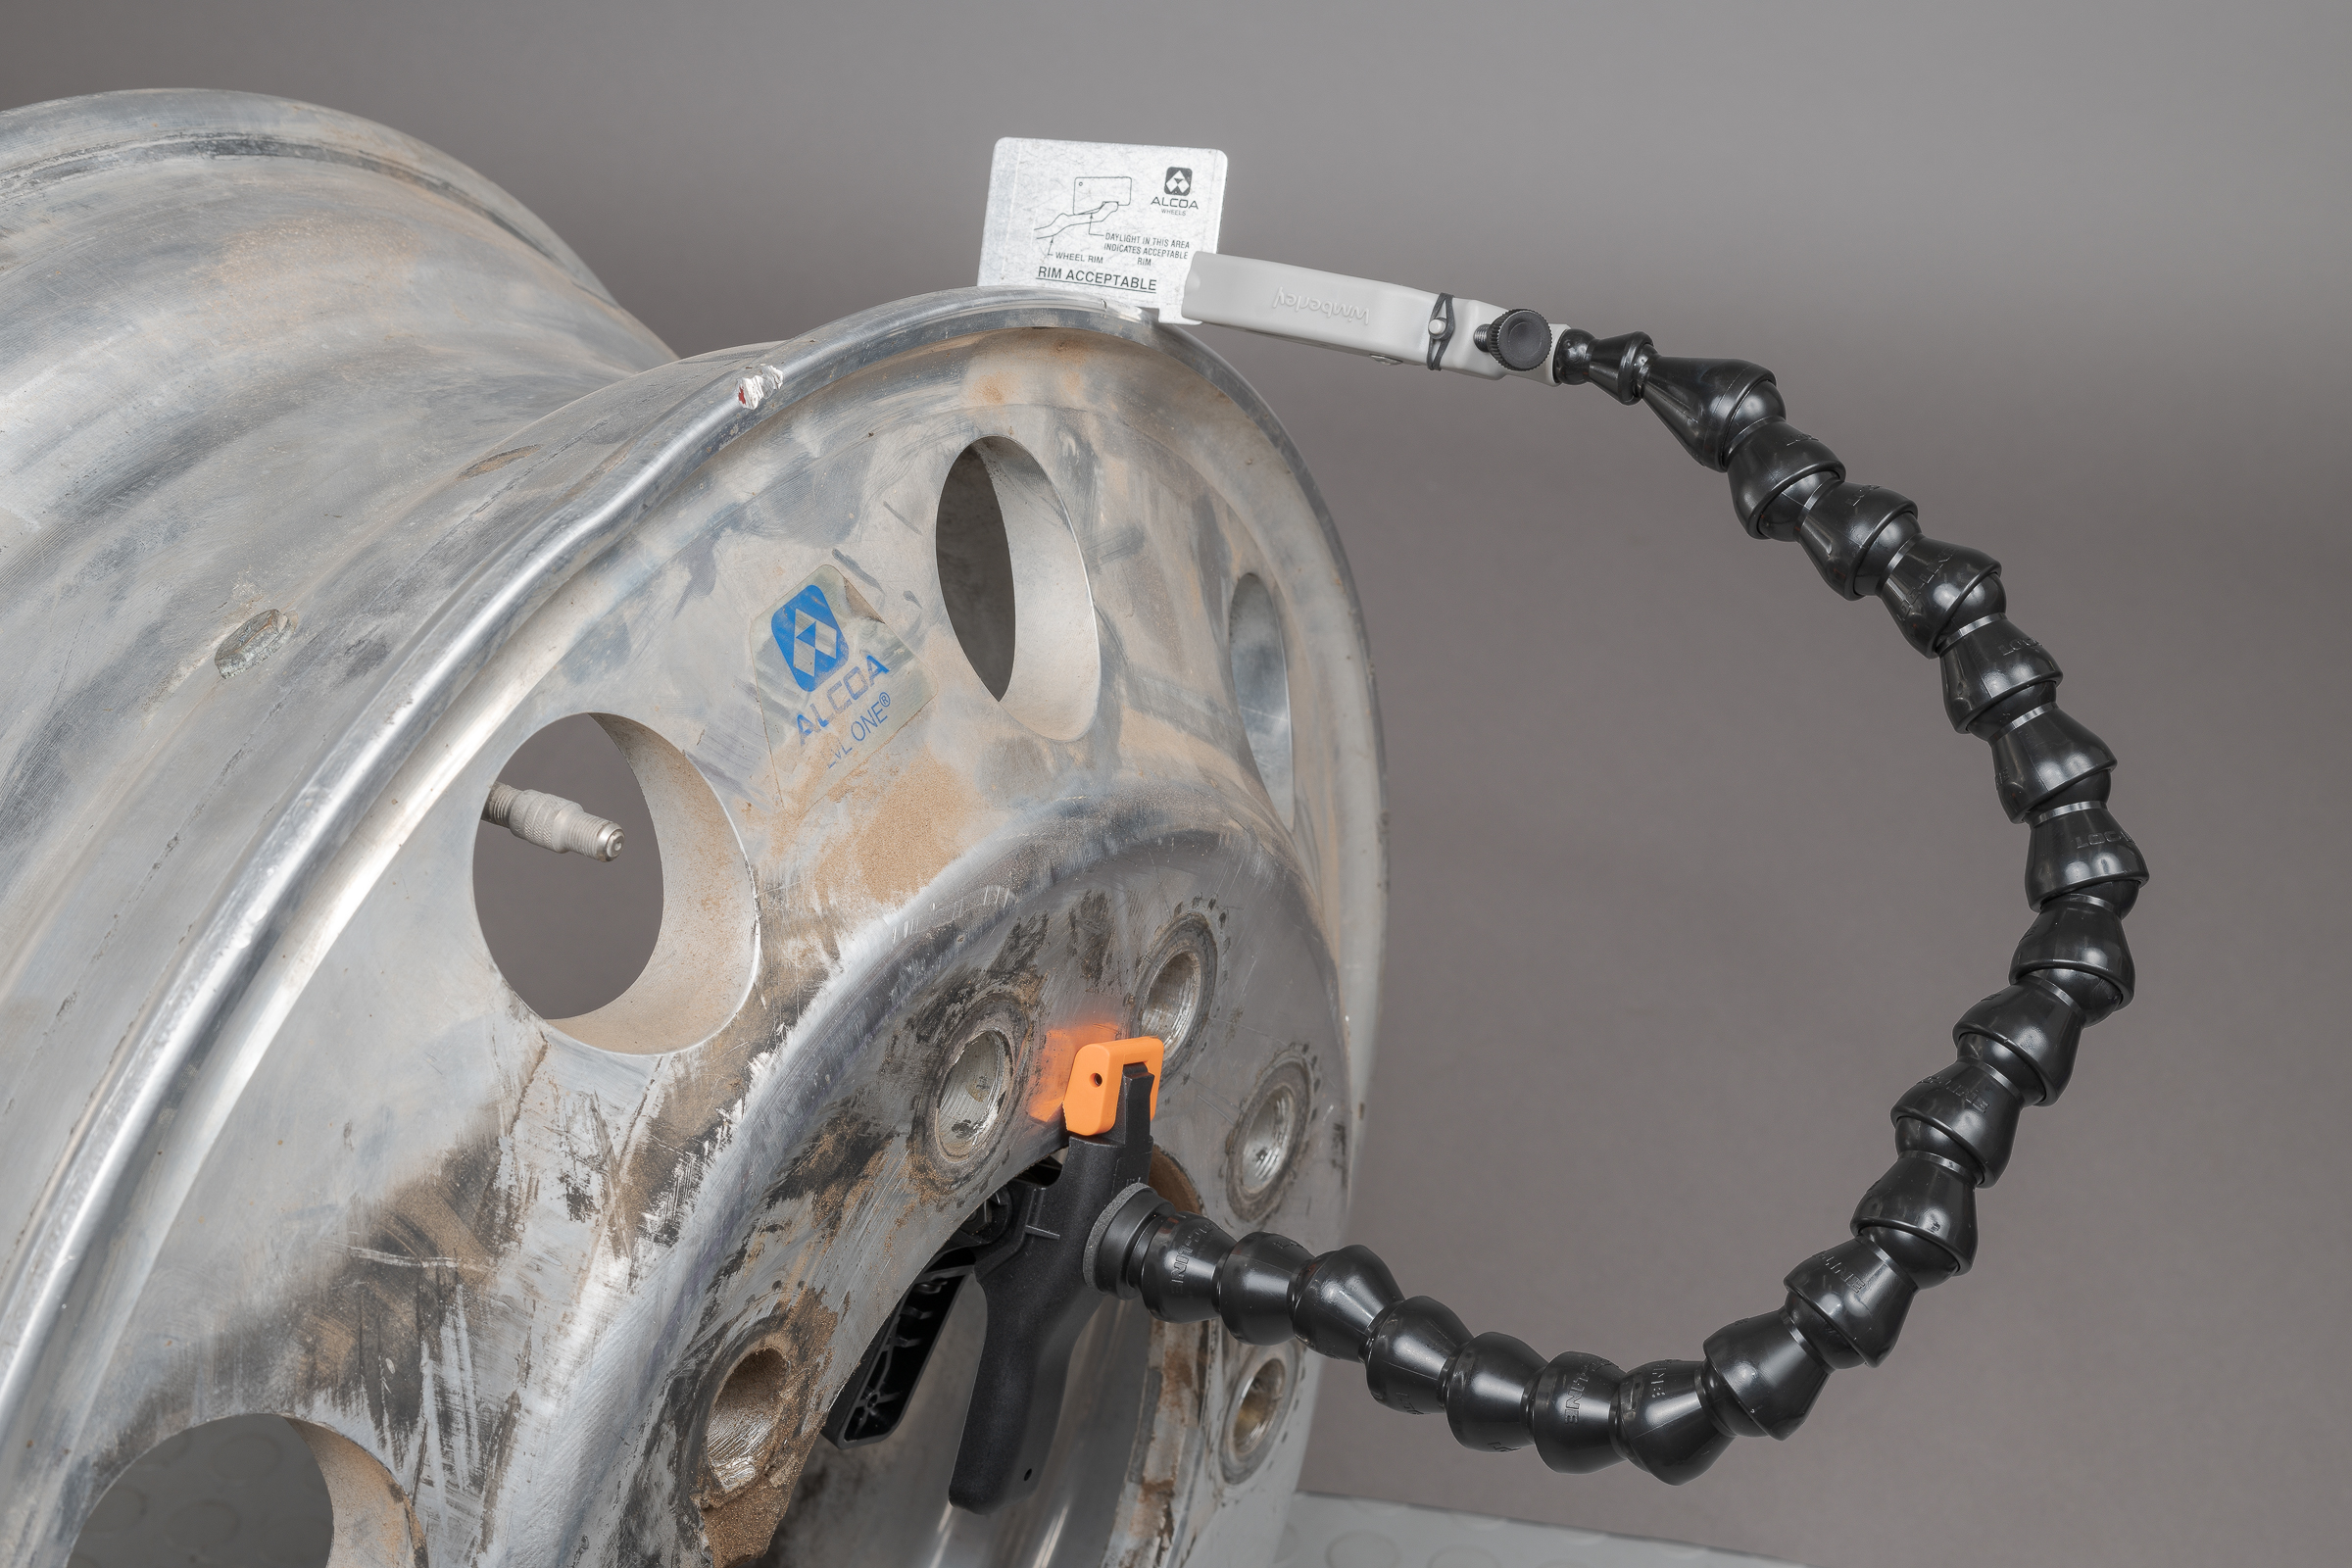
While the differences in these photos are relatively subtle, there is more detail the photo with flash. You can see more detail in the lug bolt holes and more depth to the wheel itself in the image with flash. (Differences are harder to see in these compressed images on the web.) But more importantly for most circumstances, the shutter speed without flash was six stops less than with flash. (The total exposure was 5 2/3 stops different because the aperture was opened 1/3 stop in the flash image.) While both images were made using a studio stand (like a rolling tripod), the image without flash with its 1.0 second shutter speed certainly could not have been handheld. Higher shutter speeds also helps freeze the frame if there is any motion from loose parts or from wind.