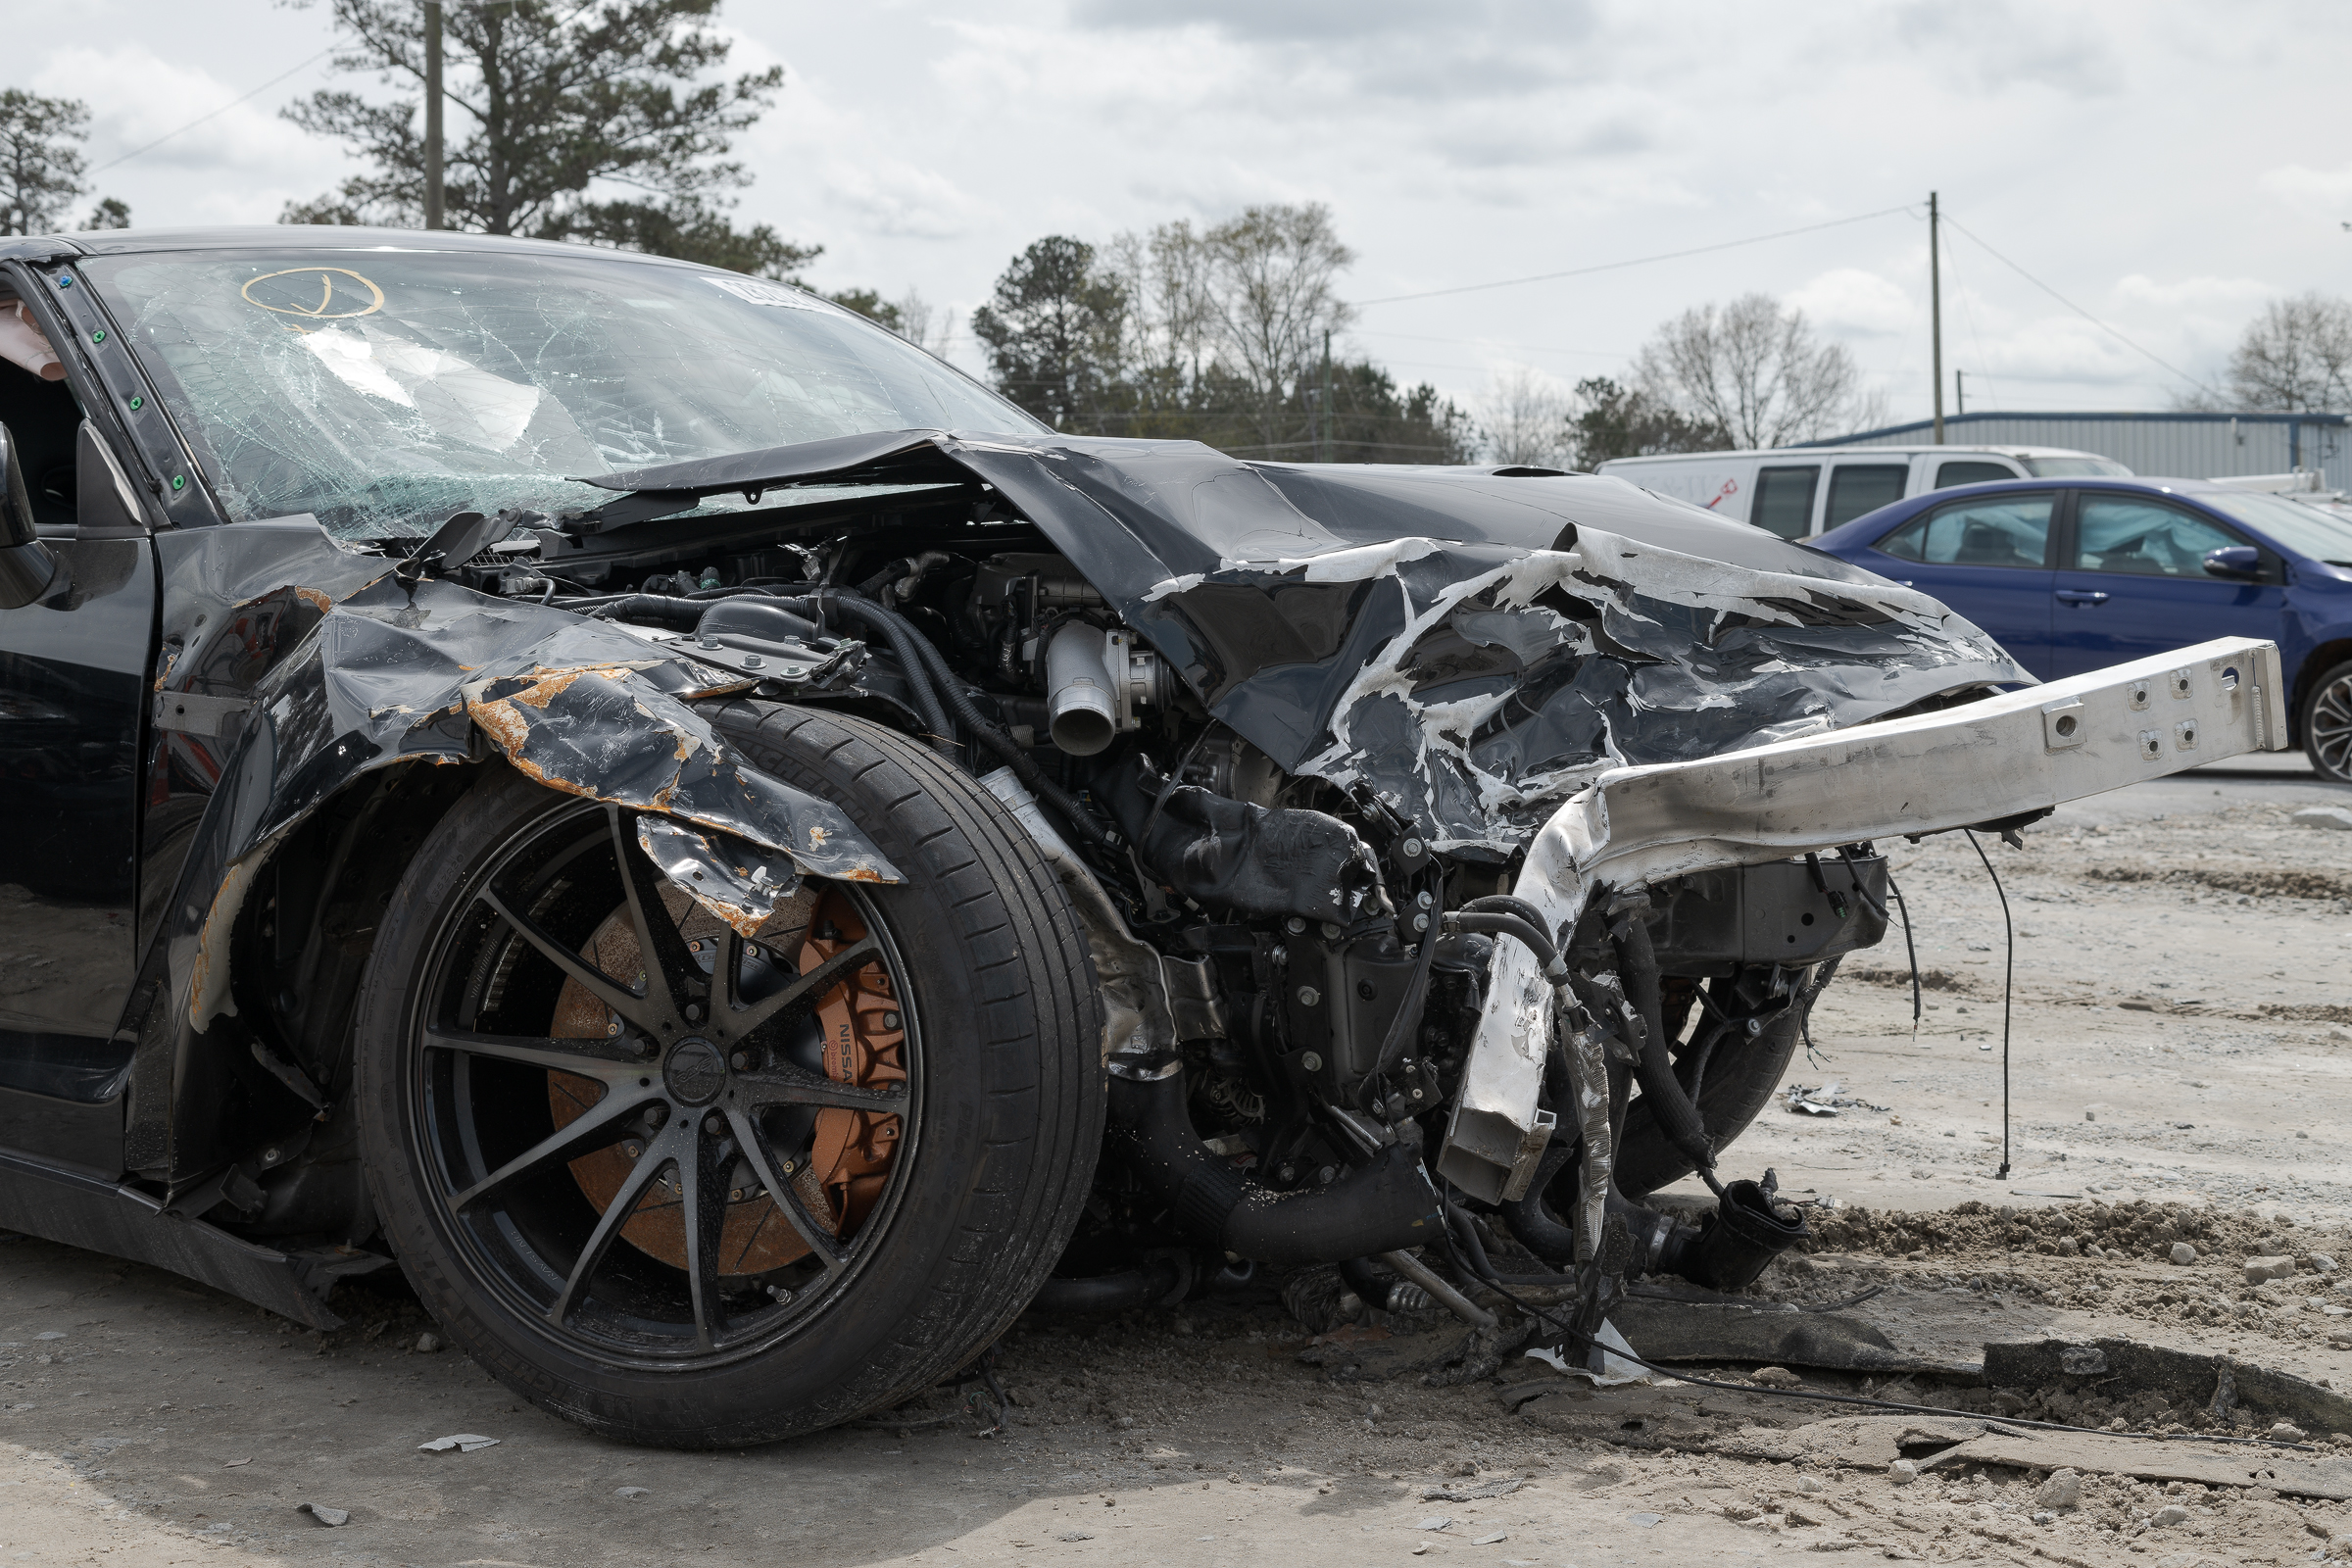
Fill flash helps bring out details in vehicle photos, especially under high-contrast lighting situations. As an example, the damage to the right front of this black car does not show up well when no flash is used. With the sun behind the car, the damaged area was in shadow. [Click on image to enlarge, then click back arrow to return.]

Obviously, this car couldn’t have been driven to a more favorable spot, and it was not possible to have it moved. Besides, even if the car was moved to get better light on the right front, then the light wouldn’t have been good from other angles.
Like everything else photographically, the solution is to think about the light. Where is it? (Fairly high, and coming from the other side.) Where do you need it? (Good top light, but need light in the foreground, too.) How can you get light where you need it? (Use flash to fill in the shadows.) This is called “fill flash”. The term fill flash means that flash isn’t the only light source illuminating the subject, but light from the flash just fills in the shadows as desired.
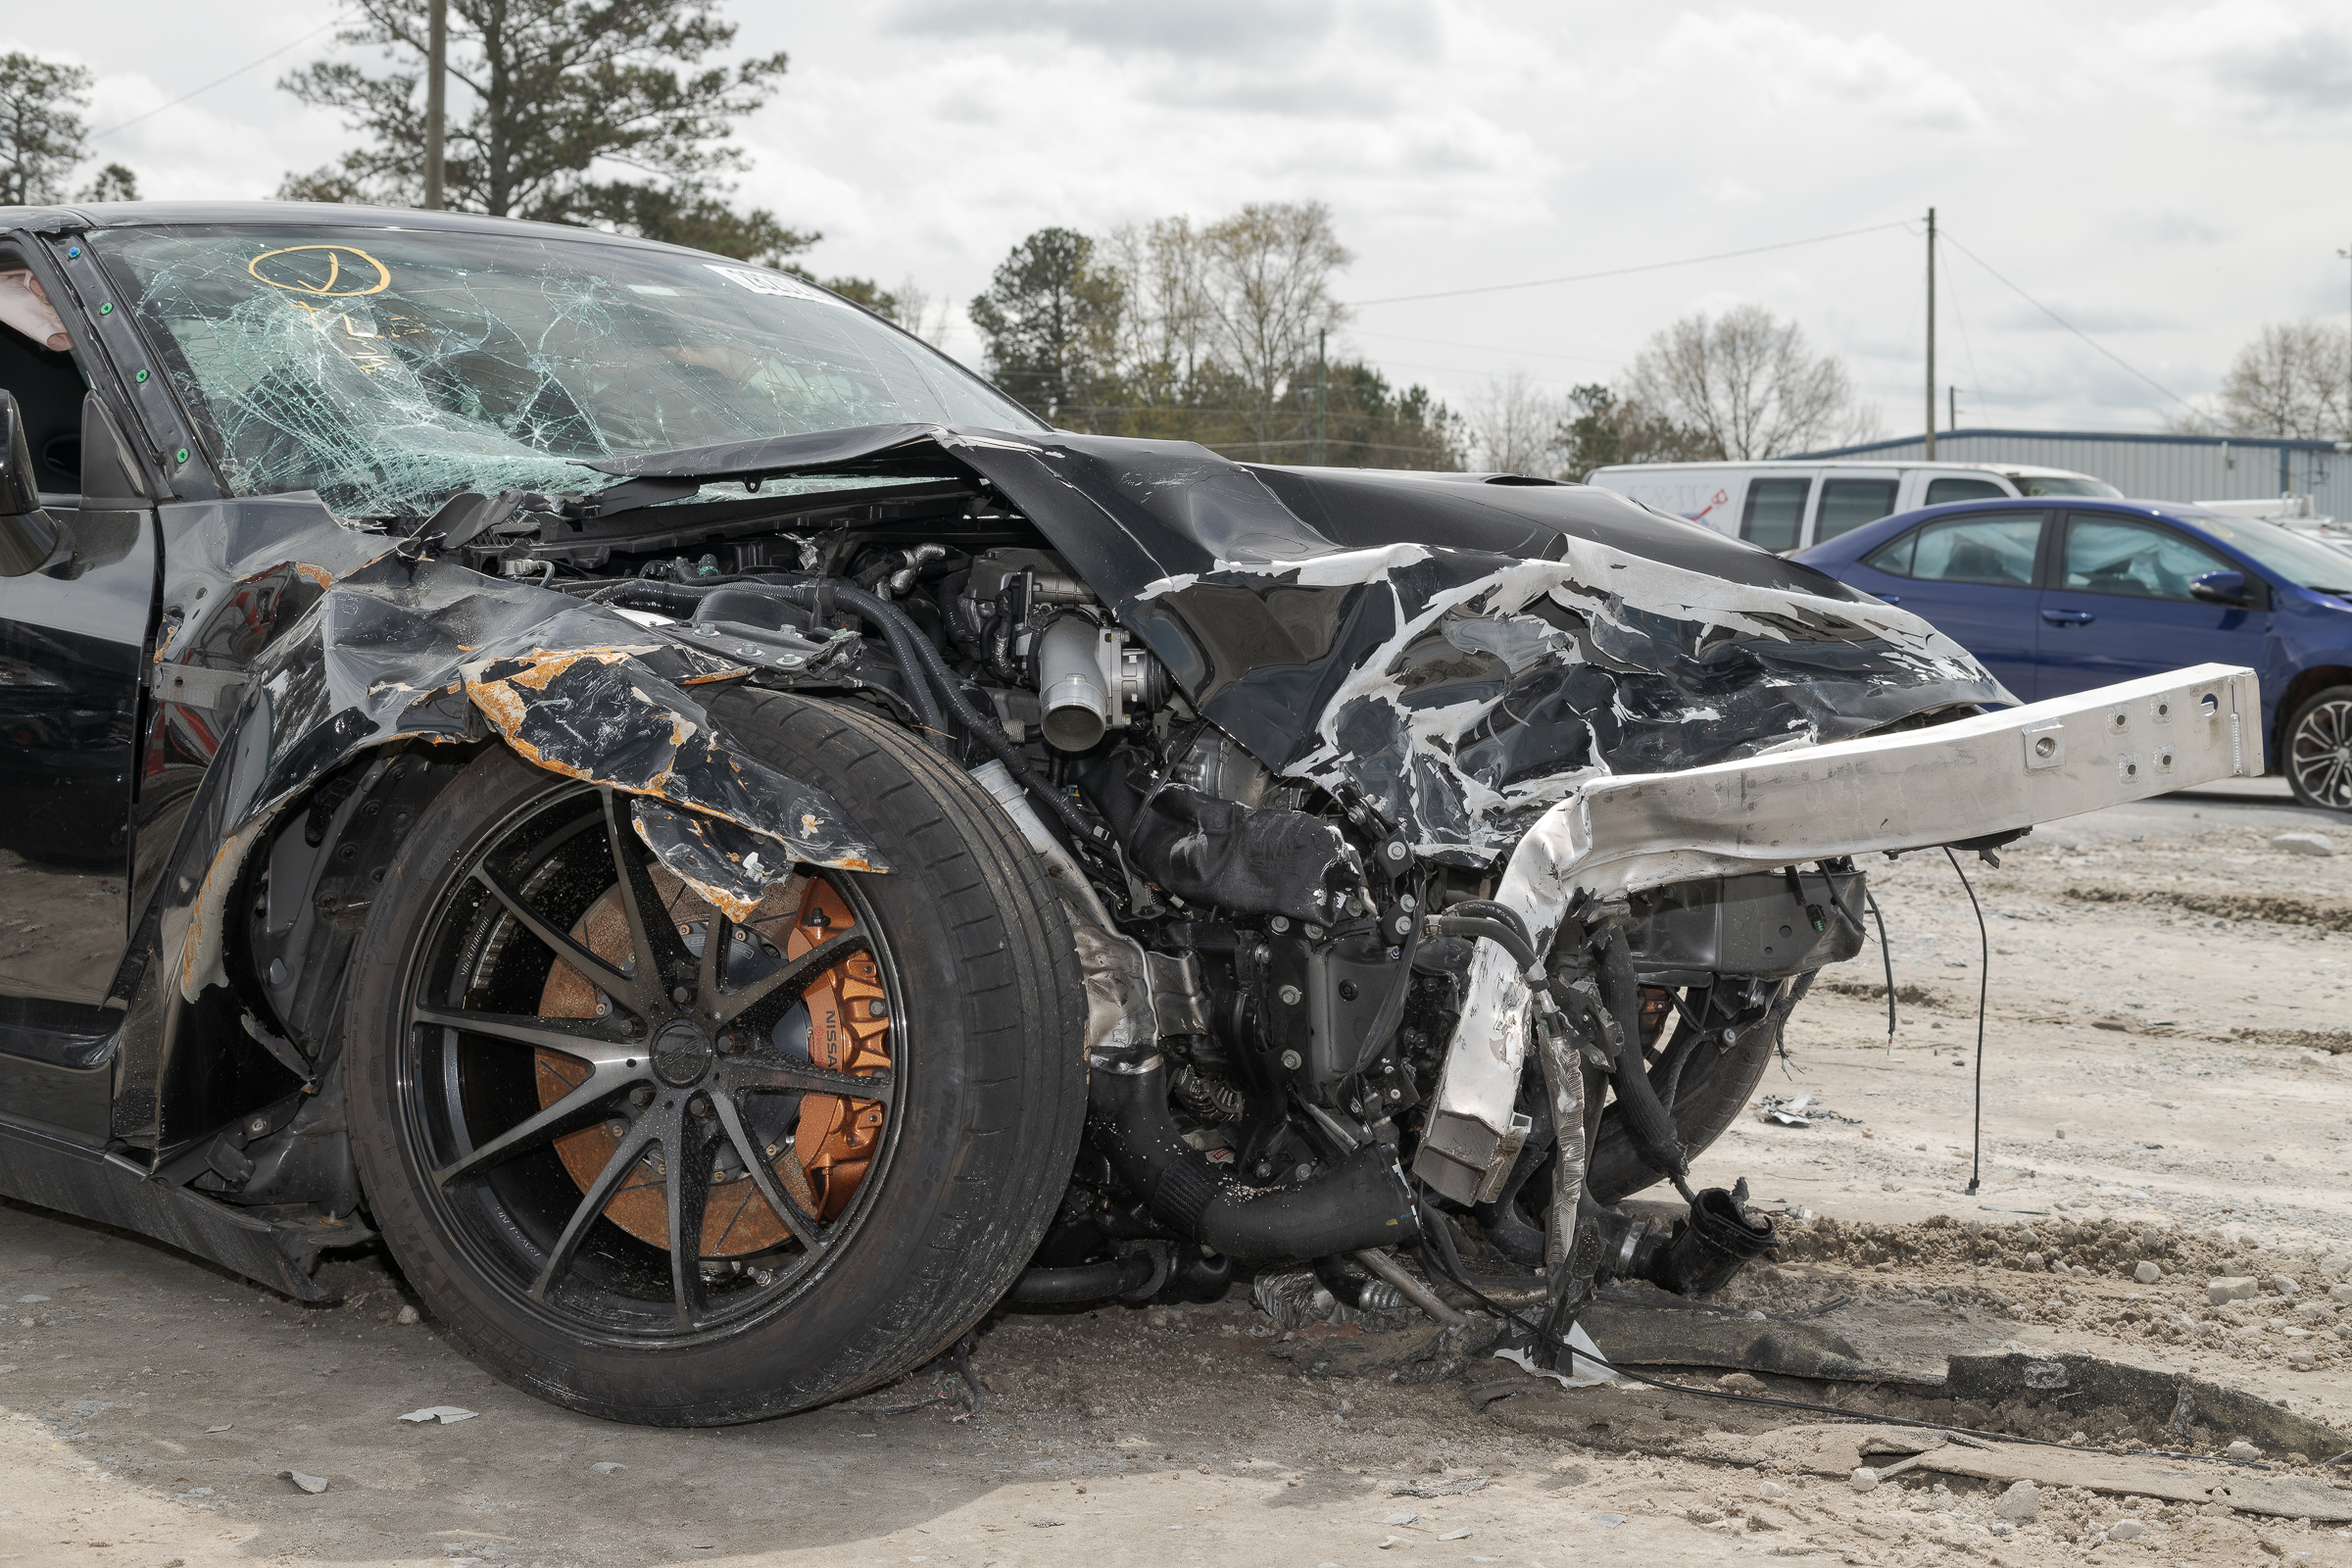
Here’s the same vehicle in the same location with the same light, but with an on-camera flash used to partially fill in the shadows. [Click on image to enlarge, then click back arrow to return.]

You can see the light on the background stayed the same, but light from the fill flash now shows details in the shadows.
While at first flash may seem too complicated and unpredictable, learning to use it correctly is probably the best way to improve your vehicle, product liability, and testing photographs. Learning to use flash will be a big part of my SAE photography class: SAE Photography for Accident Reconstruction, Product Liability, and Testing.
