Often, you’ll find you need to photograph underneath a small flap, tear, or partially broken piece. It’s quite difficult to hold the piece steady, align the lights, keep the piece perpendicular to the camera, frame the image, focus, and hold the camera steady simultaneously. Unless you have unusually long arms, many times it will be impossible to even look through the viewfinder or at the rear LCD while holding both the camera and piece, much less holding them both still and properly aligned.
You’ll want to frame your subject without cutting off important parts of it, showing lots of excess space to any side, or ending up with strange subject angles. Particularly with close-up and macro images, you’ll also want to maximize the depth of field by keeping your camera sensor perpendicular to the piece.
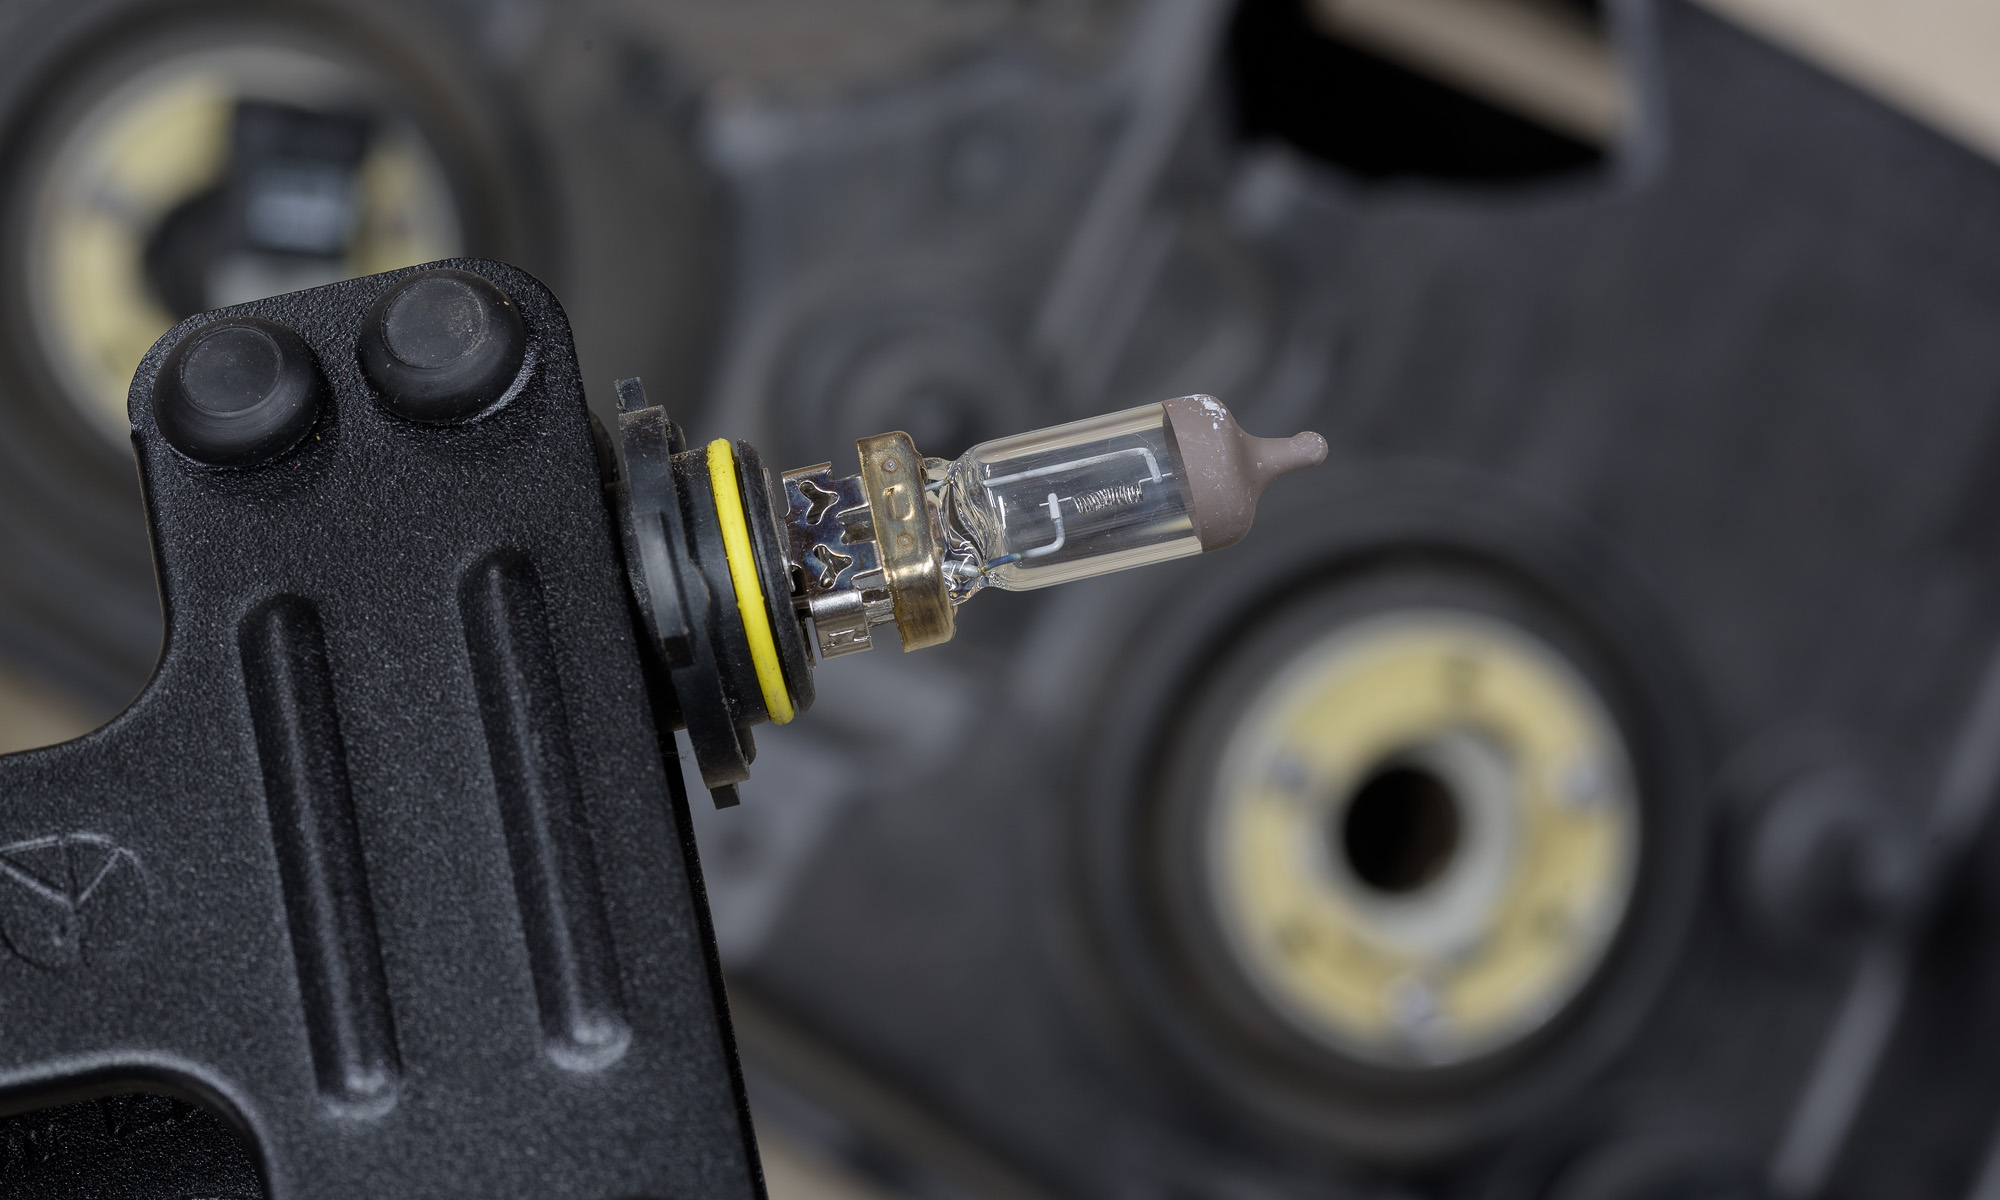
The only reliable and repeatable way to ensure you can get the camera where you need it—while keeping everything aligned and stationary—is to hold the piece with a clamp and support your camera with a tripod, studio stand, or even a beanbag. When both the camera and the subject are held still, you can frame the subject through the viewfinder or with the LCD, adjust the lights, and take test shots until you get your lighting just where you need it. (Click on the image to enlarge it, then click the back arrow to return to this post.)

For the torn sidewall rubber of the tire above, I used a Wimberley The Plamp II with its base clamped on the tire bead and its smaller subject clamp on the rubber flap. This securely held the flap in place so I could compose the shot and ensure the camera sensor was perpendicular to the underside surface of the flap. In my Studio Lab, I use a Foba camera stand to both place and support the camera precisely where I need it. In the field, I would use a tripod.
I held the off-camera flash in my left had so I could aim it where I wanted it, and tripped the camera’s shutter with a remote shutter cord in my right hand. (A self-timer could work, too.)
This resulting image below was an overall view of the flap and tire carcass ply surfaces that had pulled apart. It was made with a ZEISS Milvus 50 mm macro lens. (Click on the image to enlarge it, then click the back arrow to return to this post.)

For overall lighting, I used two Nikon SB-R200 macro flashes on the R1C1 ring around the lens with one below and one to the right of the lens. To show the texture on the sidewall rubber and the polyester carcass cords, I used a Nikon SB-910 flash off camera to the left. (All the remote flashes were controlled via infrared from a Nikon SB-910 flash on camera in master mode.)
In the closer image below, I repeated the process using a ZEISS Milvus 100 mm macro lens to fill the frame with the torn surface textures. For a good composition, I had to reposition the camera, which was straightforward with the Foba camera stand. (Click on the image to enlarge it, then click the back arrow to return to this post.)

Main takeaways:
-1- Flaps and pieces should be held steady with some sort of clamp. It’s almost impossible to hold them in place by hand.
-2- Securely support the camera in position for the best composition and maximum depth of field using a tripod, studio stand, or even a beanbag.
-3- Align camera so its sensor is perpendicular to your subject to maximize depth of field.
-4- Use sidelighting in addition to overall lighting to show texture (or lack of texture).