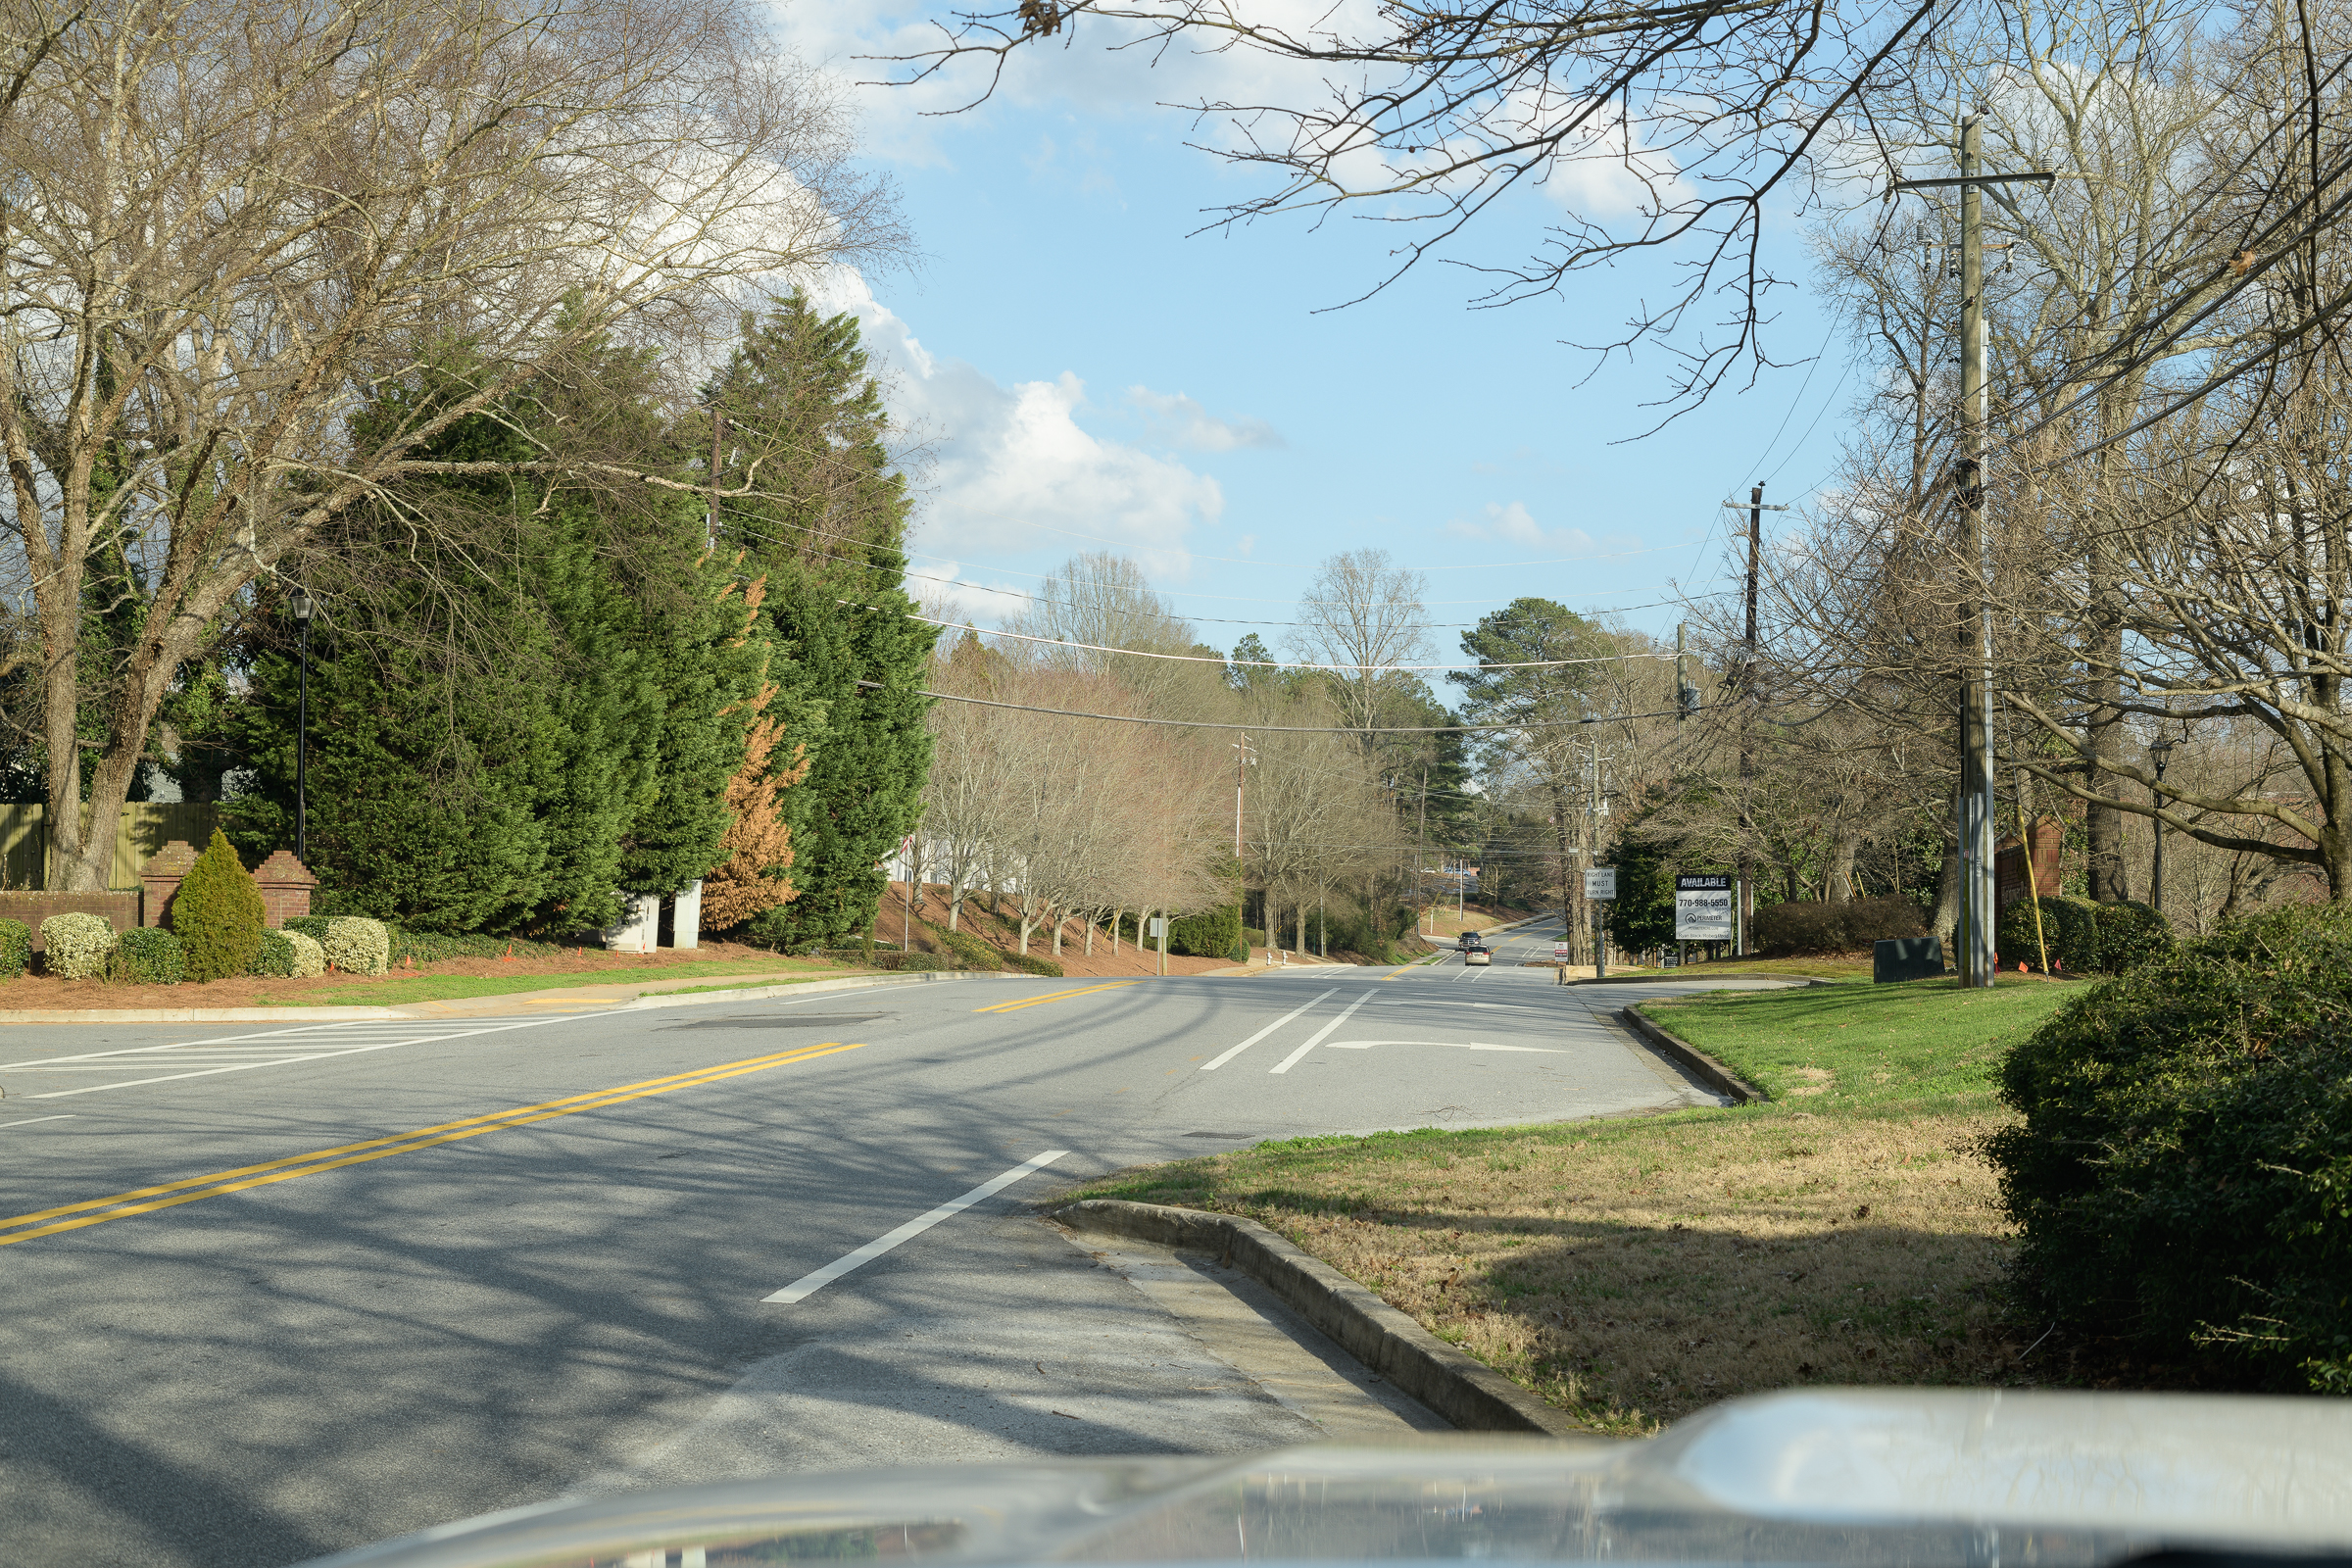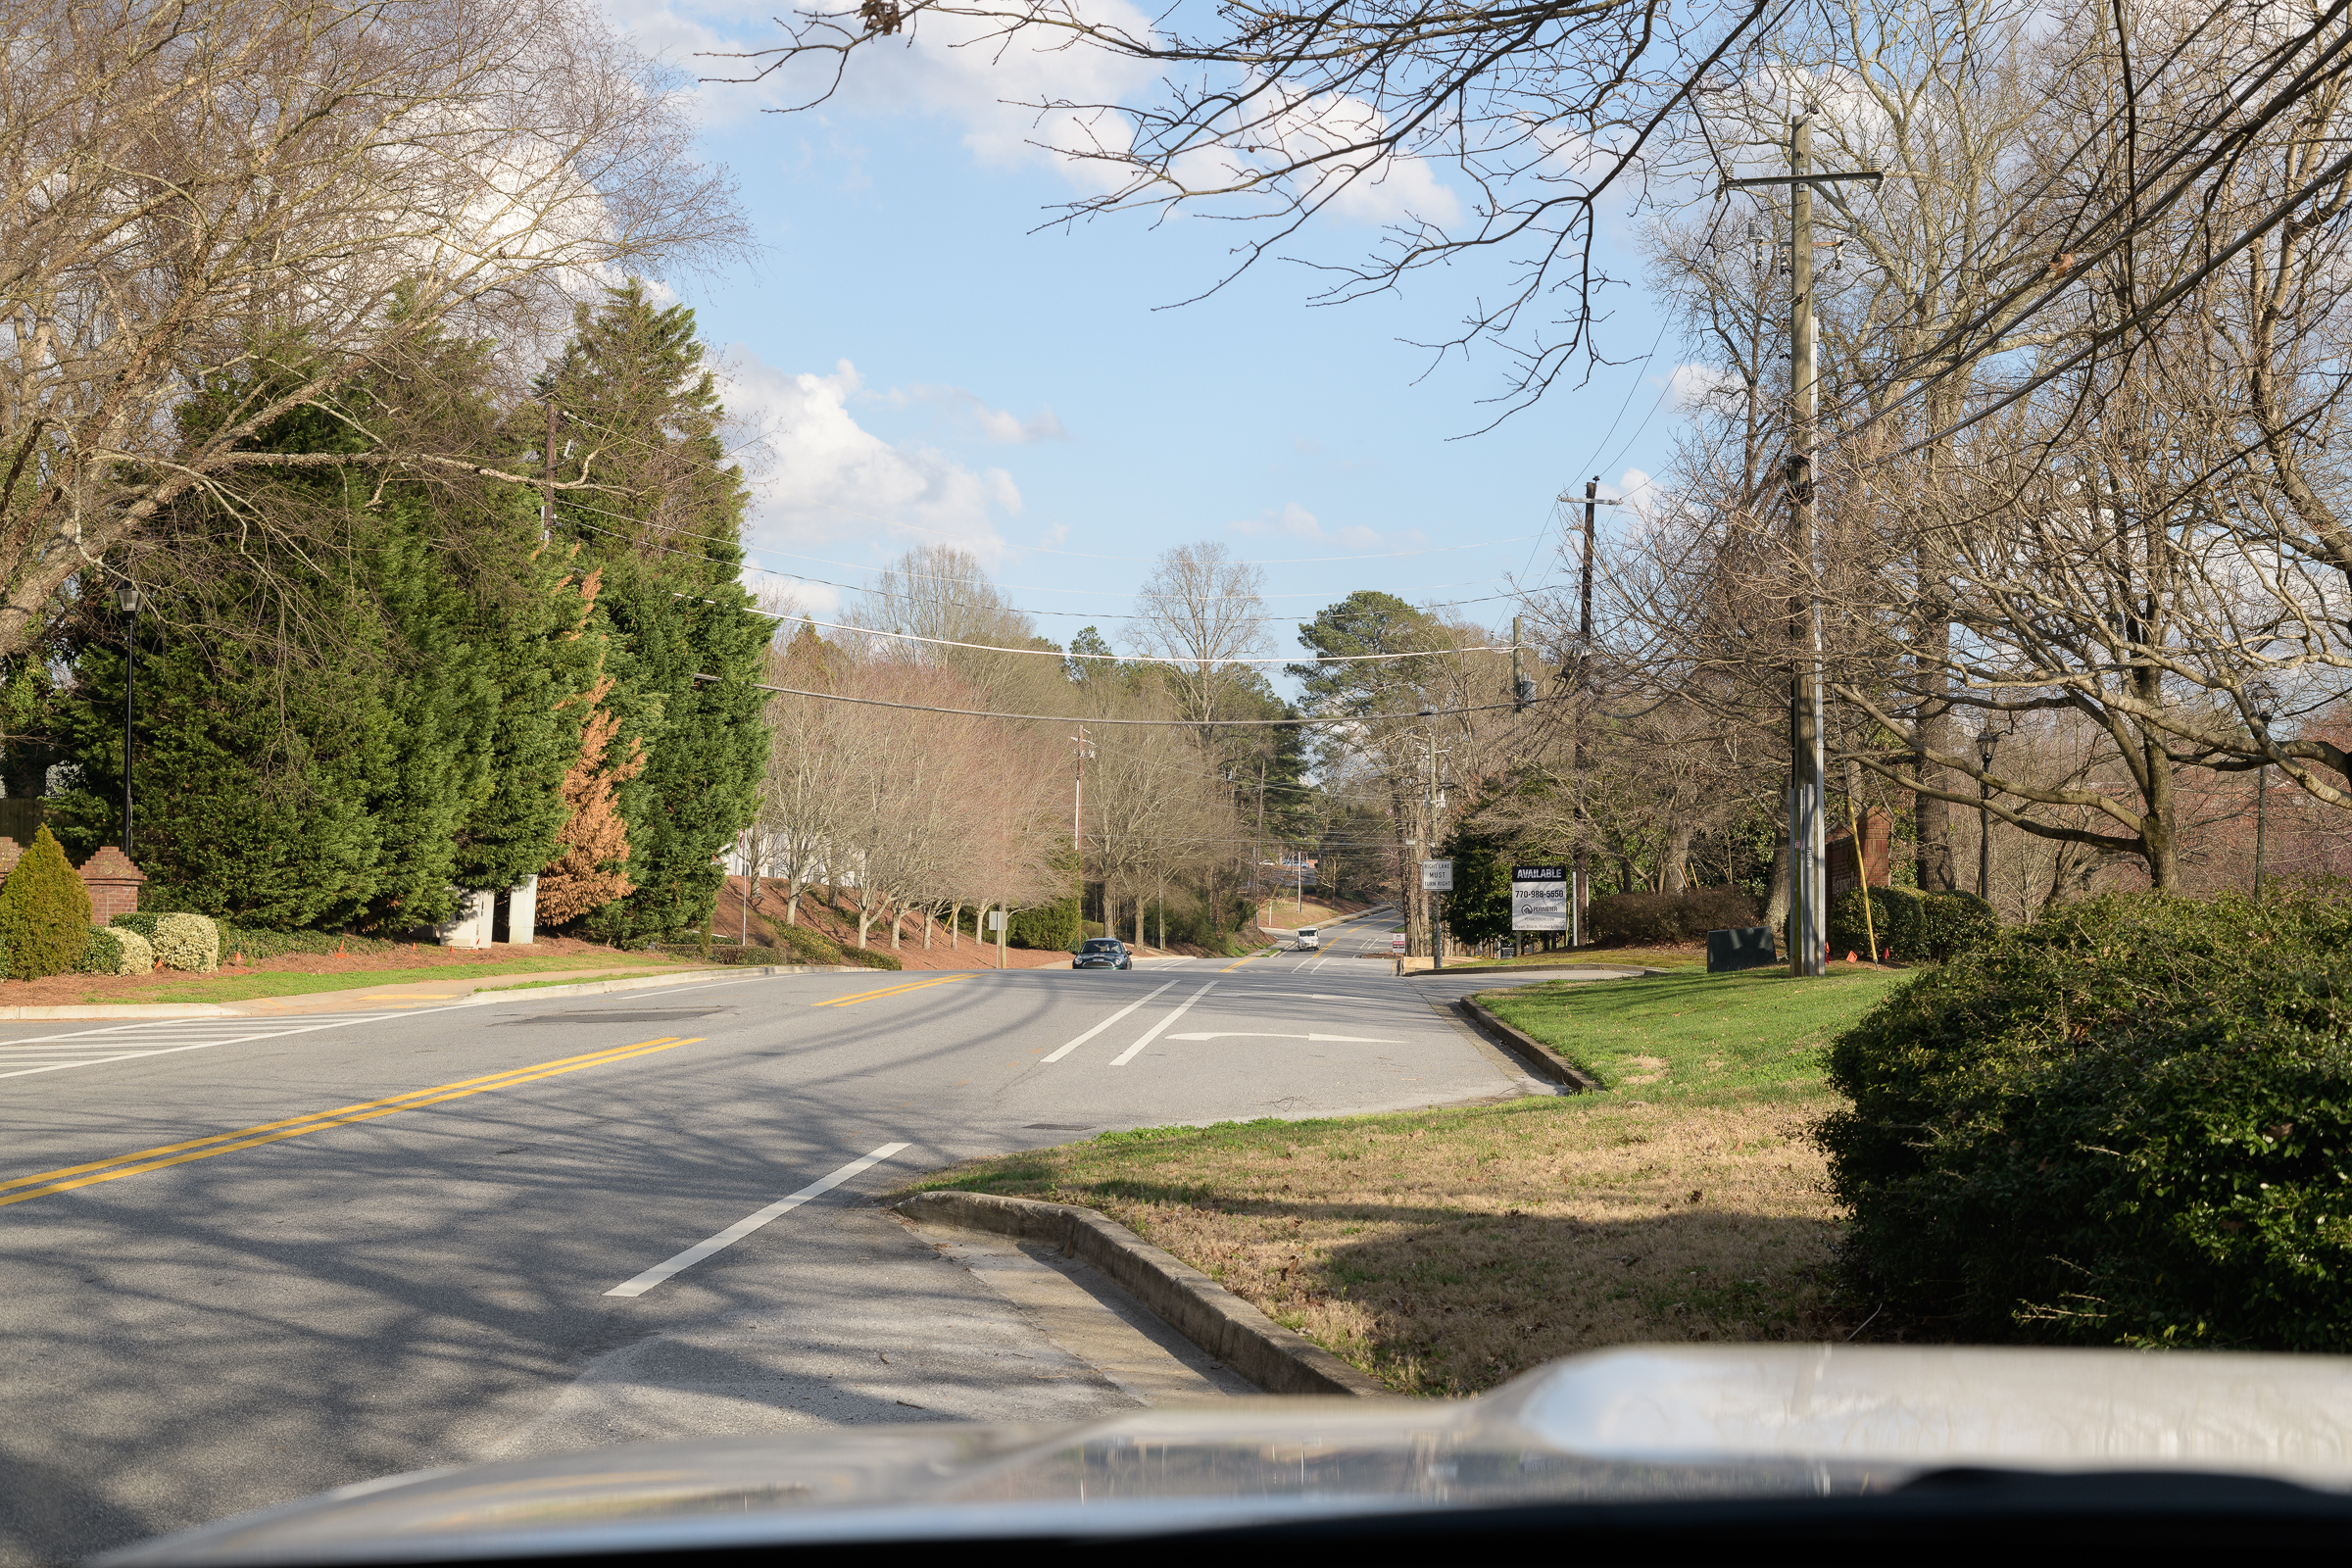
Photographing through a windshield for a driver’s eye view or for an accident site drive-through usually results in an unwanted color cast in the resulting images, regardless of your white balance (WB) setting. It can be most noticeable in Auto WB. This is due to the tint of the windshield. (Click on the images to enlarge, then click on the back arrow to return to the post.)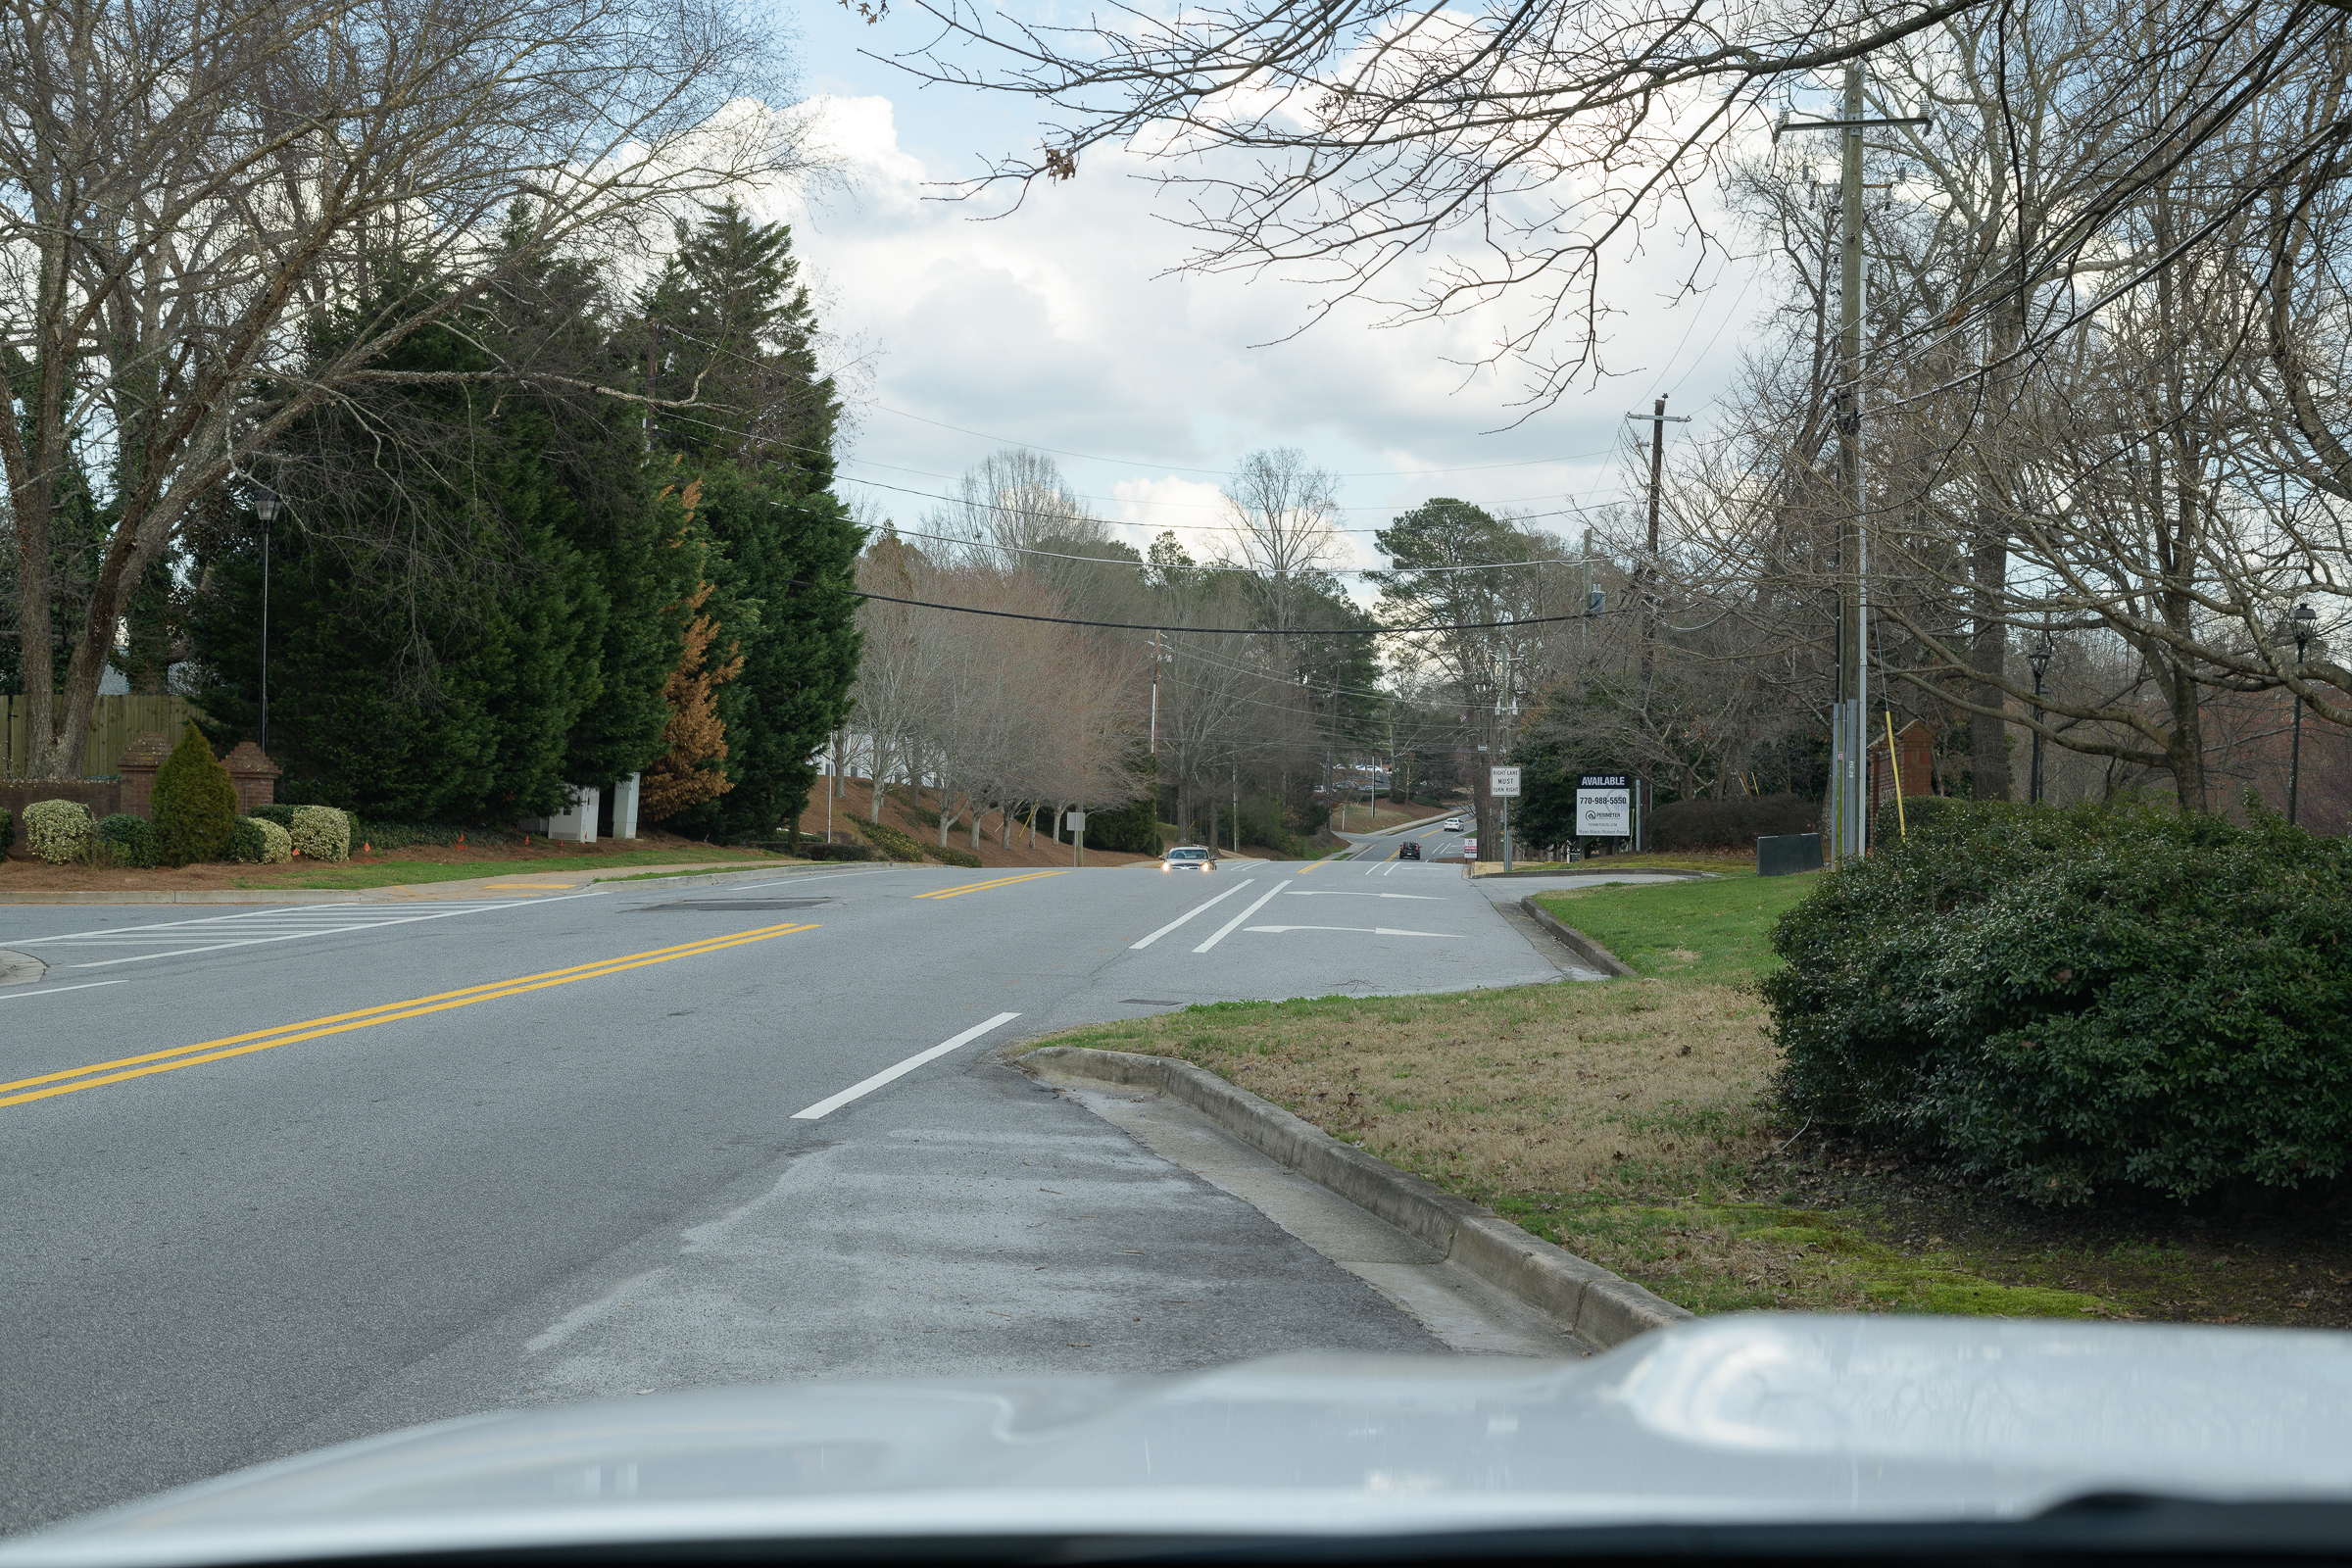
Setting a custom white balance, called Preset white balance on Nikon, varies from camera to camera, but is usually pretty straightforward. On Nikon, you enter the Preset white balance menu, point your camera toward a white or neutral source, and push the WB button. A custom WB is now set until you change it. With Canon, there is an extra step. After entering the custom white balance menu, you take and save a photograph of your neutral source. You then tell the camera to use that photograph for your WB for subsequent images.
If you’re shooting through any glass, your white or neutral source needs to be on the other side of the glass from your camera, and generally in the same light as the scene you’re about to photograph. This can be tricky when you’re by yourself or alongside a busy road.
Both my trucks are white, so I point my Nikon toward their hoods (as long as they’re roughly in the same light as the scene I’m shooting), and press the WB button in PRE mode to save the new preset. Now I have correct colors for my scene. I can then drive down the road, and all the images I capture will have a consistent, correct white balance.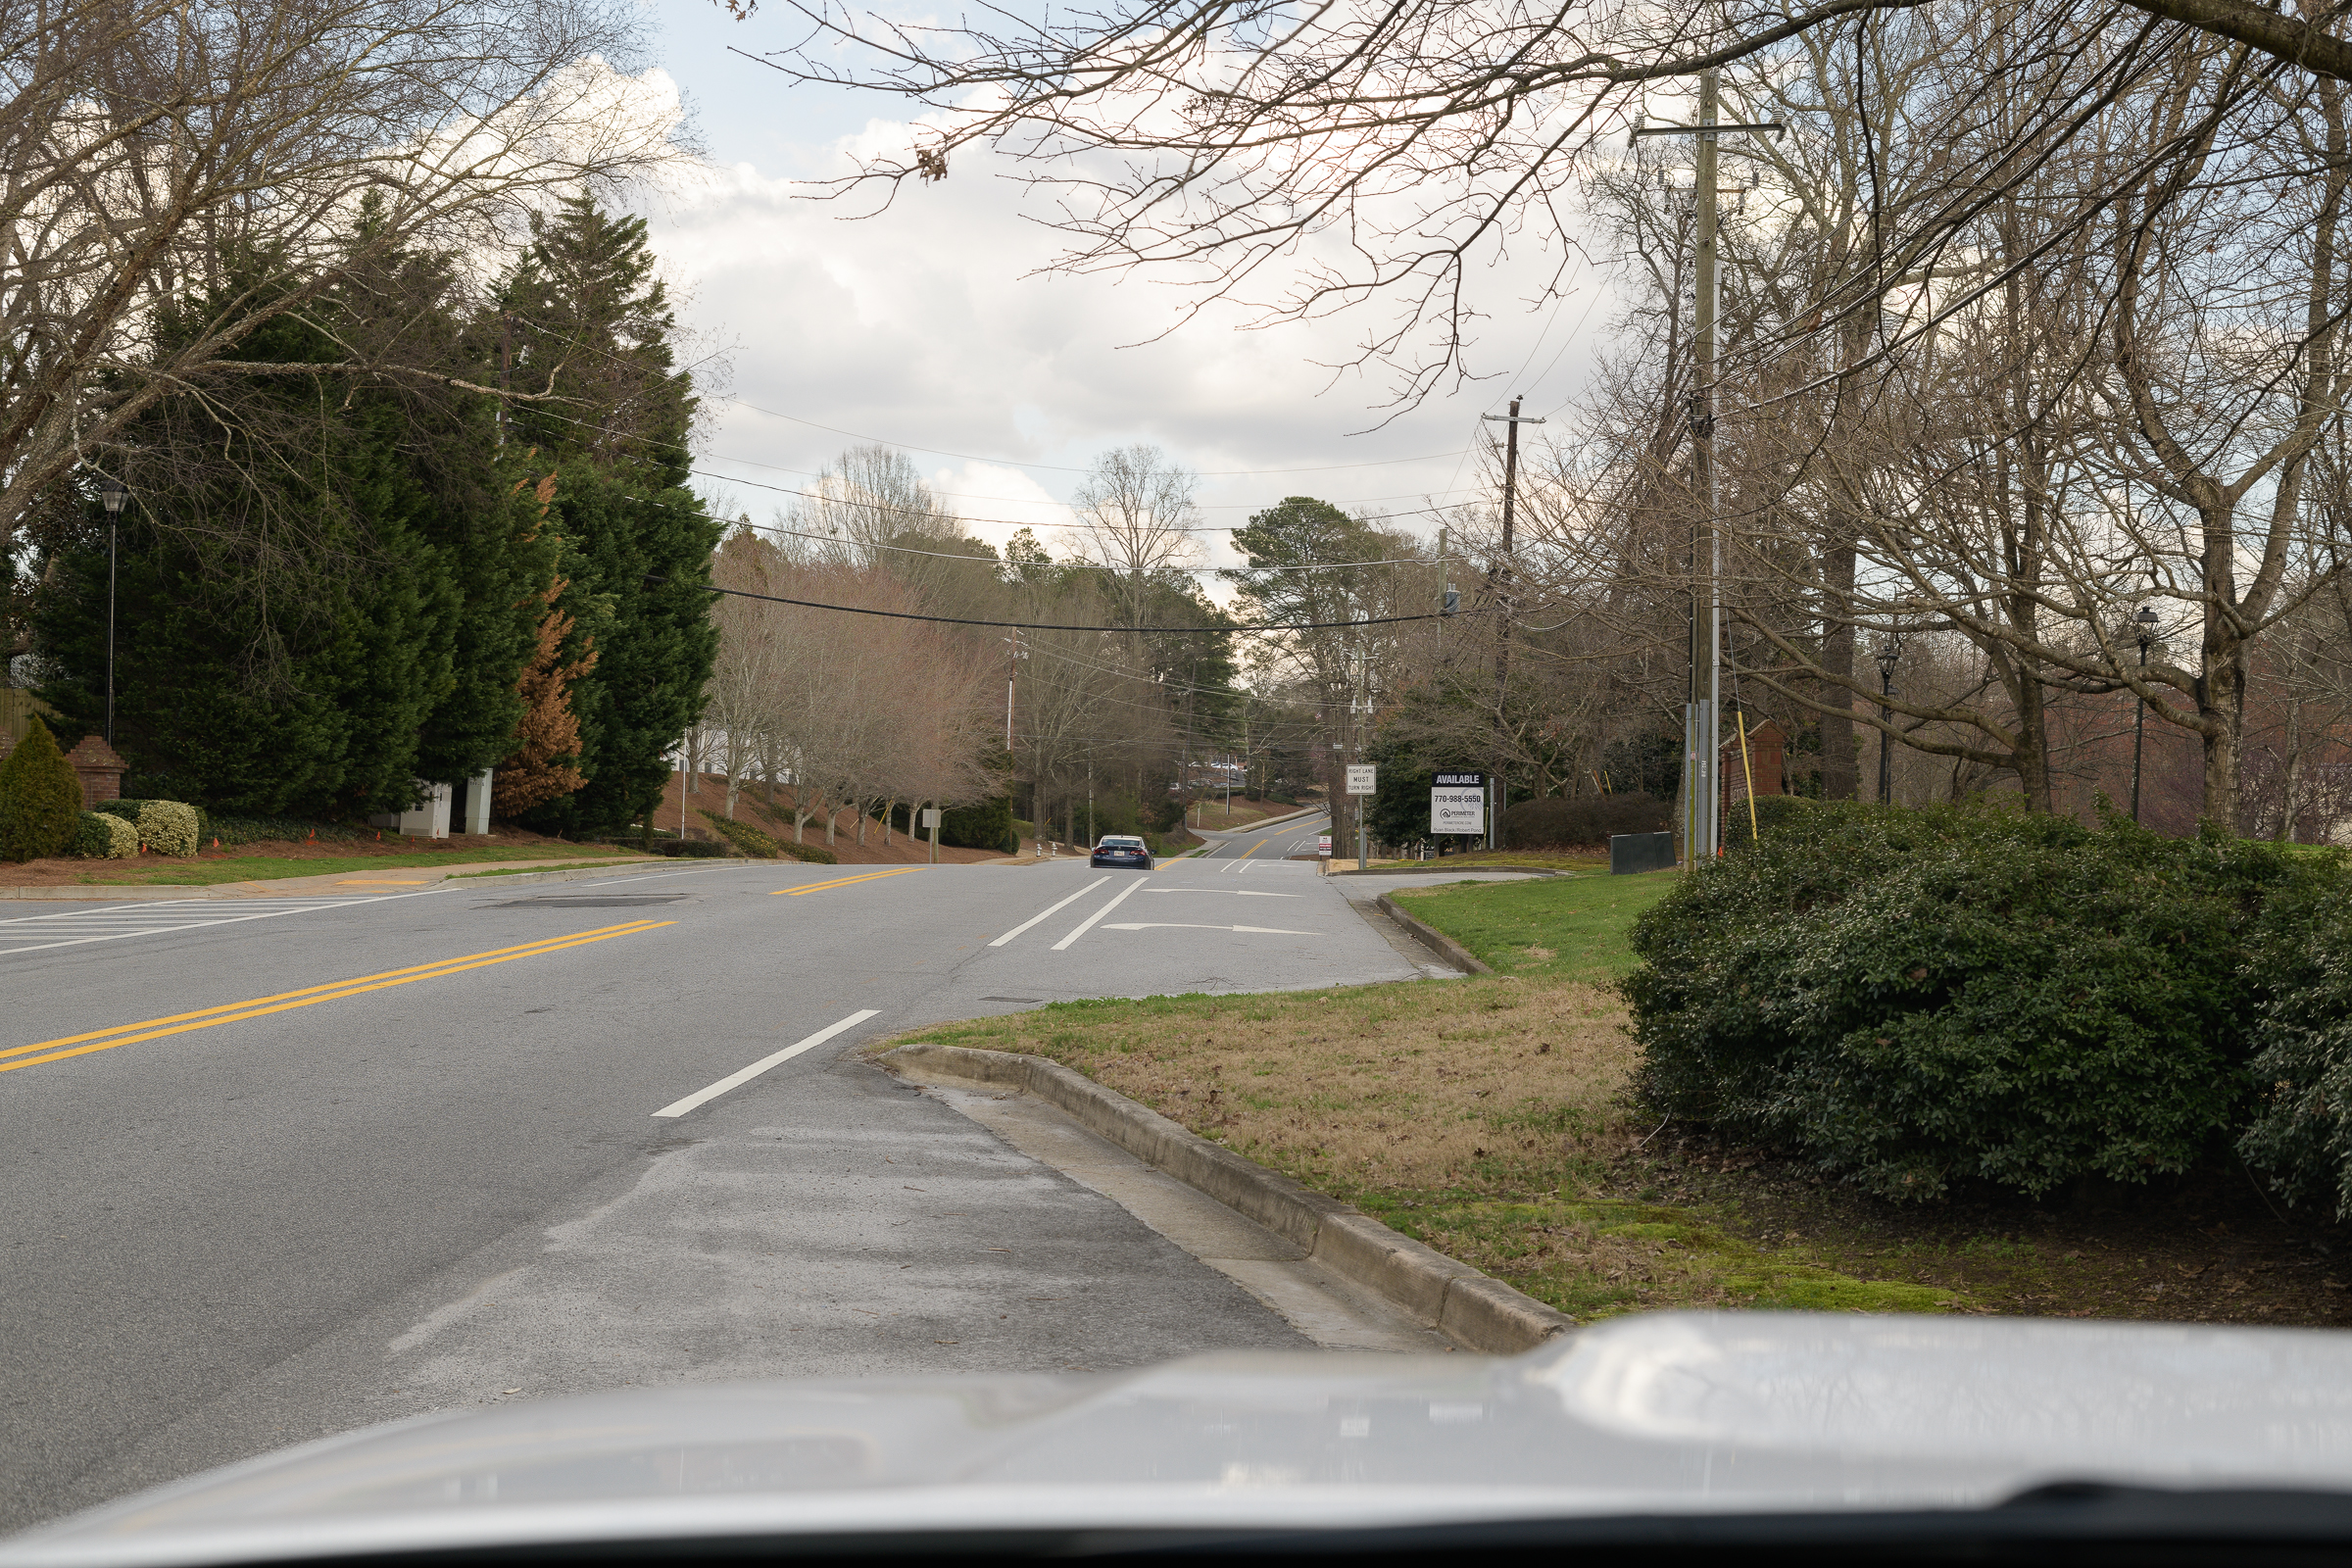
Four more tips:
-1- DON’T DO THIS WHILE YOU’RE DRIVING!!! Like shown in these photos, set your custom WB from the shoulder of the road or even from a nearby parking lot.
-2- If you are using a polarizer, make sure you put the polarizer on and rotate it to get the effect you want before you set your custom WB.
-3- Don’t set your custom WB while you’re standing outside of a vehicle, then get in and start shooting through the windshield. The WB won’t be correct, and you’ll be back to your original problem.
-4- Don’t forget to change your WB after you’re done shooting through your windshield, or your subsequent images will have an undesirable color cast.
Here are examples in full sun: