
It is often difficult to photograph highways without traffic blocking part of your shot. But you can effectively eliminate moving vehicles from your photo by using a dark neutral density (ND) filter. Neutral density filters are neutral gray gel or glass filters that require longer shutter speeds for the same exposure with the same aperture and ISO, depending on how light or dark the filter is.
This first image was made on a mostly sunny day without any filter over the lens. The vehicles are all slightly blurred, but are still recognizable. (Click on image to enlarge, then click on back arrow to return.)
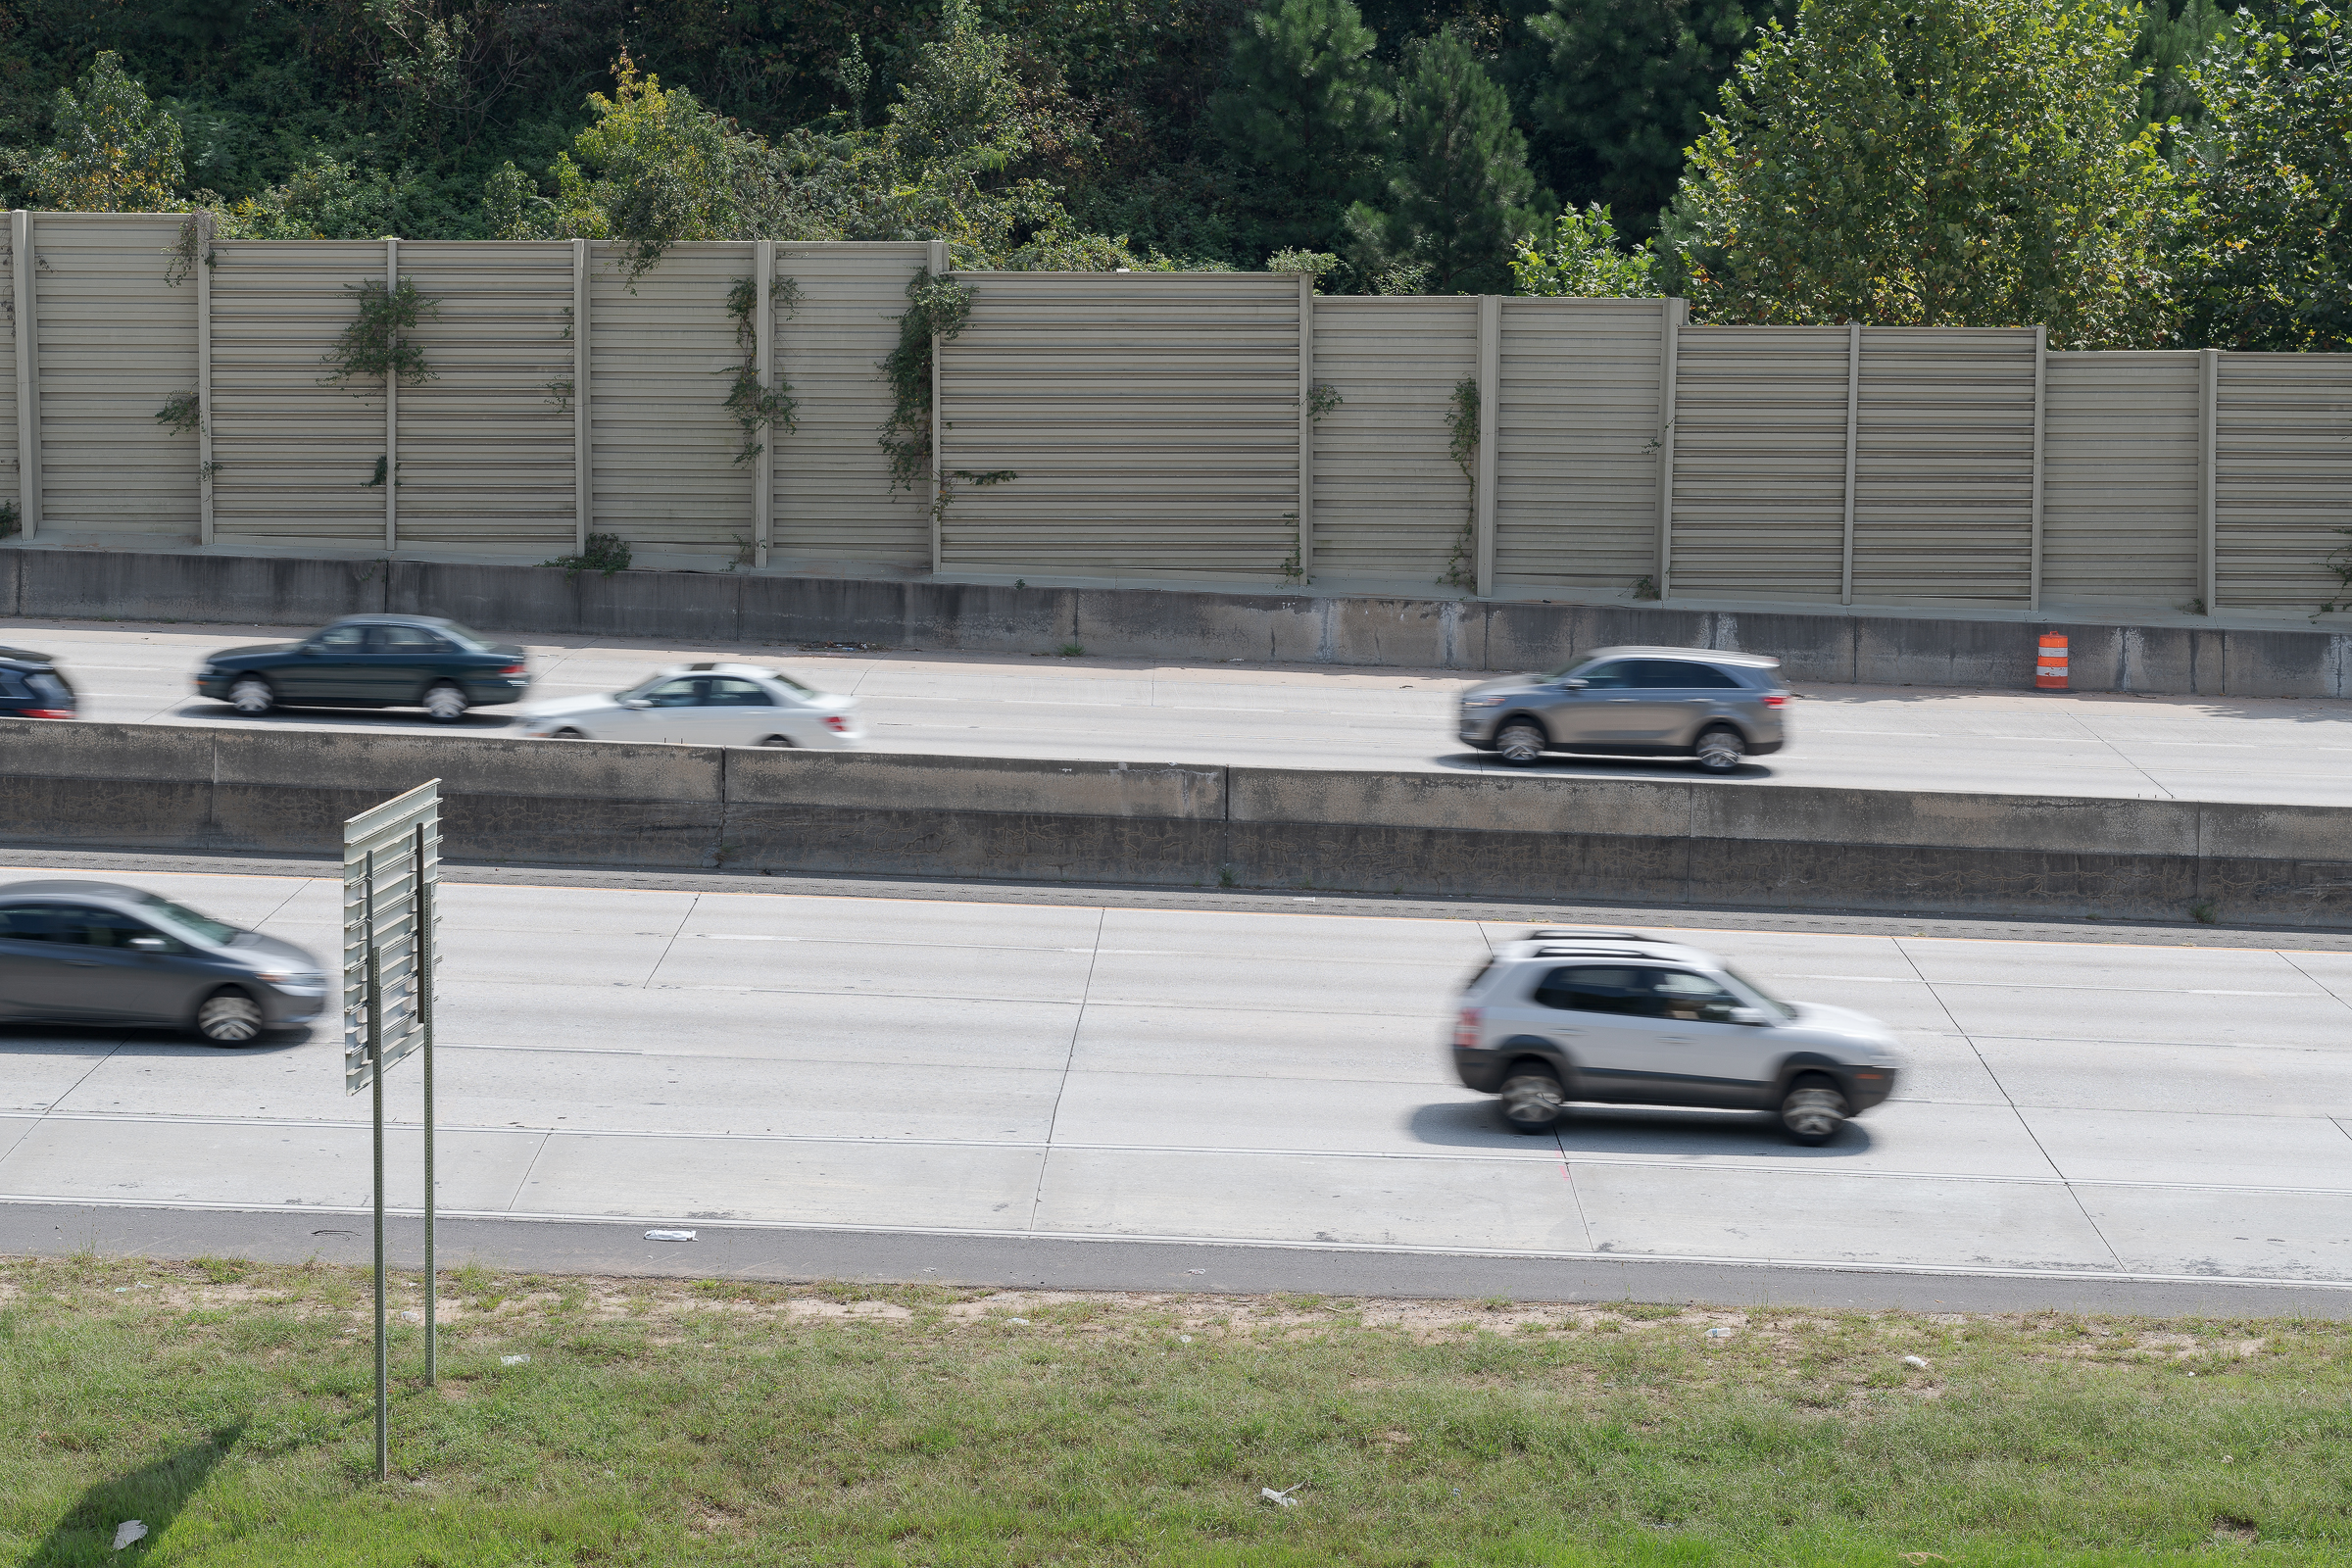
At my Nikon D850’s lowest numbered ISO of 64, I chose an aperture of f/9 on my ZEISS Otus 85 mm lens. This yielded a shutter speed of 1/125 second. If the vehicles were traveling at the 65 mph speed limit, they would have traveled 0.76 feet during that 1/125 second. That small movement explains the minimal blur of the vehicles.
To blur the vehicles by increasing the shutter speed, I screwed a 3-stop Formatt Hitech Firecrest Ultra ND filter onto the front of the lens. Keeping the f/9 aperture and ISO 64 settings with the same lens, this reduced the shutter speed to 1/13 second (which was actually 3 1/3 stops less).
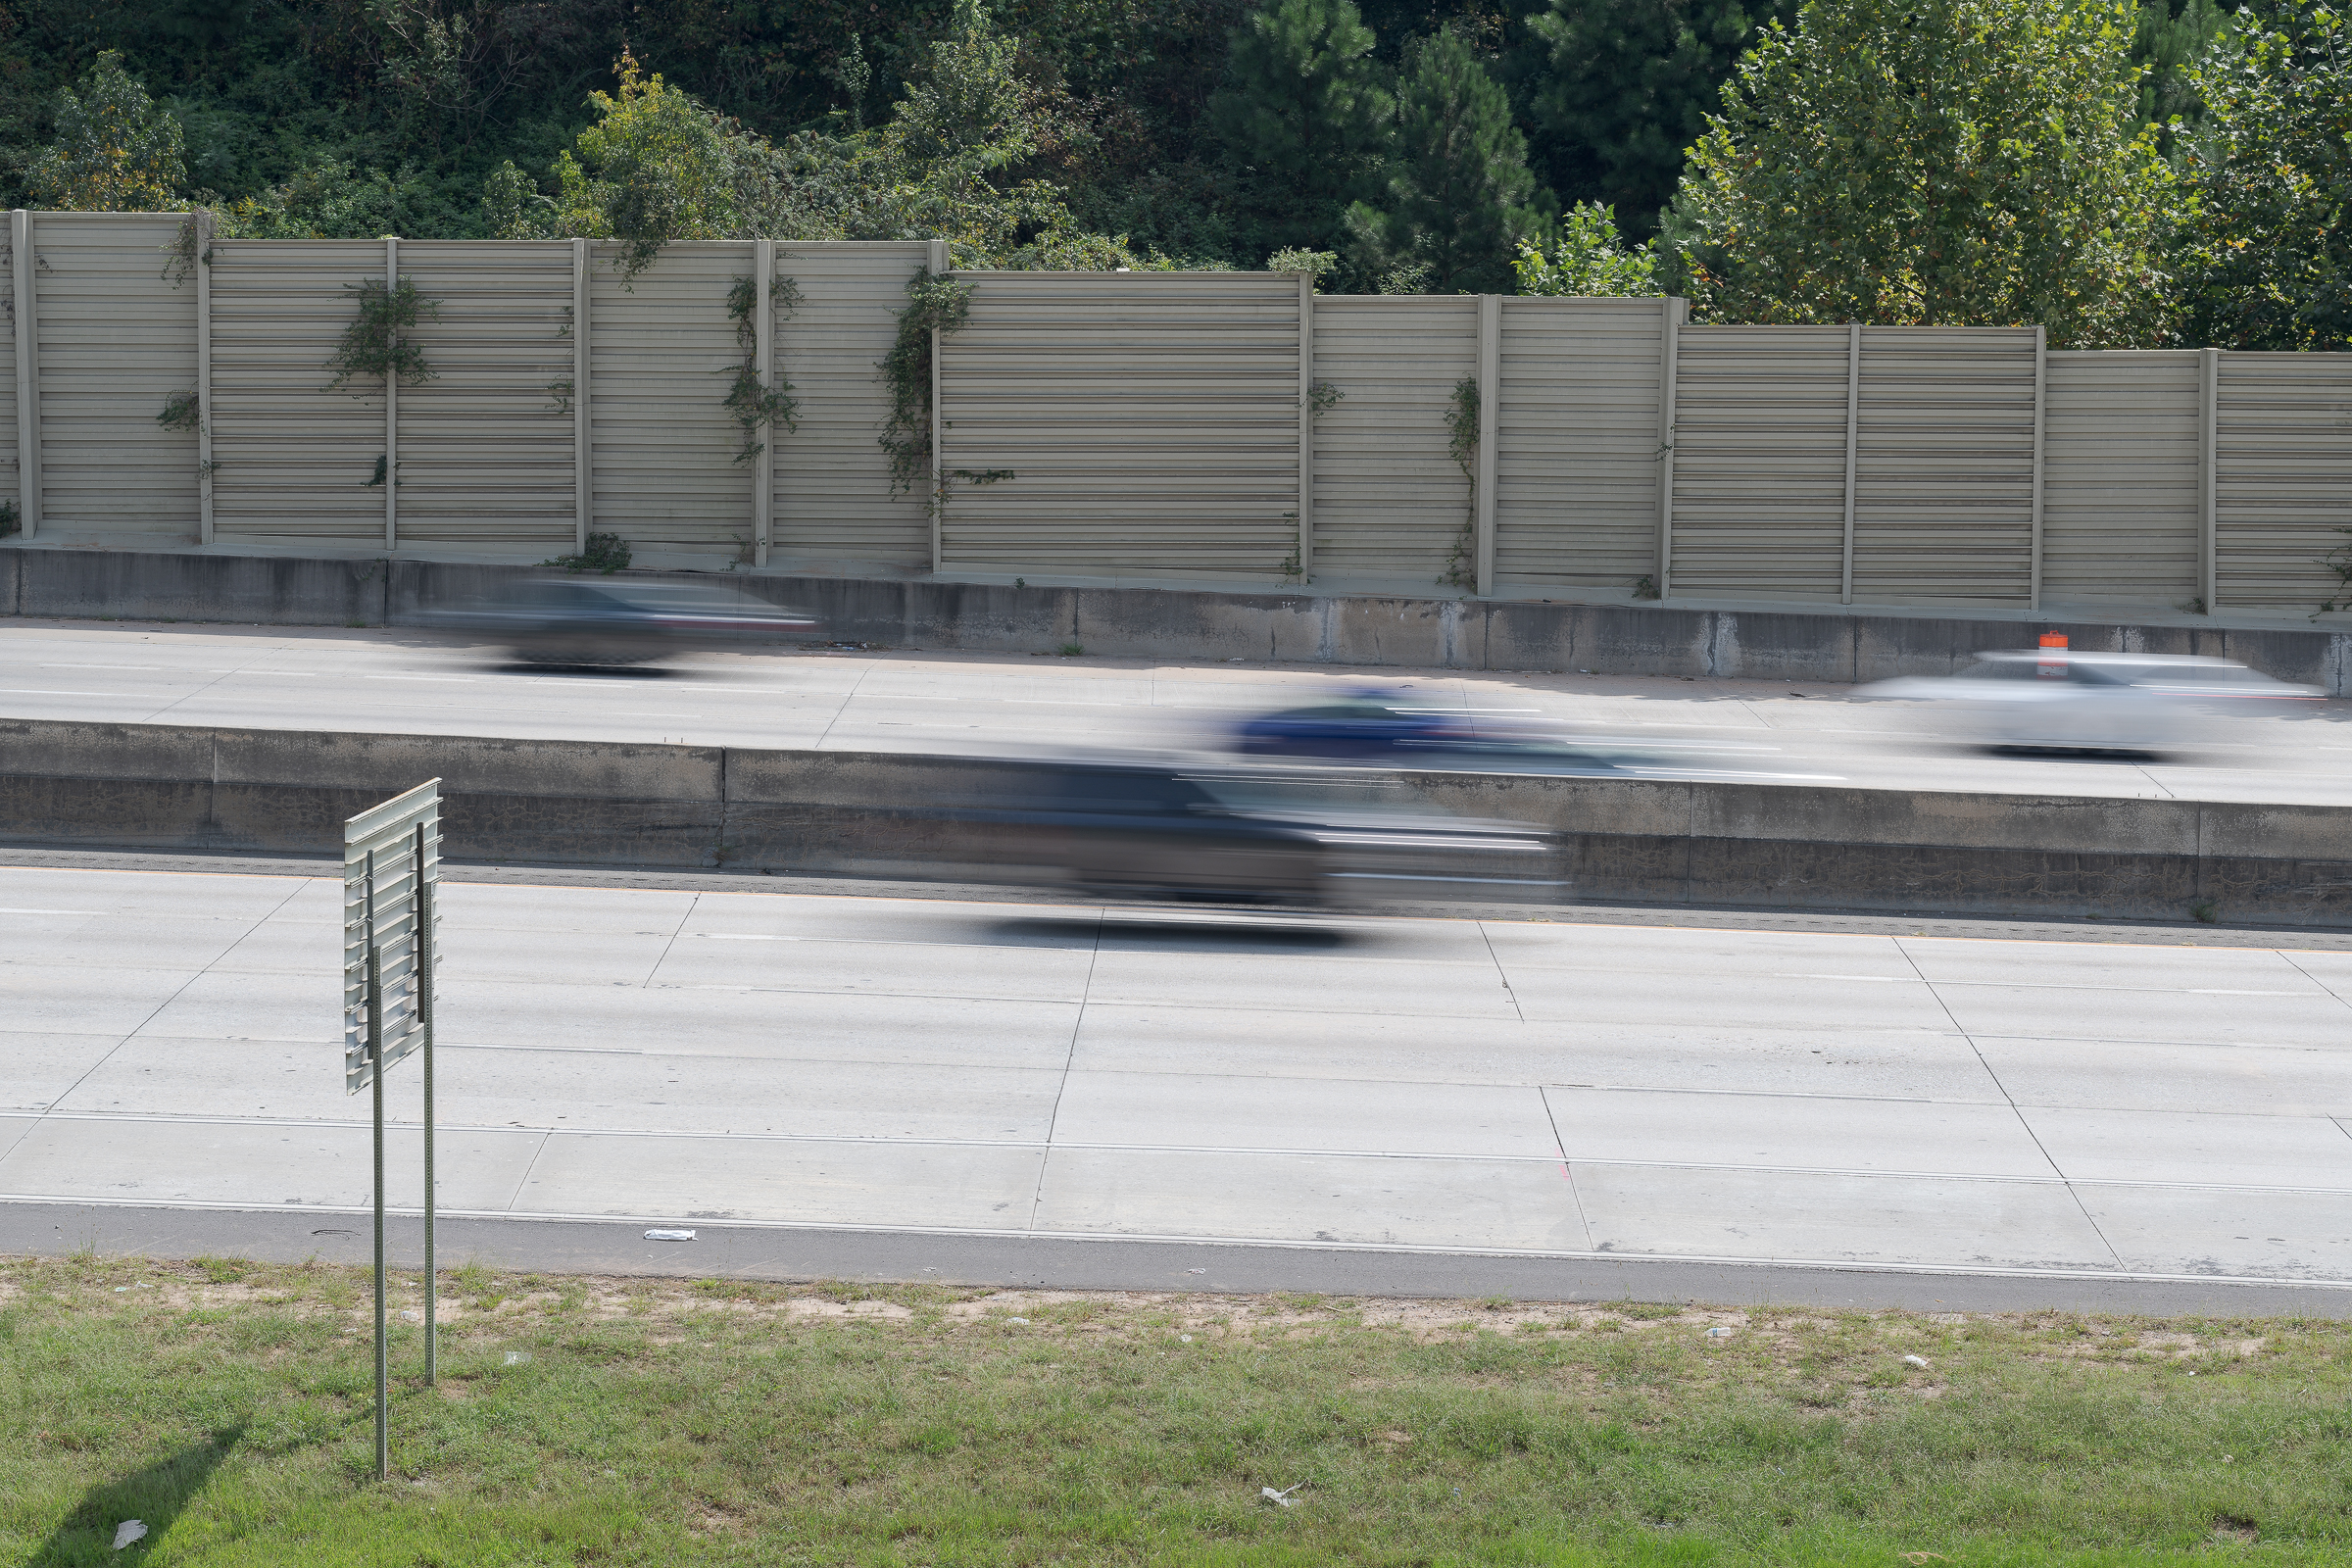
At 1/13 second, vehicles at 65 mph would travel 7.3 feet. This rendered the vehicles as no longer recognizable, but they still blocked sections of the roadway.
For this final image, I replaced the 3-stop ND filter with a 10-stop Formatt Hitech Firecrest Ultra ND filter. I again kept the aperture at f/9 and the ISO at 64 while using the same ZEISS Otus 85 mm lens. This yielded a shutter speed of 2.5 seconds, which was 8 1/3 stops slower. (Note: the edge of a cloud resulted in a slightly underexposed image, so I increased the exposure by one stop in post-processing, so this final image was 9 1/3 stops less than the original without the filter.)
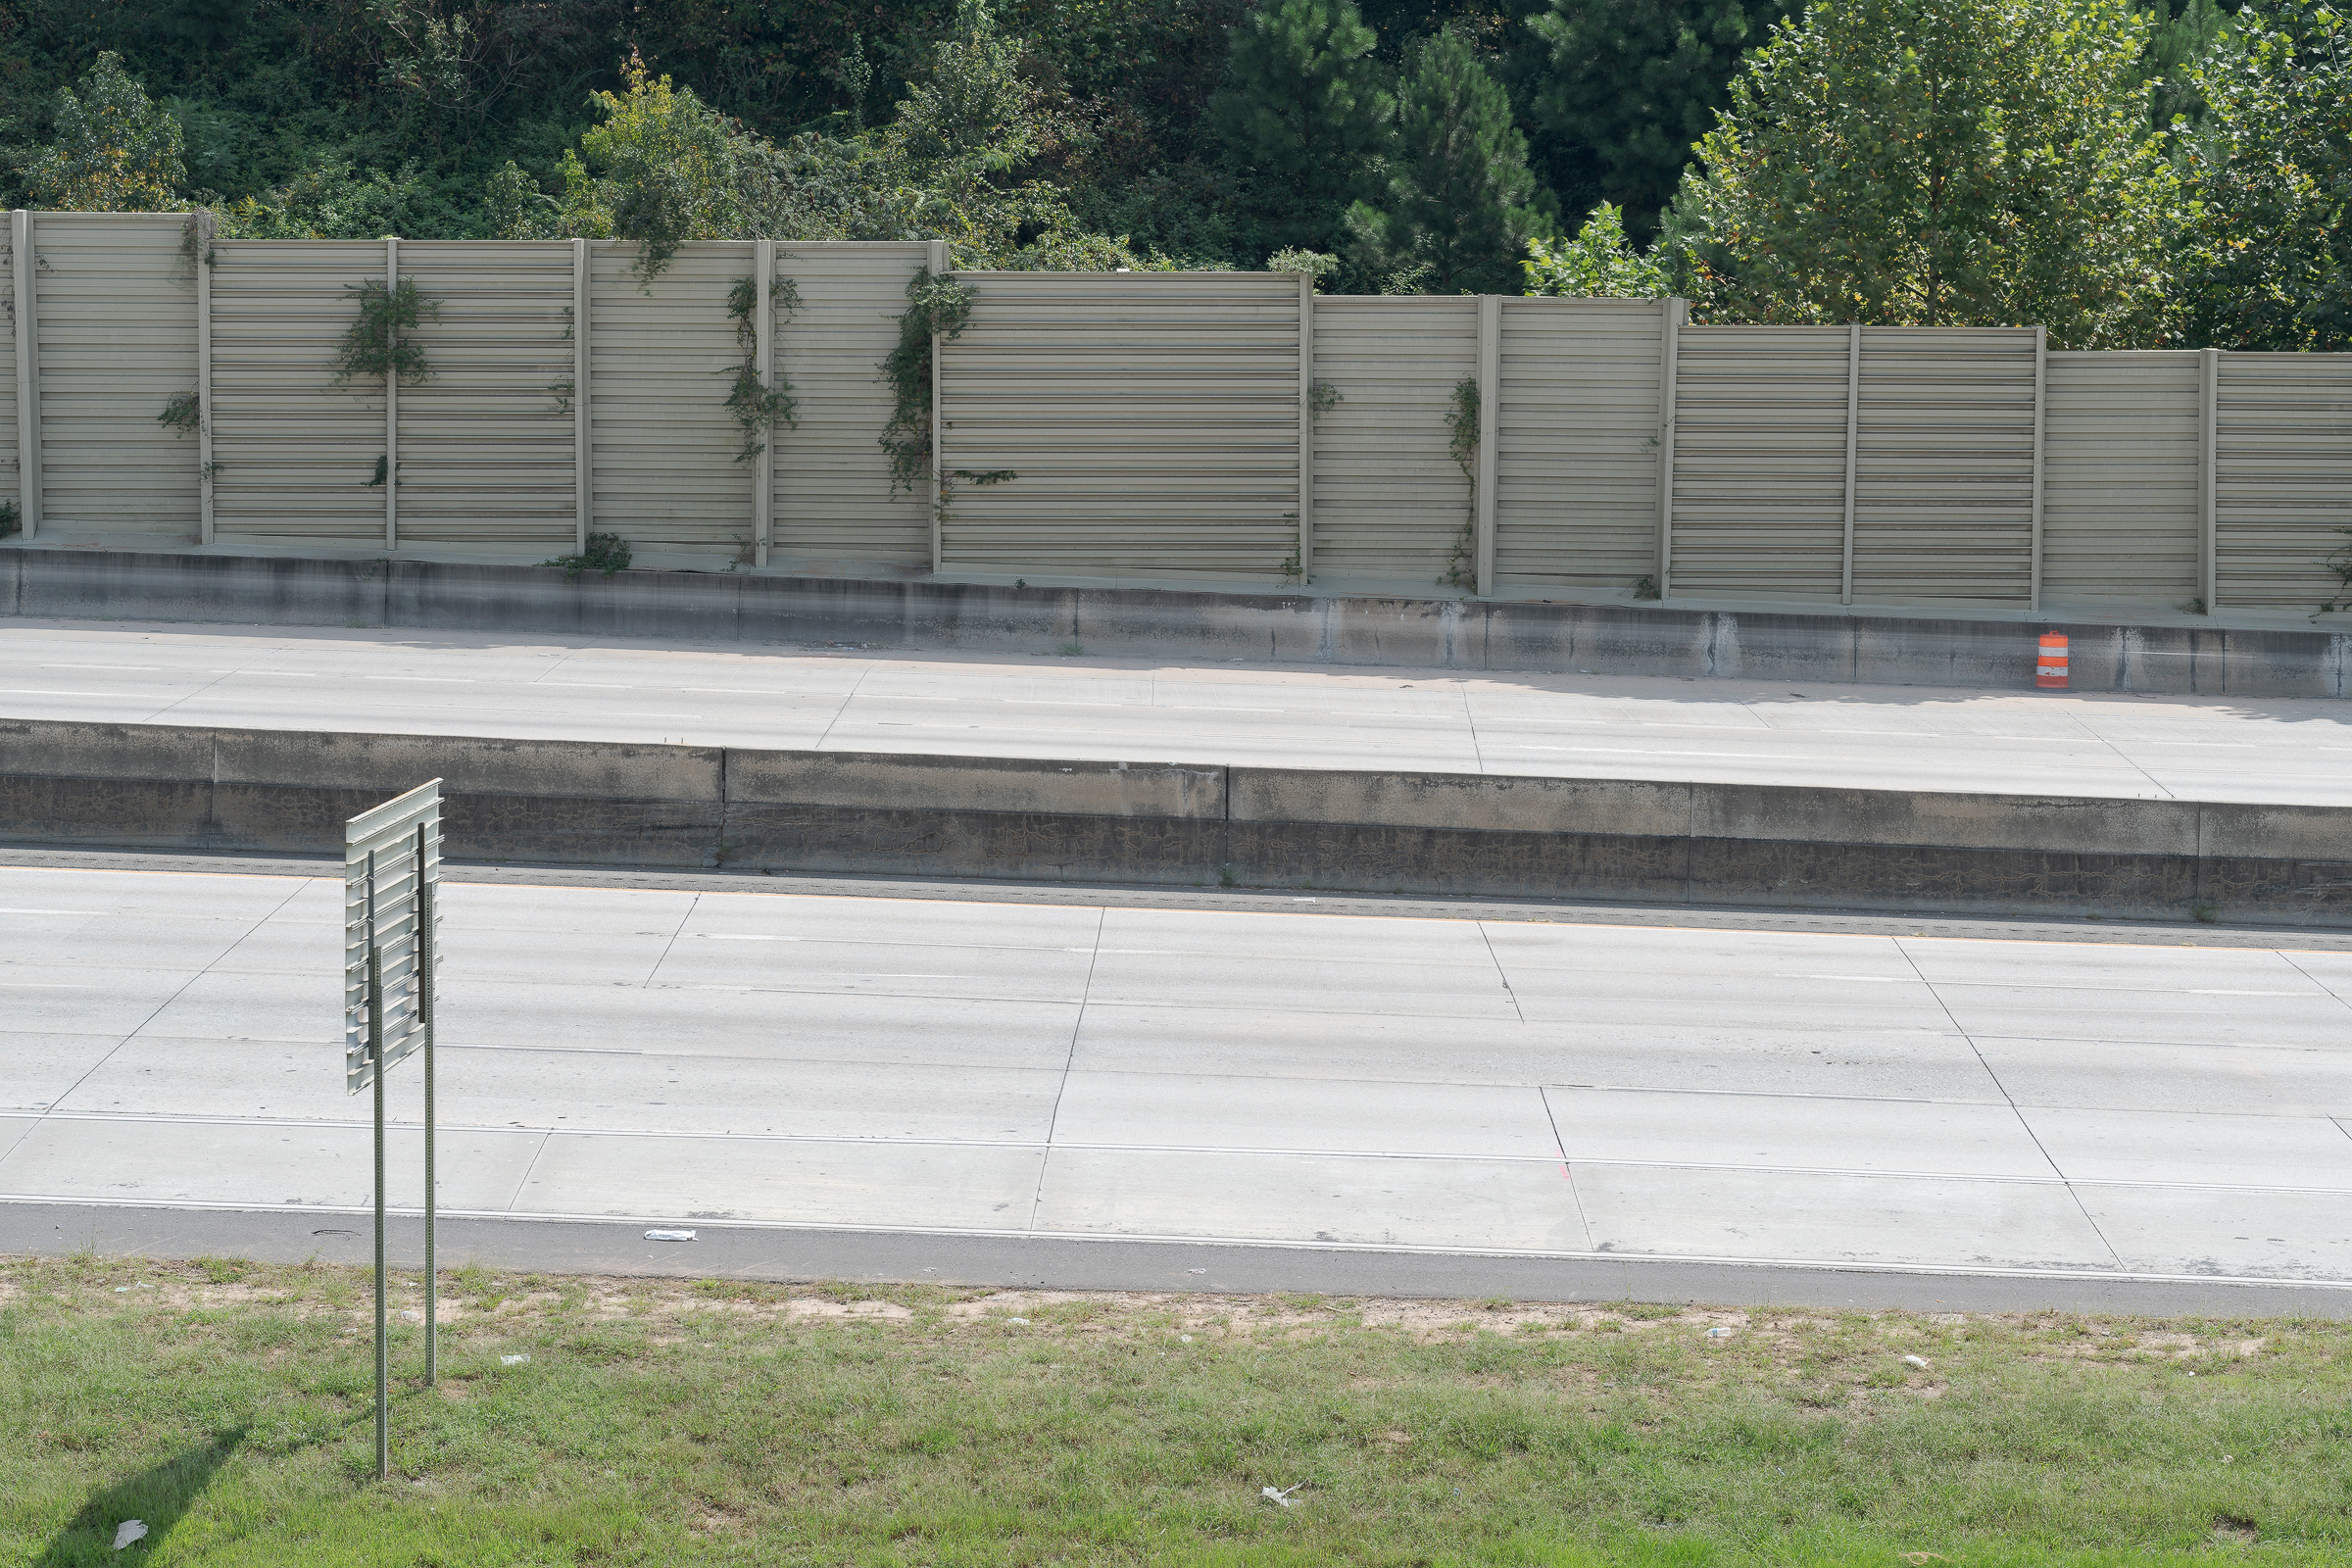
At the 65 mph speed limit, vehicles covered 238.3 feet in 2.5 seconds. Assuming the dashed lane lines plus spaces were at the standard 40-foot increments, the length of the roadway shown in any lane in this photo was much greater than 238.3 feet. Consequently, every vehicle in both directions crossed the image frame in a fraction of the time the shutter was open. This meant vehicles would never register, but would leave only faint blurs across the image.
Here are some factors to consider:
-1- This only works when traffic moves fast enough not to register while the shutter is open. It won’t work at all in slow or stopped traffic, since slow or no movement would allow the vehicles to register in the frame, even at longer shutter speeds.
-2- Bright sunshine complicates the problem since your shutter speed will be quite high because of bright ambient light. The amount of ND needed will depend on the ambient light levels and the speed of the traffic.
-3- Dark ND filters will likely fool your Auto White Balance (WB) like it did for the 10-stop filter. I corrected it with one click in Adobe Camera Raw. This wouldn’t have been the case had I initially set the WB to a specific value.
-4- If I had exposed the darkest for another stop (that is, 5 seconds instead of 2.5 seconds), I would not have had to brighten it by a stop in post, and there would have been even less chance of a blurred streak from passing vehicles. When in doubt, it is always better to slightly overexpose (as long as you’re not blowing out your highlights) to get the slowest shutter speed possible for the least perceptible blurred streaks.
-5- You can stack multiple ND filters to get the amount of neutral density you desire. Alternatively, variable ND filters allow you to rotate part of the filter to darken or lighten the effect of the filter.
-6- The numerical value of an ND filter is unimportant. You just need one dark enough to get your shutter speed slow enough to reduce the vehicles to imperceptible blurs. That will often be in the eight-to-ten stop range.
-7- I always work with a tripod, but even if you don’t, a tripod is absolutely necessary for the long exposure images. There is no way to handhold a camera steady for 1/13, much less 2.5, seconds.