On Tuesday, May 6, 2025, I will be teaching a flash workshop at the BioCommunications Association (BCA) BIOCOMM 2025 conference in Tucson, AZ: https://bca.org/BIOCOMM-2025-Program#vadnais. [Click on image below to enlarge, then click left arrow to return to this post.]
Flash is not only the most available light, but you have complete control over it. This will be a hands-on workshop to help you see how easy, straightforward, and, dare I say, fun, it is to use flash—even off camera and multiple flashes. We will learn by doing the following exercises:
– Setting custom white balance with flash(es).
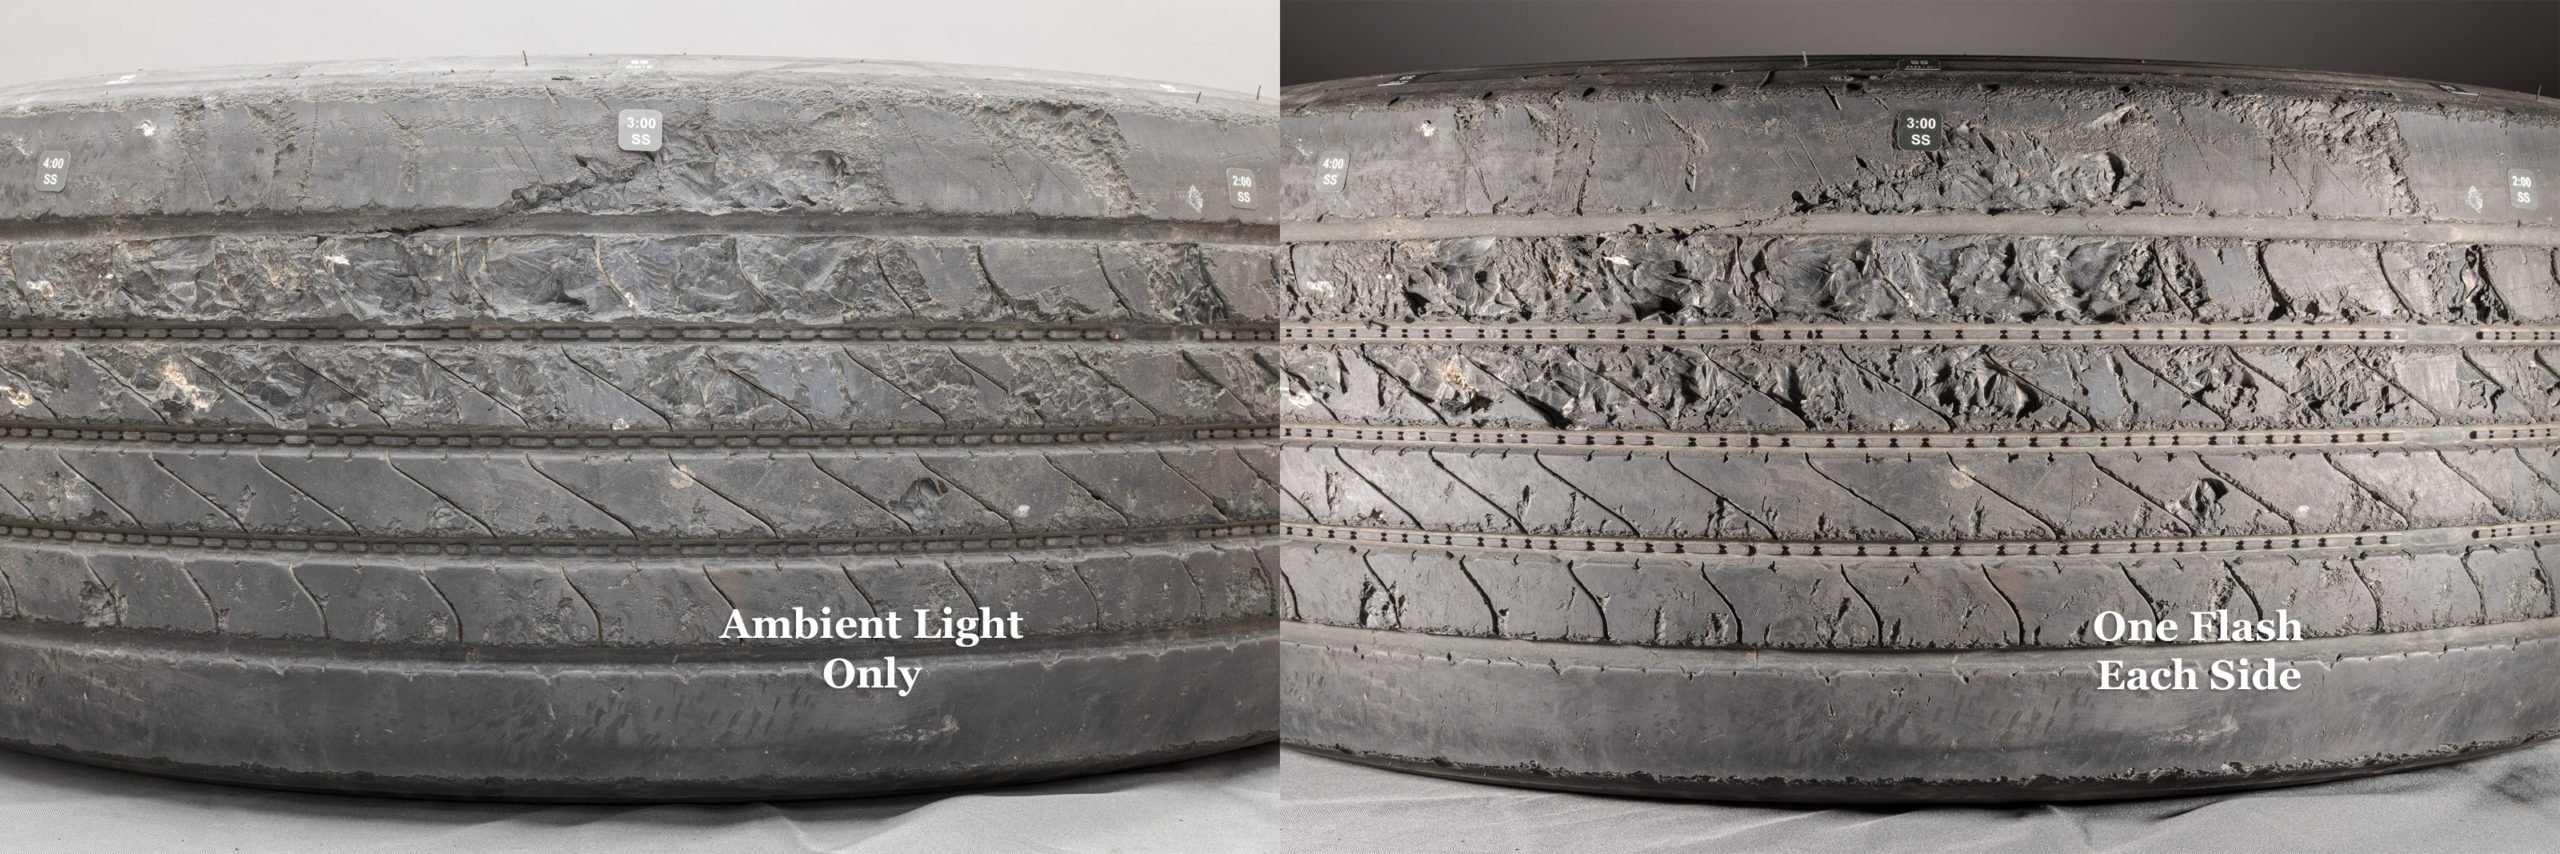
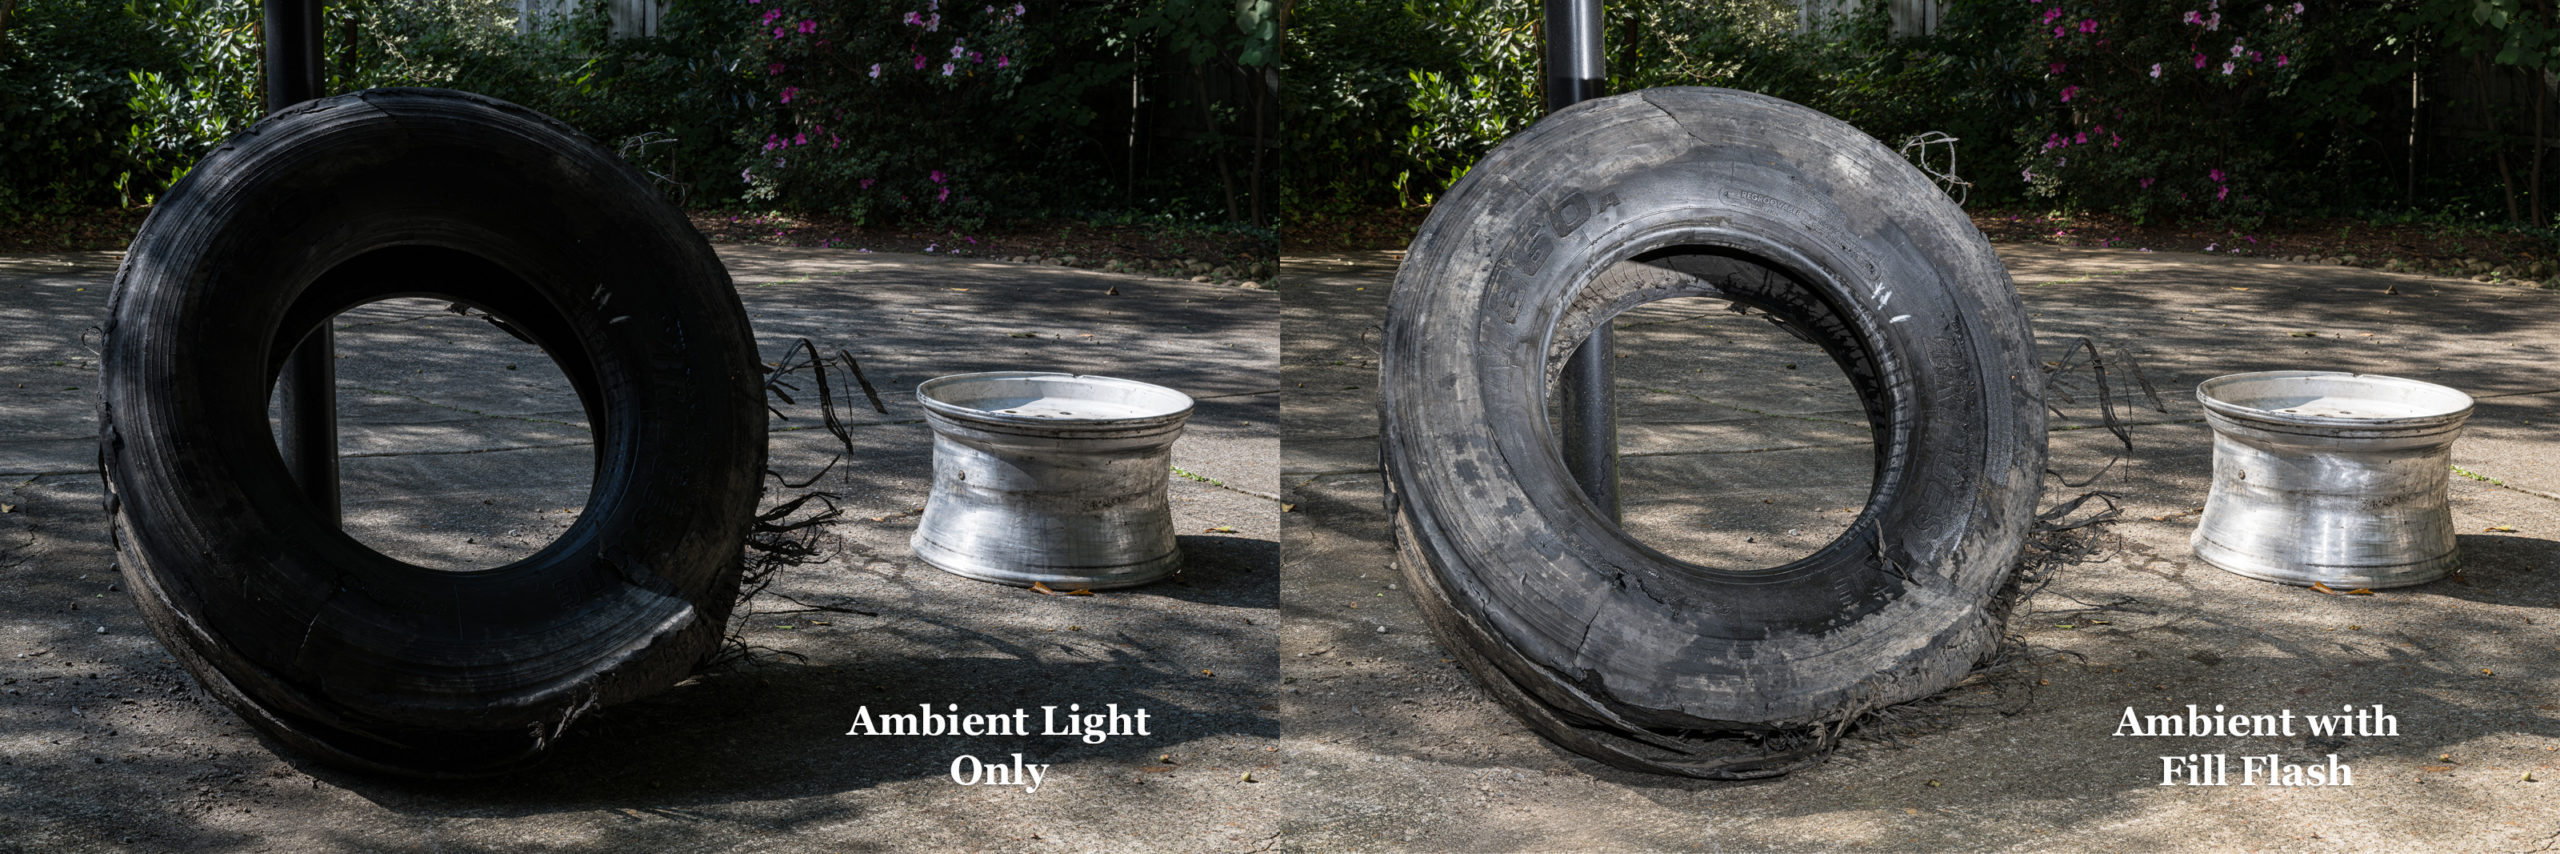
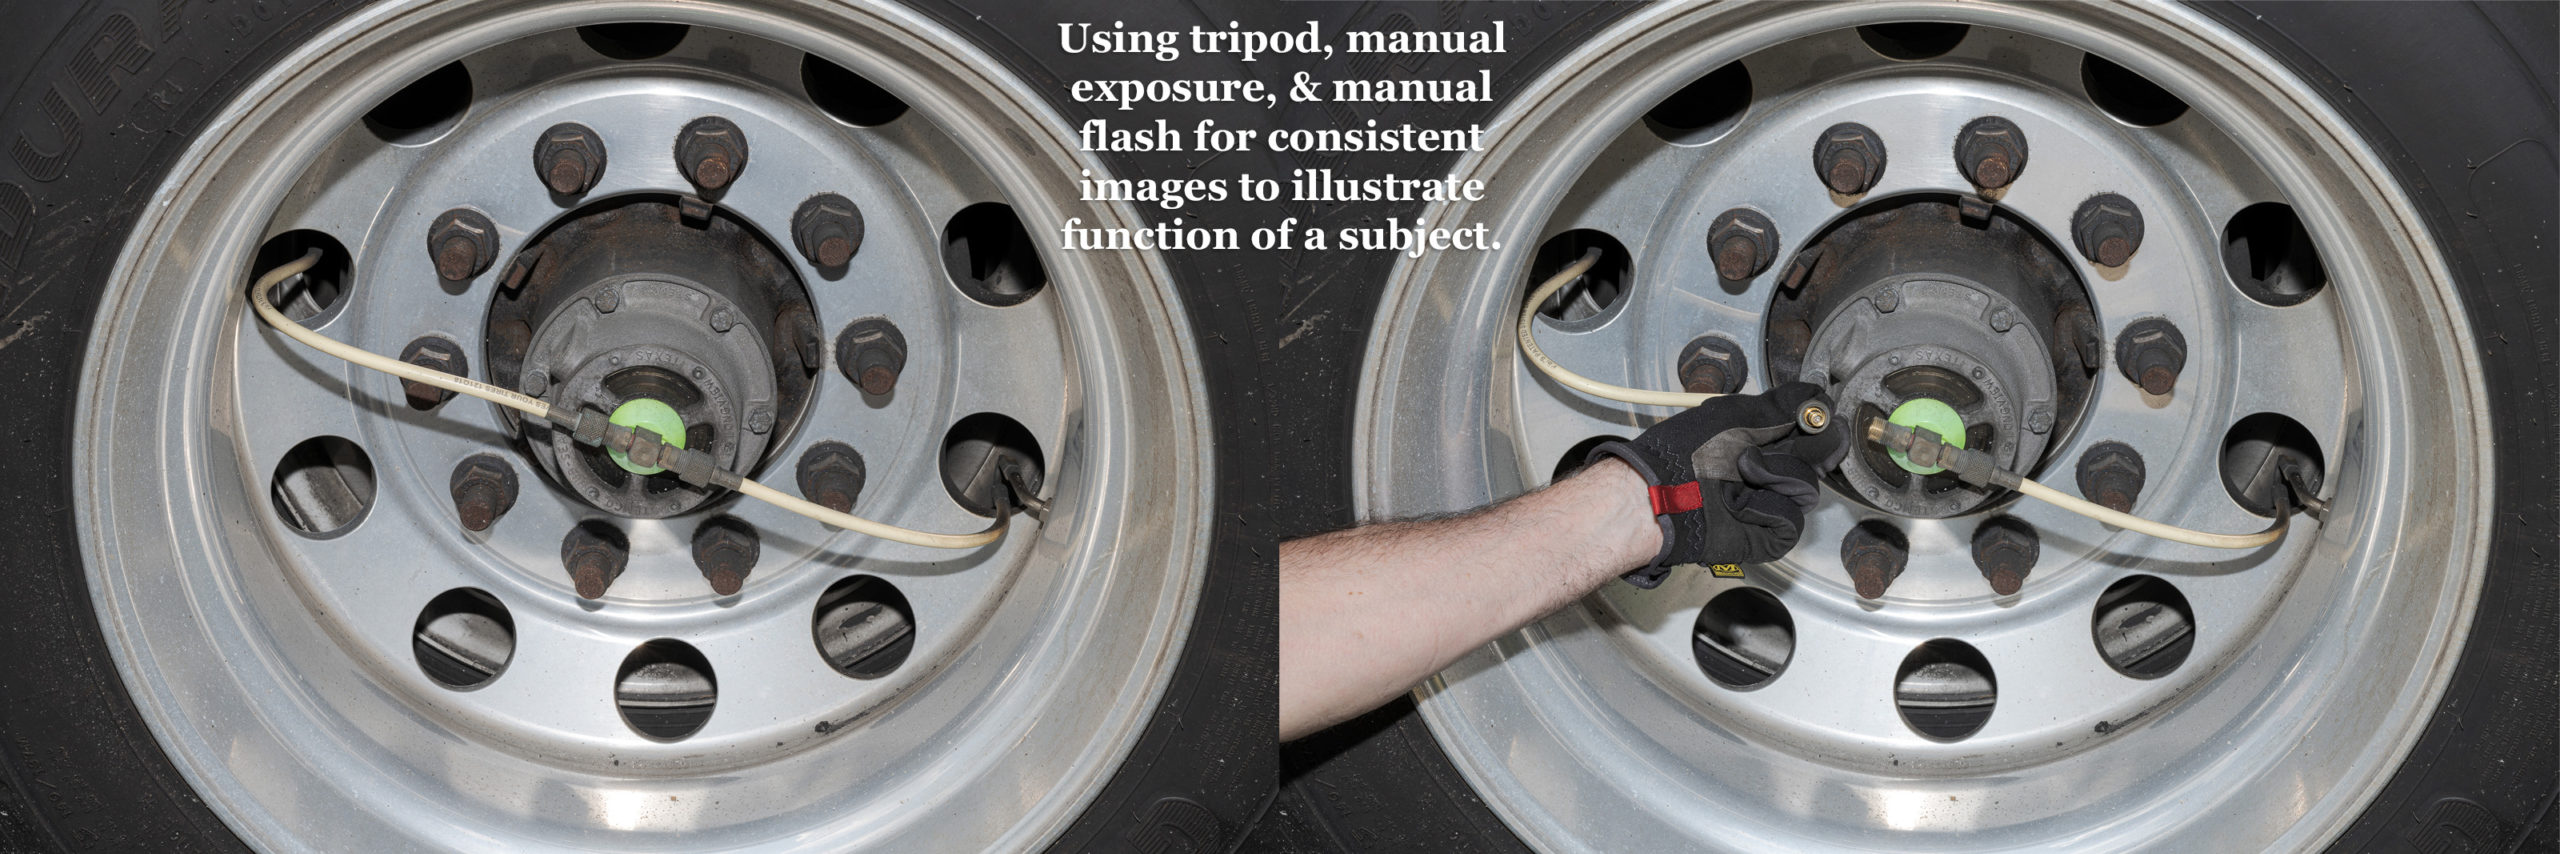
– Photographing the same subject in ambient (no flash), full flash (no ambient), and fill flash (ambient augmented with flash).
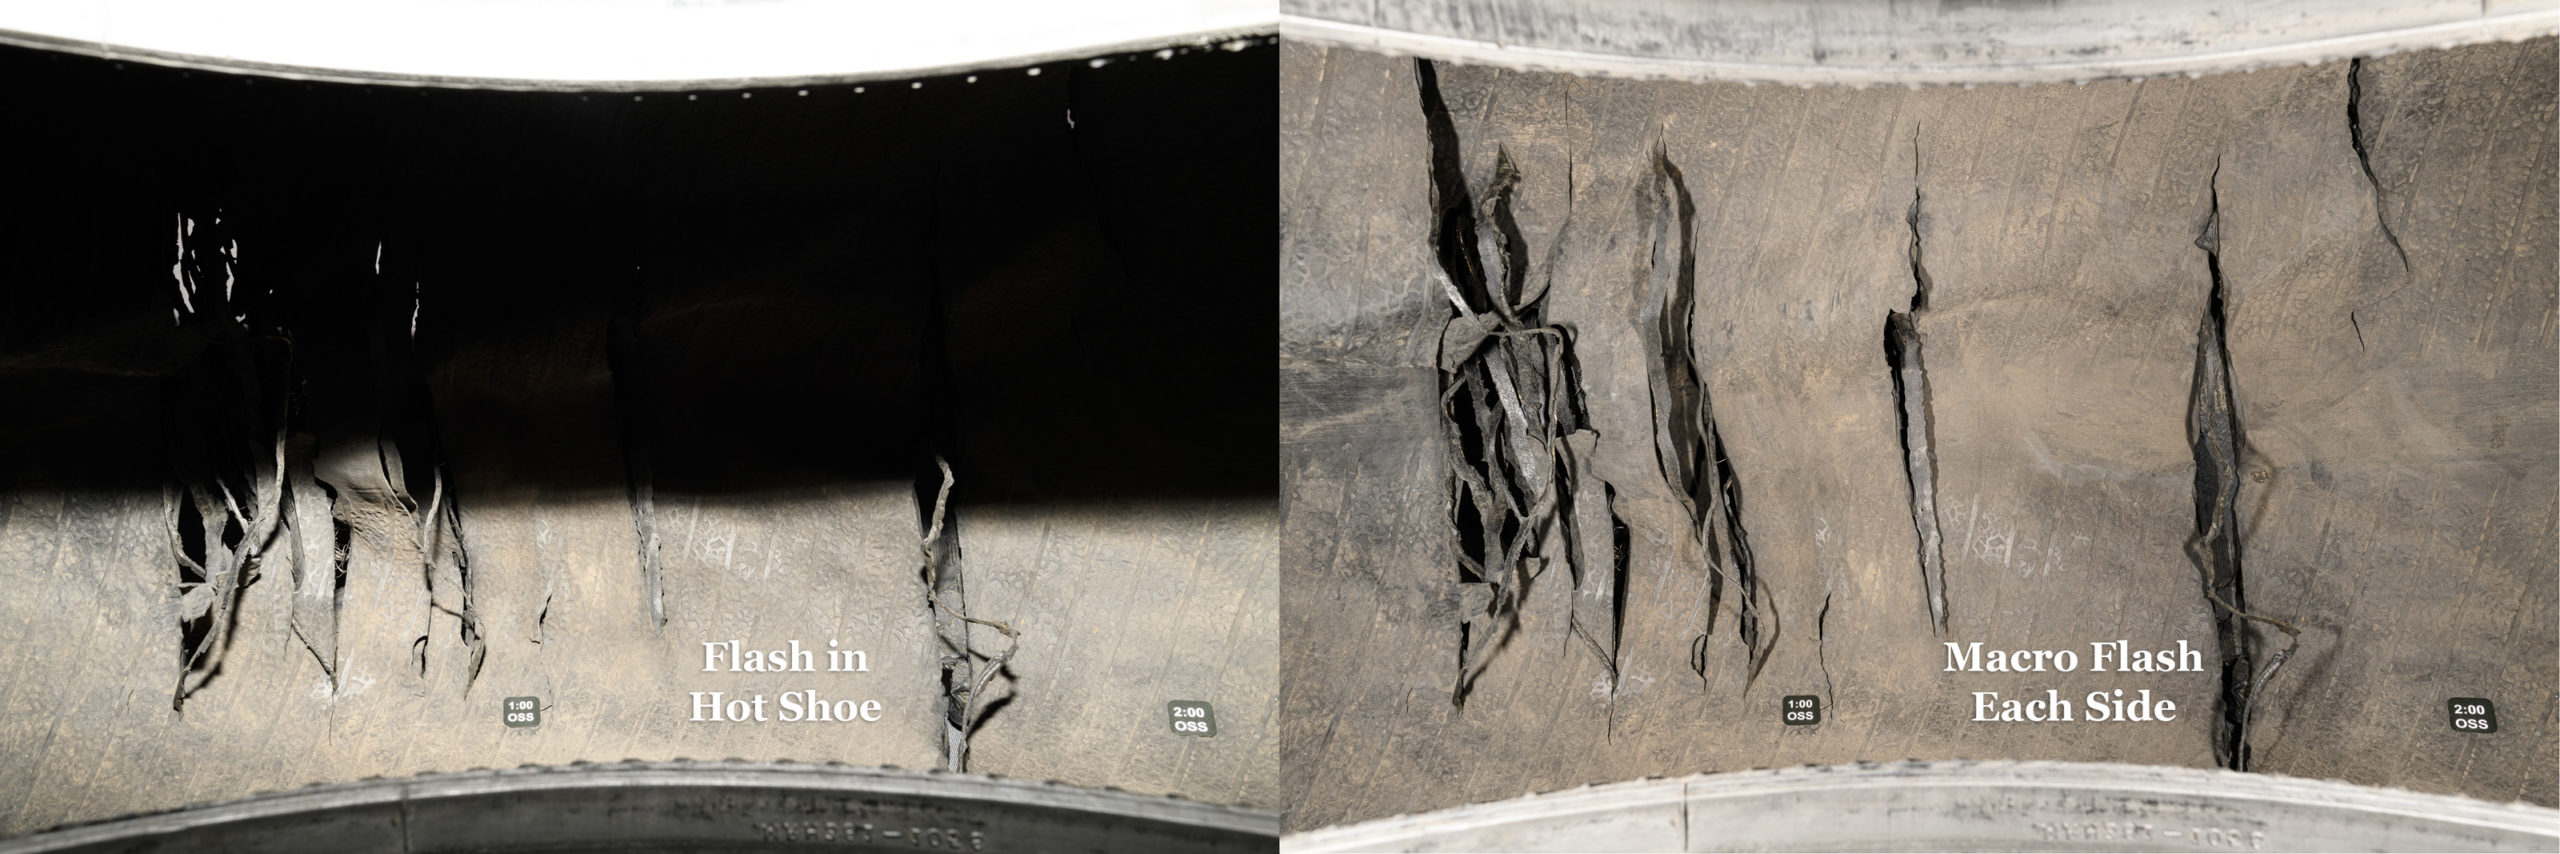
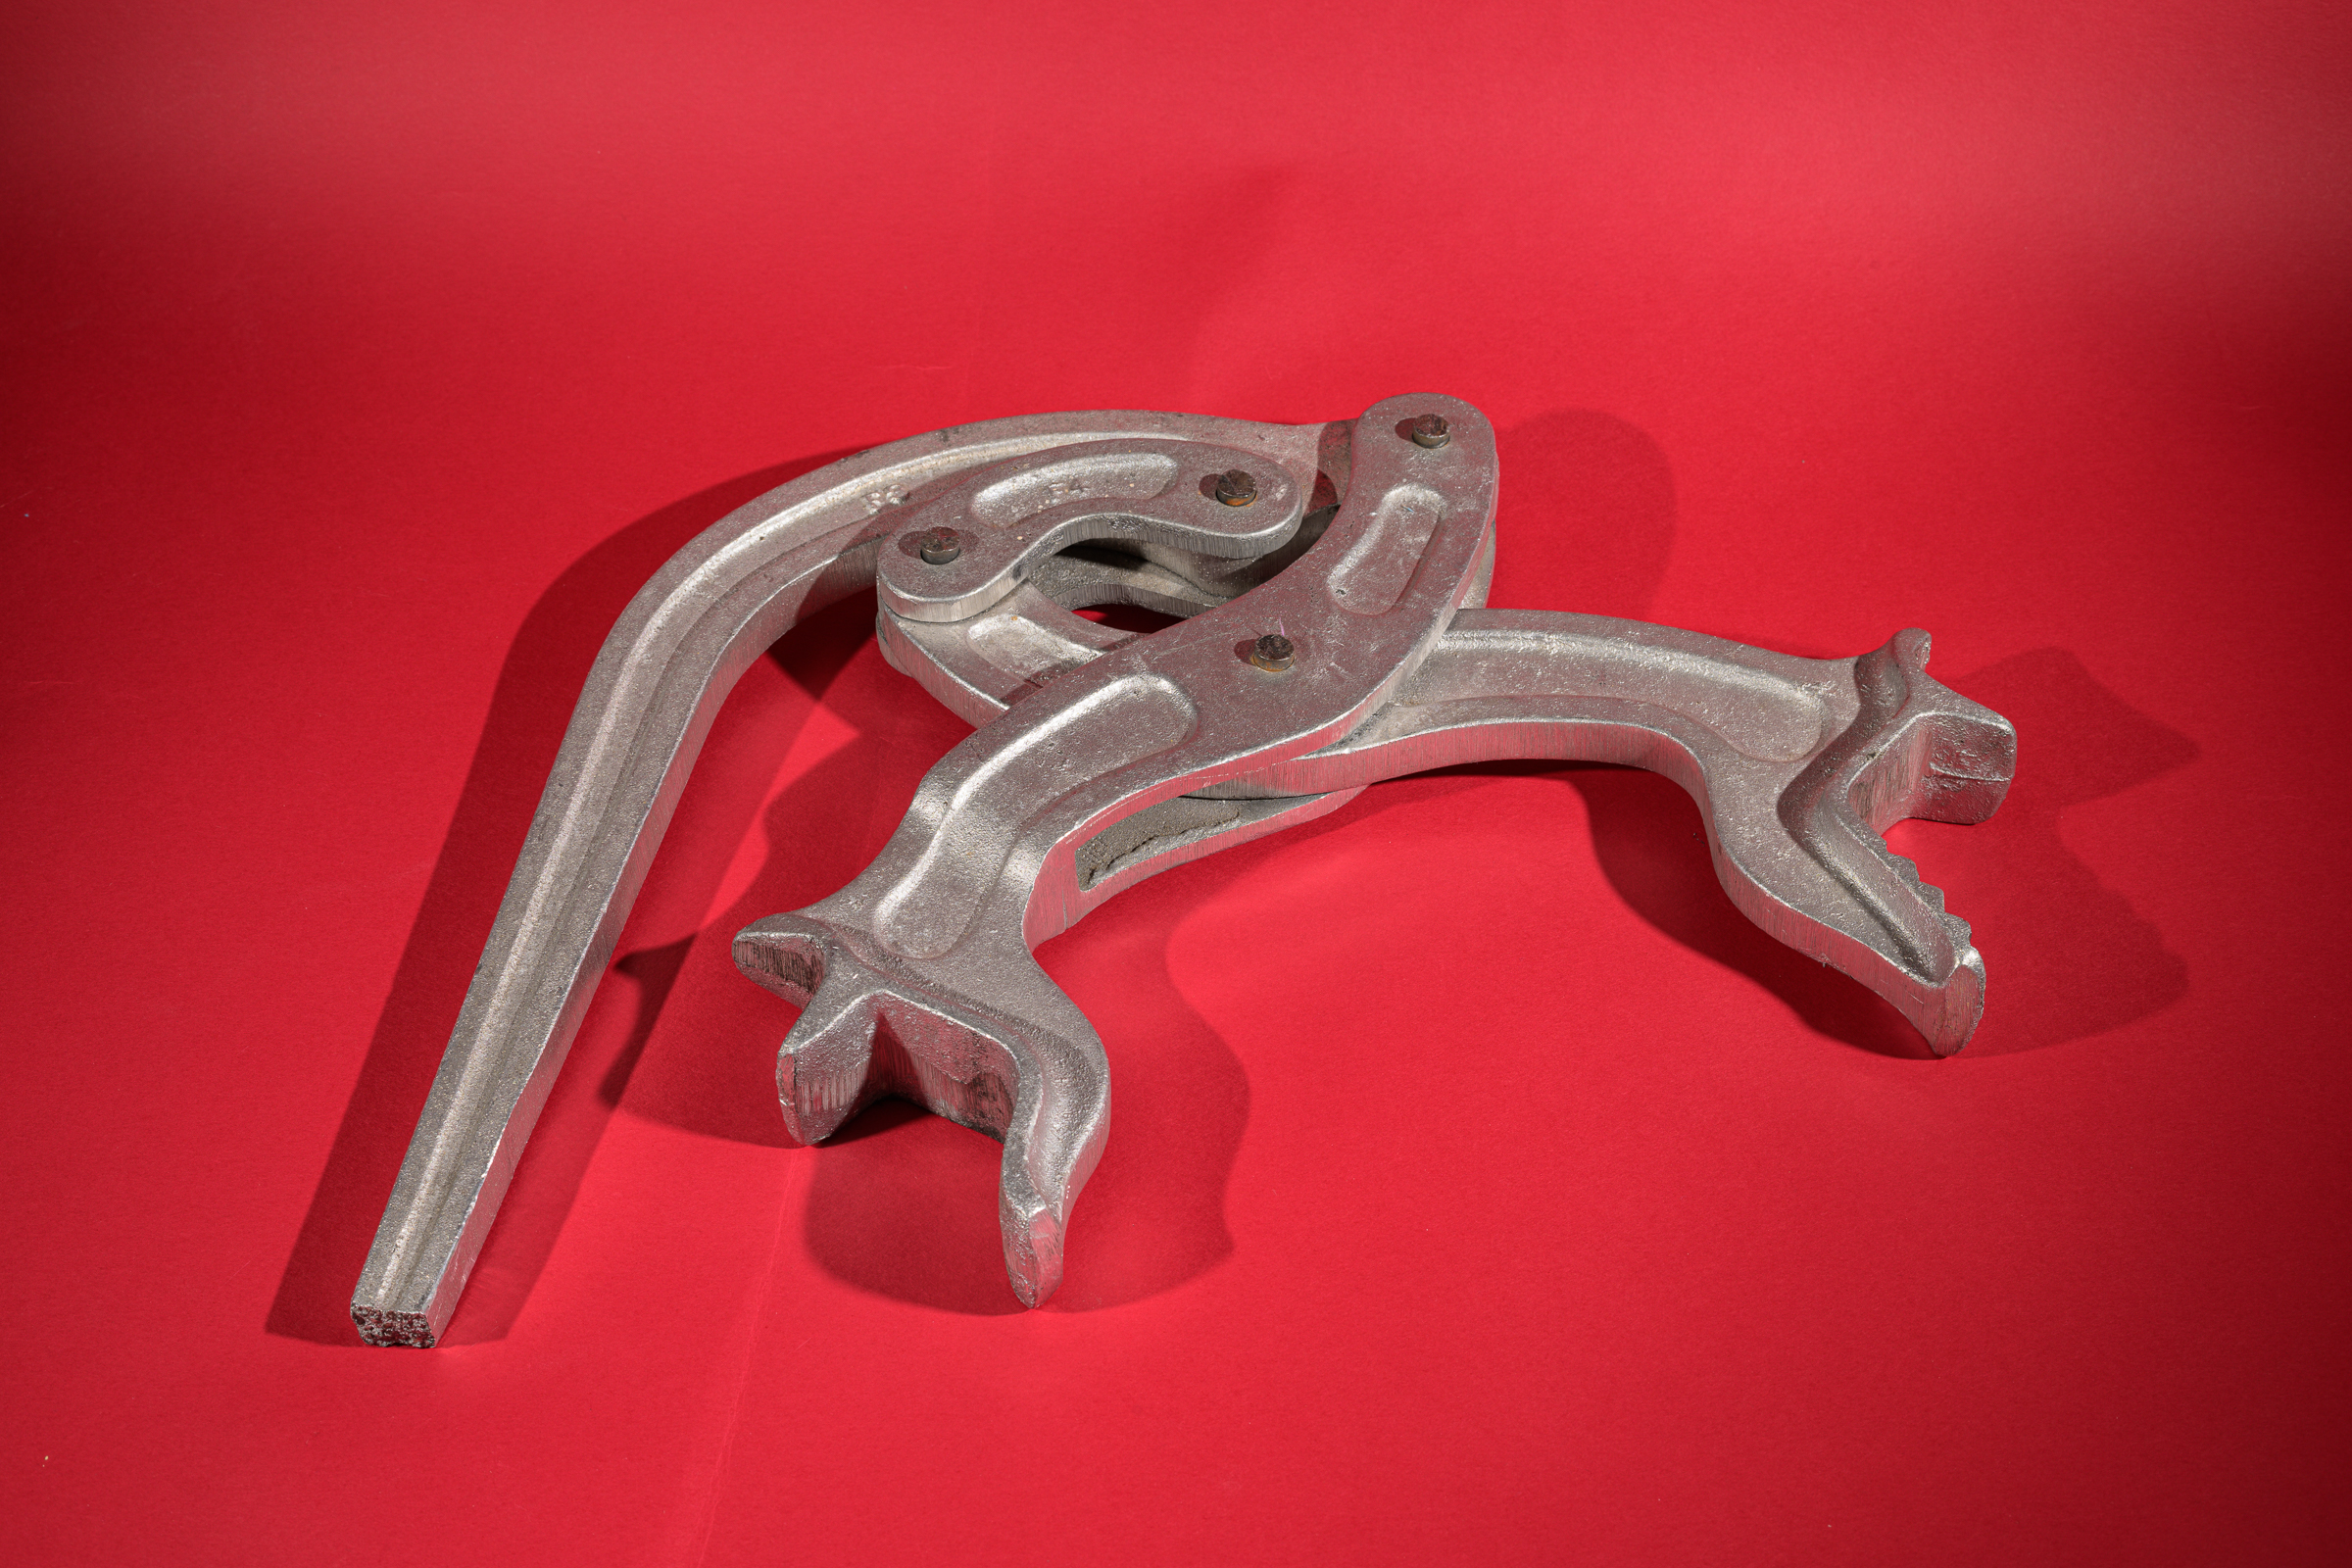
– Photographing textures, including sunken stampings, raised icons, small details, & sponges using off-camera flash with a flash trigger or second on-camera flash to fire it.
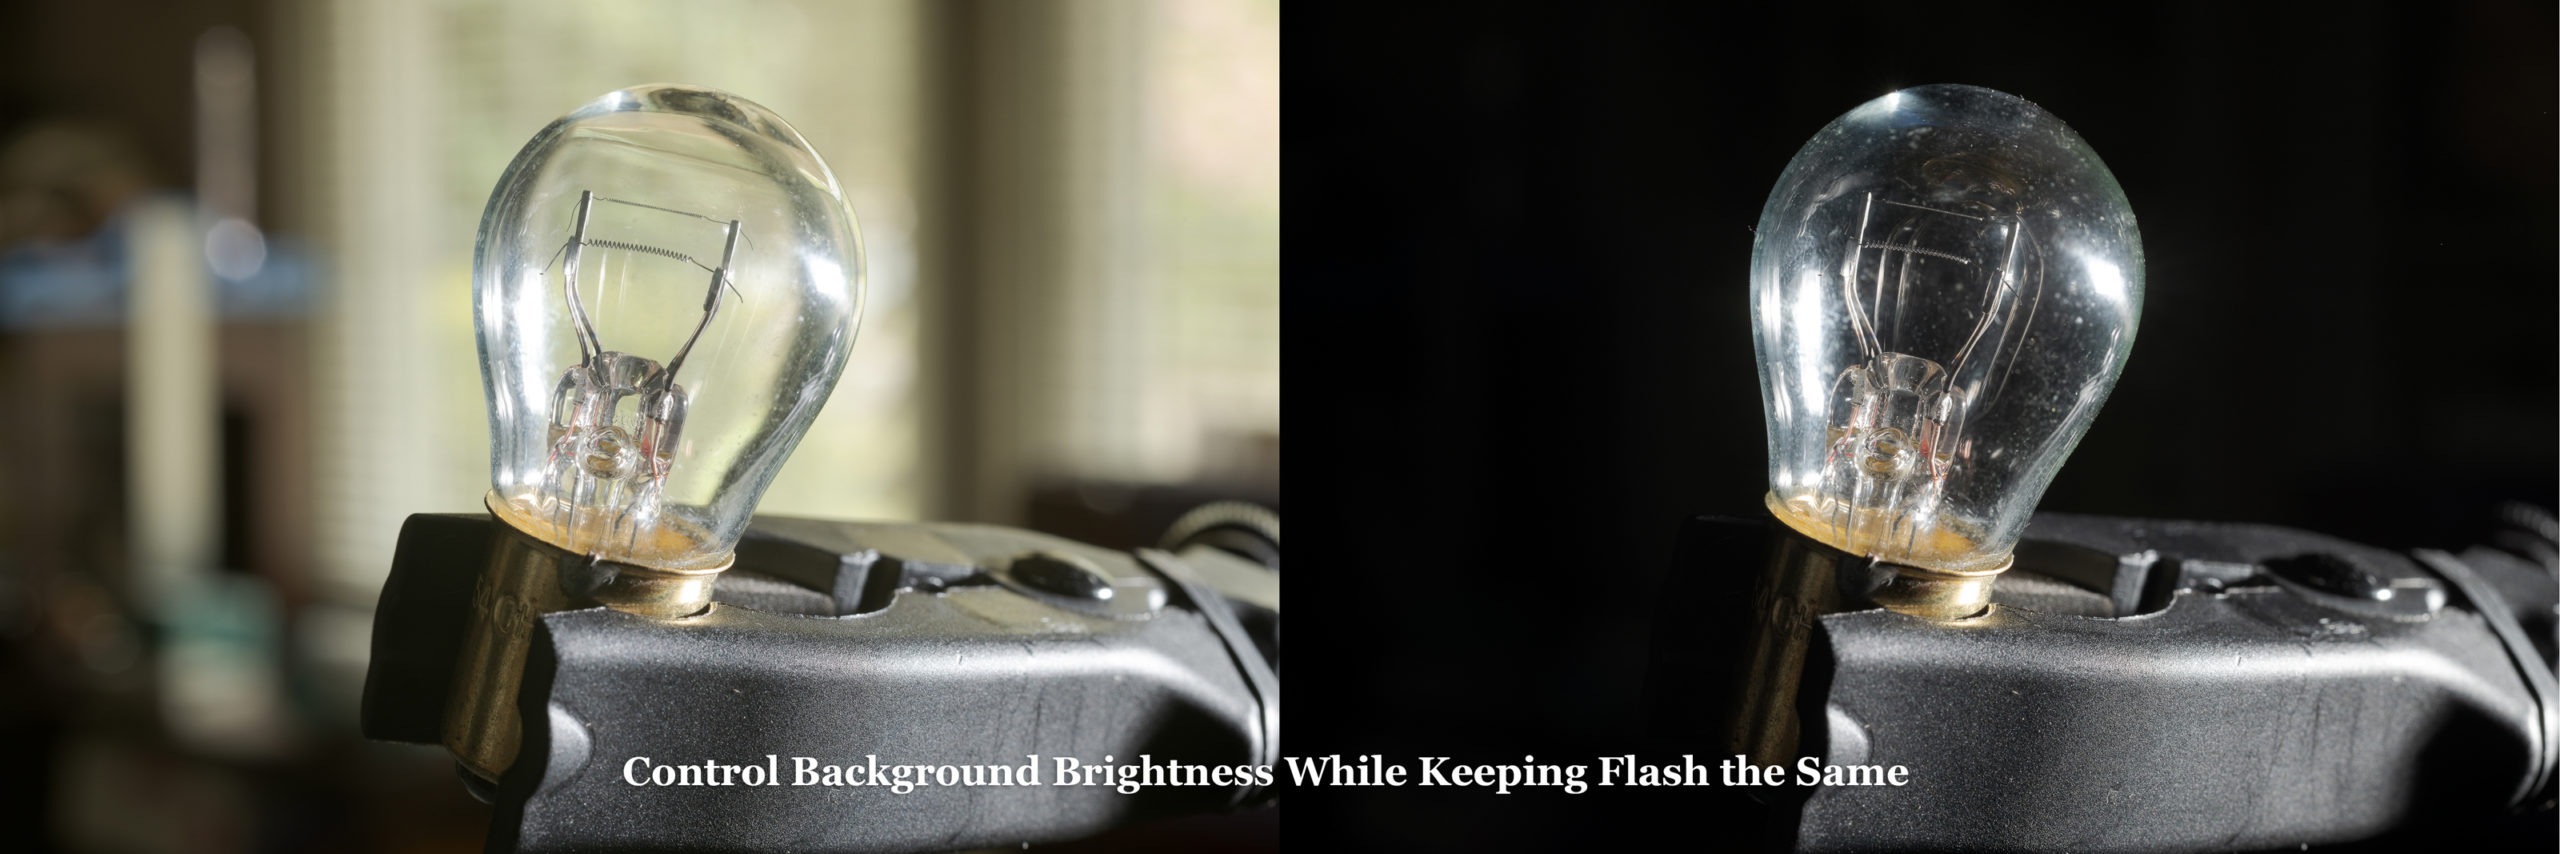
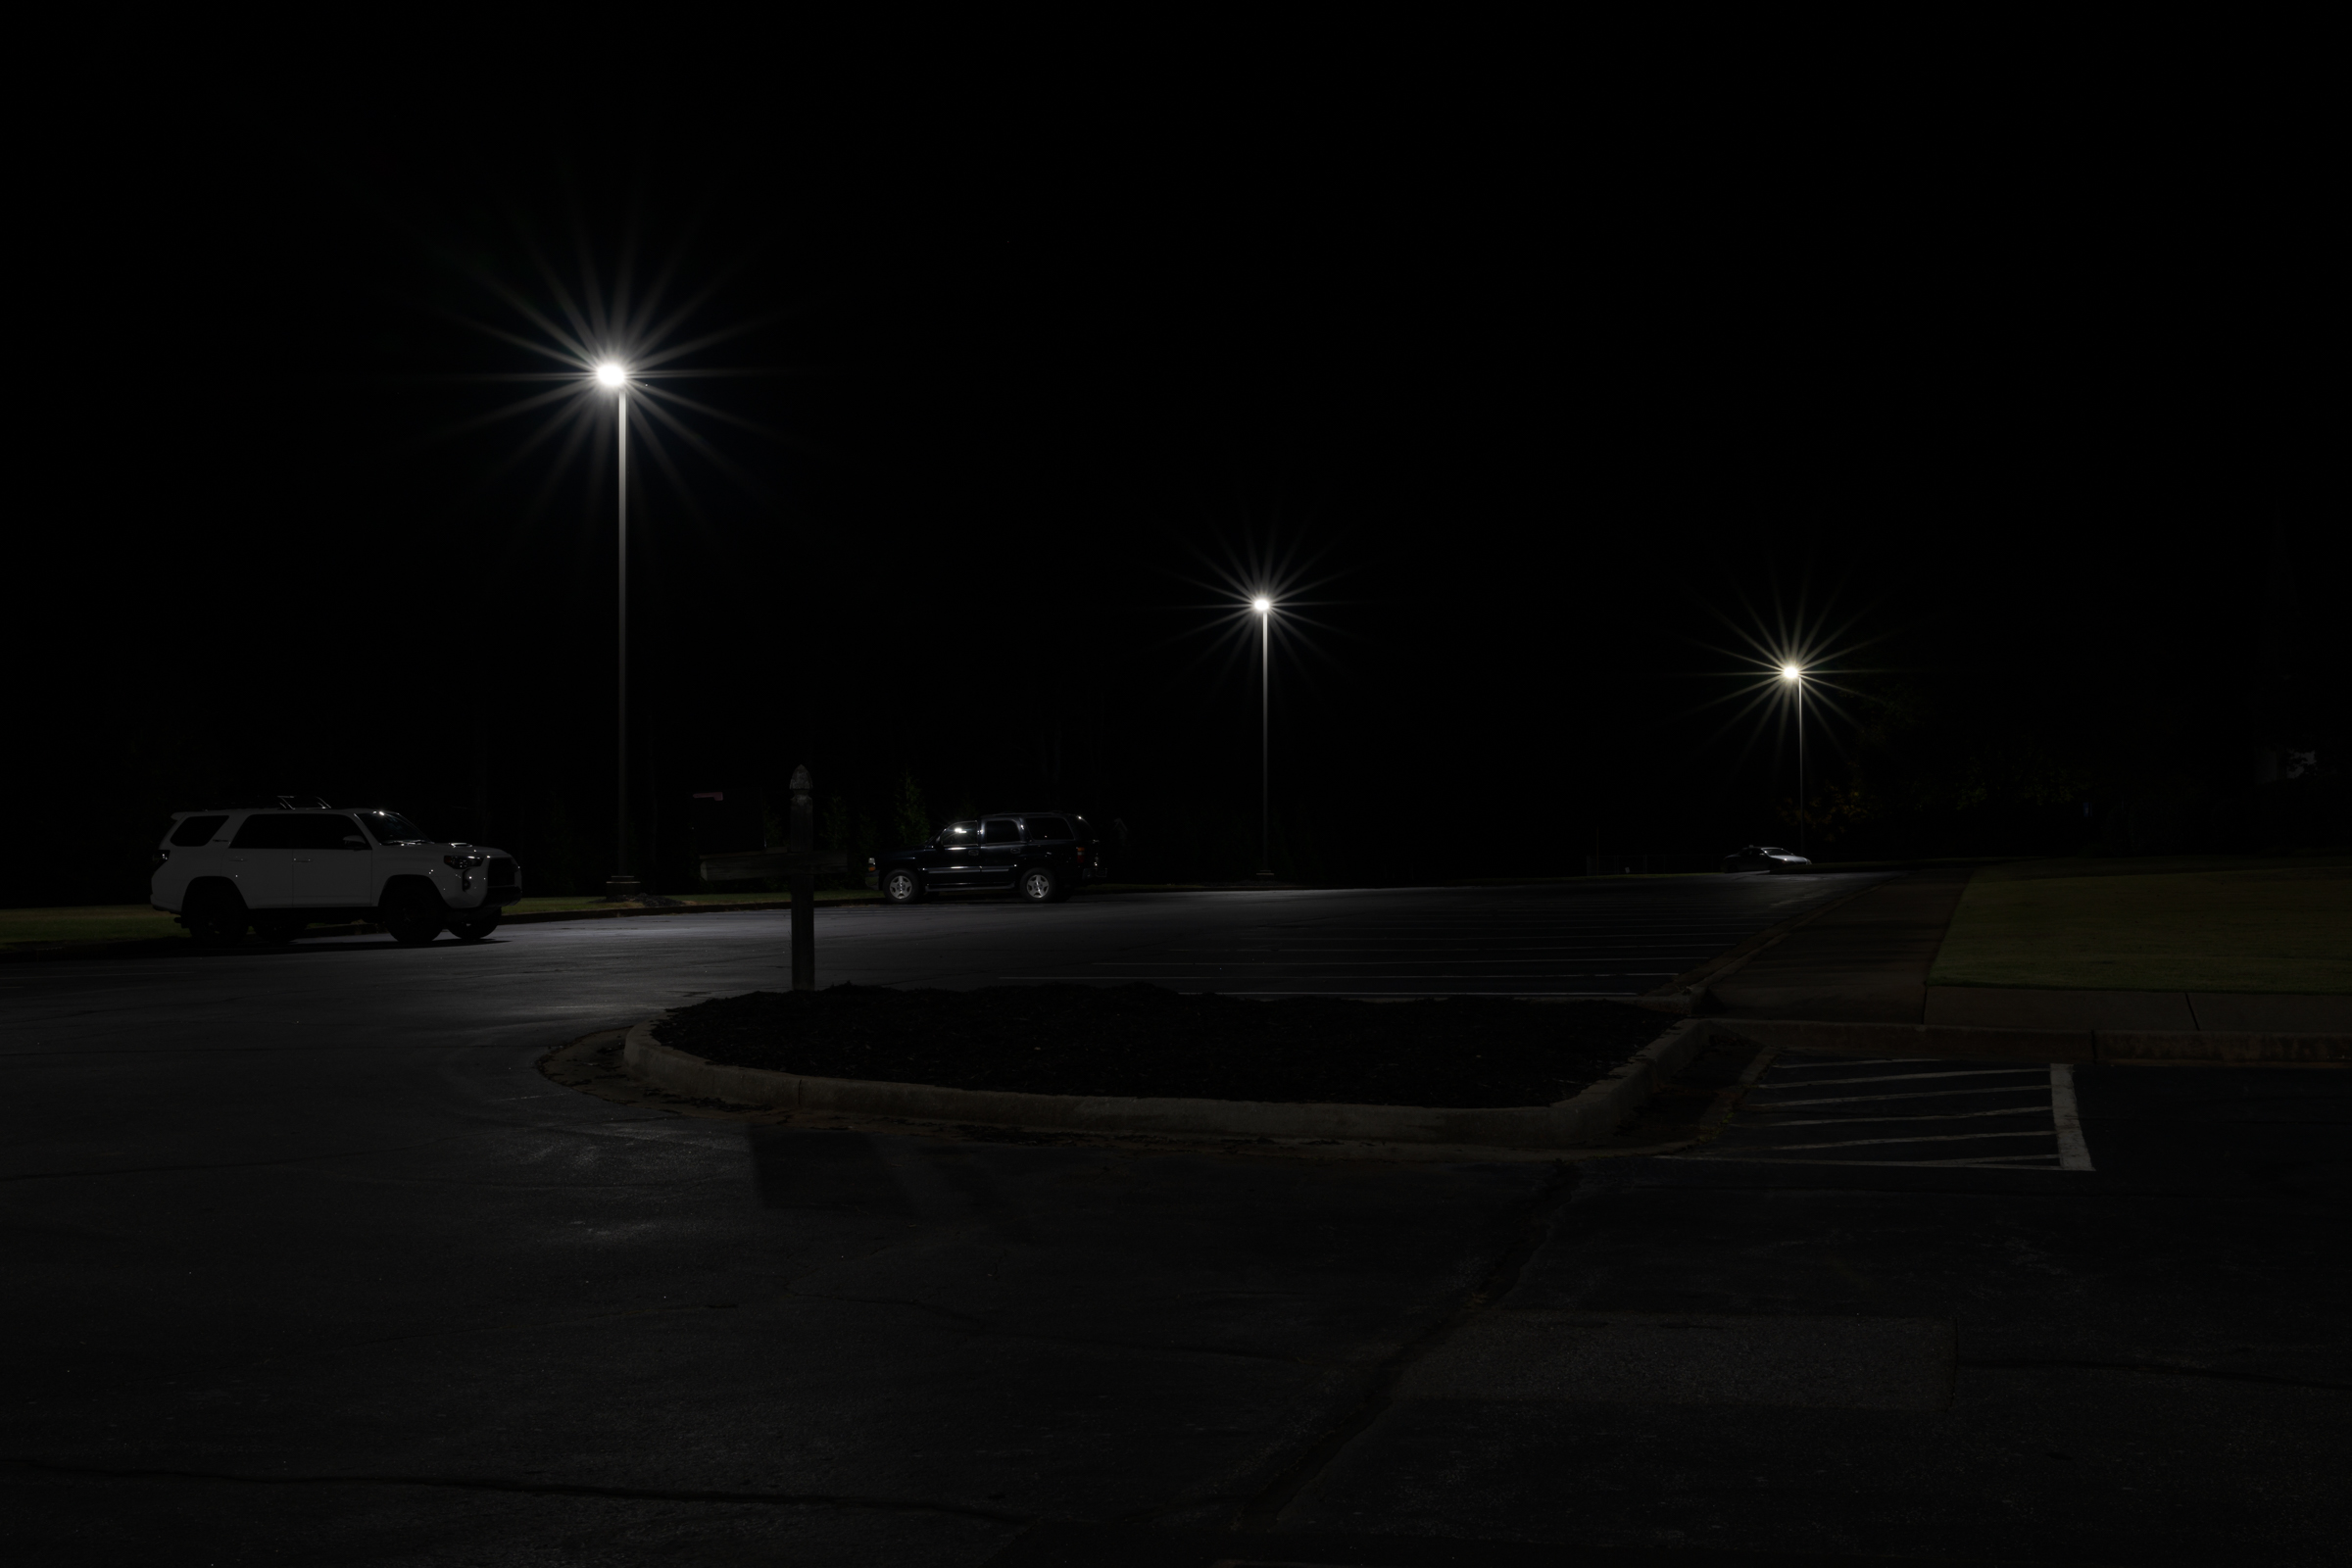
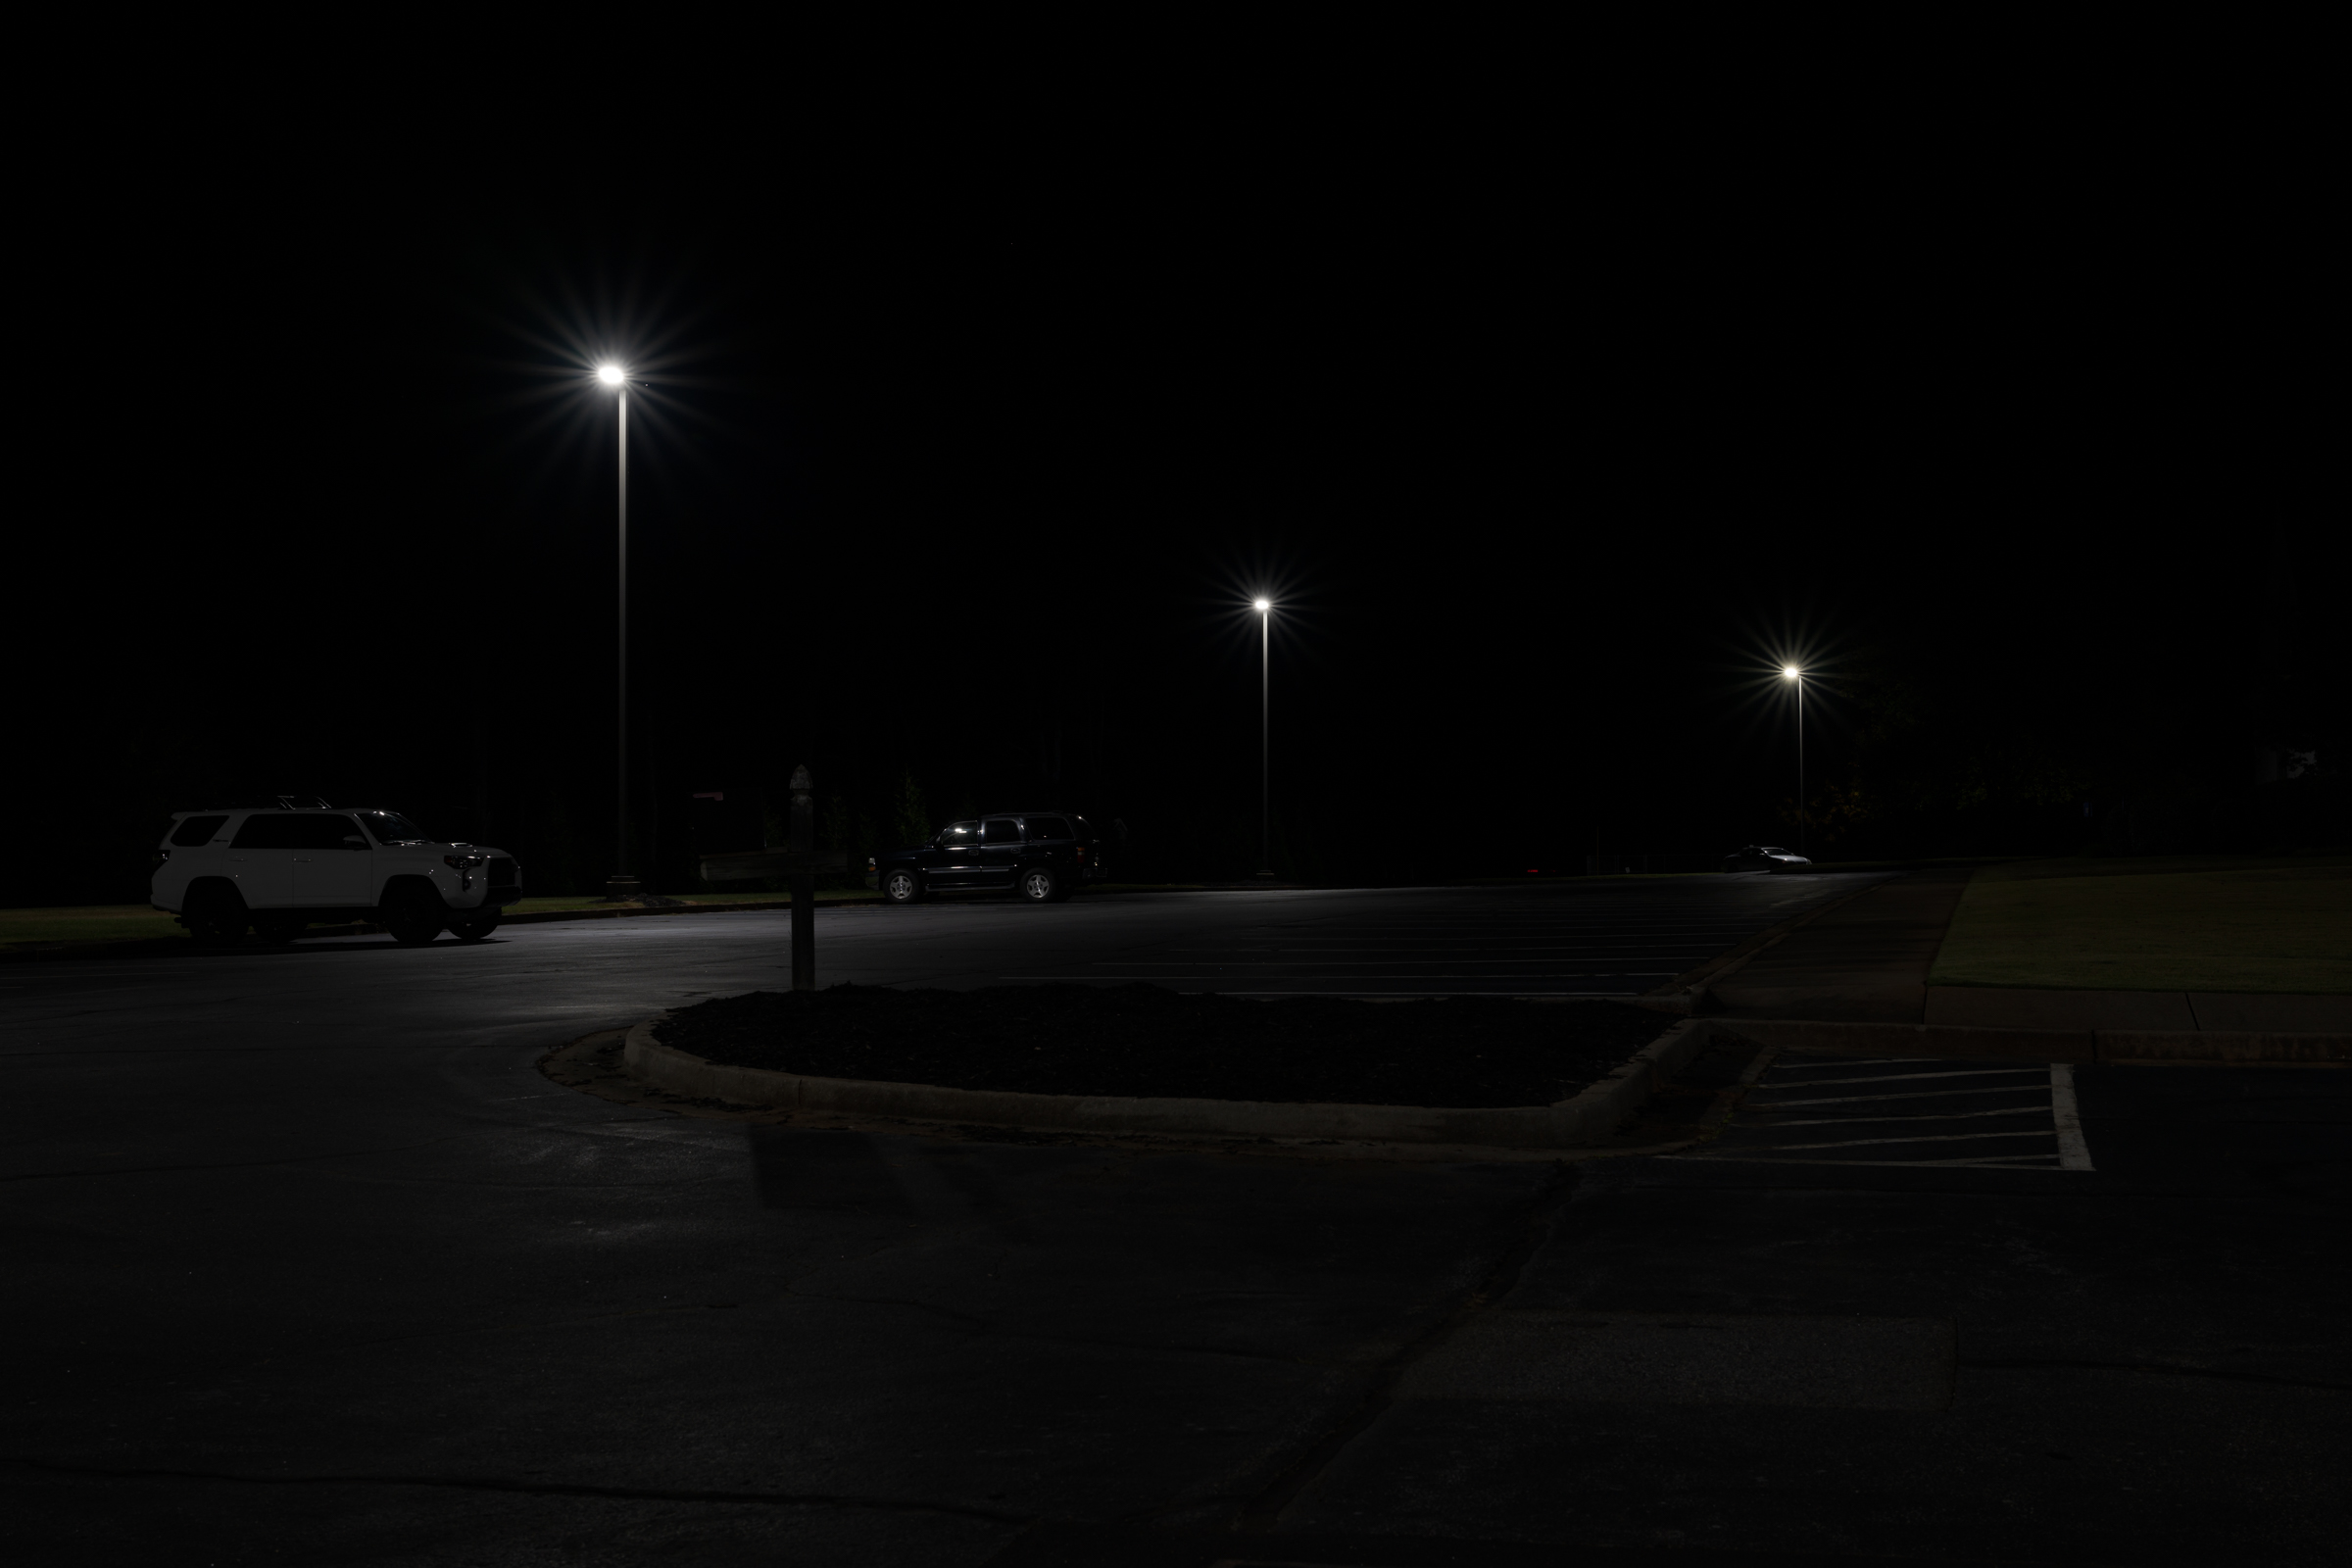
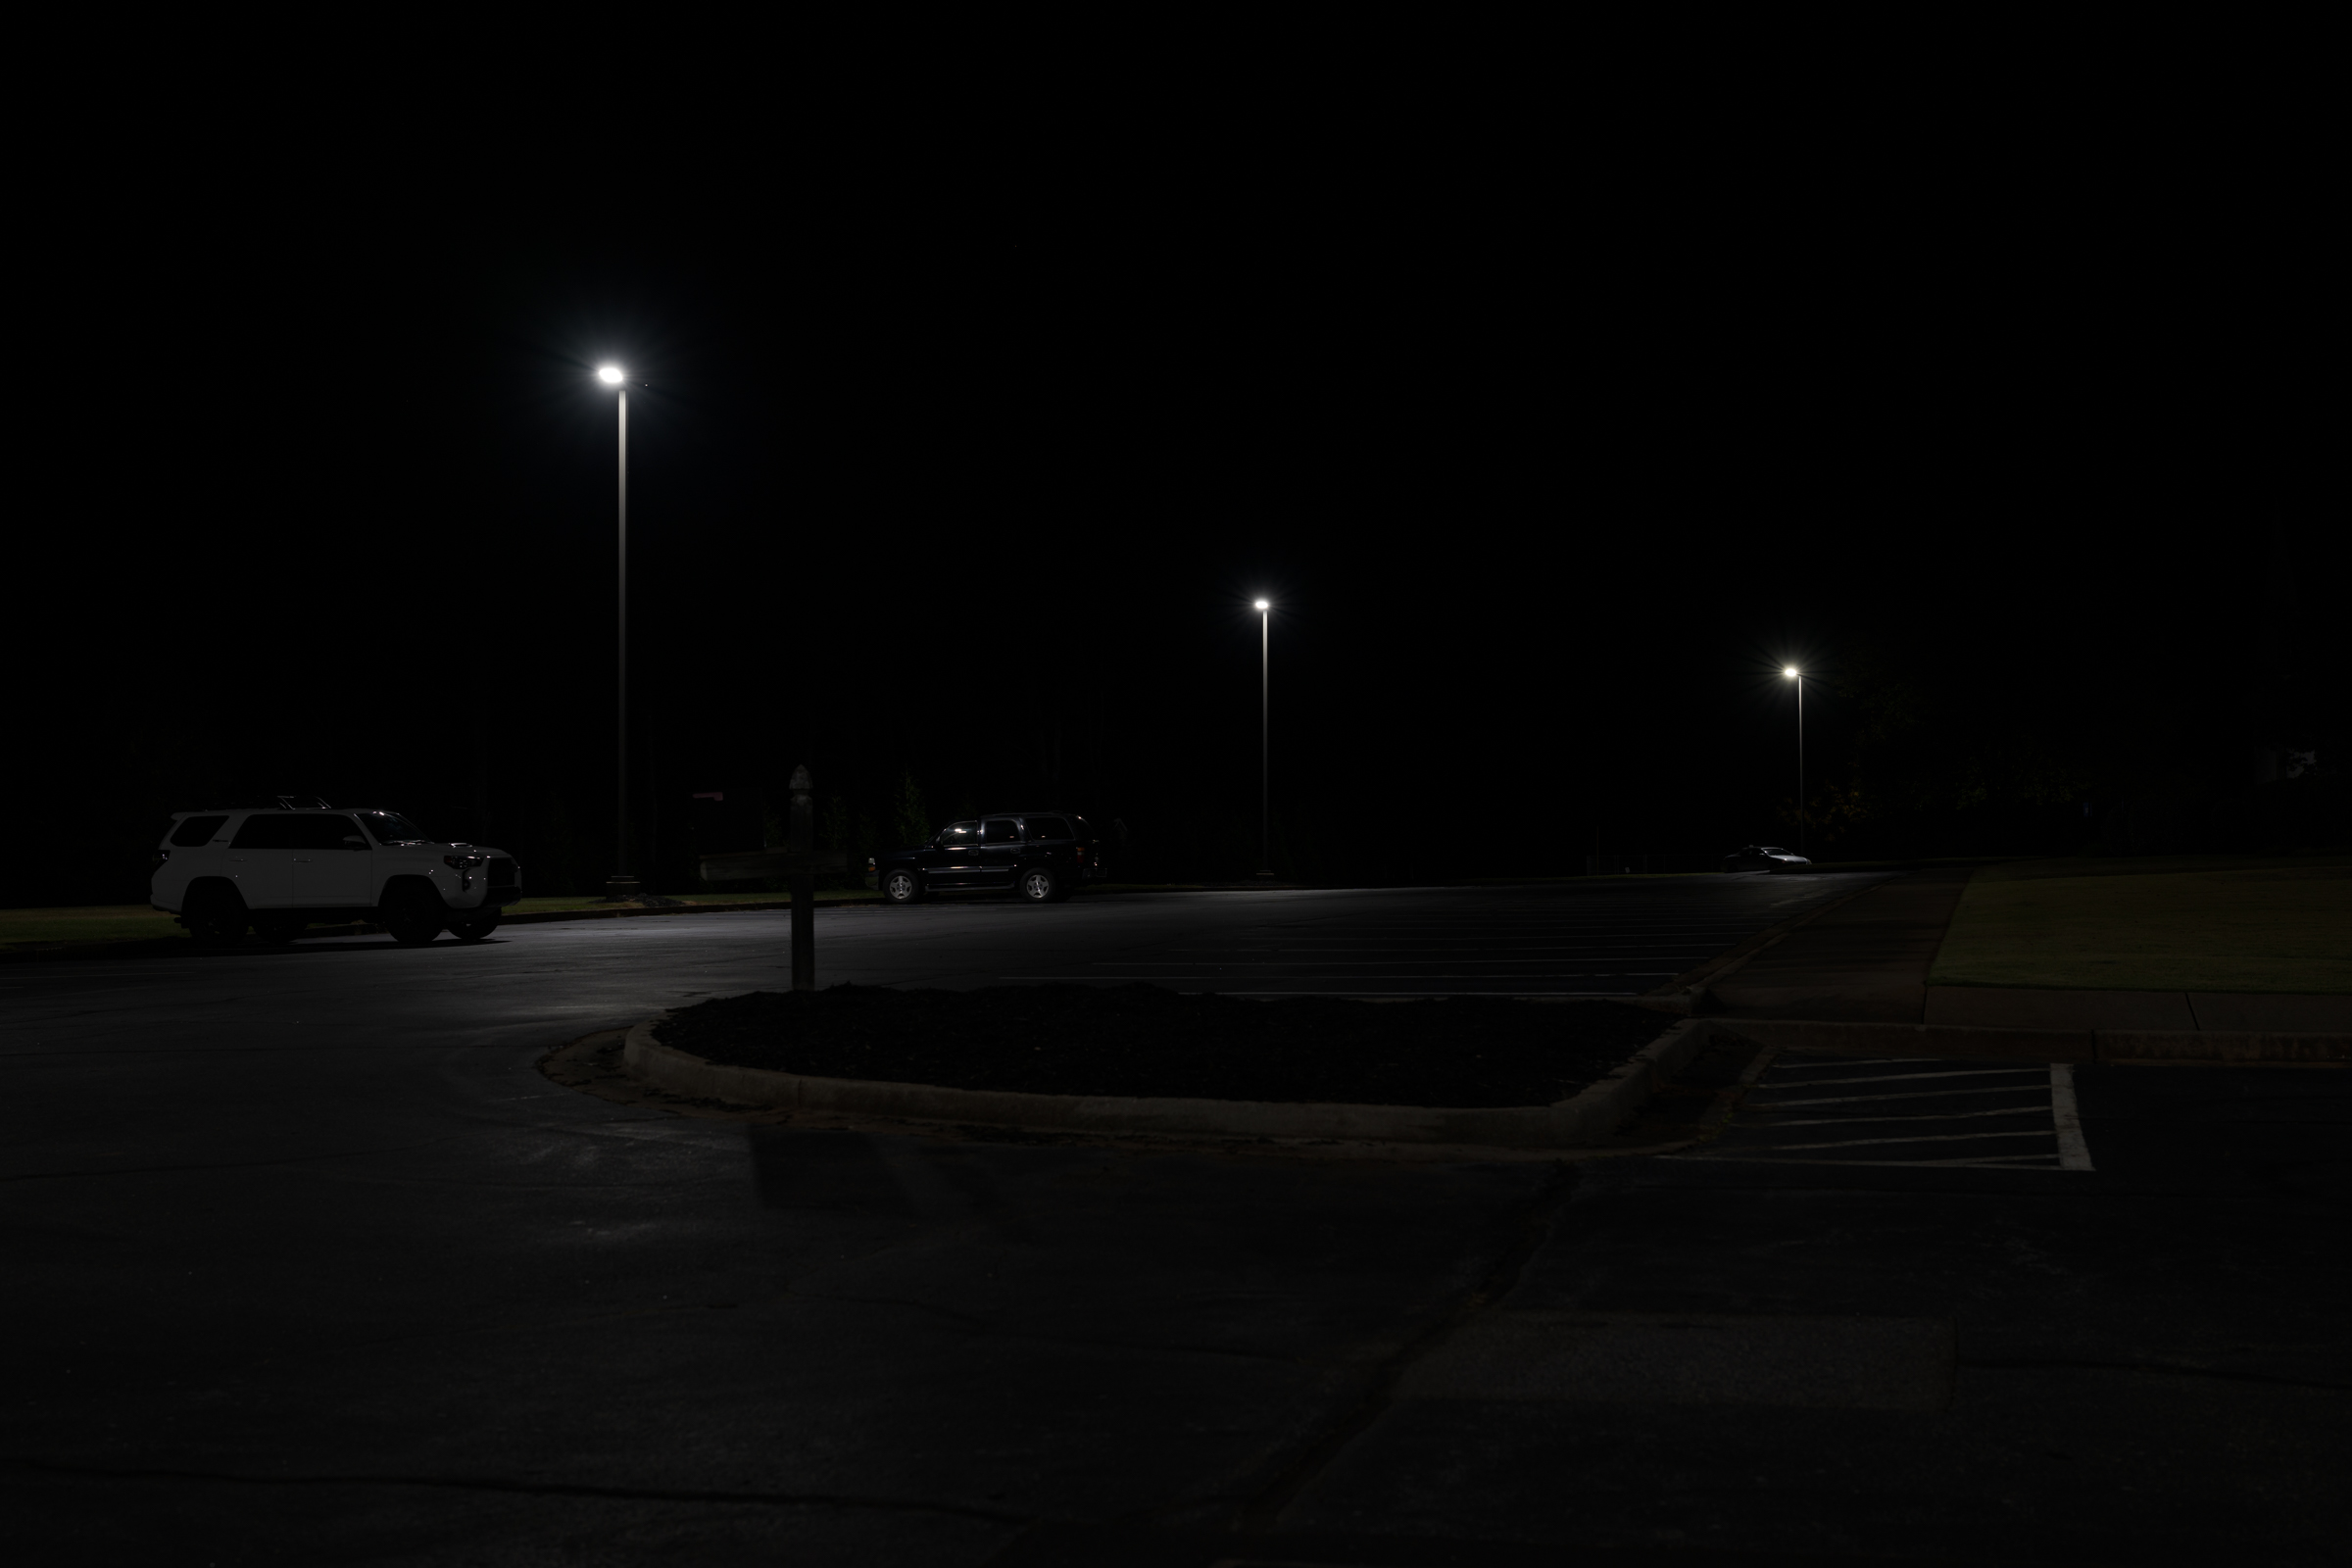
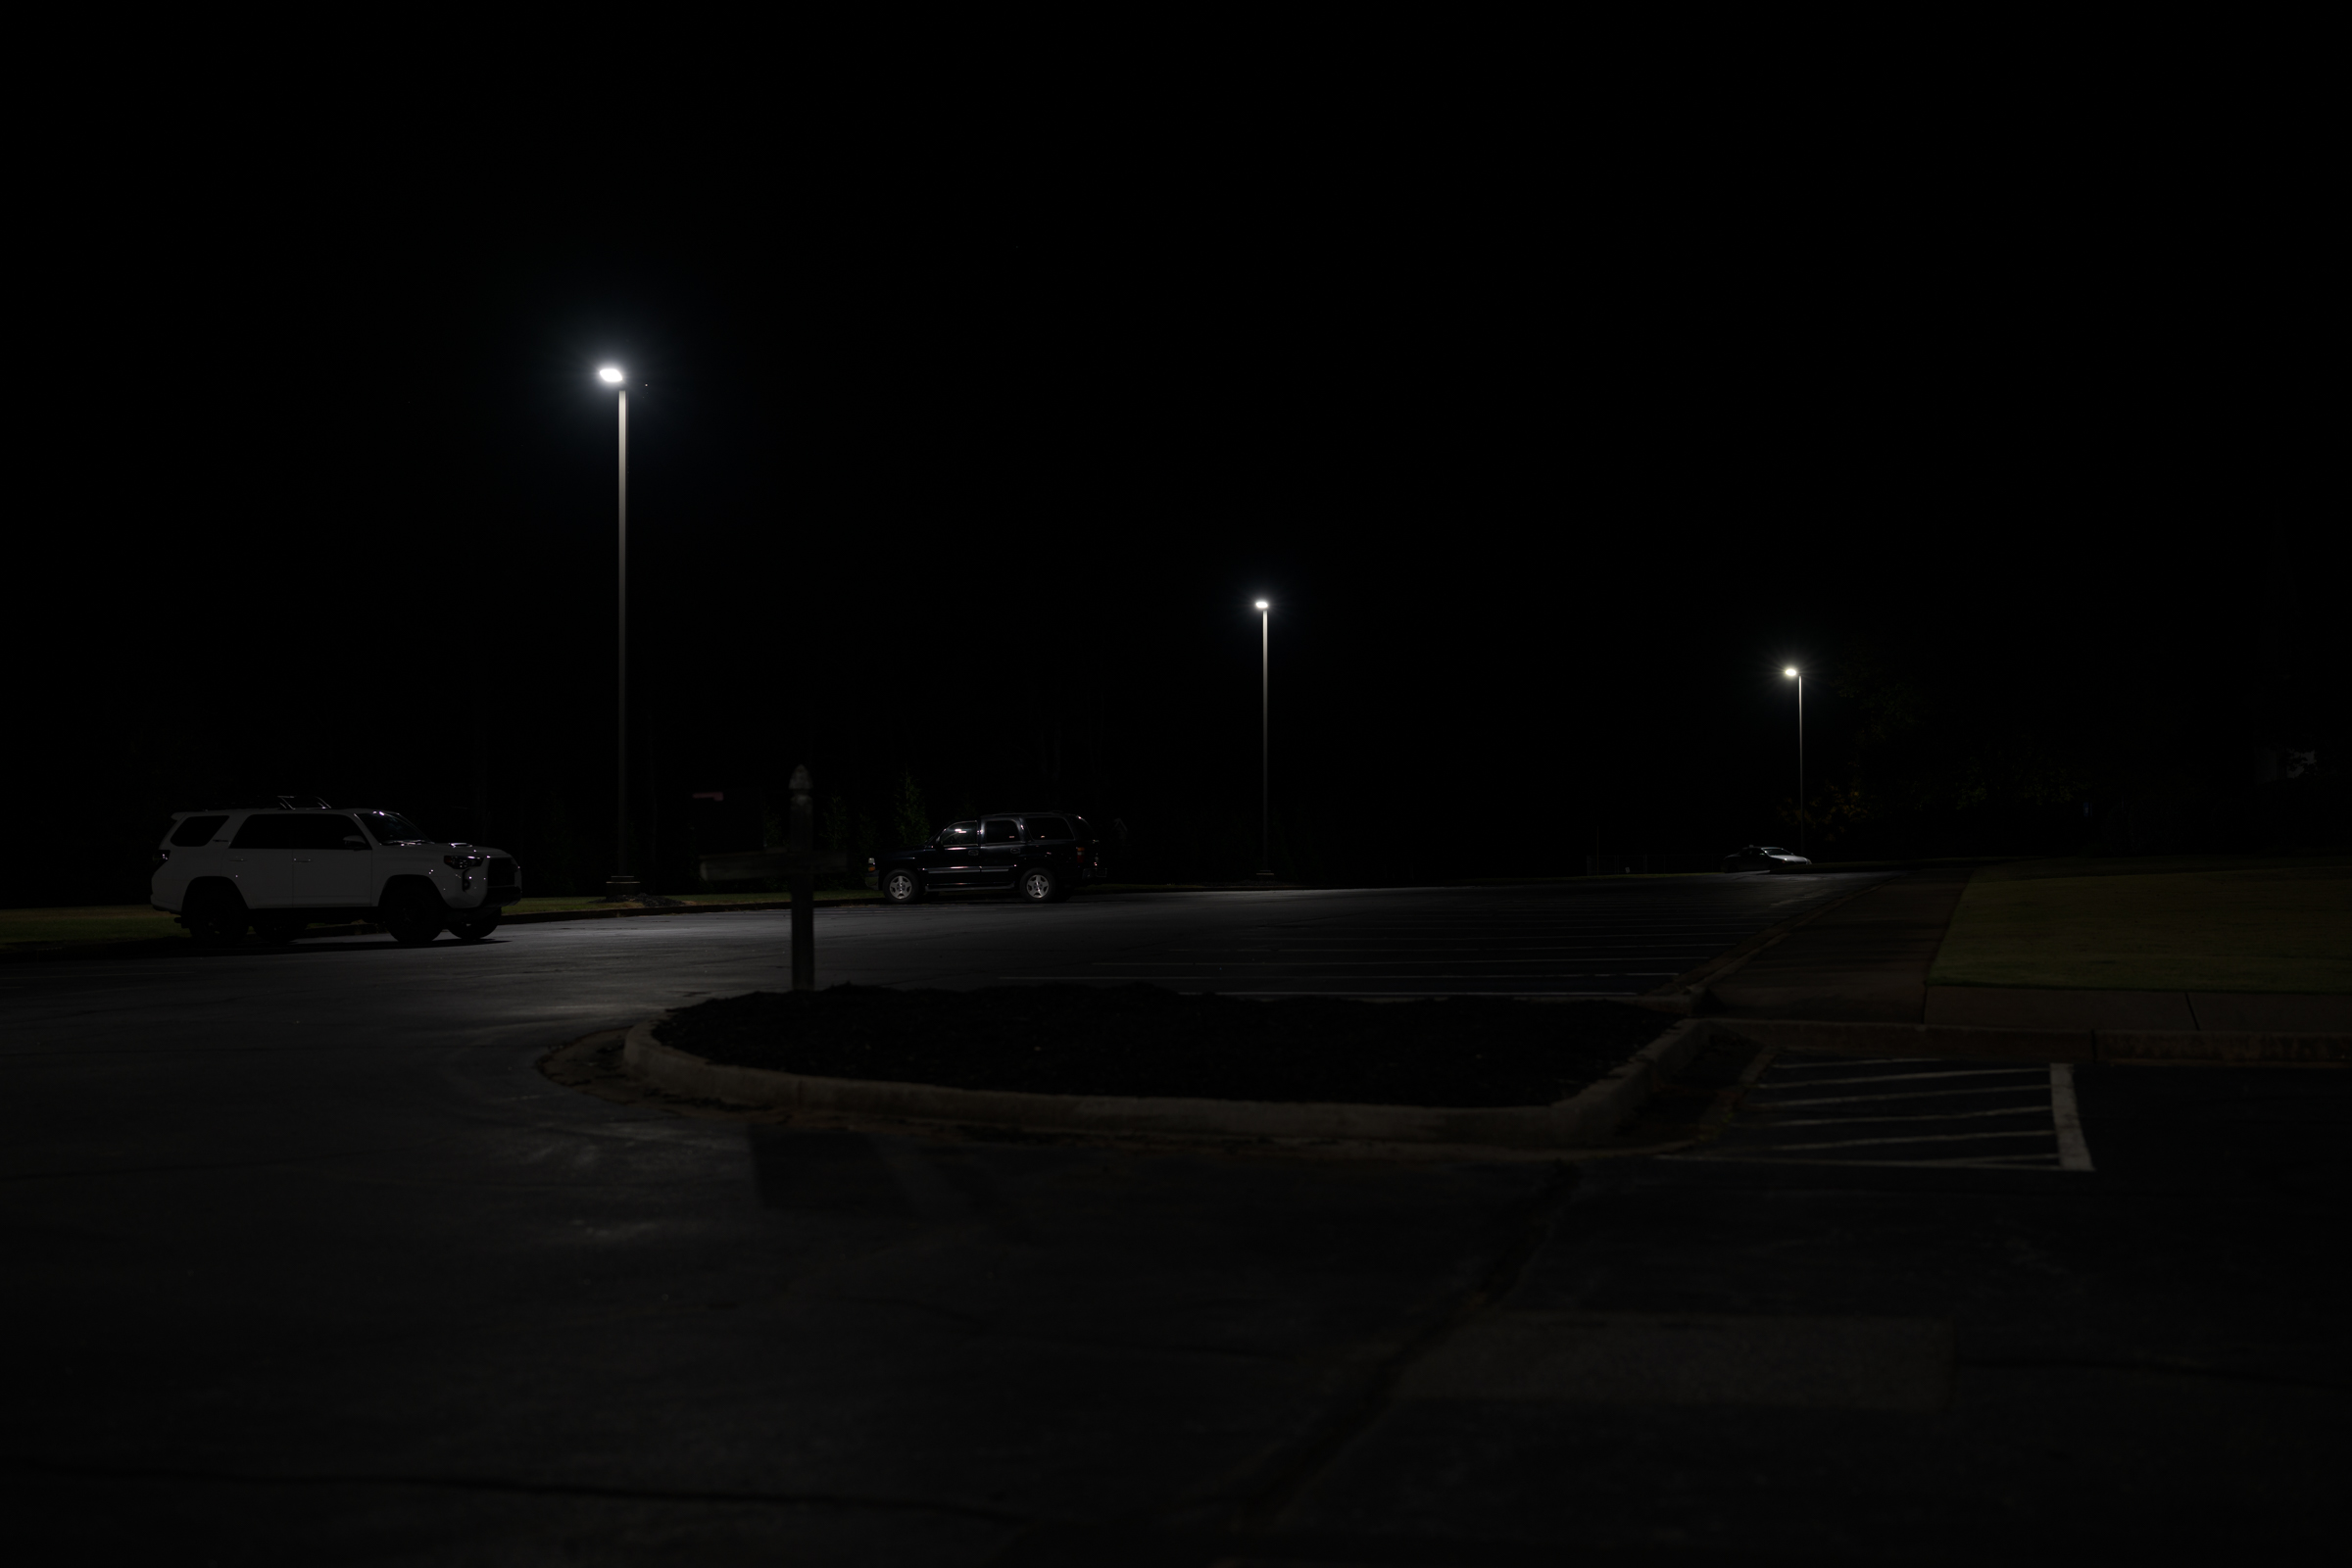
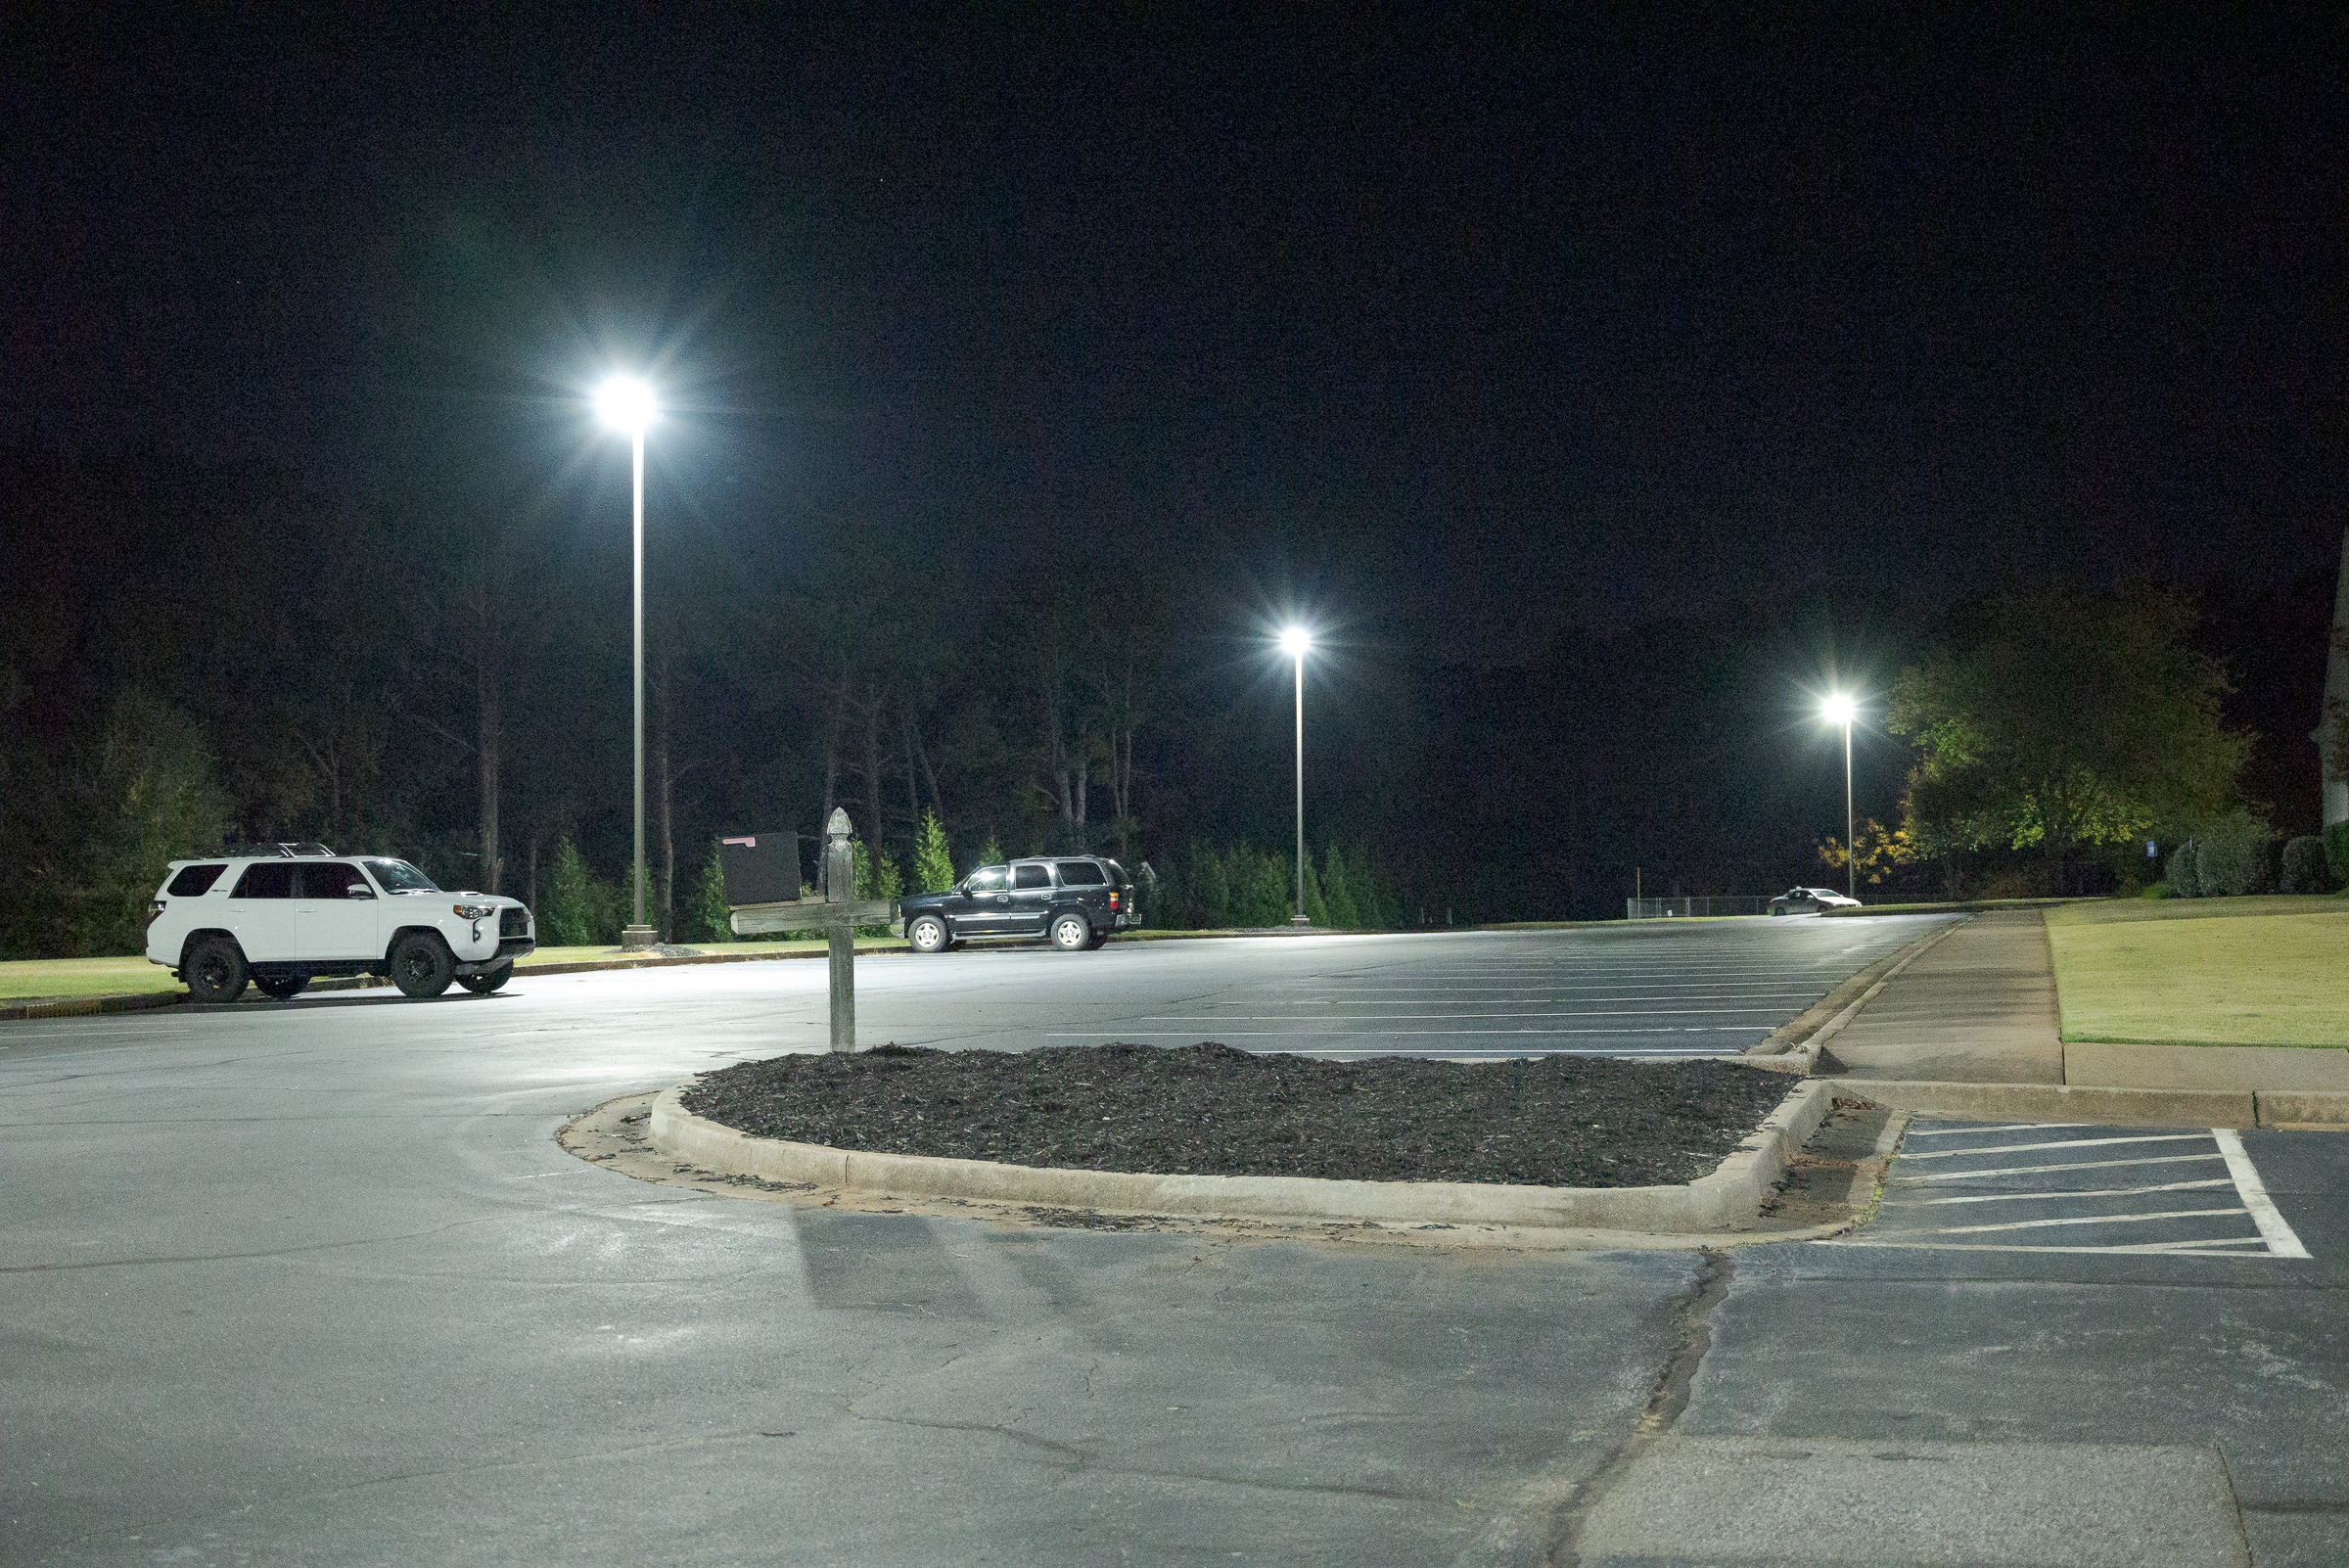
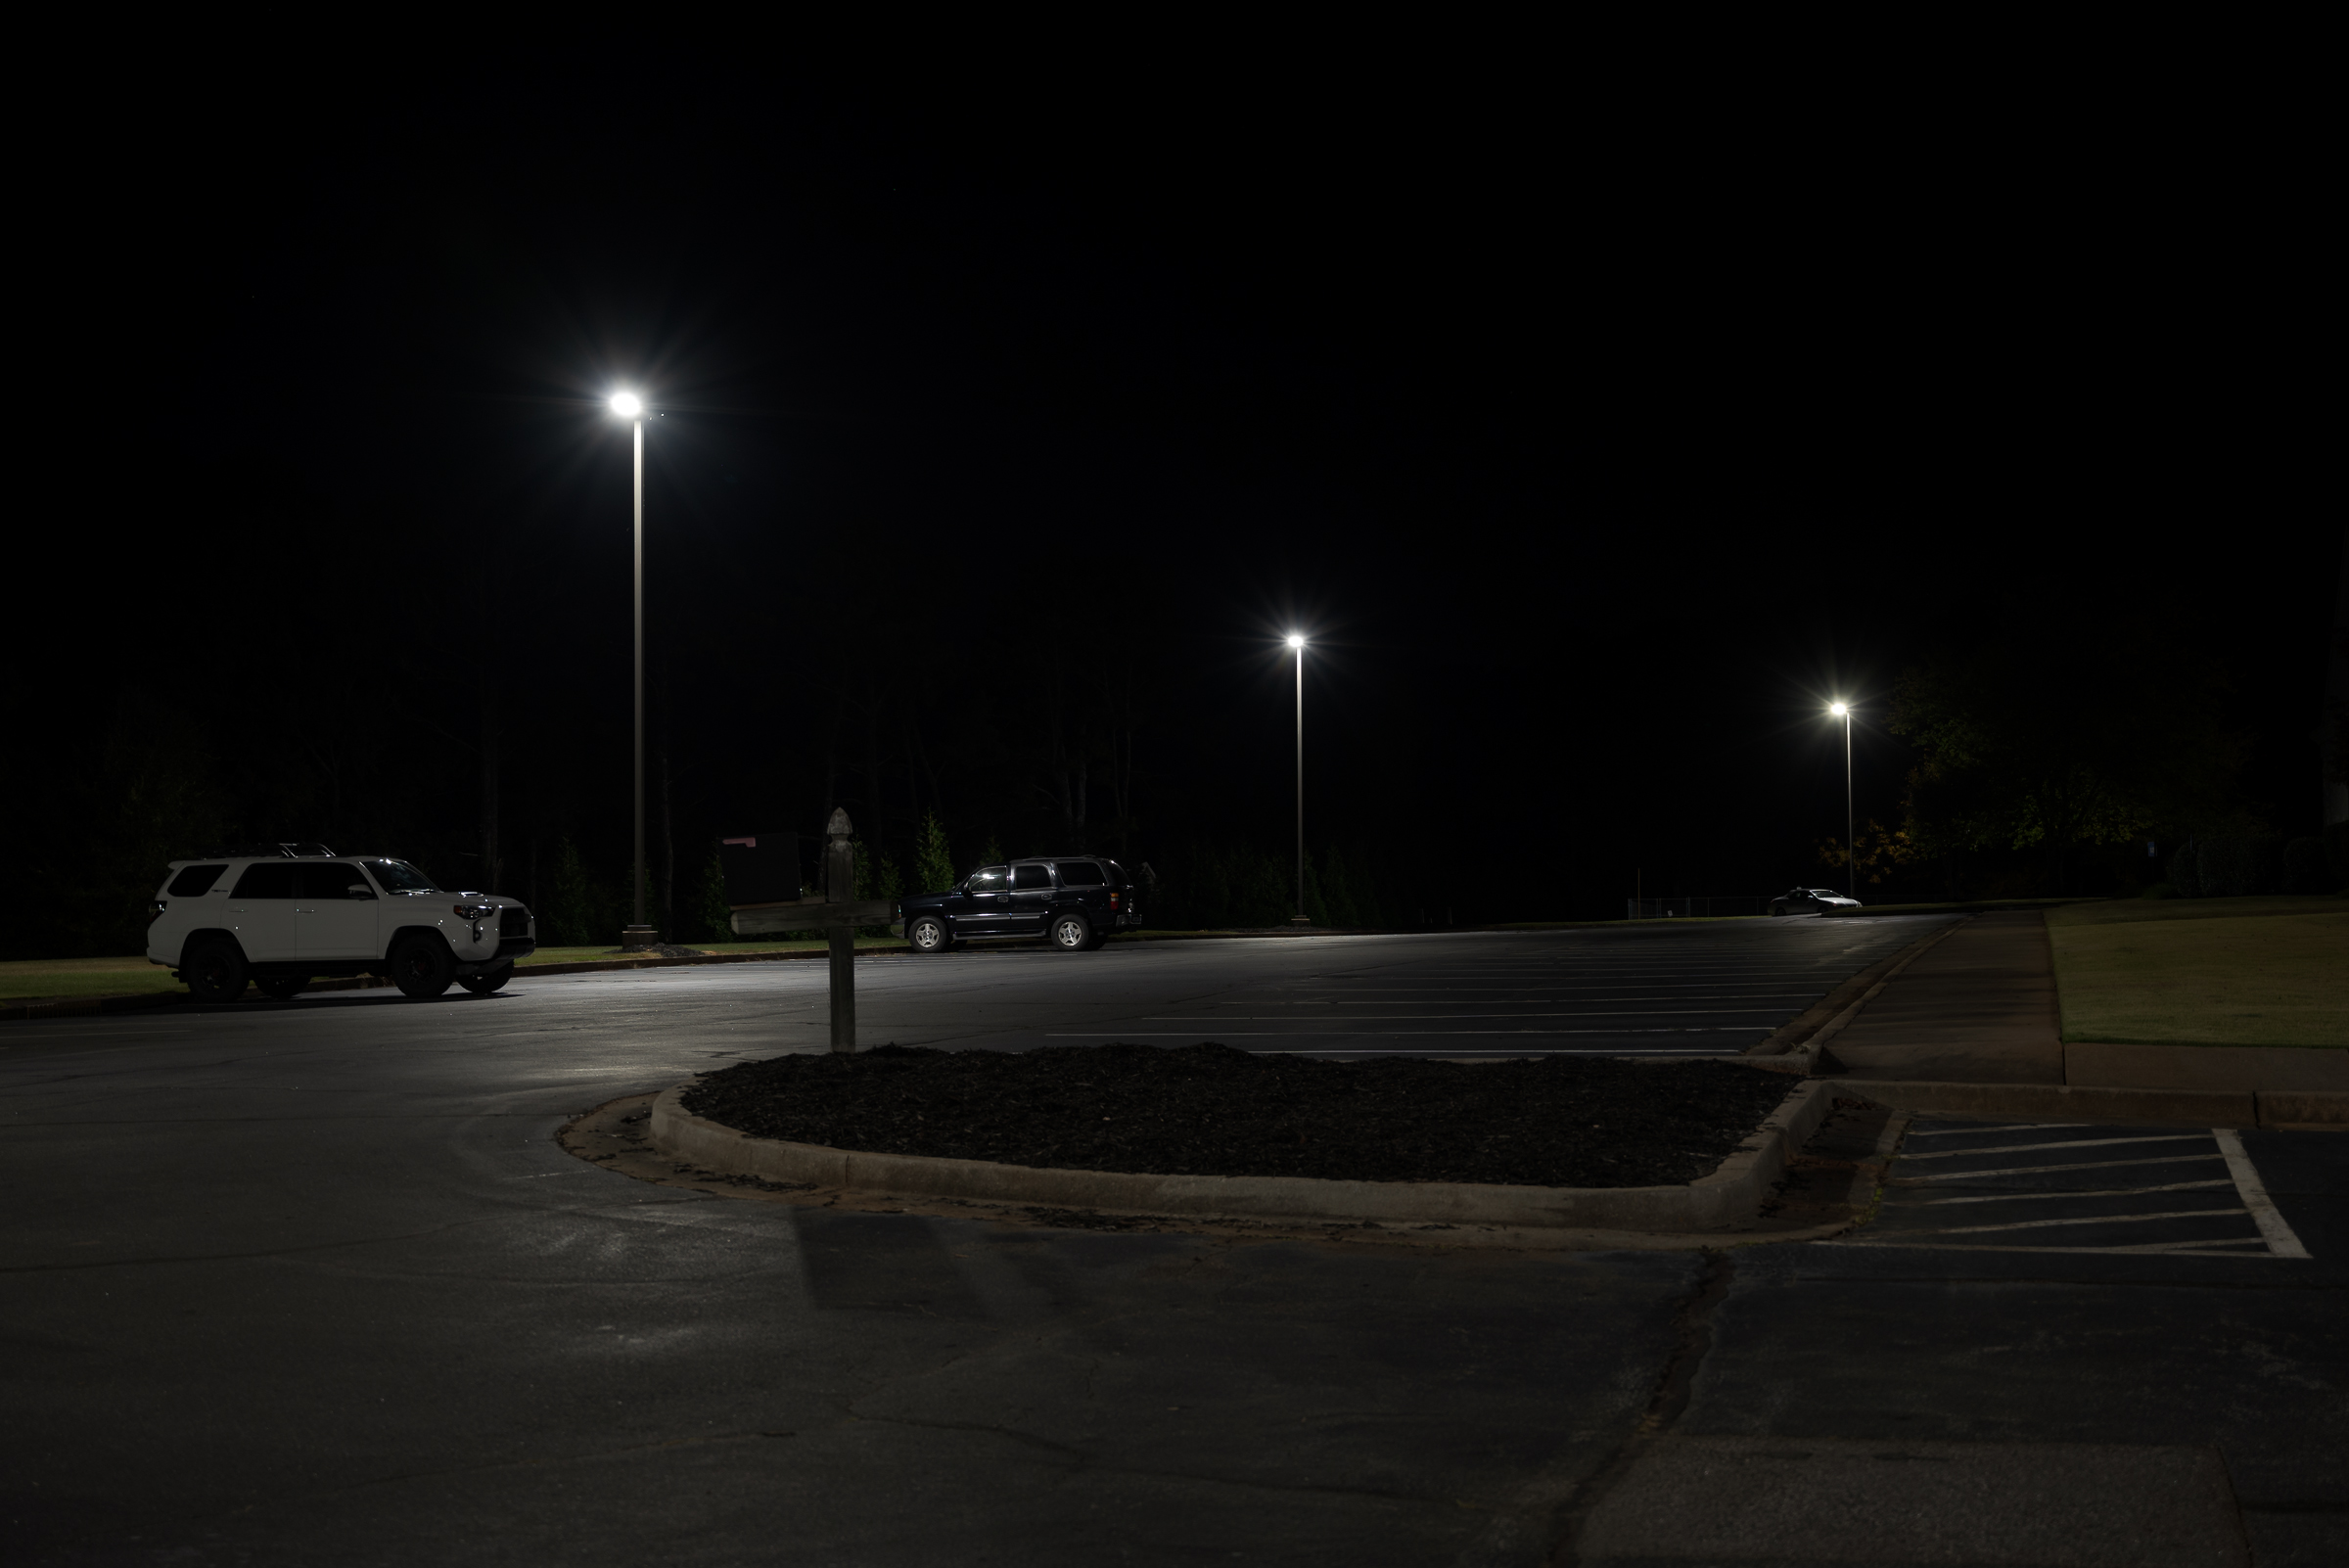
– Adjusting brightness of ambient light in relation to flashed subject (turning day into dawn or to night.)
– Using reflectors or second flashes to fill in shadows opposite of the main flash.
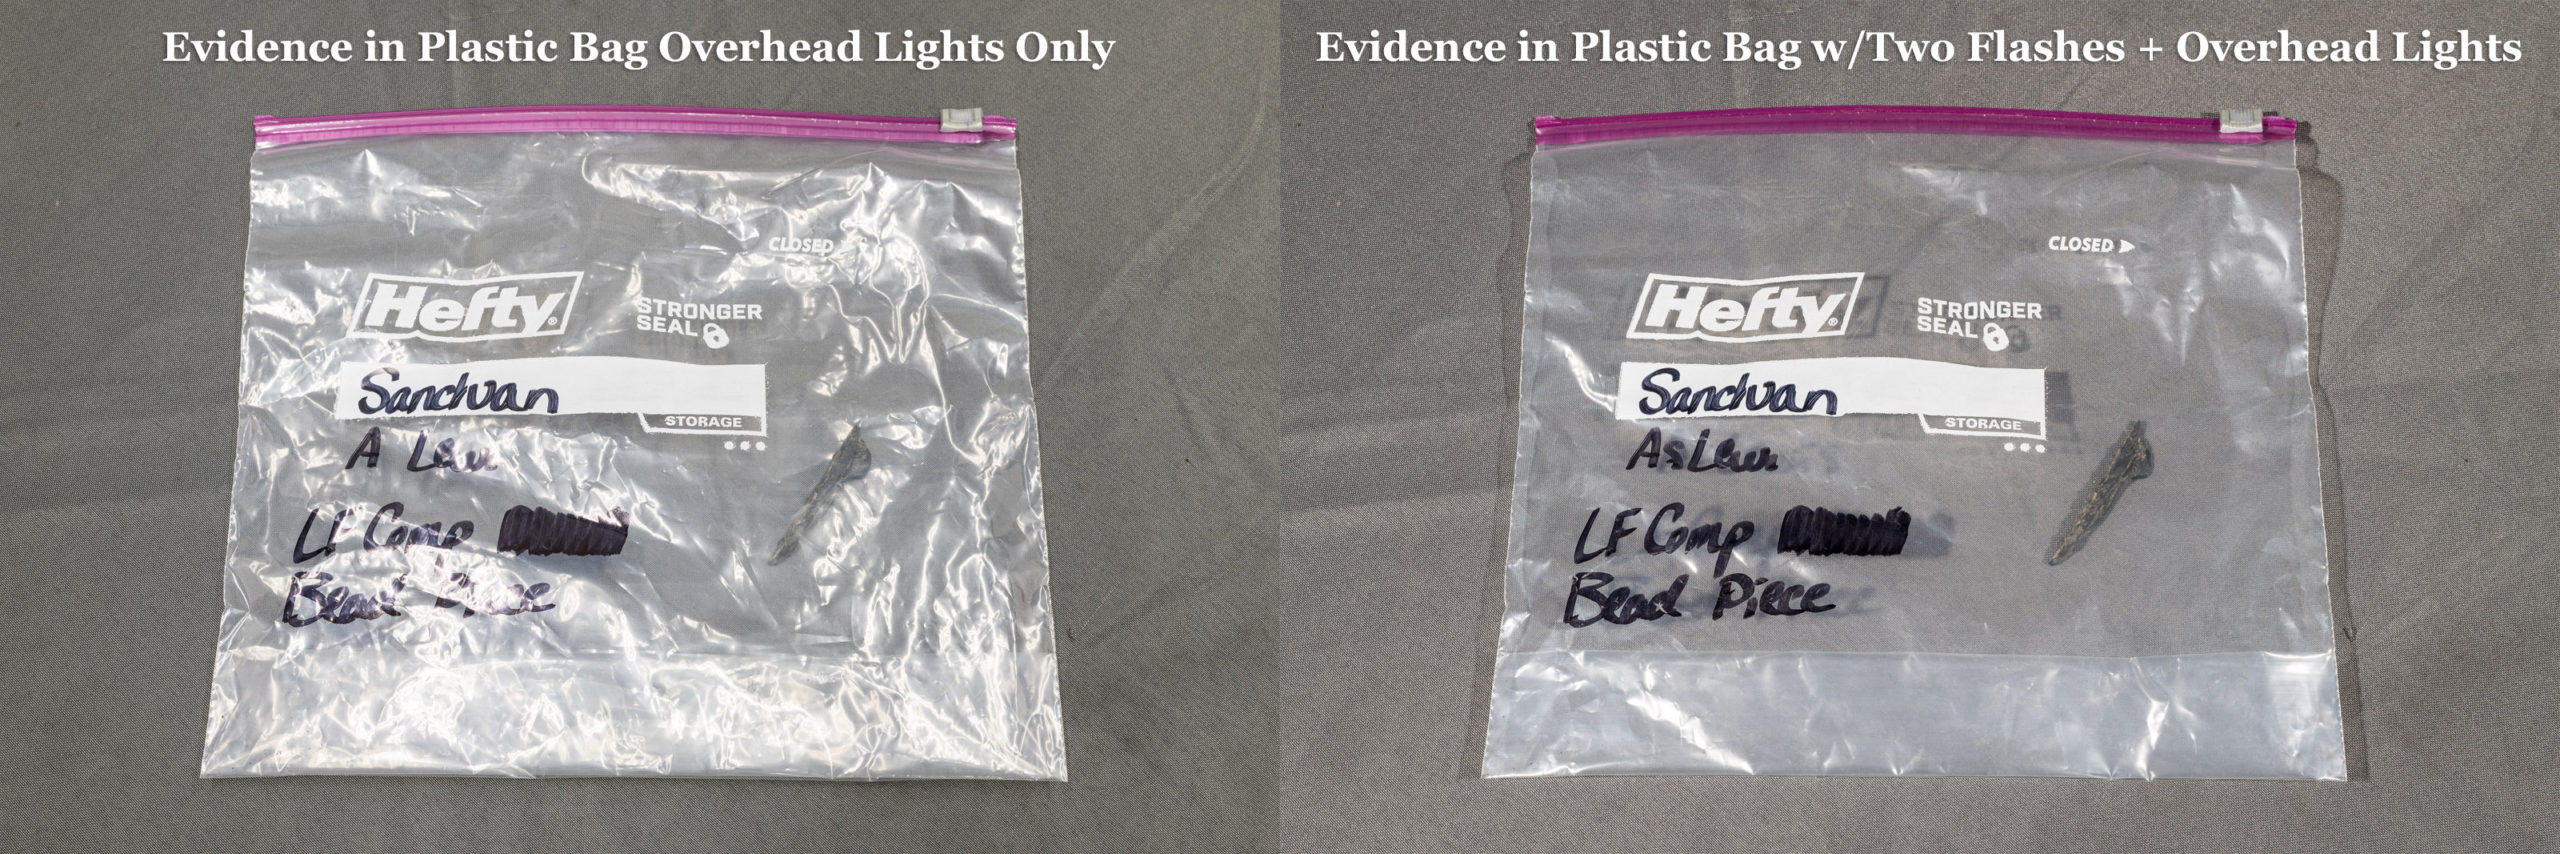
– Eliminating reflections off clear plastic bags (or any other translucent material) using two off-camera flashes and a camera-mounted flash or flash trigger.
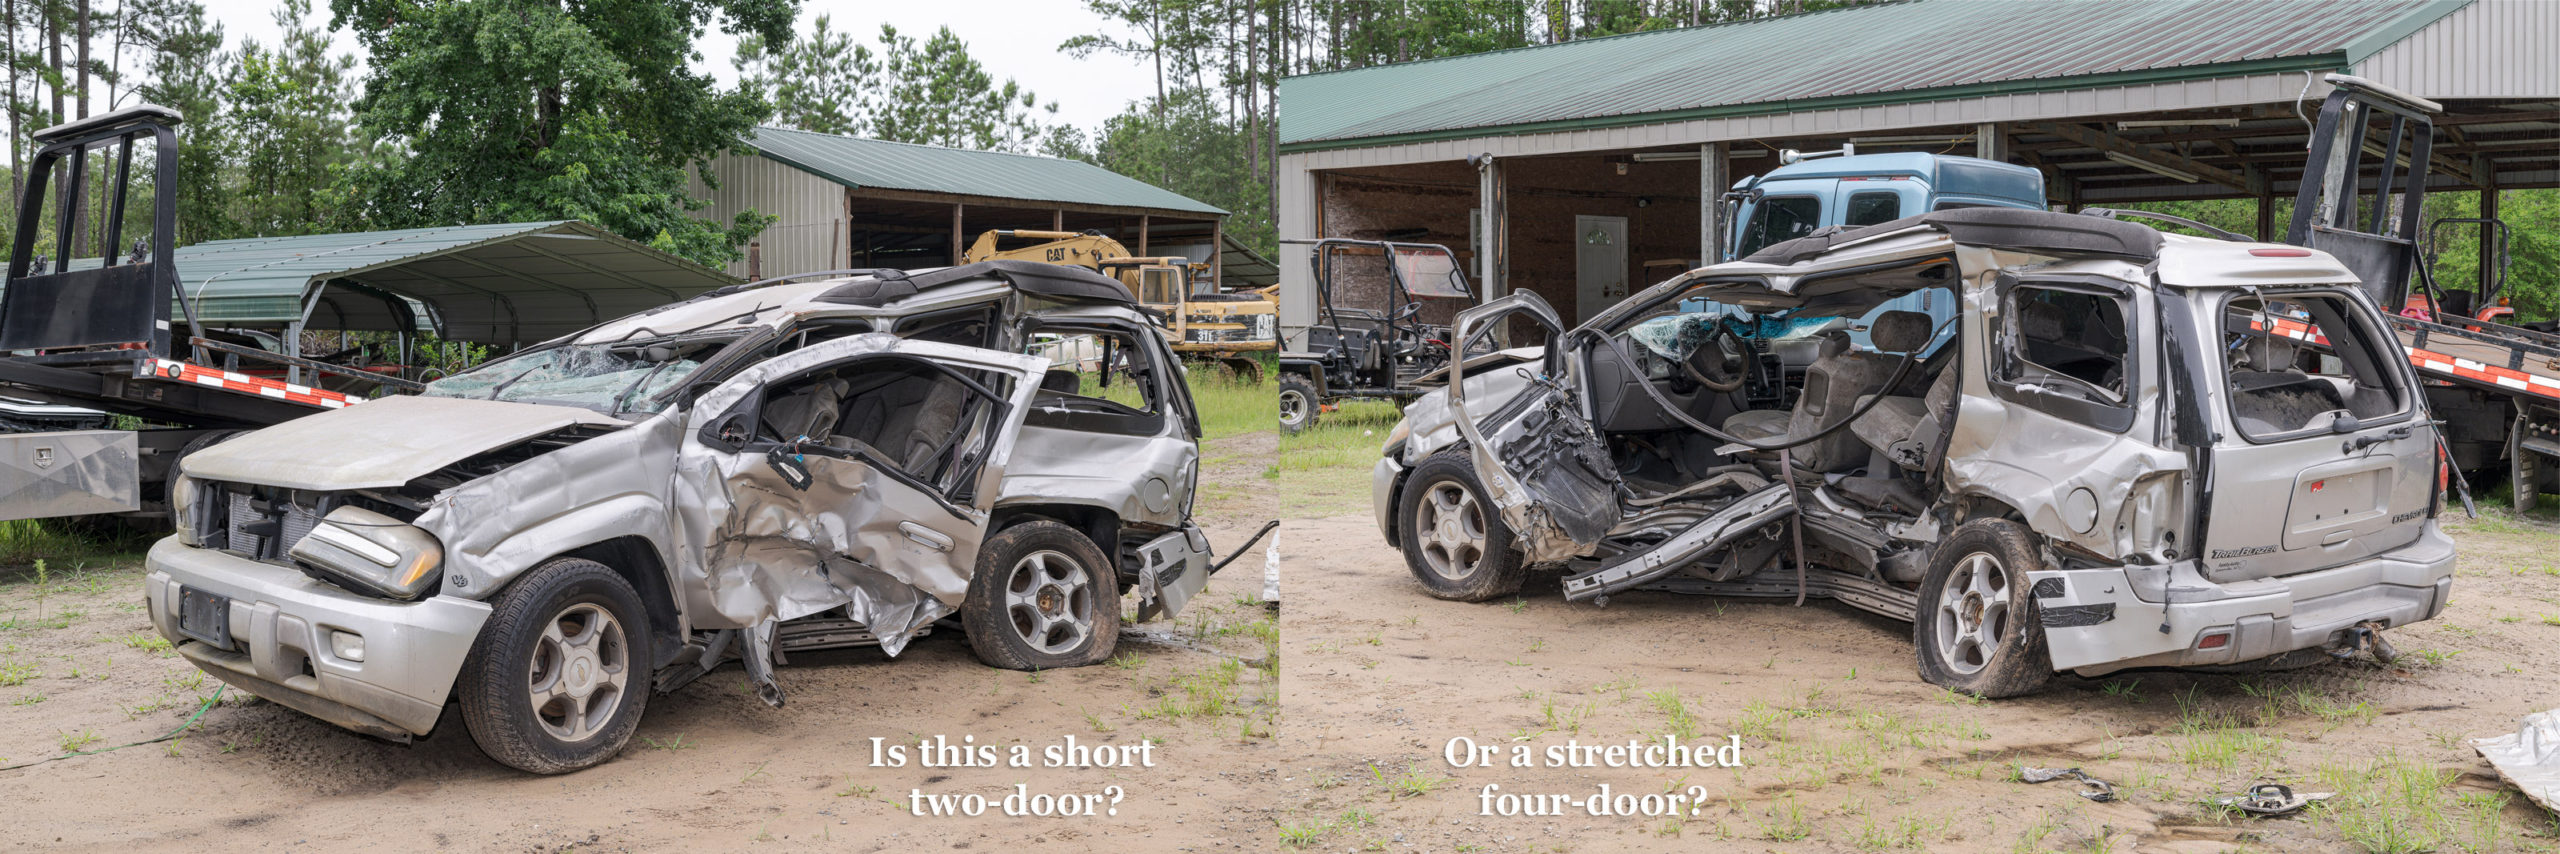
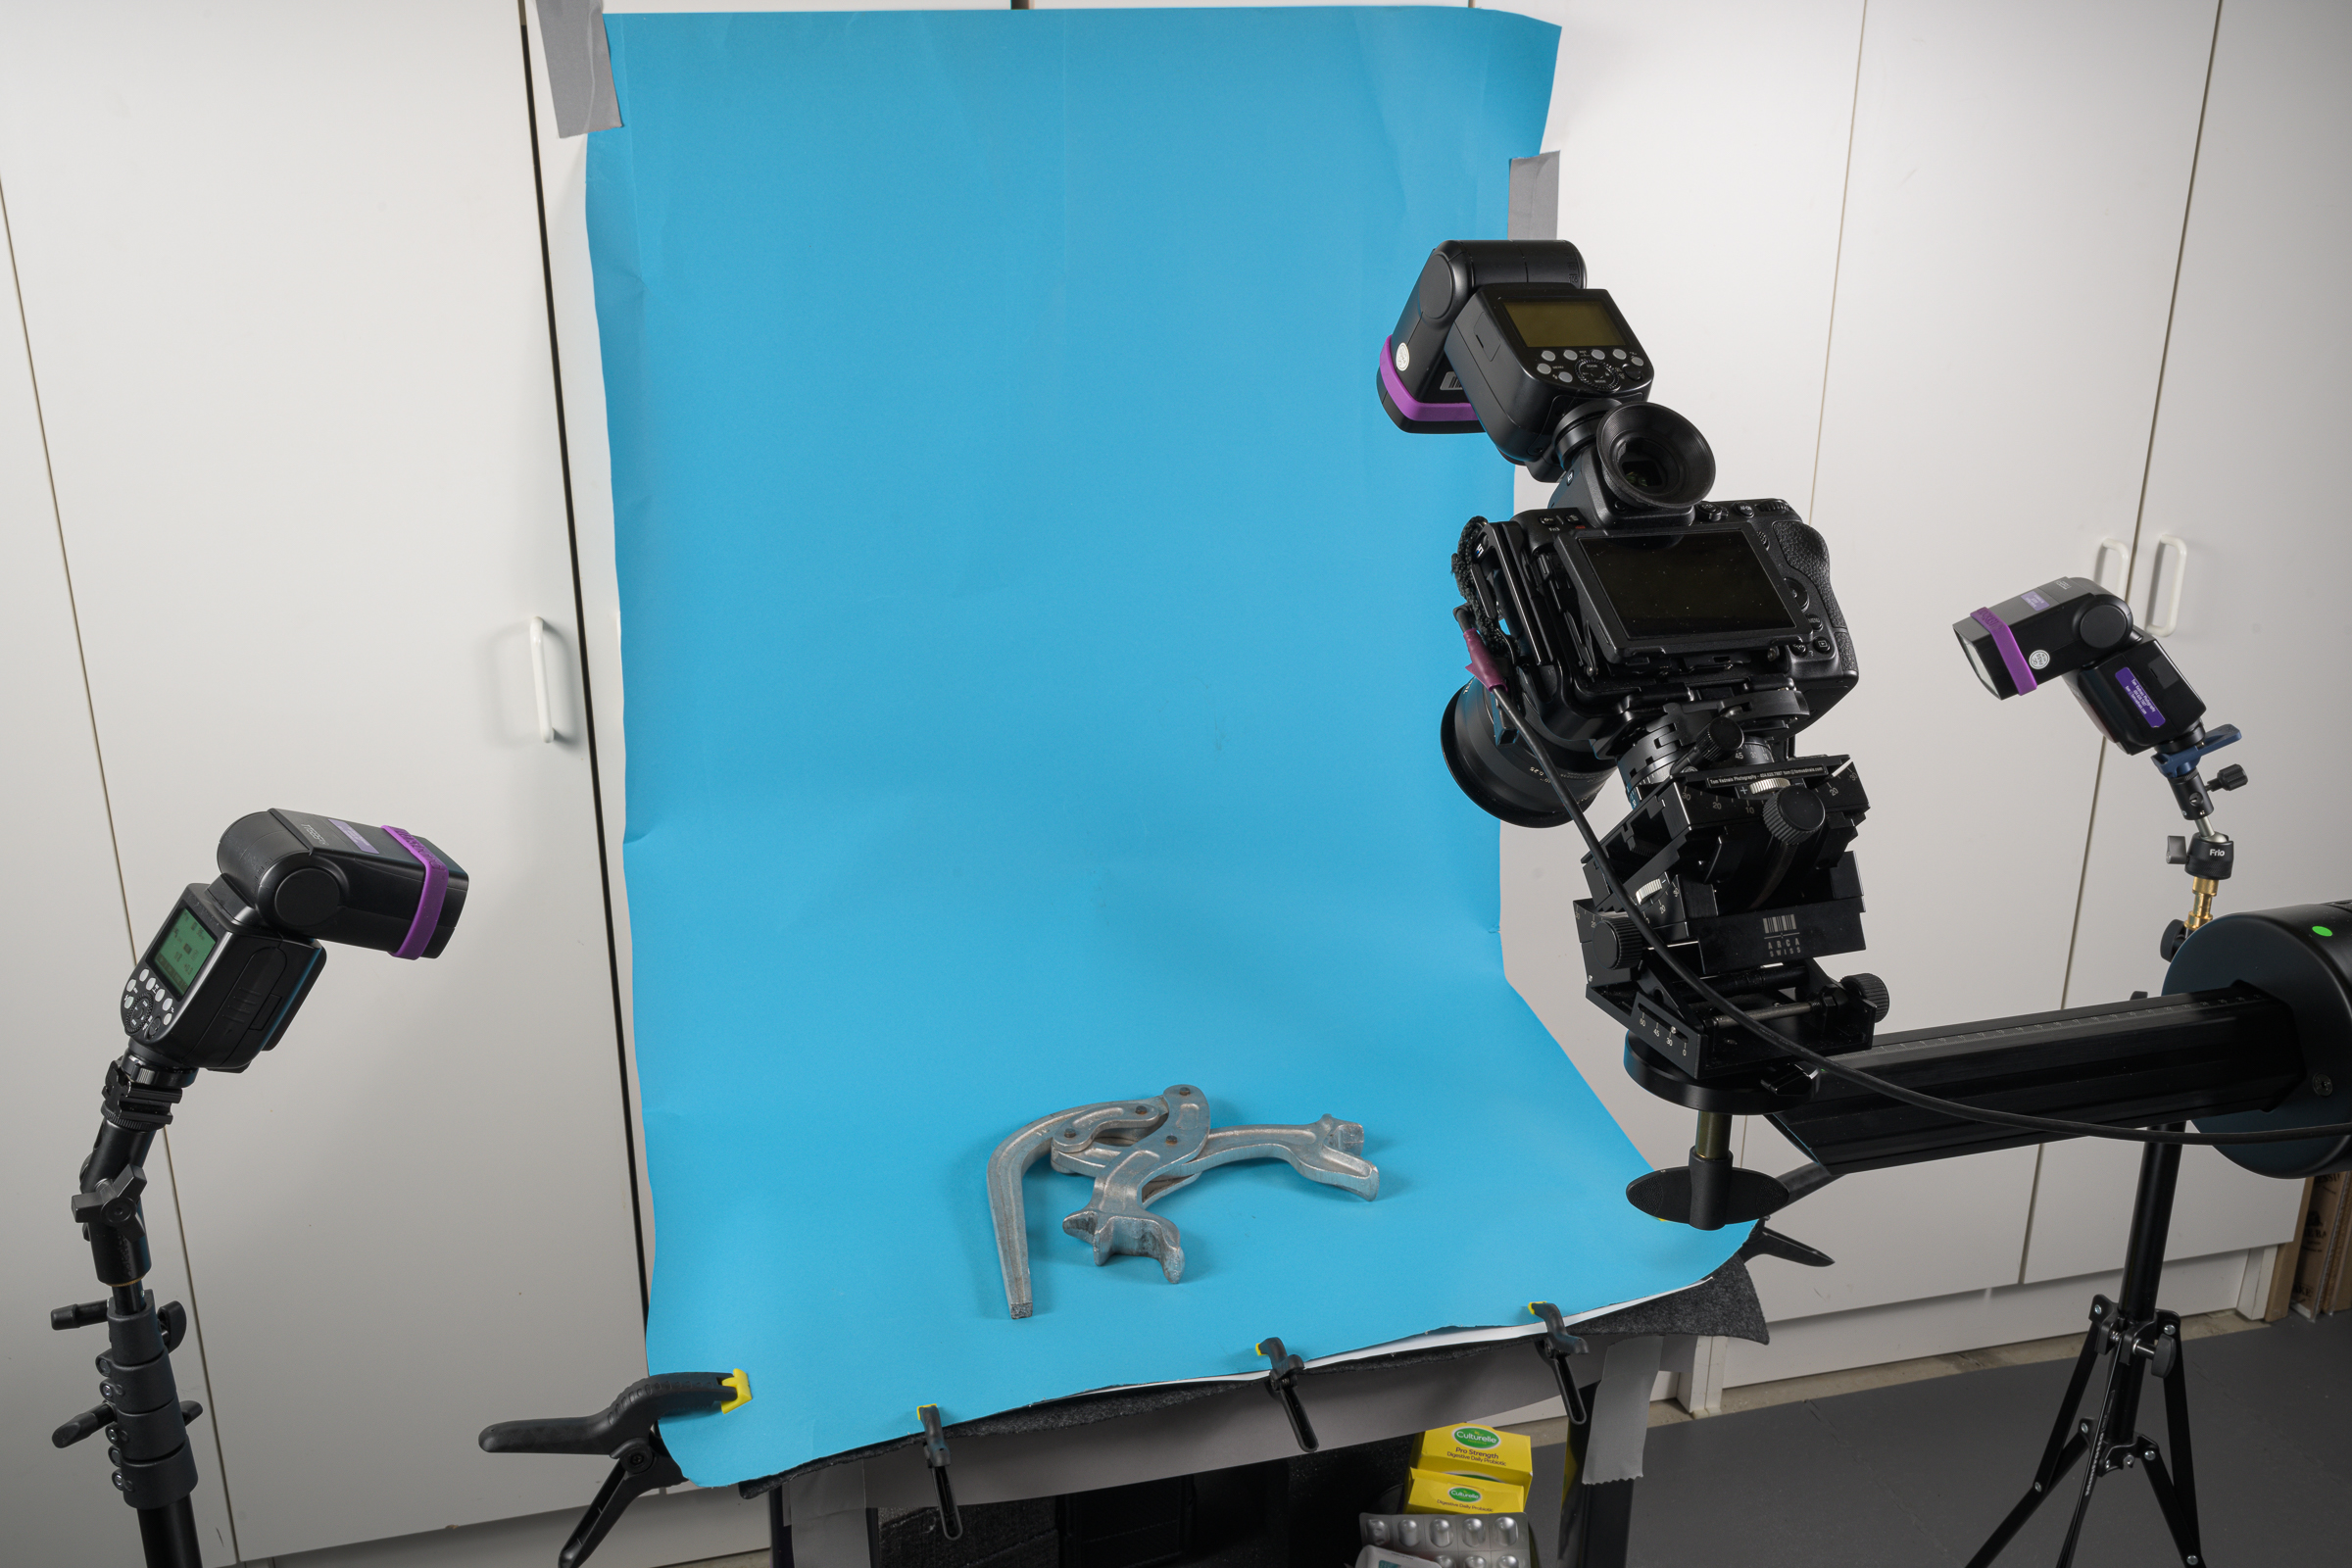
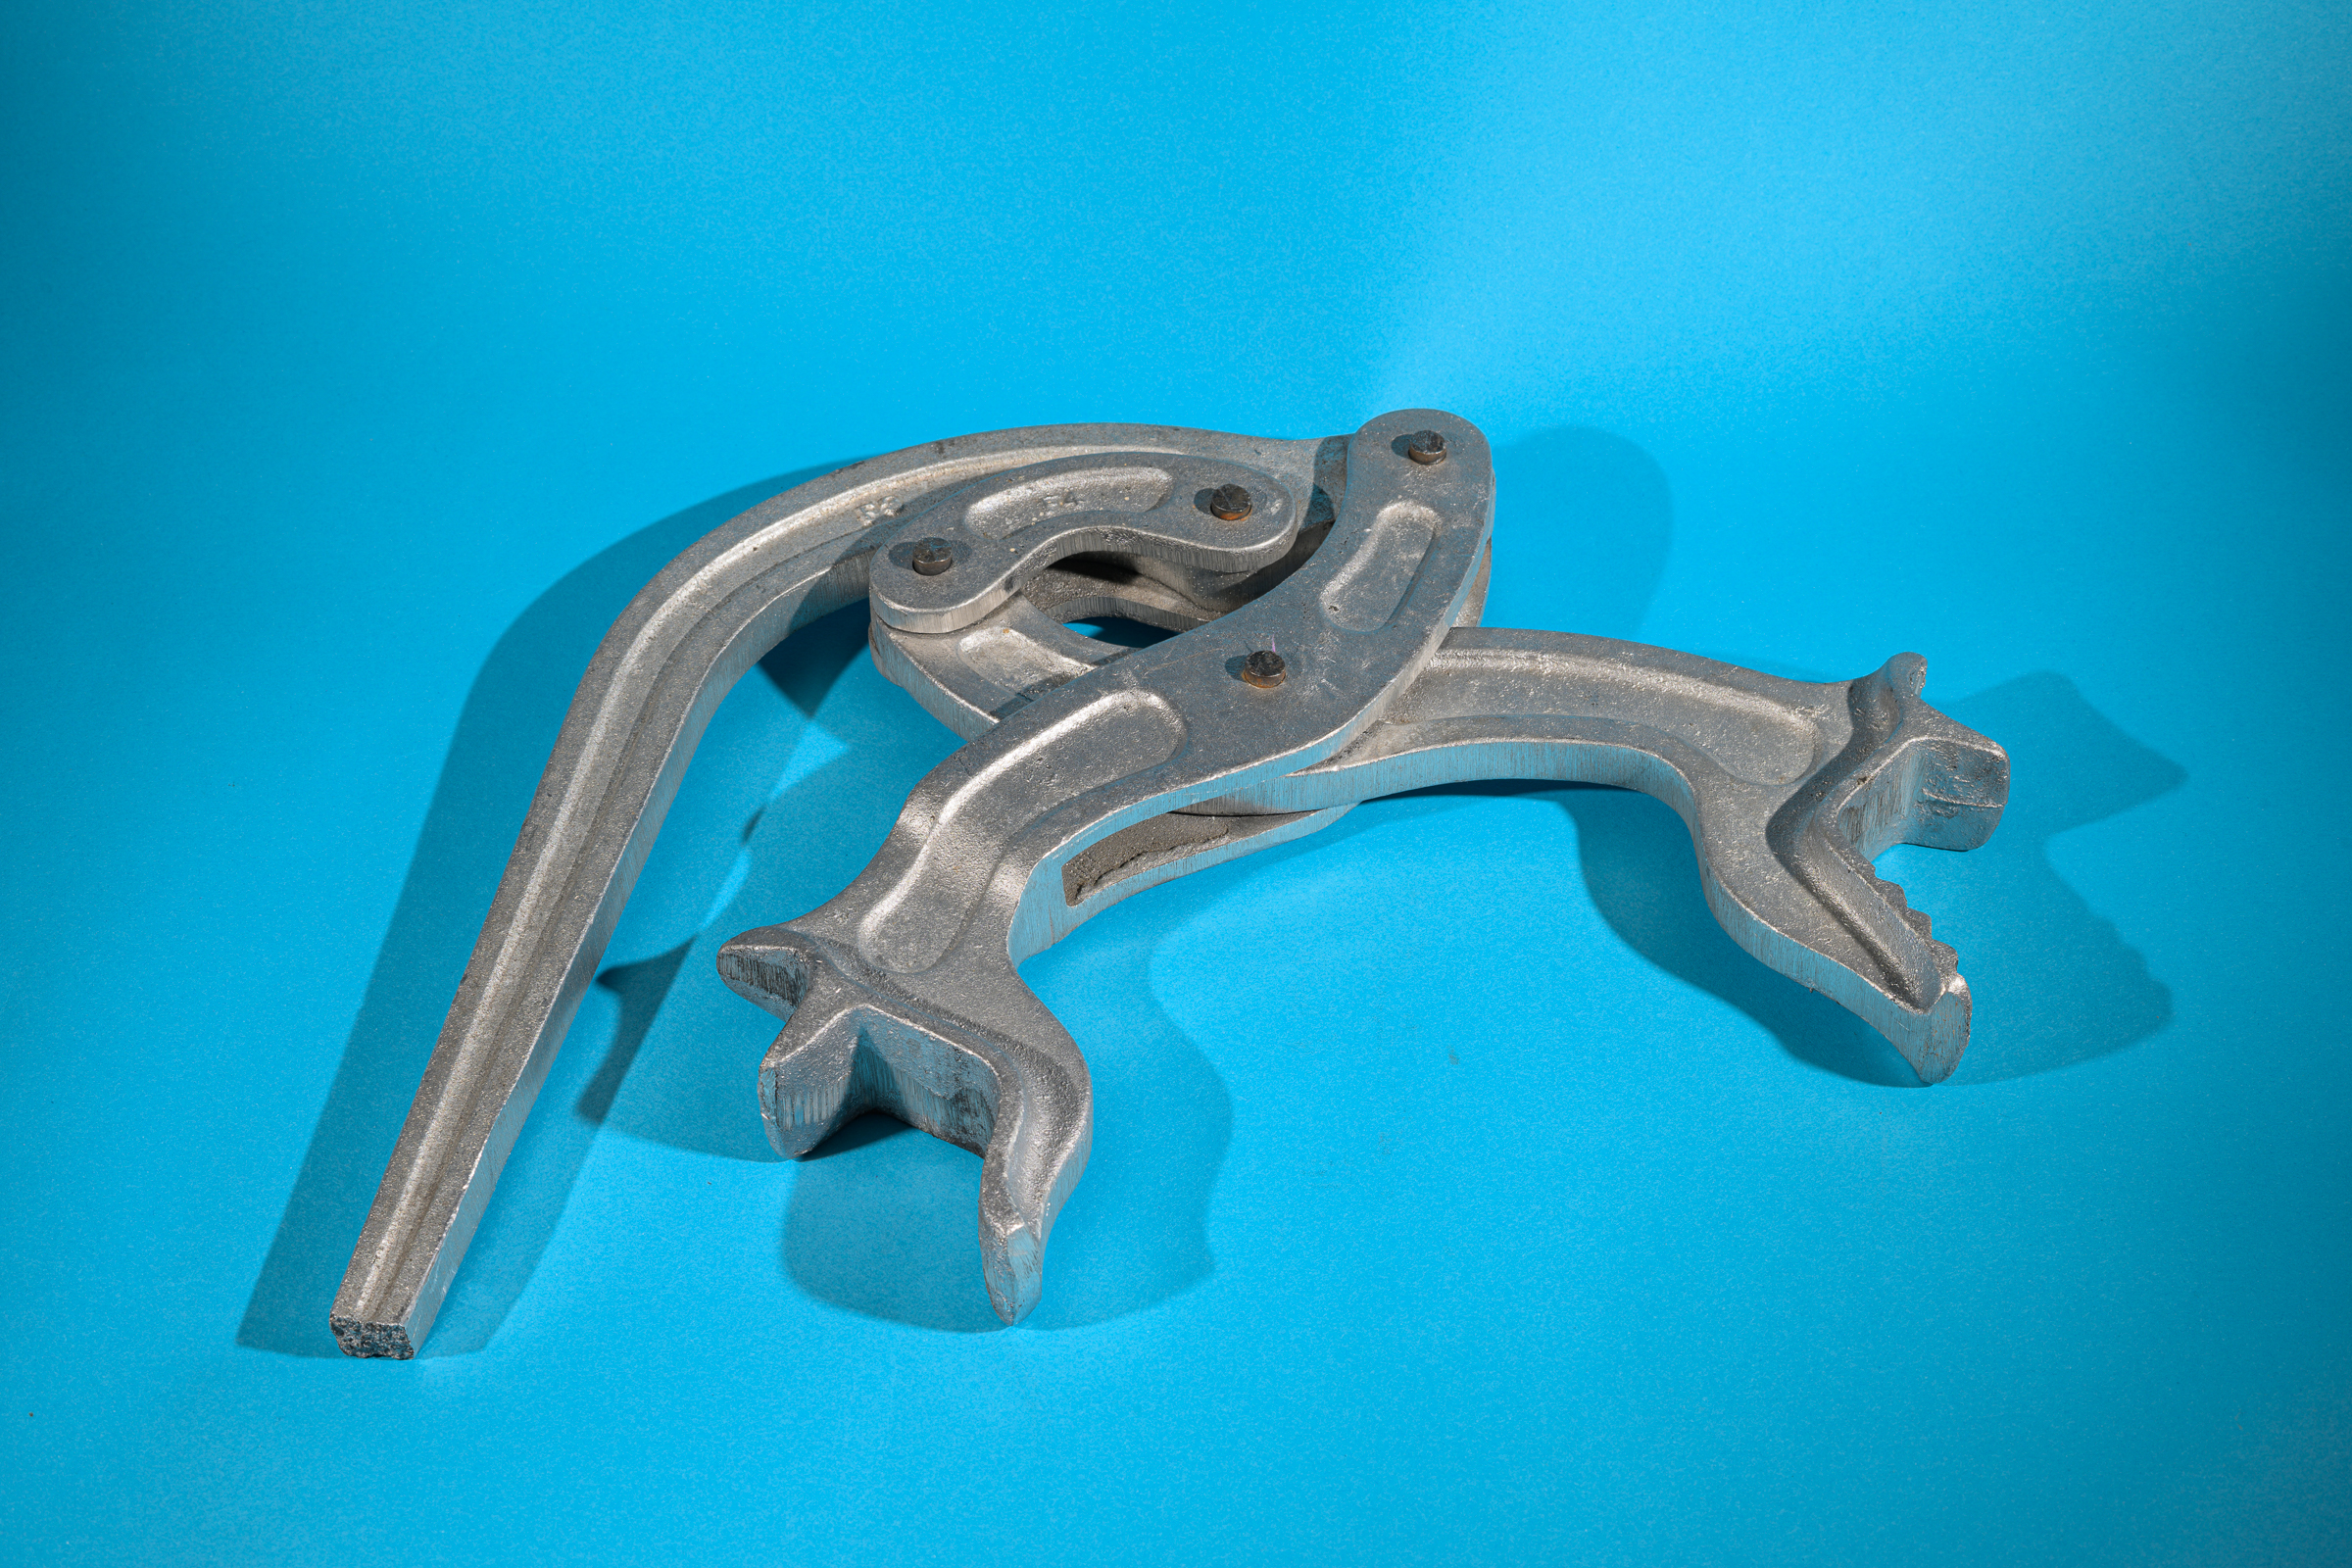
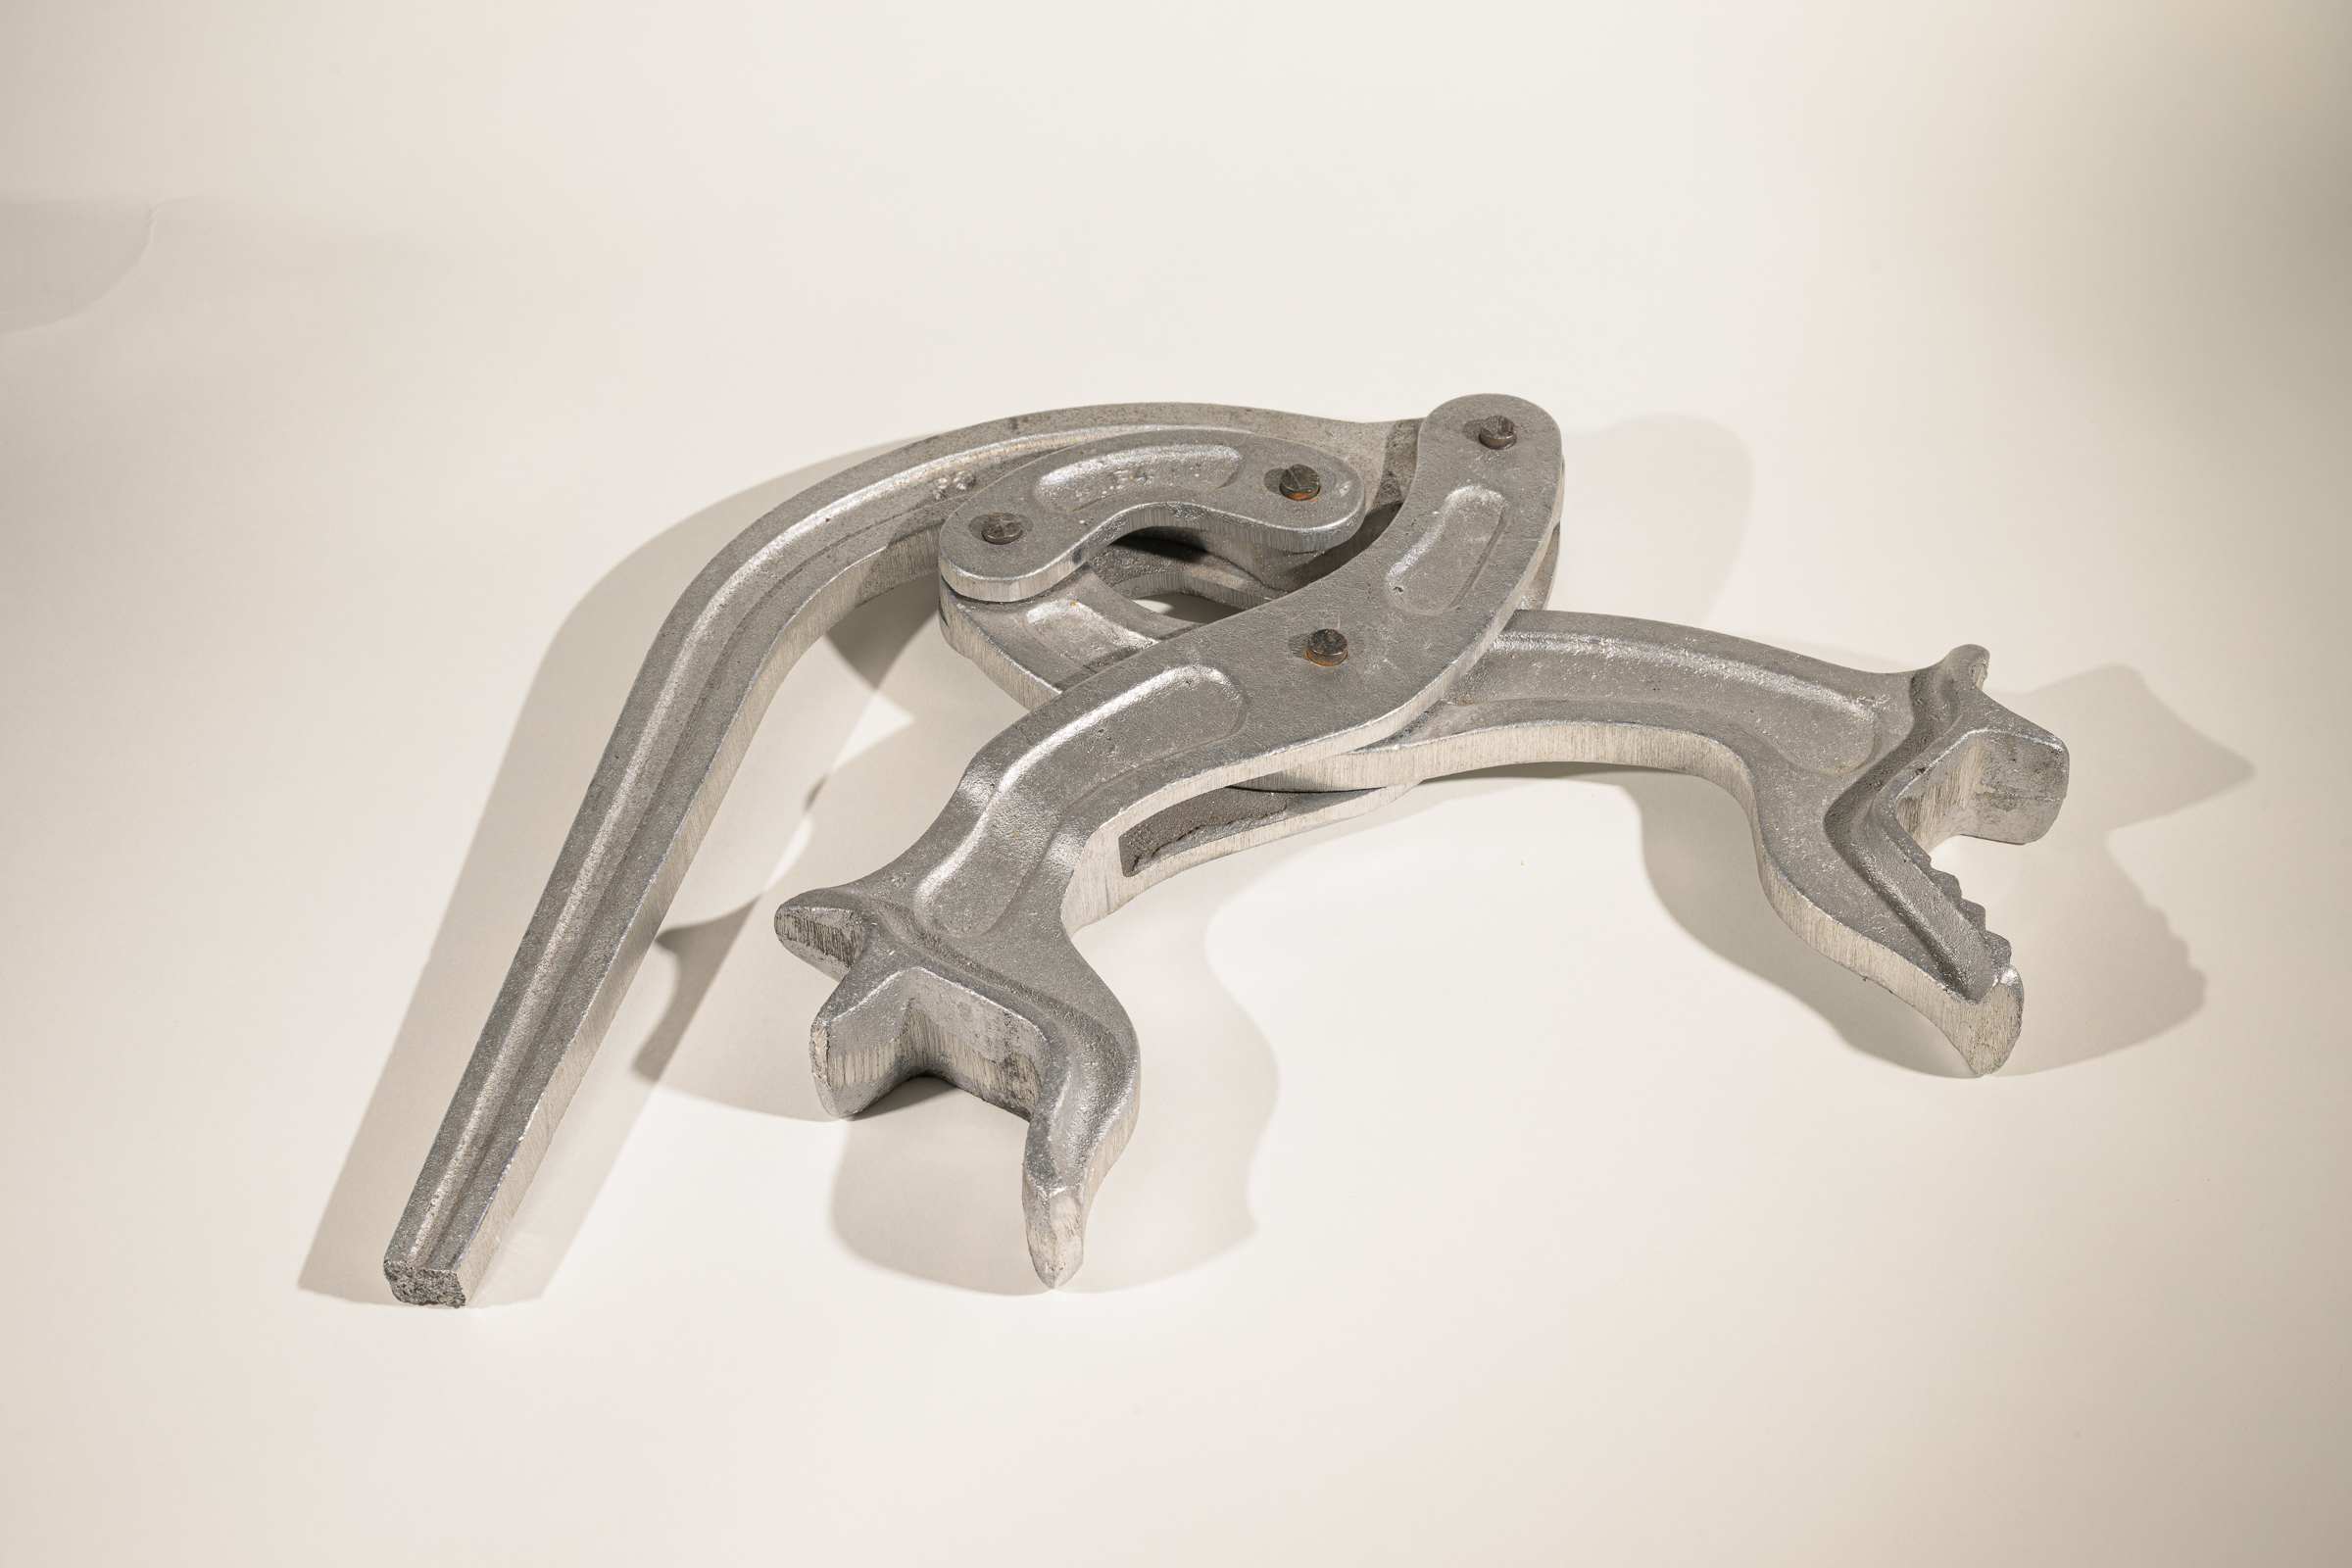
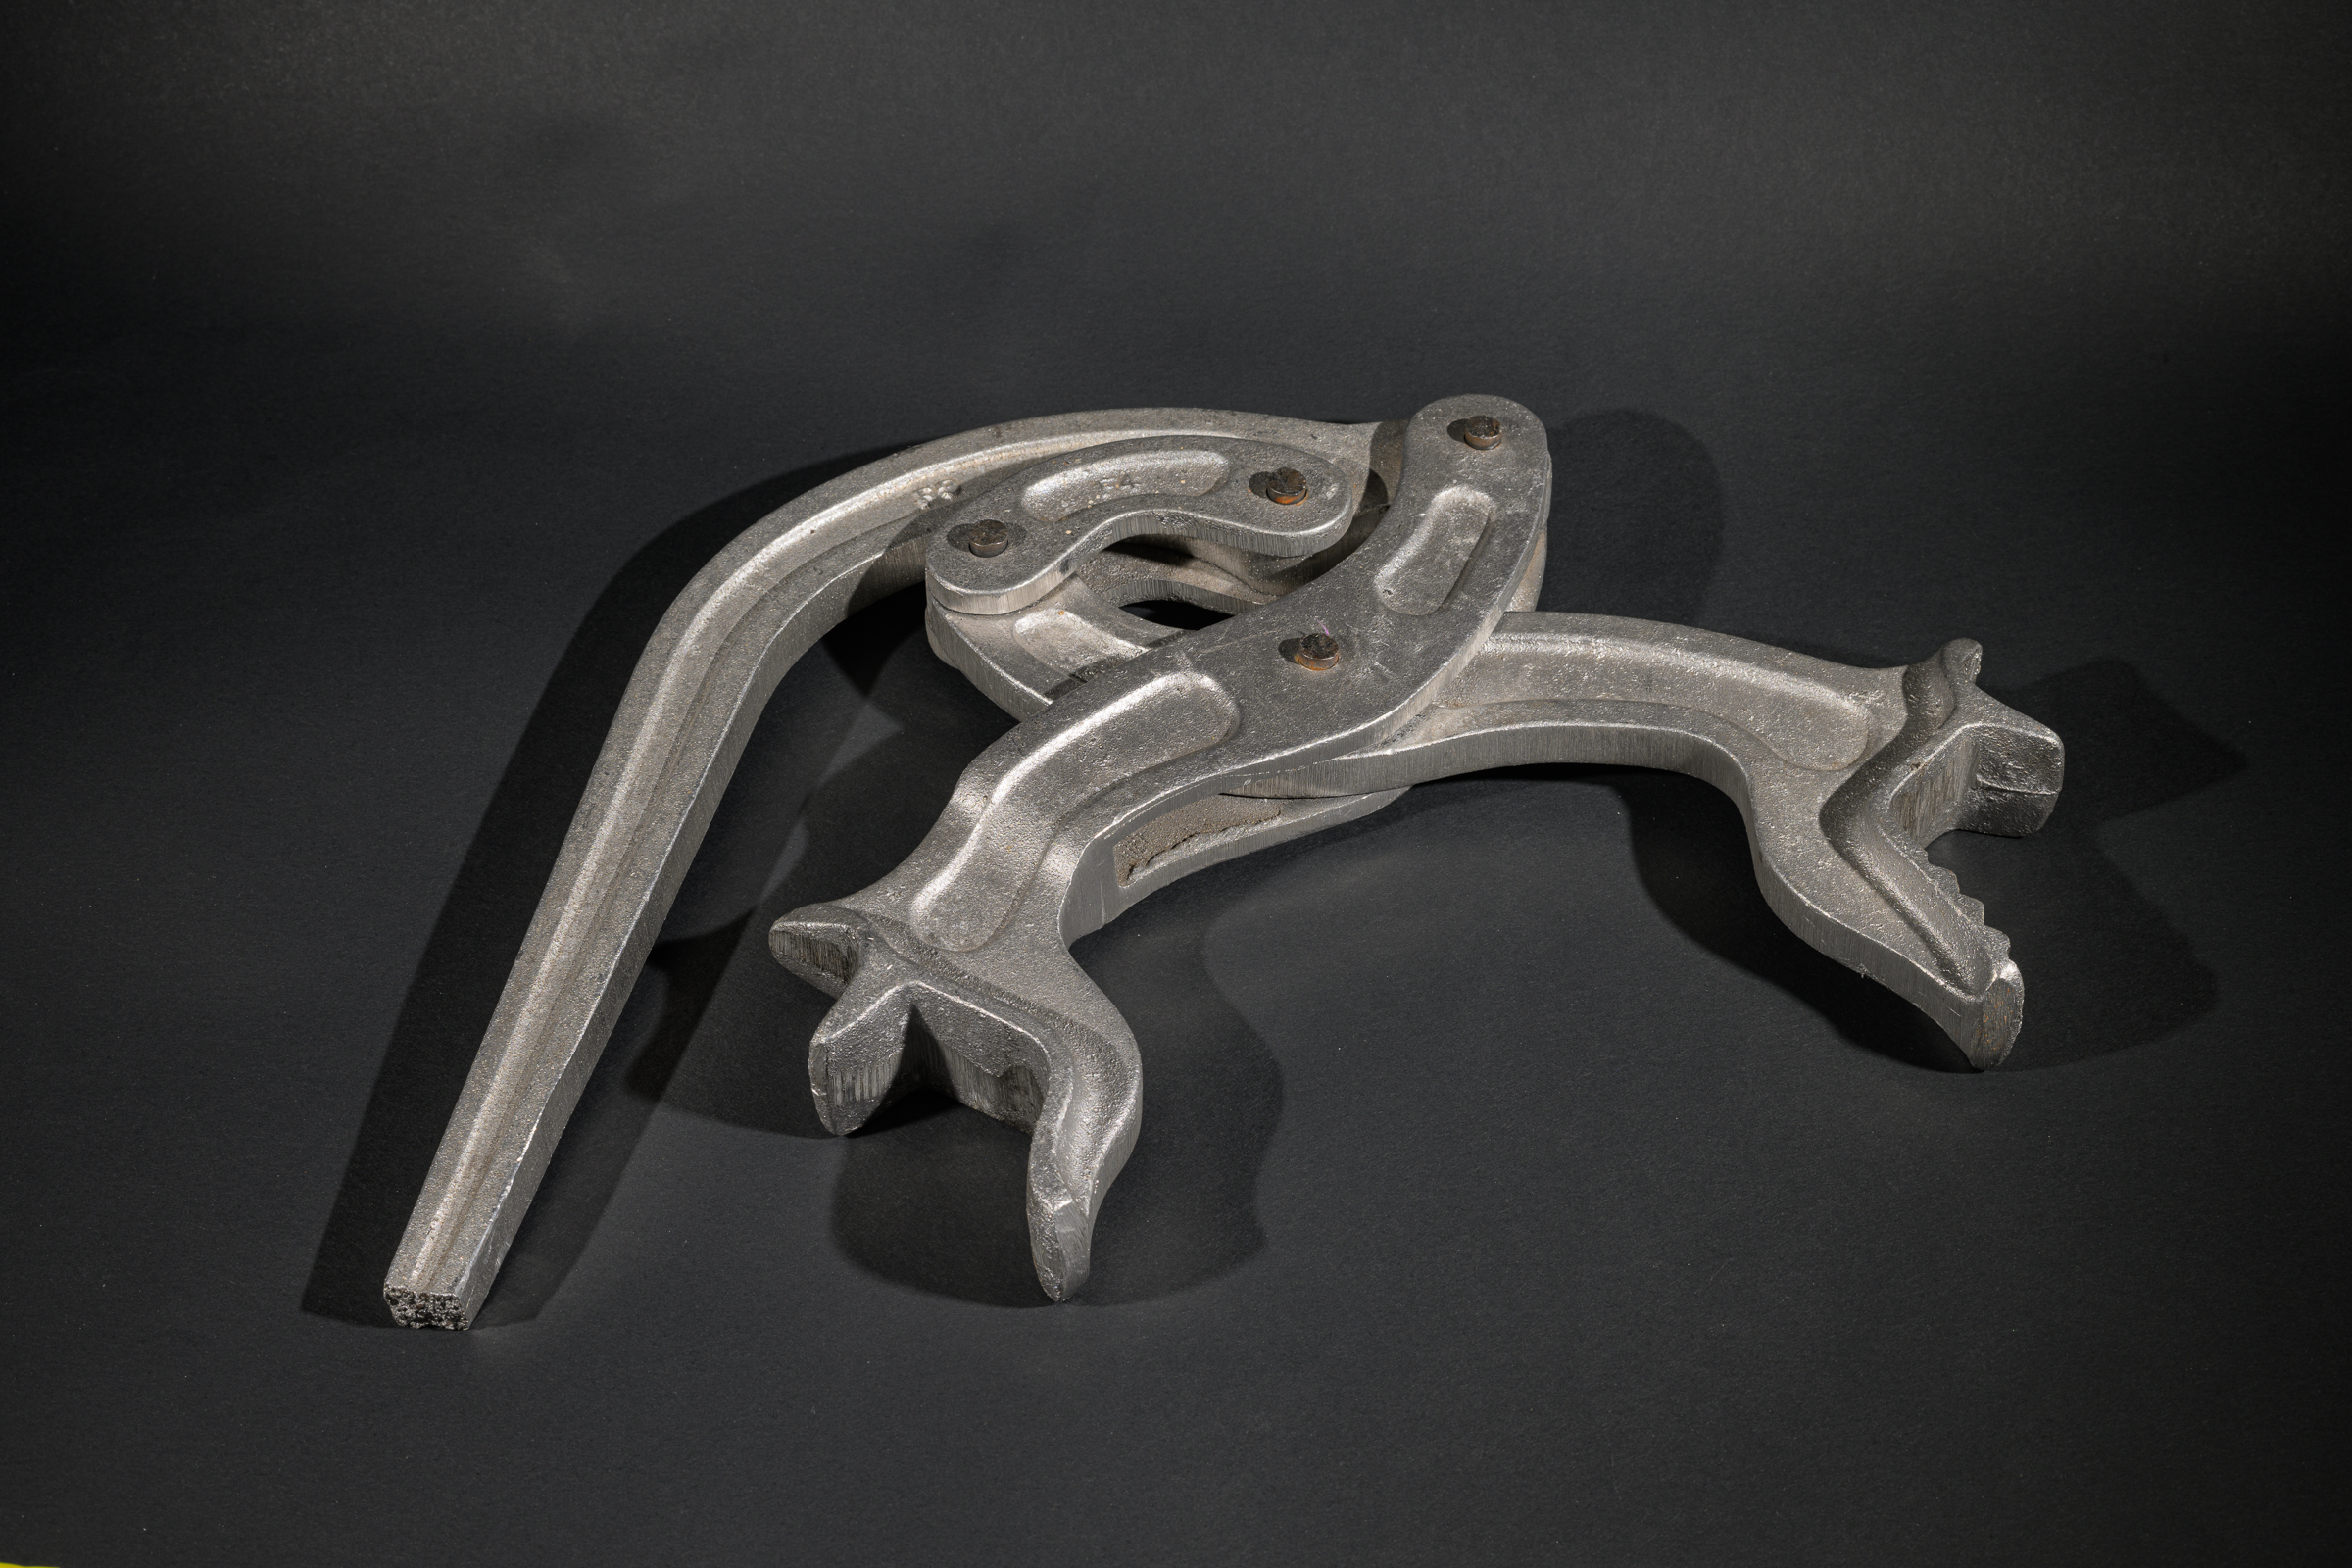
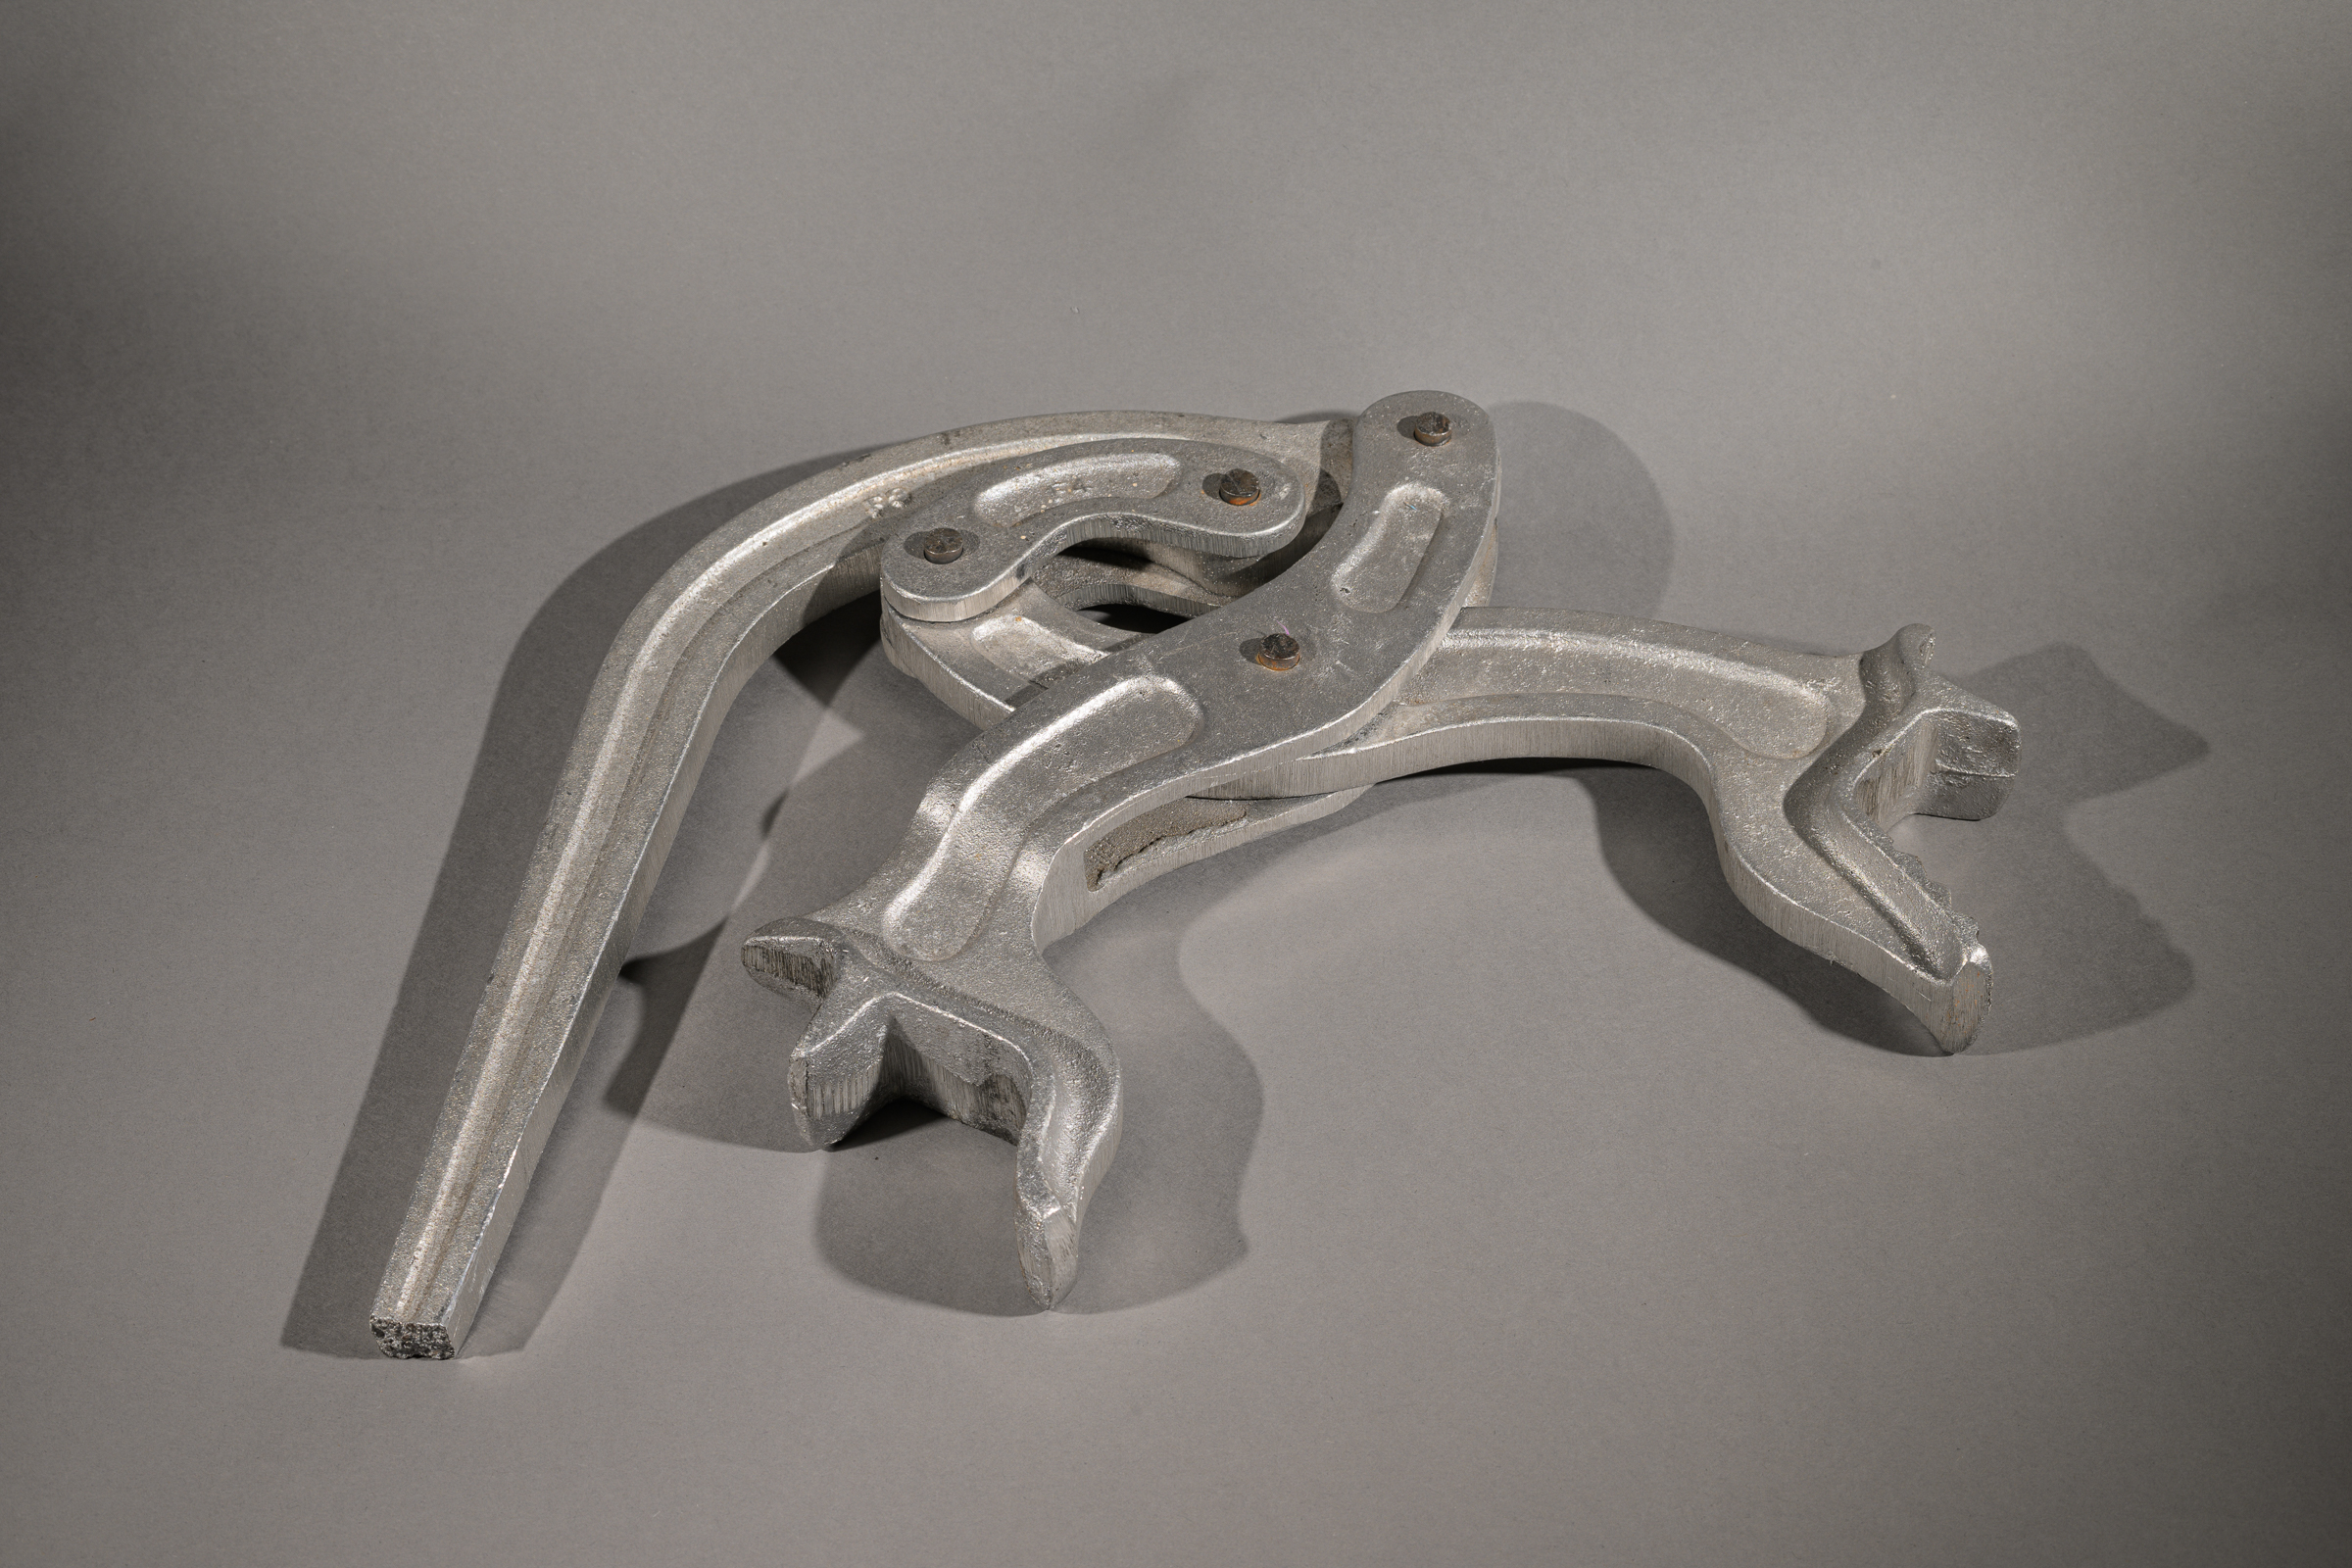
– Demonstrating the effects of background color on your subject.
– Manual vs TTL: when to use each, and what to do when TTL doesn’t seem to work.
– Diffusing light from the flash for softer light and to reduce or eliminate hot spots.
I will be bringing extra flashes for you to use in case you don’t have a flash, want to try a new flash, or need a second (or third) one for the workshop exercises. [Click on image below to enlarge, then click left arrow to return to this post.]
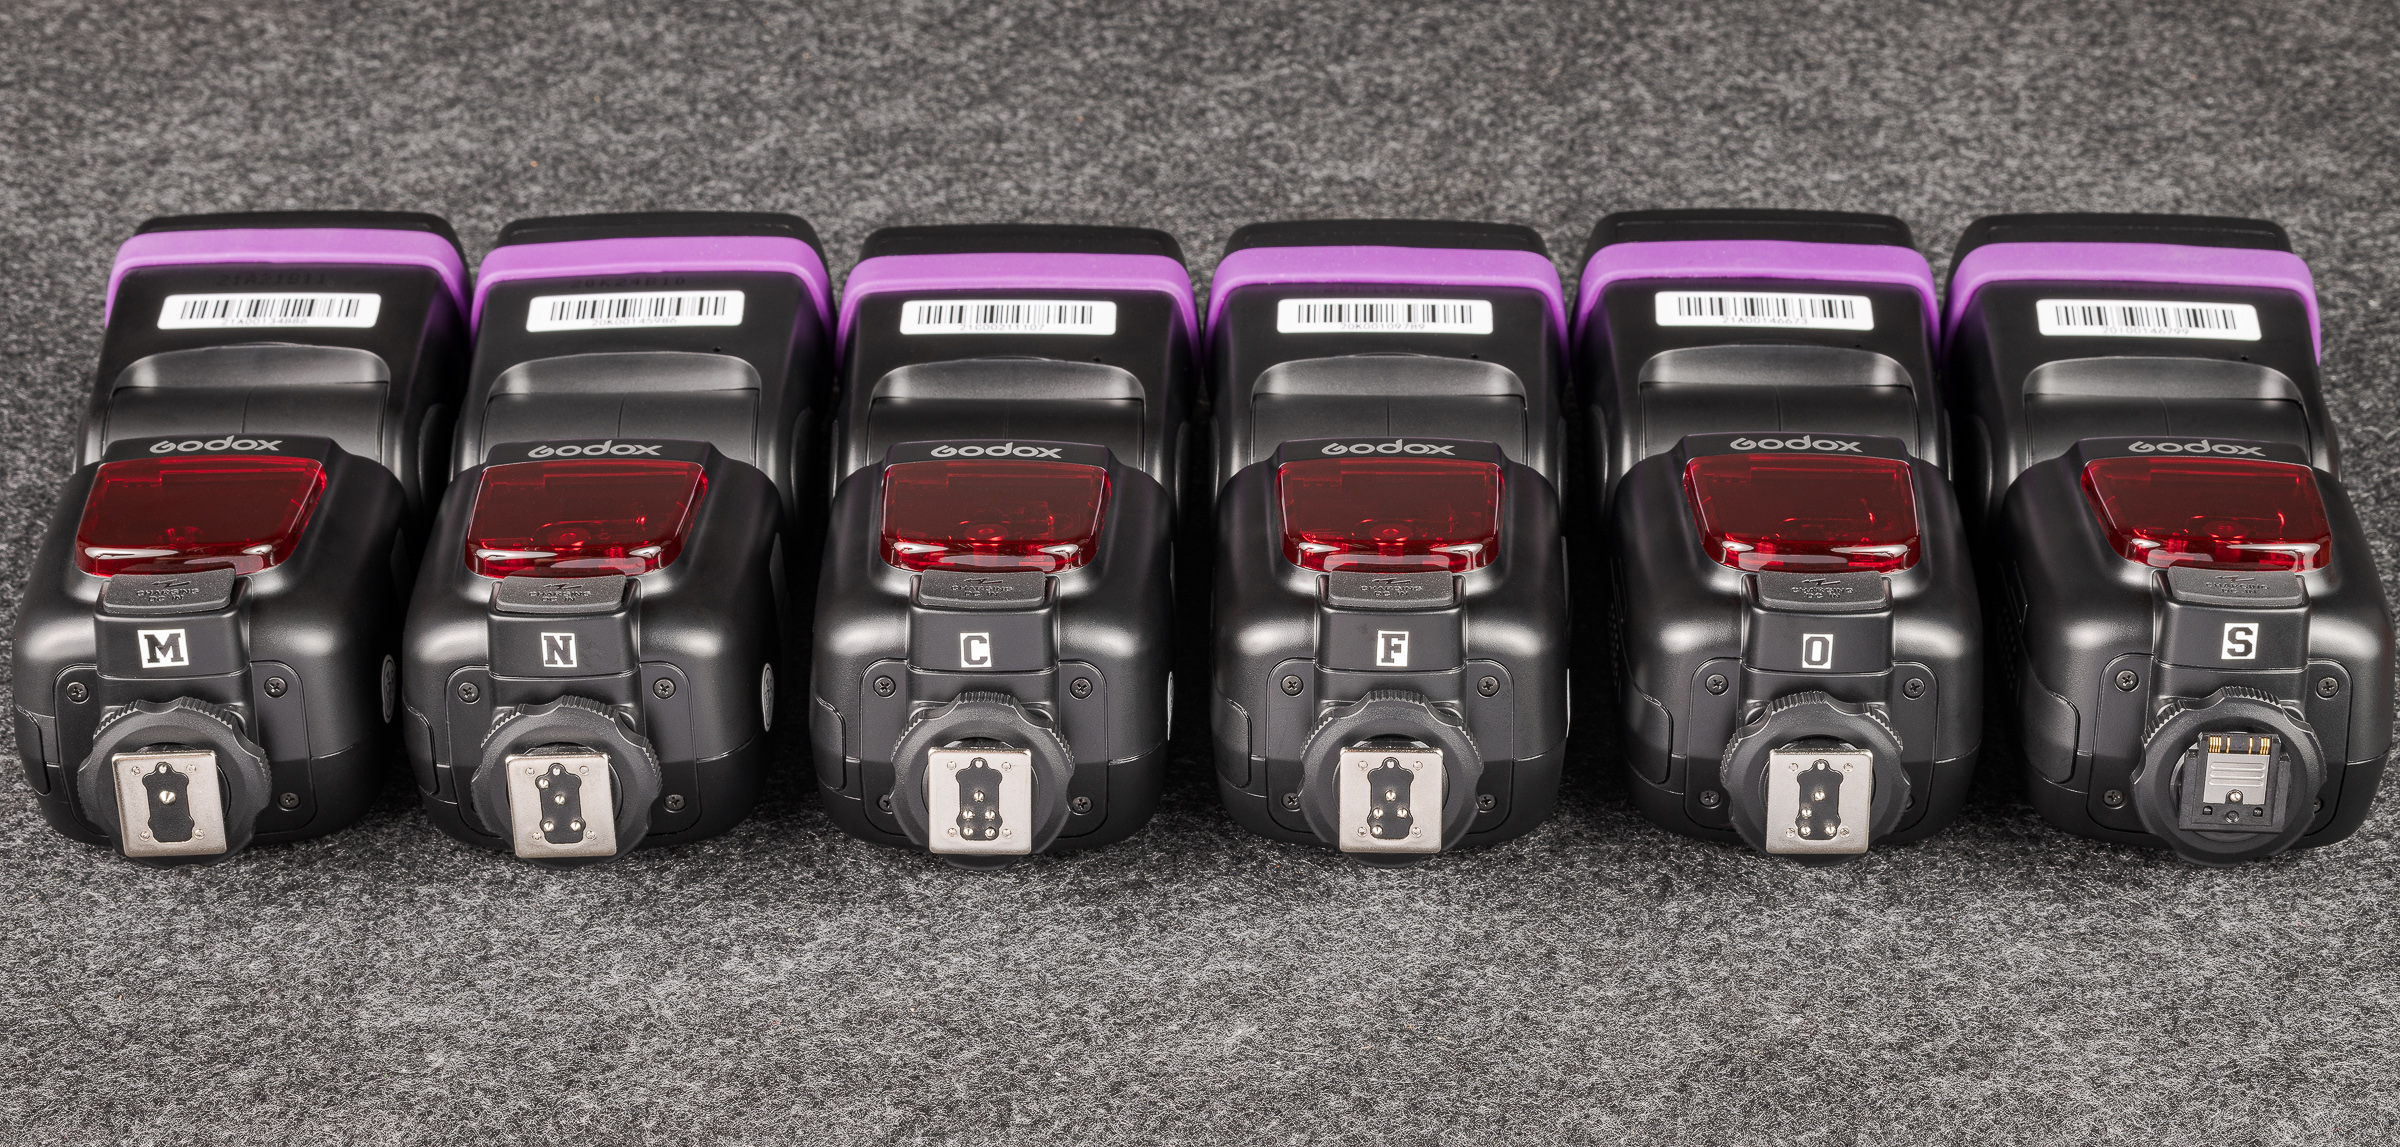
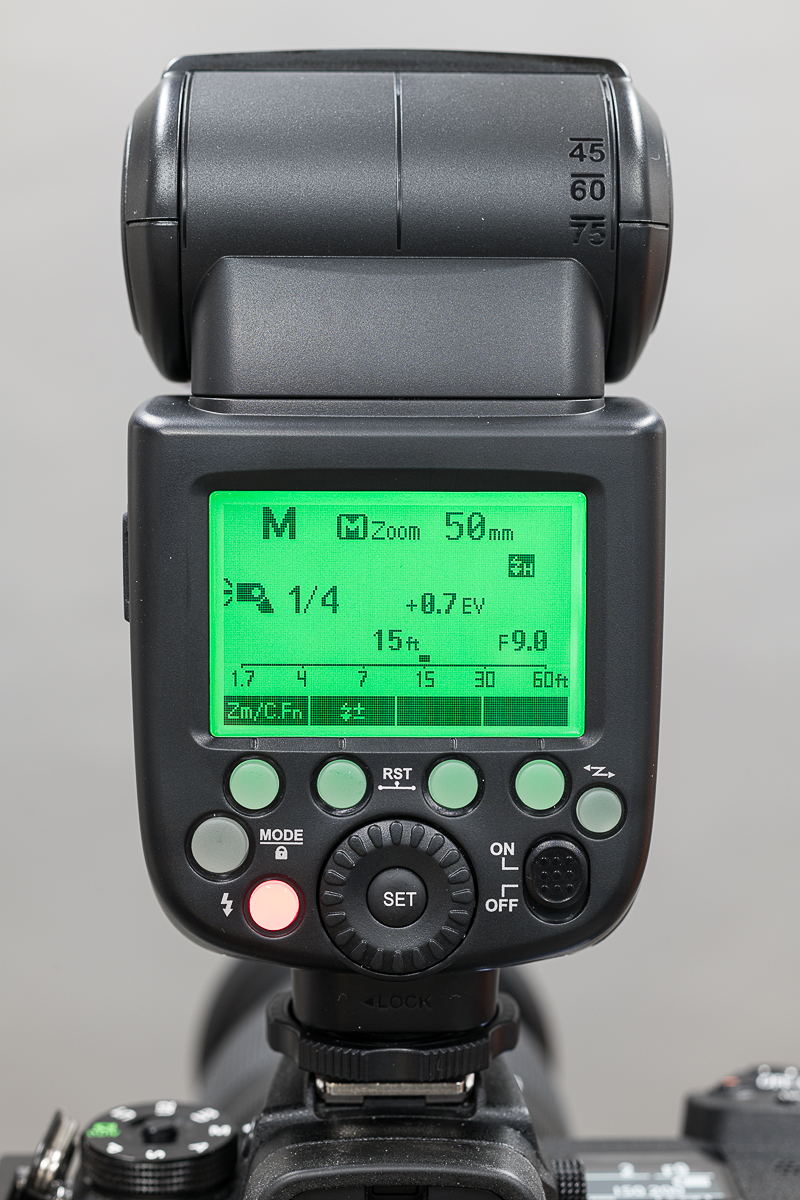
If you would like to purchase flashes beforehand, I highly recommend the Godox TT685II for your camera. These Godox flashes have the same specs as the top flashes from each camera manufacturer (Guide Number 197 feet/60 meters at ISO 100 with flash head zoomed to 200 mm).
Some of the best features of the TT685II include:
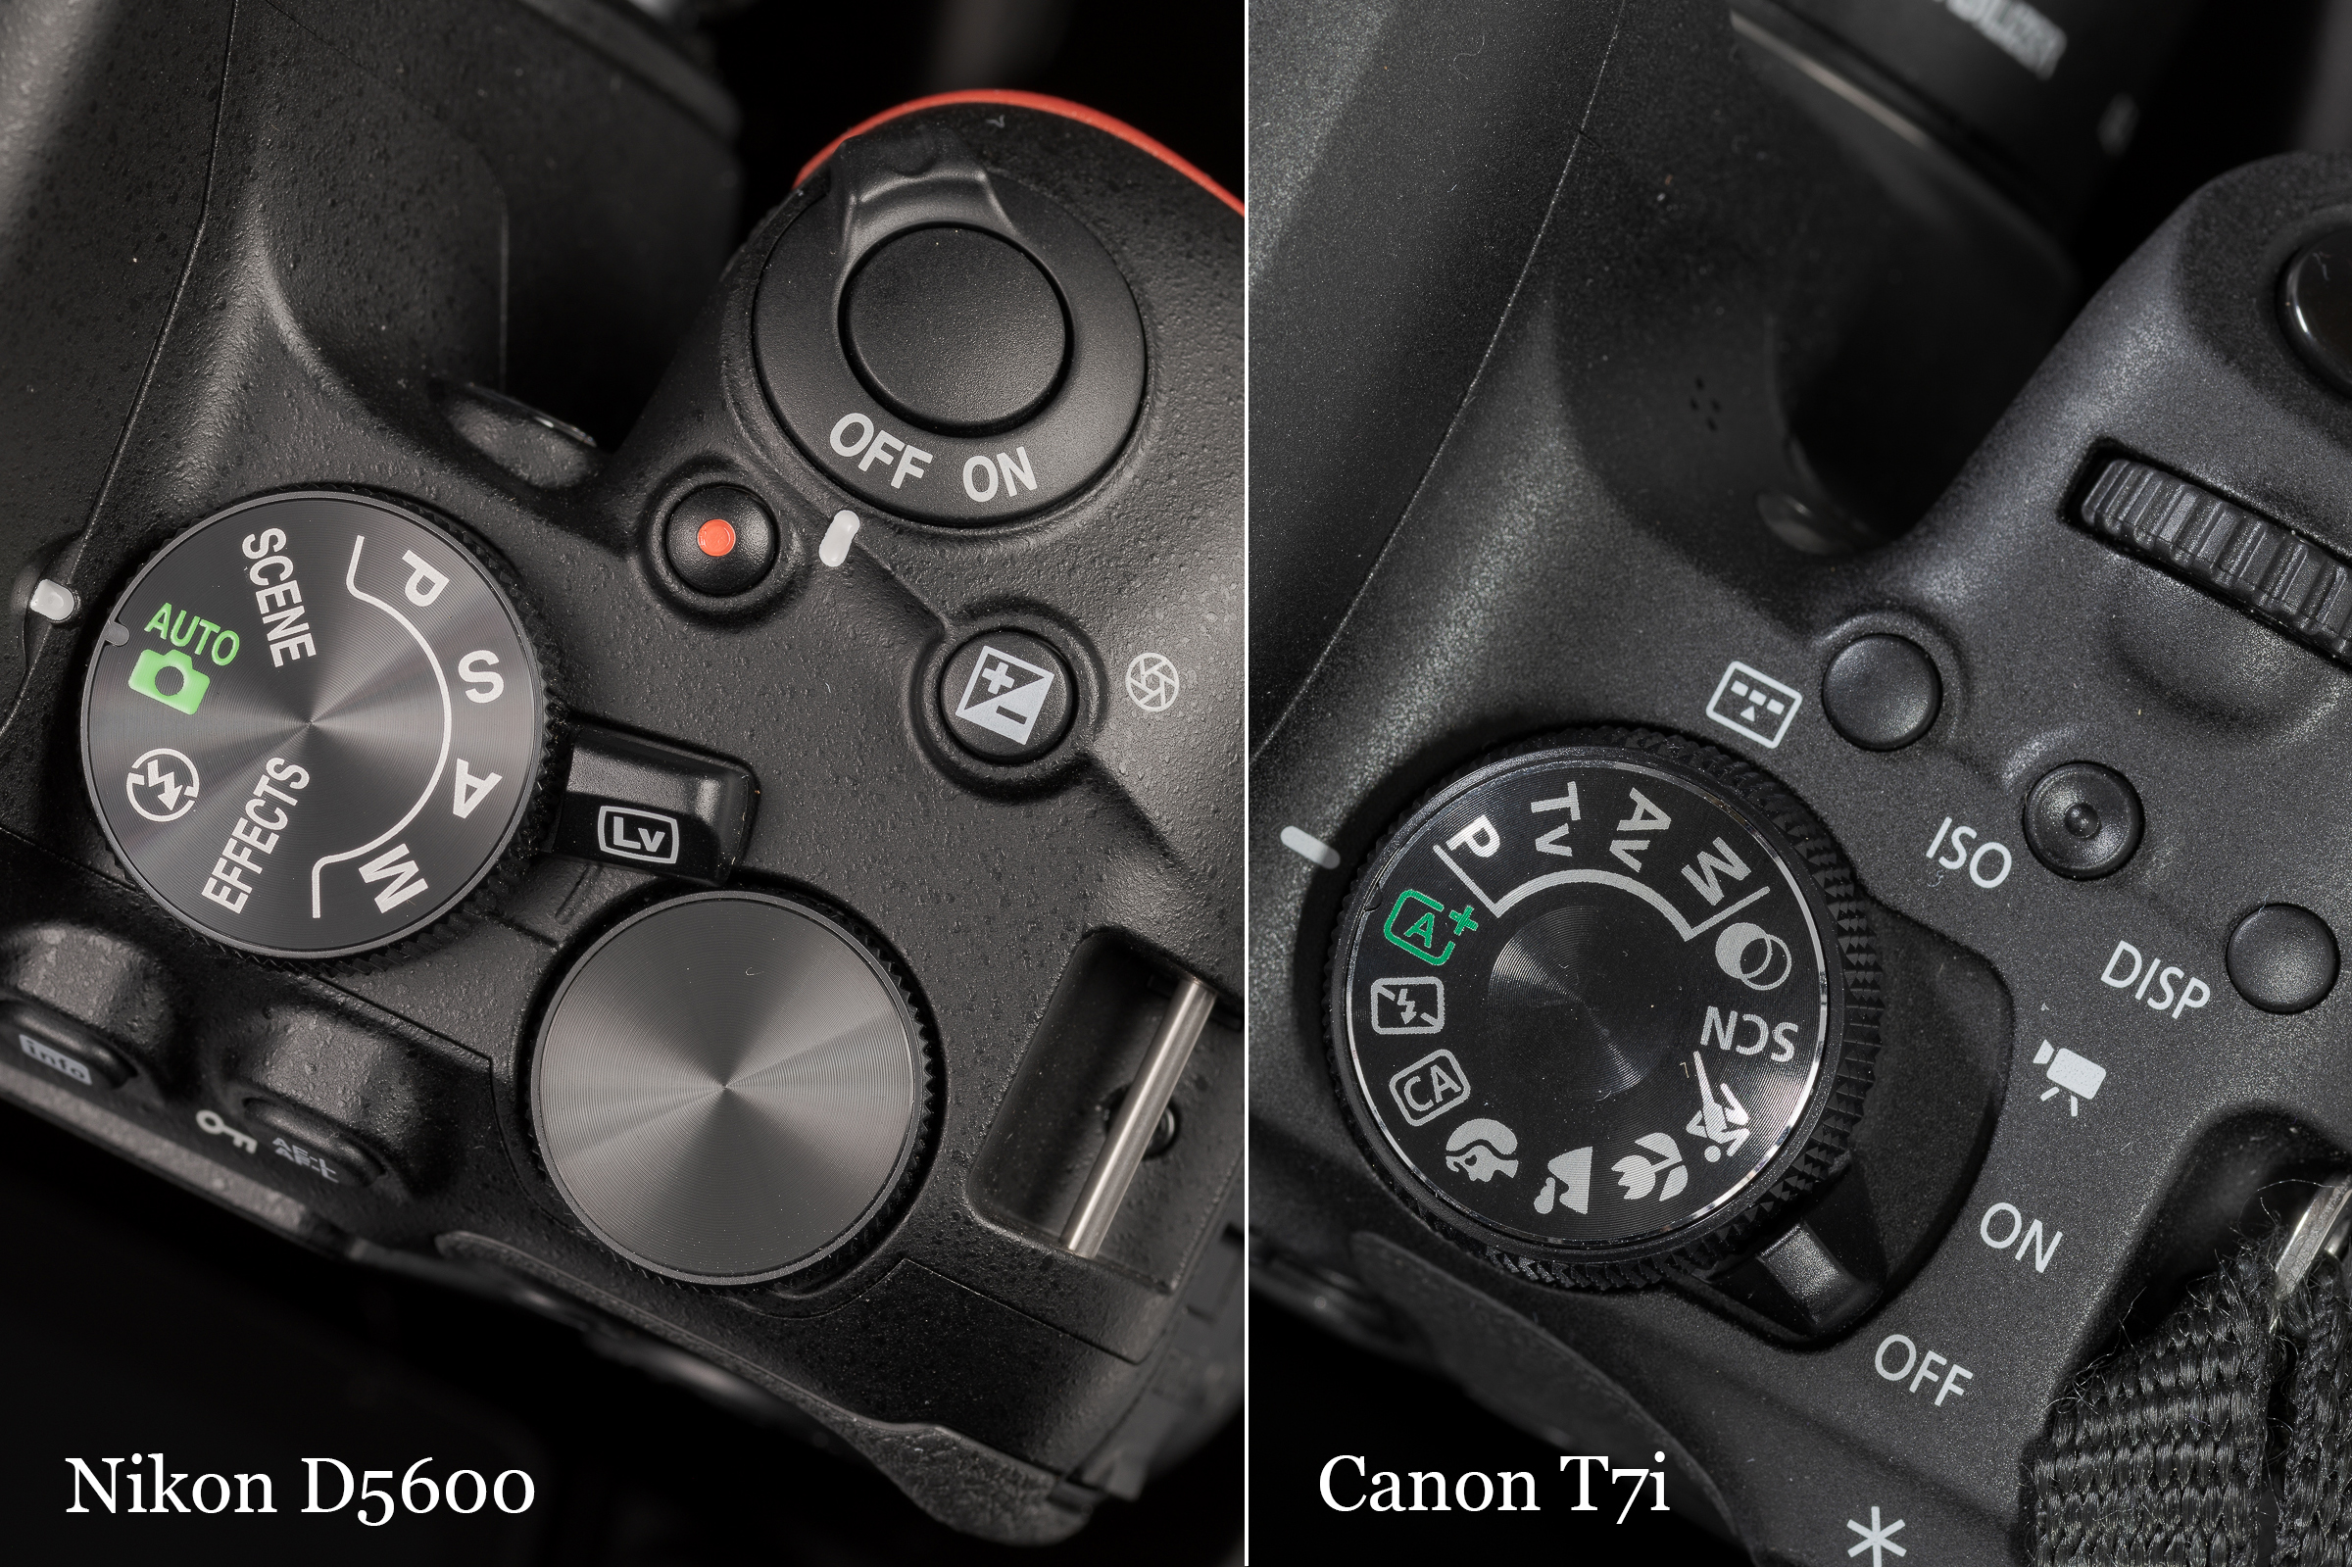
– Intuitive controls for single (on-camera), off-camera, and multiple flashes.
– Built-in radio controls for multiple flashes.
– Easy rotating and tilting of flash head, including to a -7° “macro” angle.
– Full TTL (when you buy the versions for your camera body).
– Comes with nice case and stand.
I have been using these flashes in the field and in the lab for more than three years without a glitch. Best of all, they only cost between 1/4 and 1/8 of what camera manufacturers charge for their equivalent flashes. You can buy two or three Godox TT685II flashes and still have plenty of money for batteries and portable light stands. I recommend getting three flashes (you’ll see why in the class), but you can get by with two.
I also highly recommend you use rechargeable batteries. I have been using Powerex Pro rechargeable for well over a decade without a failure or problem. They hold their charges for a long time and recharge quickly.
Please contact me if you have any questions about the workshop. I hope to see you there!