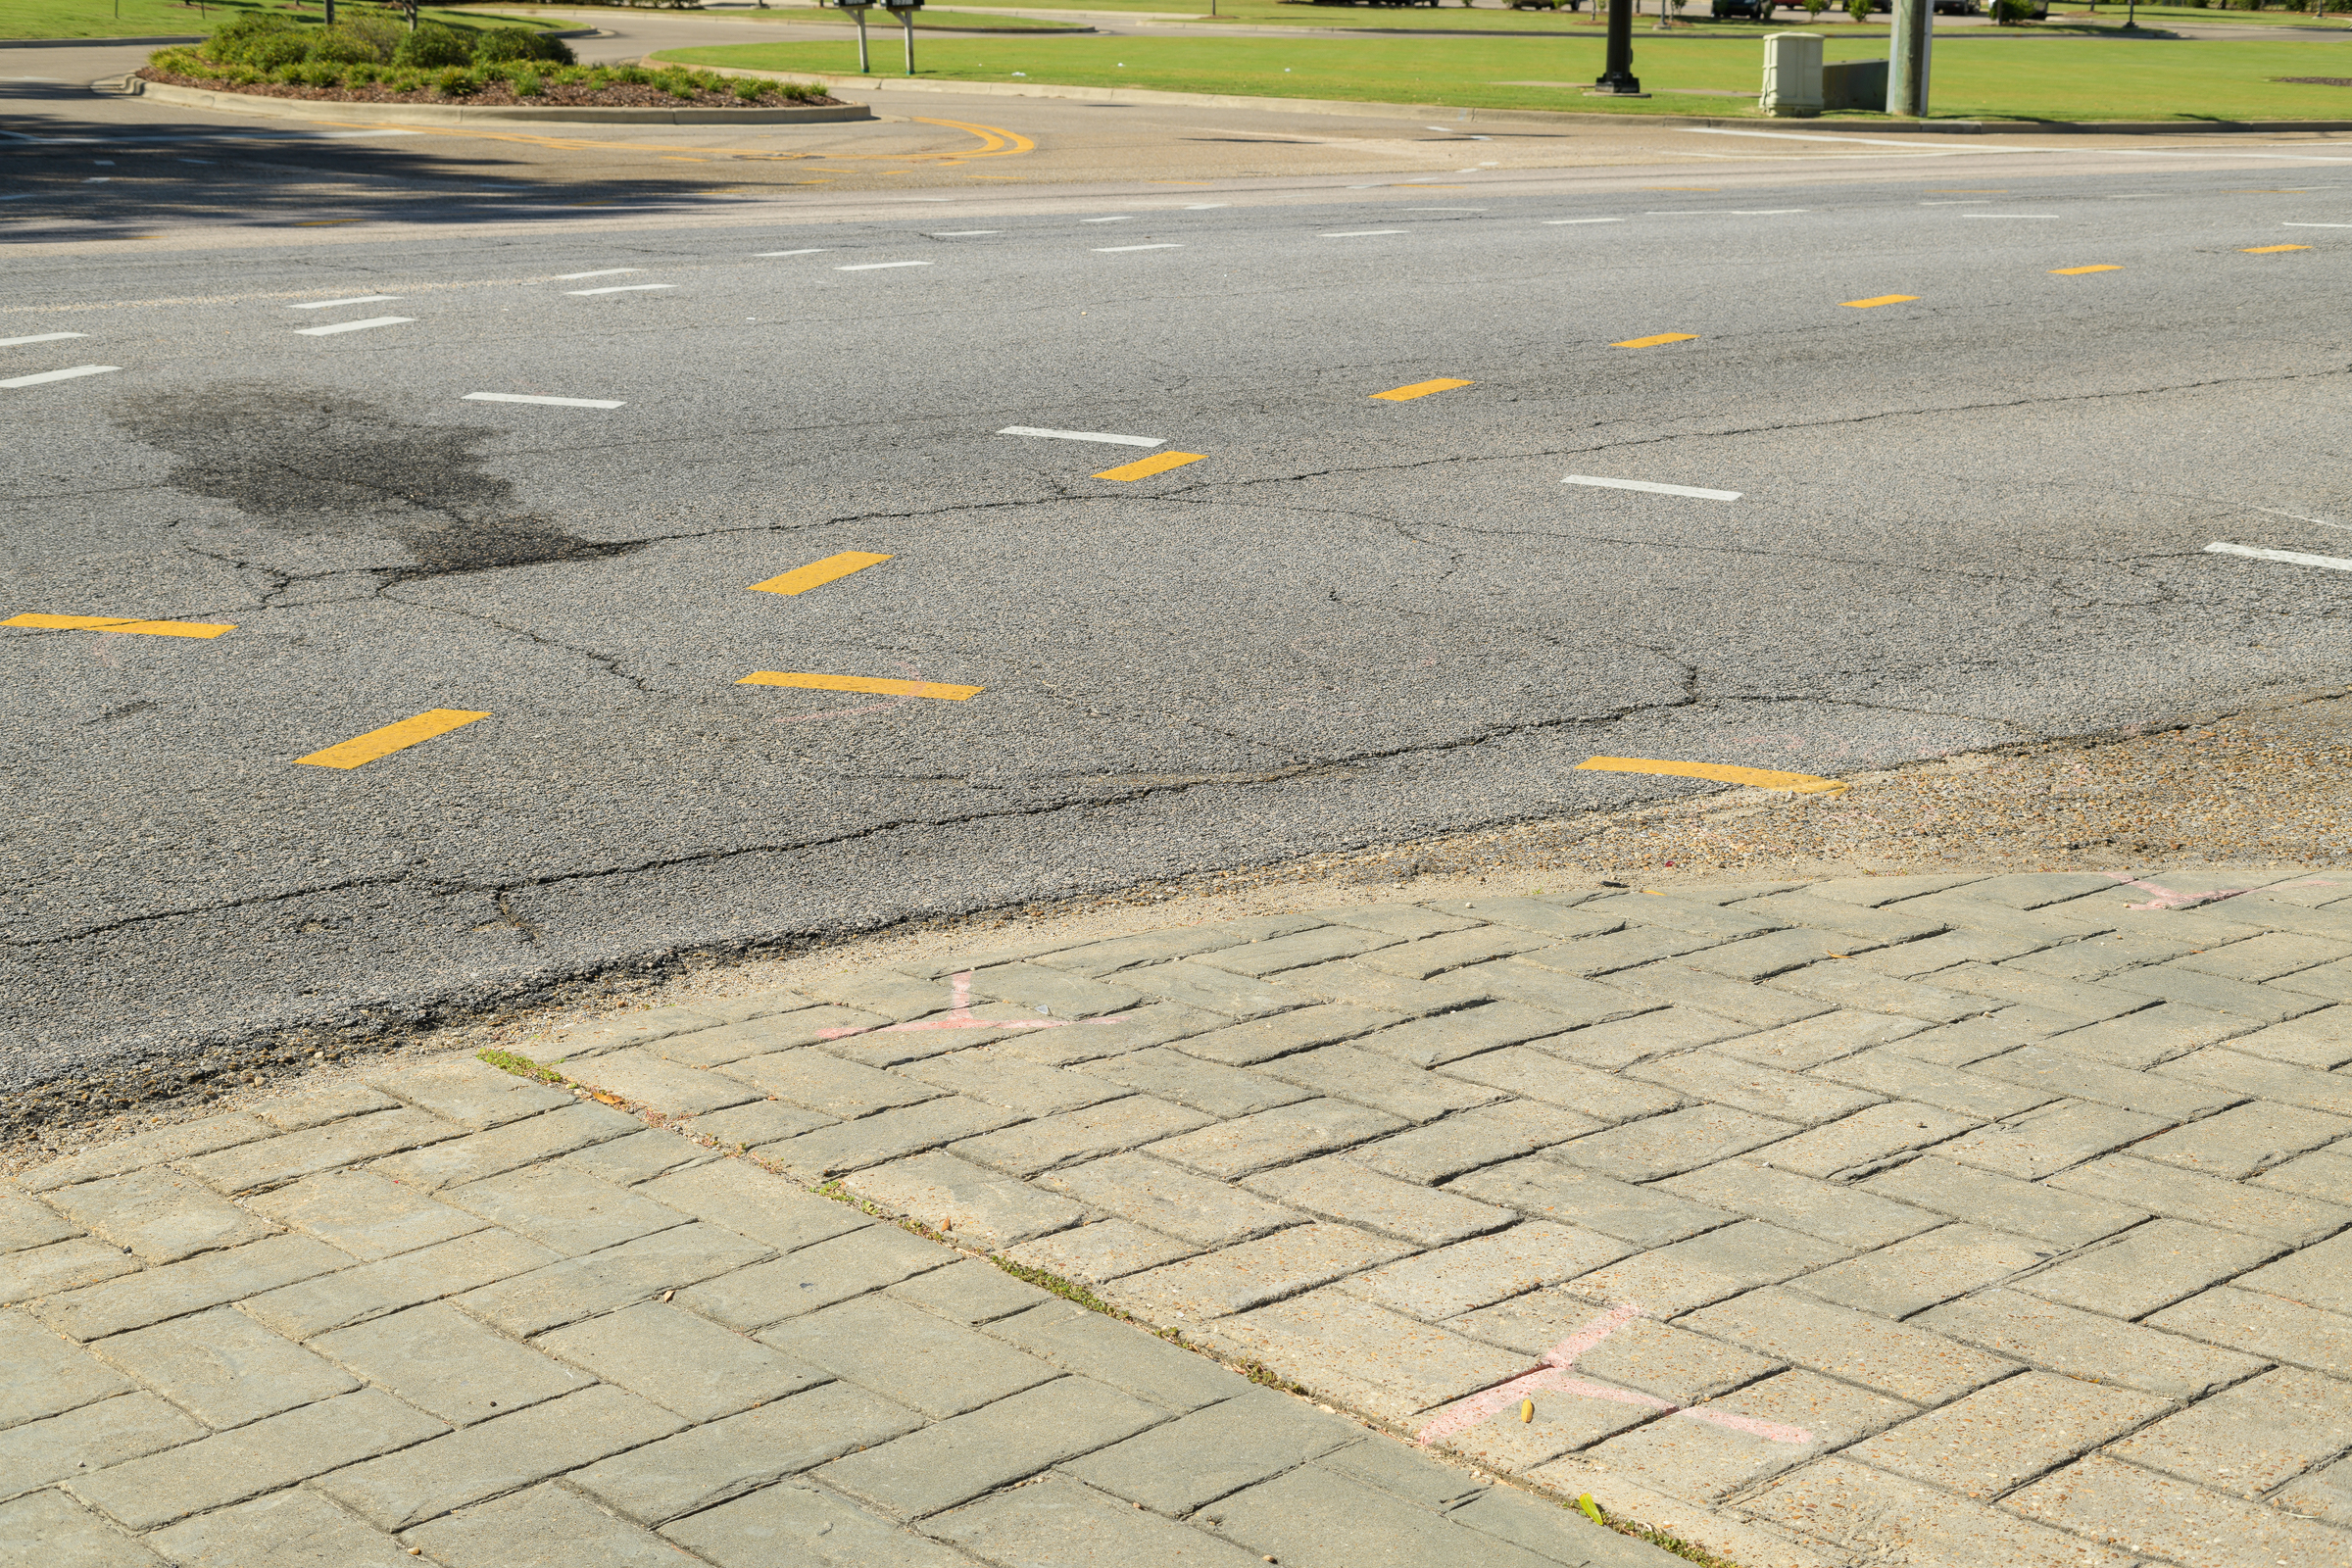
At times, when you get to an accident site, the paint marks made by investigating officers have faded such that they don’t readily show up in photographs. [Click on image to enlarge, then click back arrow to return.]

While these can still be documented and measured, it would be helpful to show them more distinctly in your photographs.
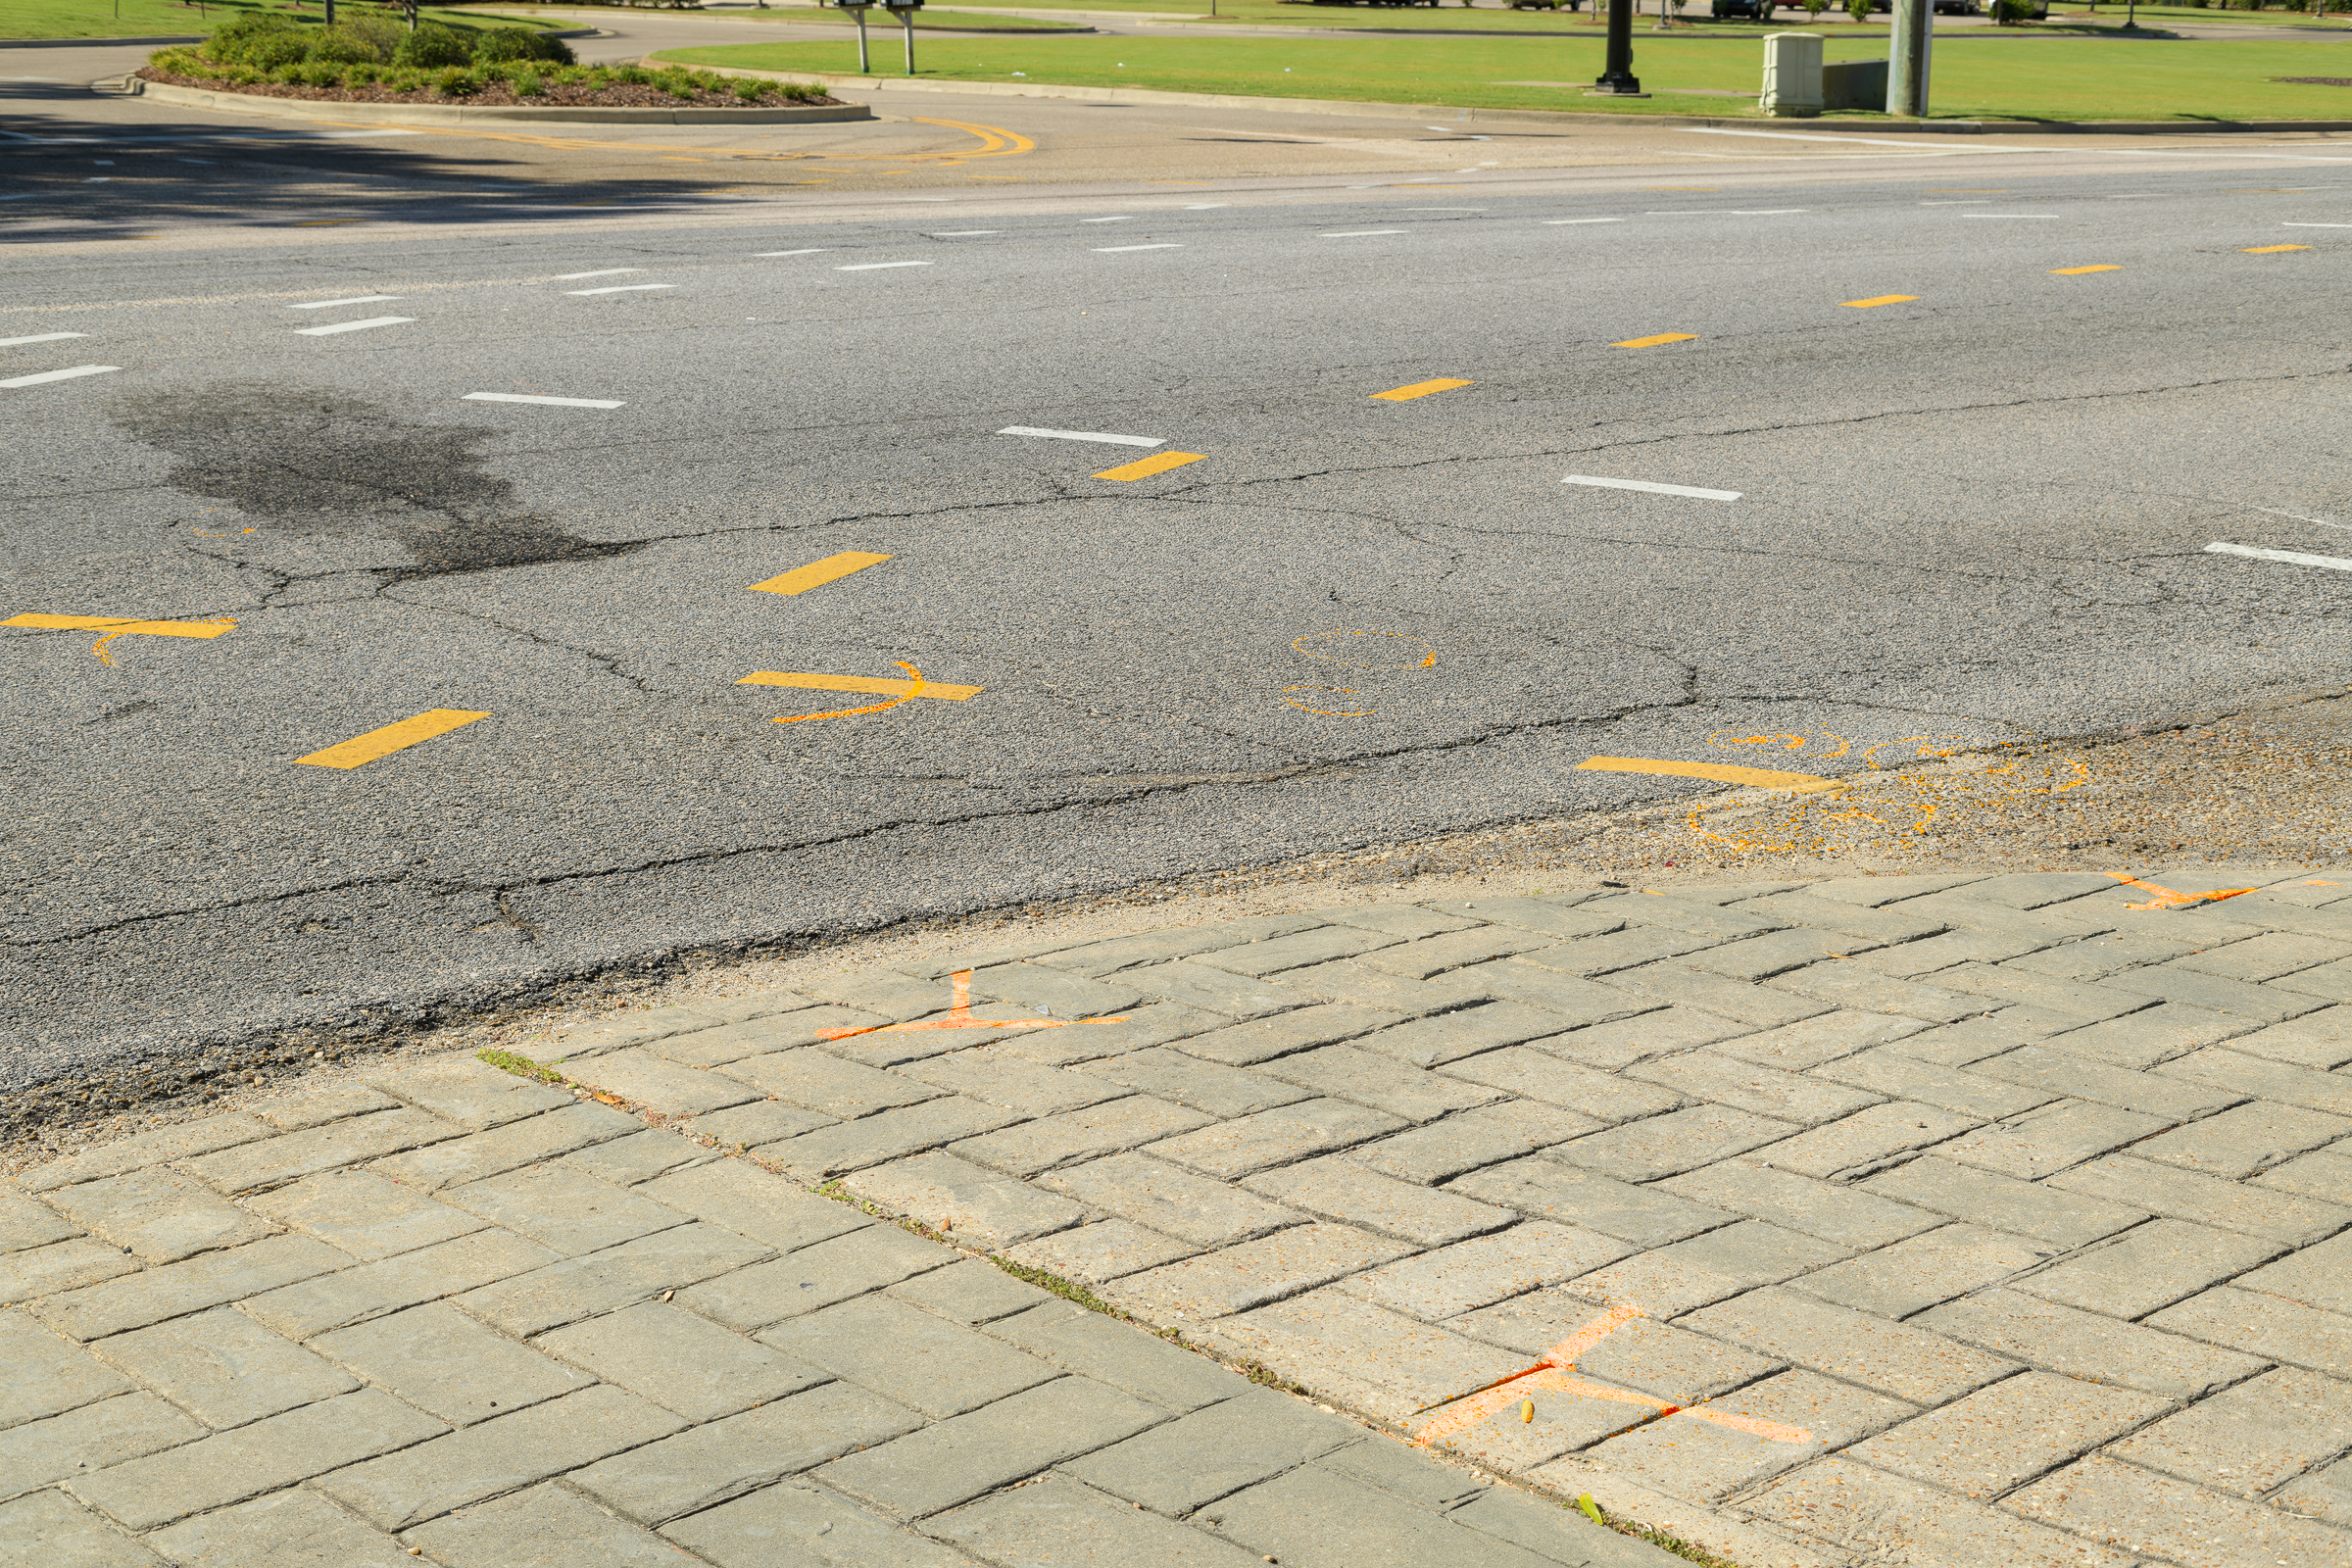
You can easily enhance paint marks in Photoshop using a mask on a Hue Saturation layer:
-1- Make a loose selection around the marks with the lasso tool.
-2- Feather the selection.
-3- Select the paint color using the Targeted Adjustment Tool.
-4- Increase saturation until the paint marks are distinct. In this case, I increased the saturation of the red channel to 100%. [Click on image to enlarge, then click back arrow to return.]

To ensure I didn’t enhance the yellow lane stripes, I added them to the mask by simply painting out areas I didn’t want enhanced using a feathered black brush.
I only shoot raw images, so I can’t save over my original image. When making adjustments with layers, like these localized saturation enhancements, I save the image with all its layers and masks as a native Photoshop PSD file. That way, I always have the original image I made, and can document that I have only enhanced, and not altered, the photograph.
