Photographs of collision sites in most intersections, or in residential or commercial areas, will have recognizable elements that orient a viewer to that area. Conversely, many stretches of rural roads, interstates, or other limited-access highways have few, if any, distinctive features. While it will be assumed that your photos show the road where the wreck occurred, without visible landmarks, it may be difficult for viewers to relate to the area. Signs, bridges, guardrails, and other roadside objects can be helpful—but only if you include them in your photographs.
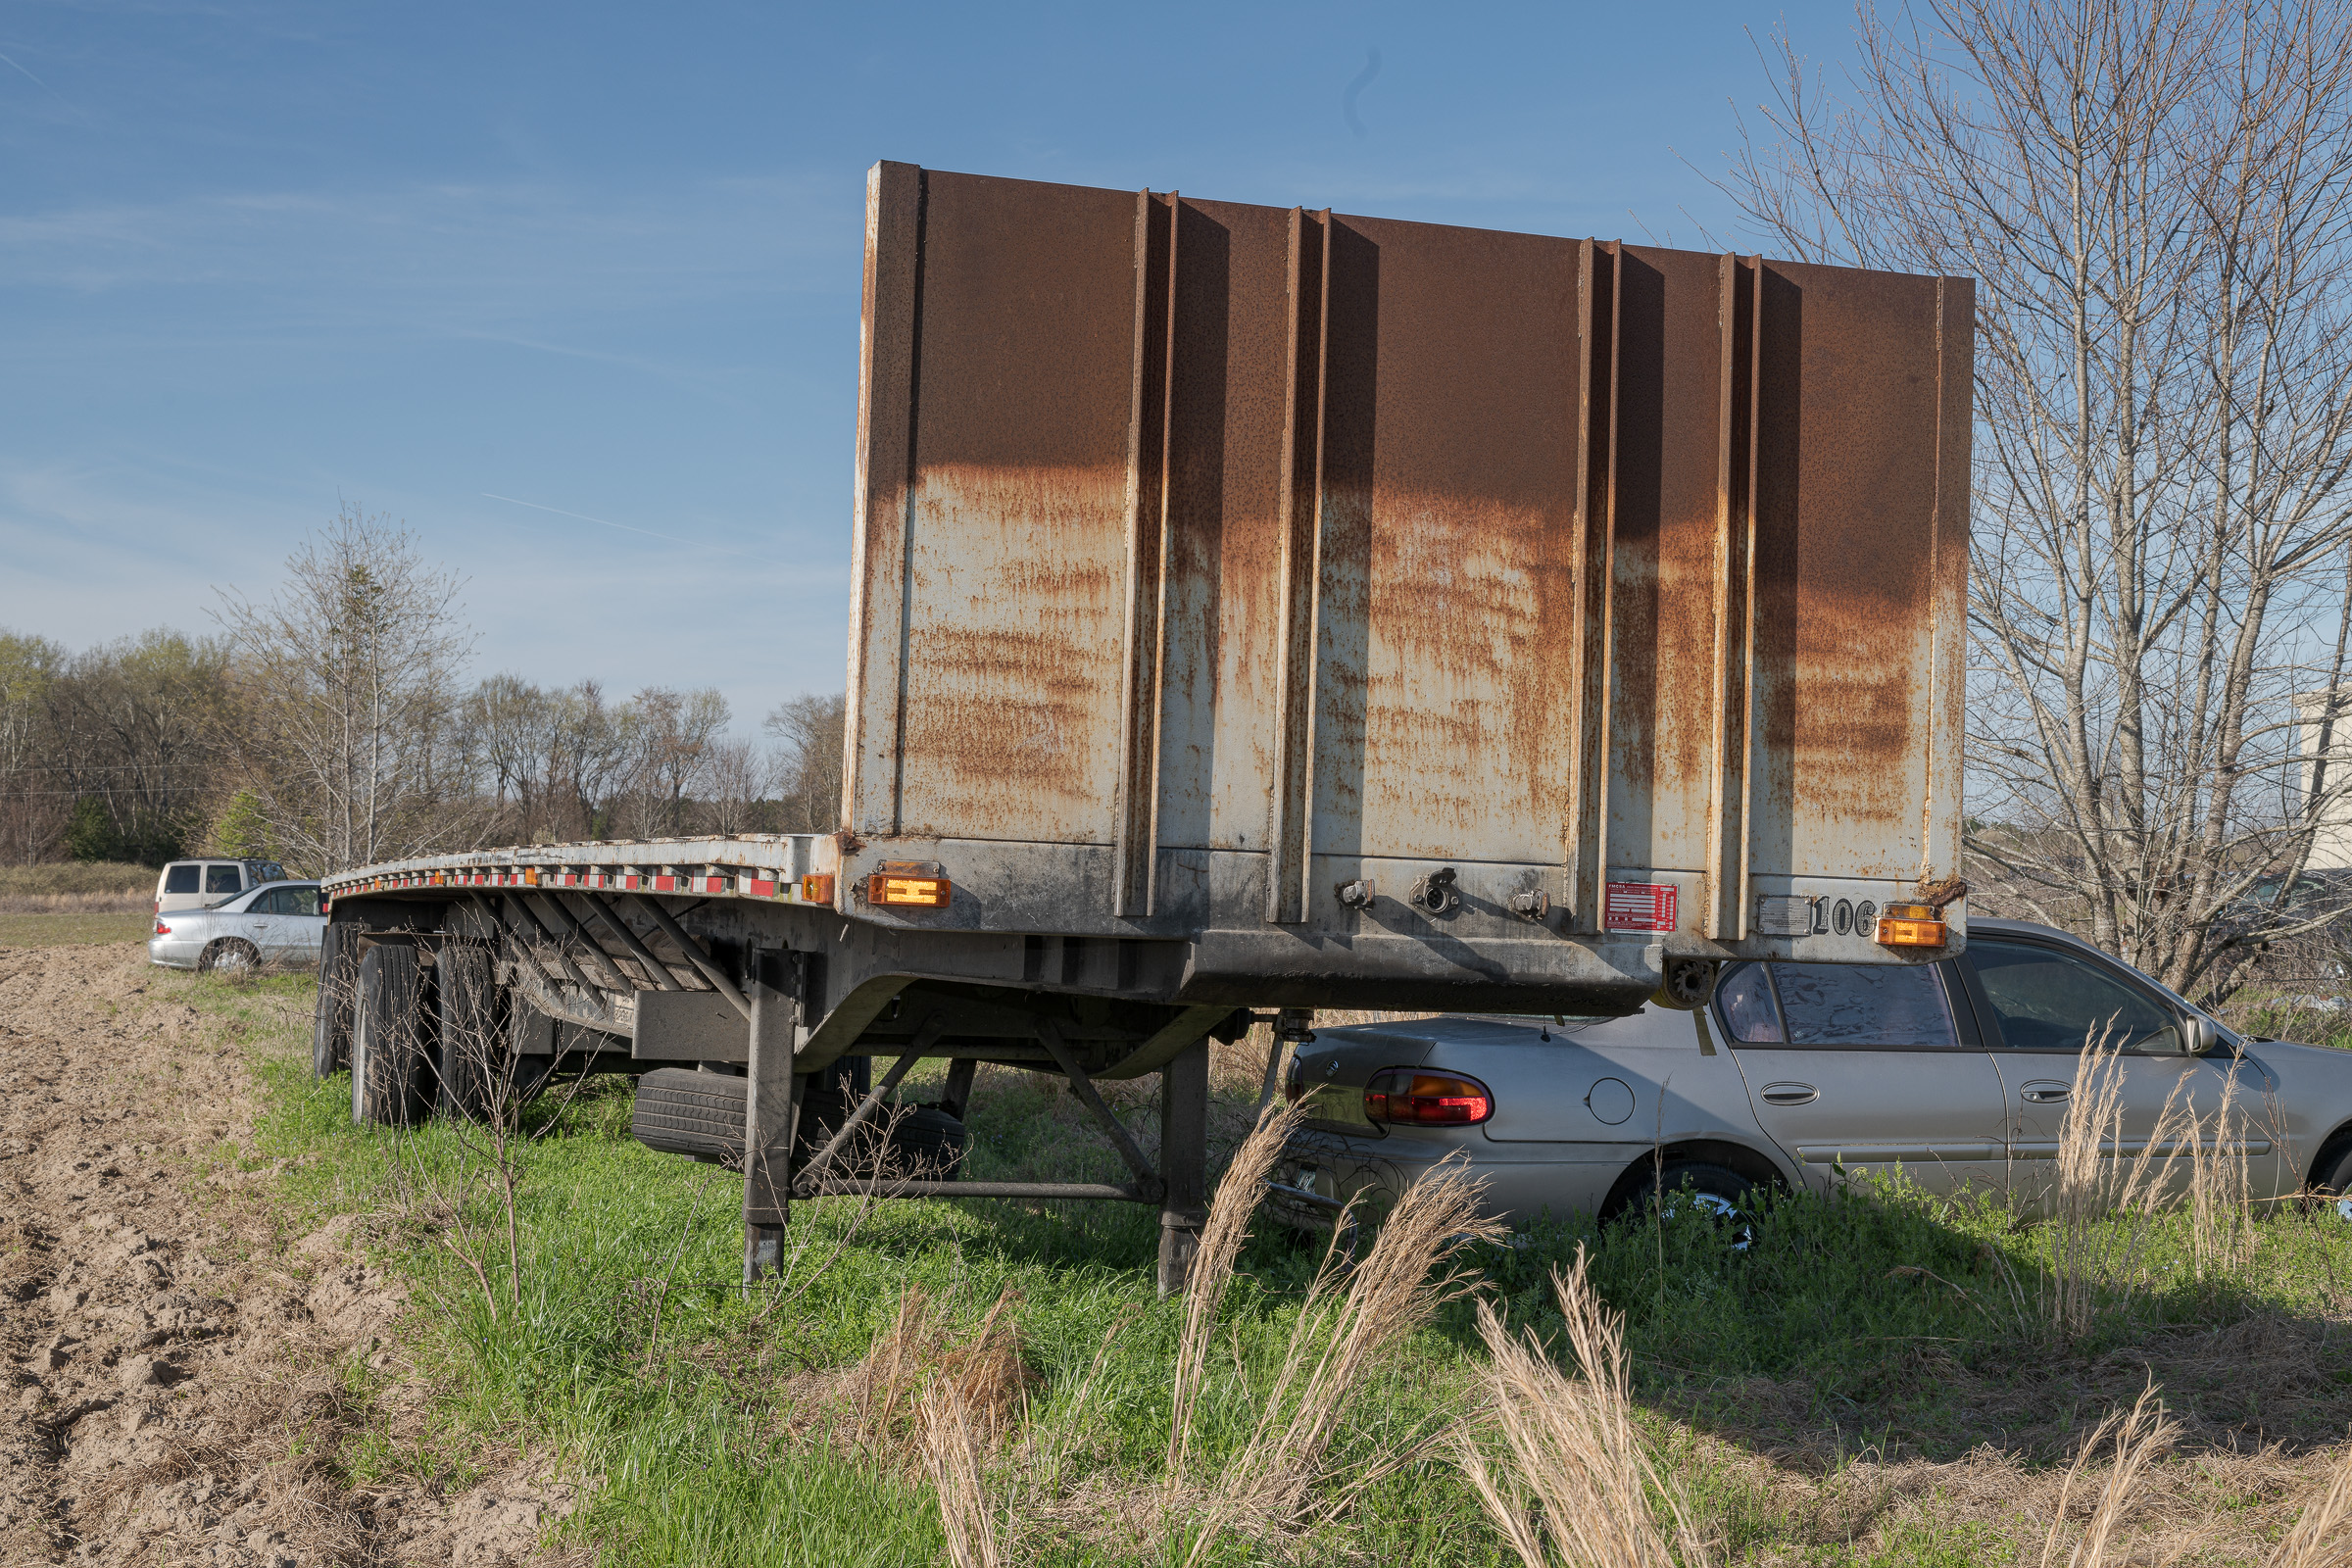
As an example, the top of a fireworks store is partially visible at the top of the image below, but it isn’t visible enough for a viewer to determine where this photograph was made. [Click on photograph to enlarge, then click on Back arrow to return to this post.]
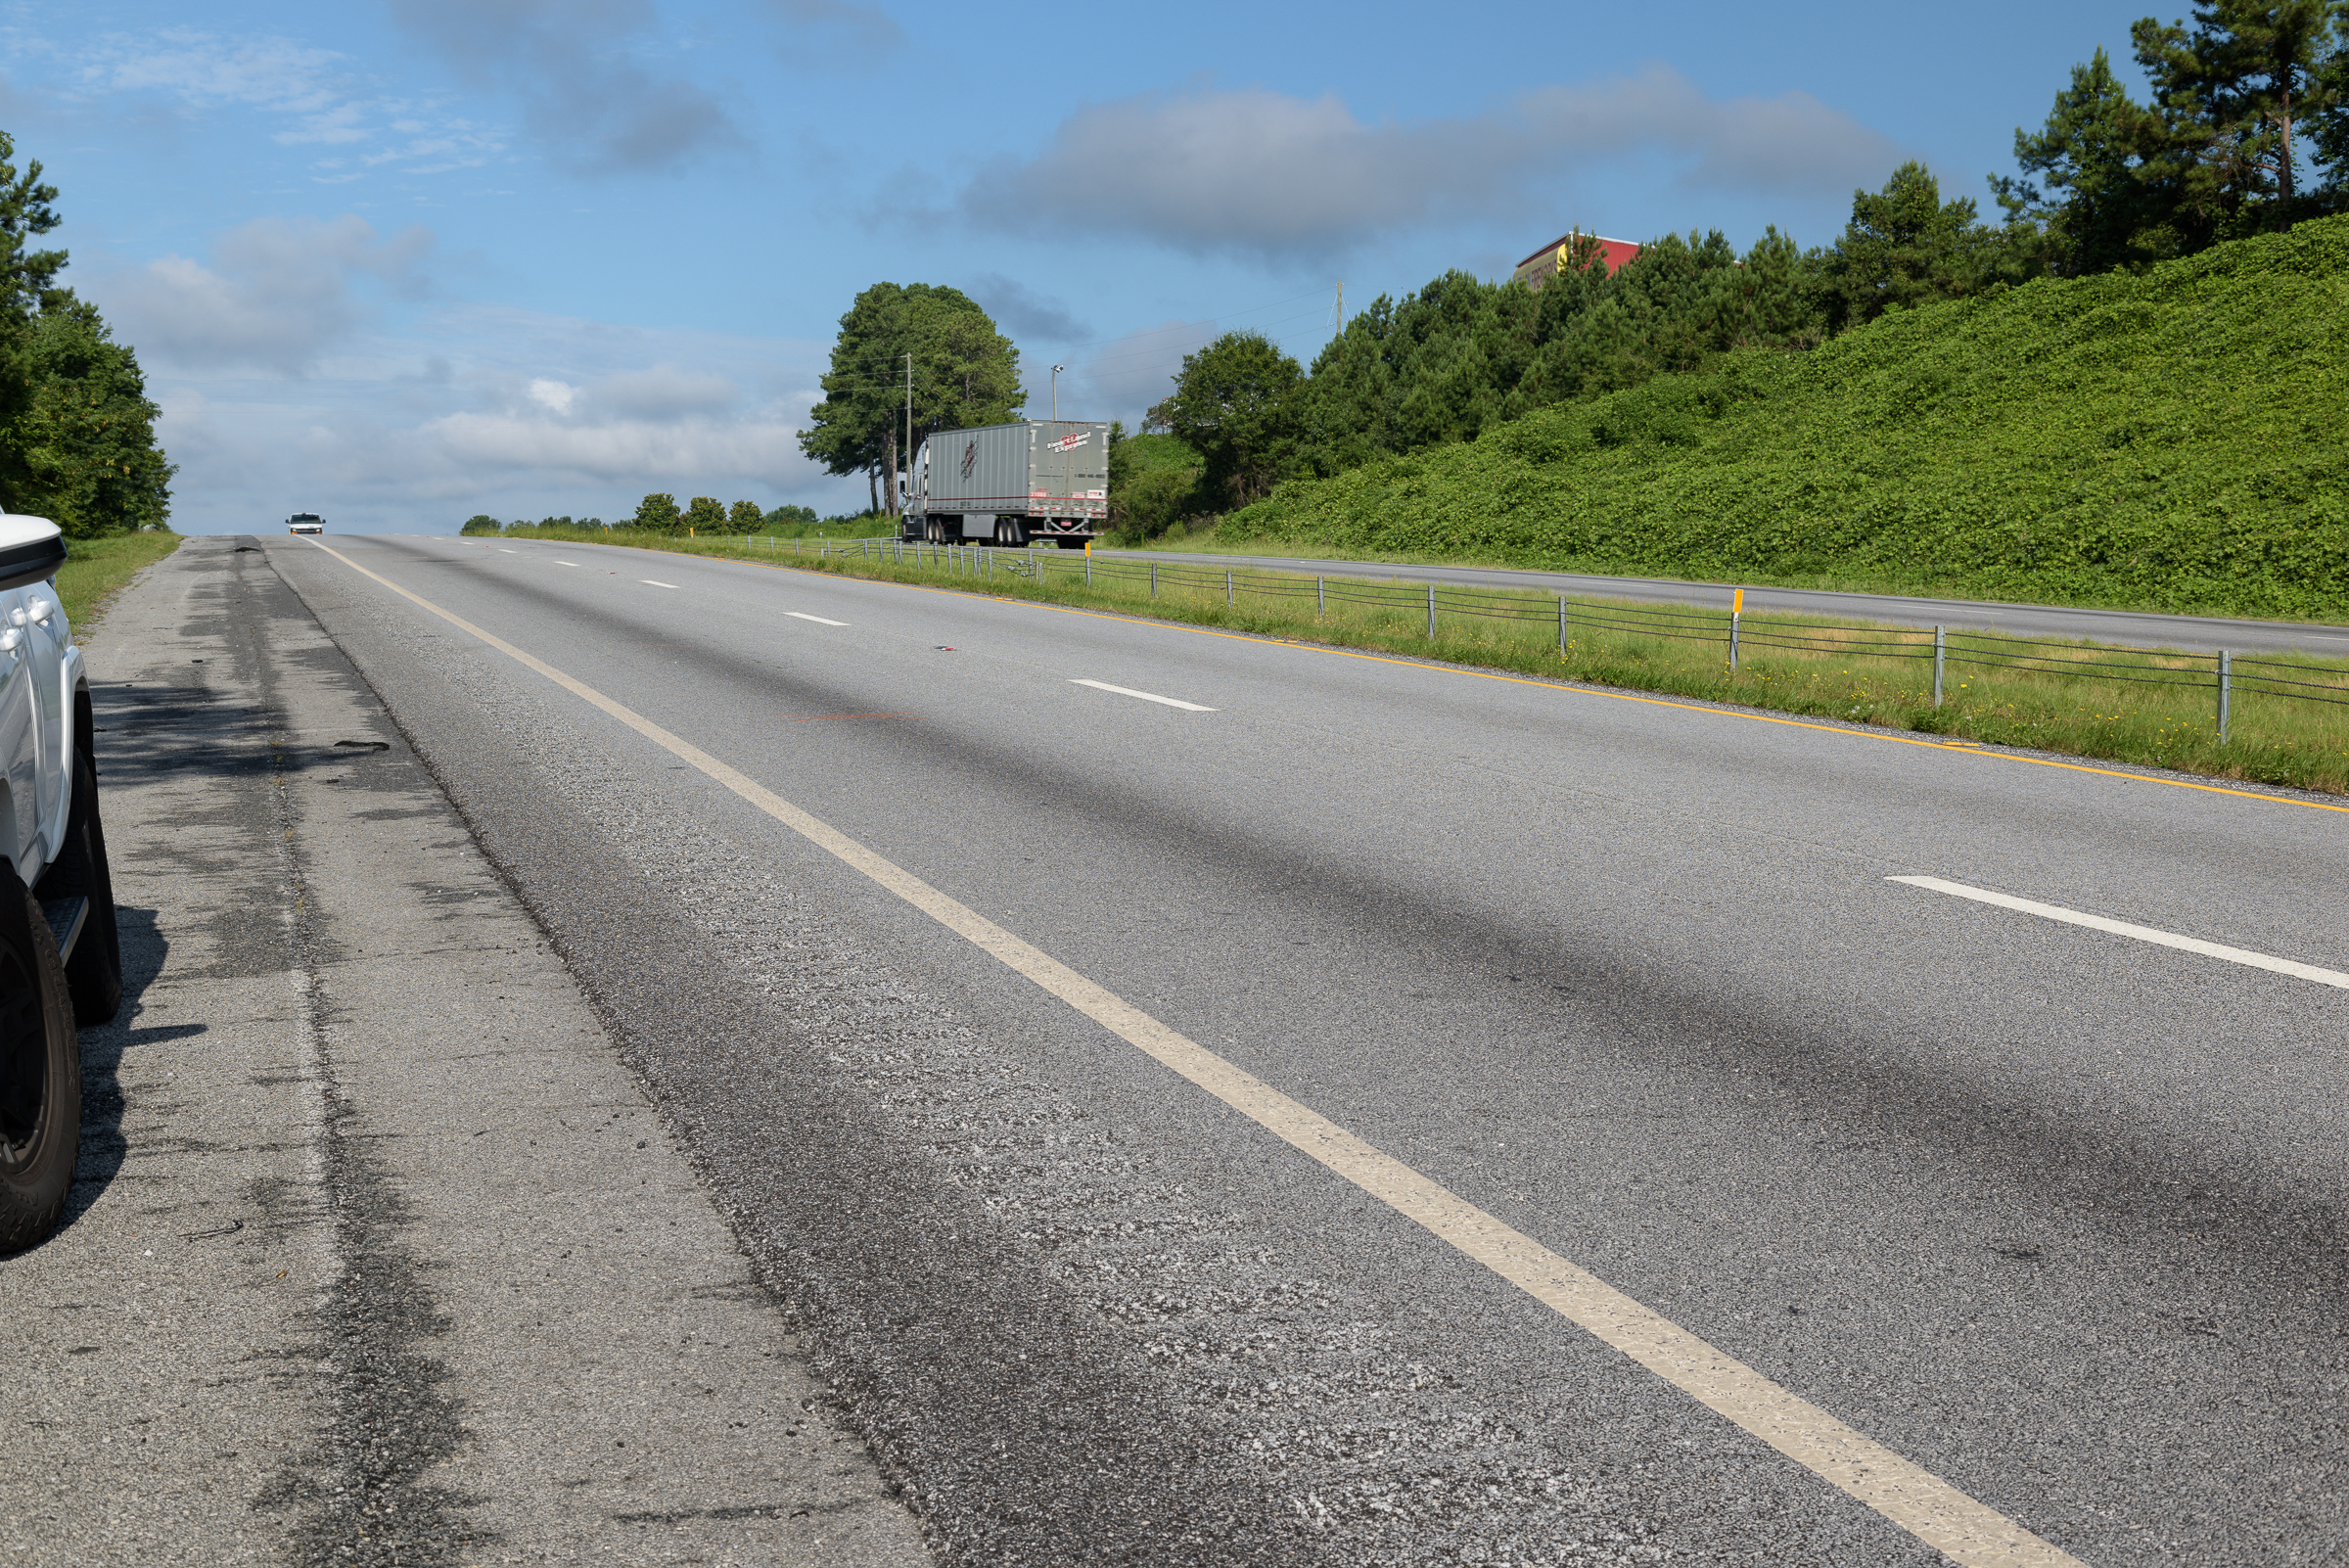
By the way, this photograph was made for two purposes. First, it showed the roadway in the direction the accident vehicles were coming from. Second, it showed an oncoming vehicle as it crested the hill (vertical curve) on the approach to the area of impact to give a sense of the sight distances involved.
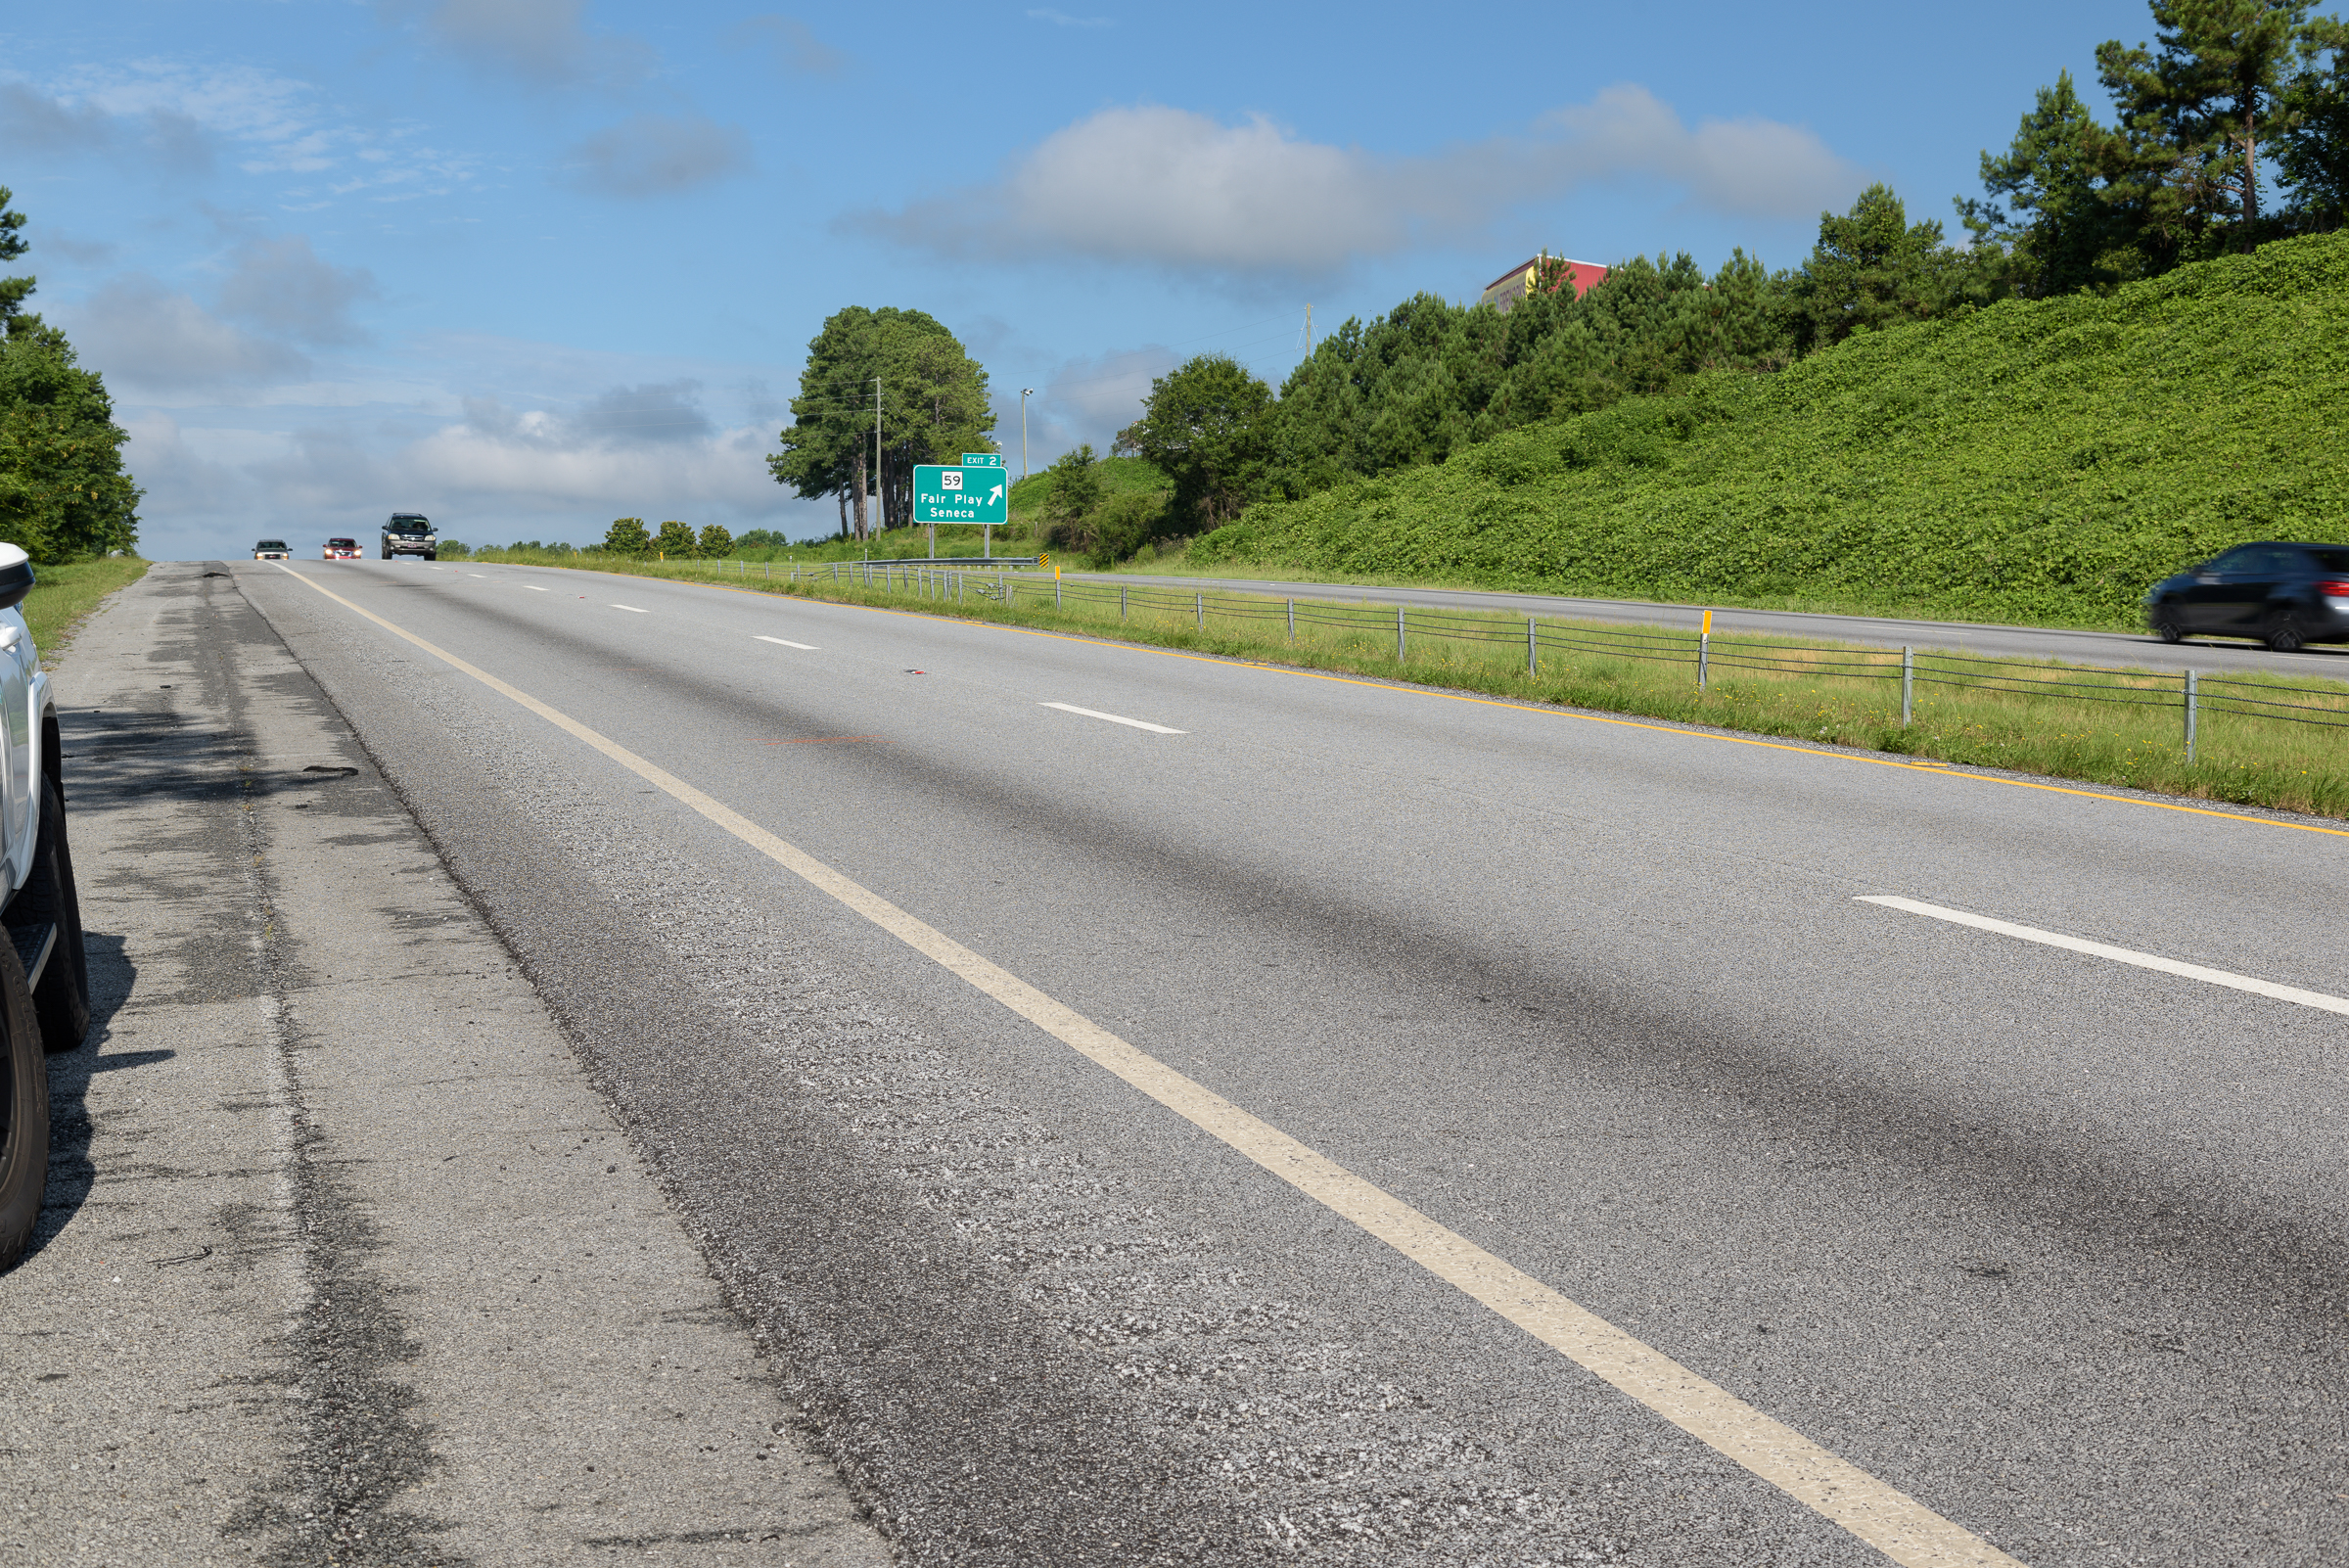
While the fireworks store is a partial clue, the timing of the tractor trailer in the above photo obsured an exit sign, visible below, that would definitively place where the photo was made to someone generally familiar with the area. [Click on photograph to enlarge, then click on Back arrow to return to this post.]
Unless you intend to depict the effect of obscuring an element at a site, which sometimes you may wish to do, it is worth making a habit of reviewing your images while you’re still in the field to ensure you haven’t accidentally masked an important feature you meant to show.
Five takeaways:
-1- You should make photographs of the approach to a wreck scene to establish where the vehicle or vehicles came from.
-2- If a hill, curve, tree line, building, etc., obscures the view of an approaching vehicle, in any direction, you may want to capture the view both without any vehicles and then with a vehicle just coming into view to assist in visualizing the visibility distance.
-3- Especially on a rural road or on a limited-access highway, photographs including signs or other roadside features can help a viewer relate to where the photo was made.
-4- You can time your photographs so that passing vehicles will or will not obstruct certain roadside features at an accident site, depending on what you are trying to illustrate in each photo.
-5- You should include unobstructed permanent roadside objects in at least one photograph so you won’t be embarrassed by failing to fully document a wreck site.