Lighting for Texture

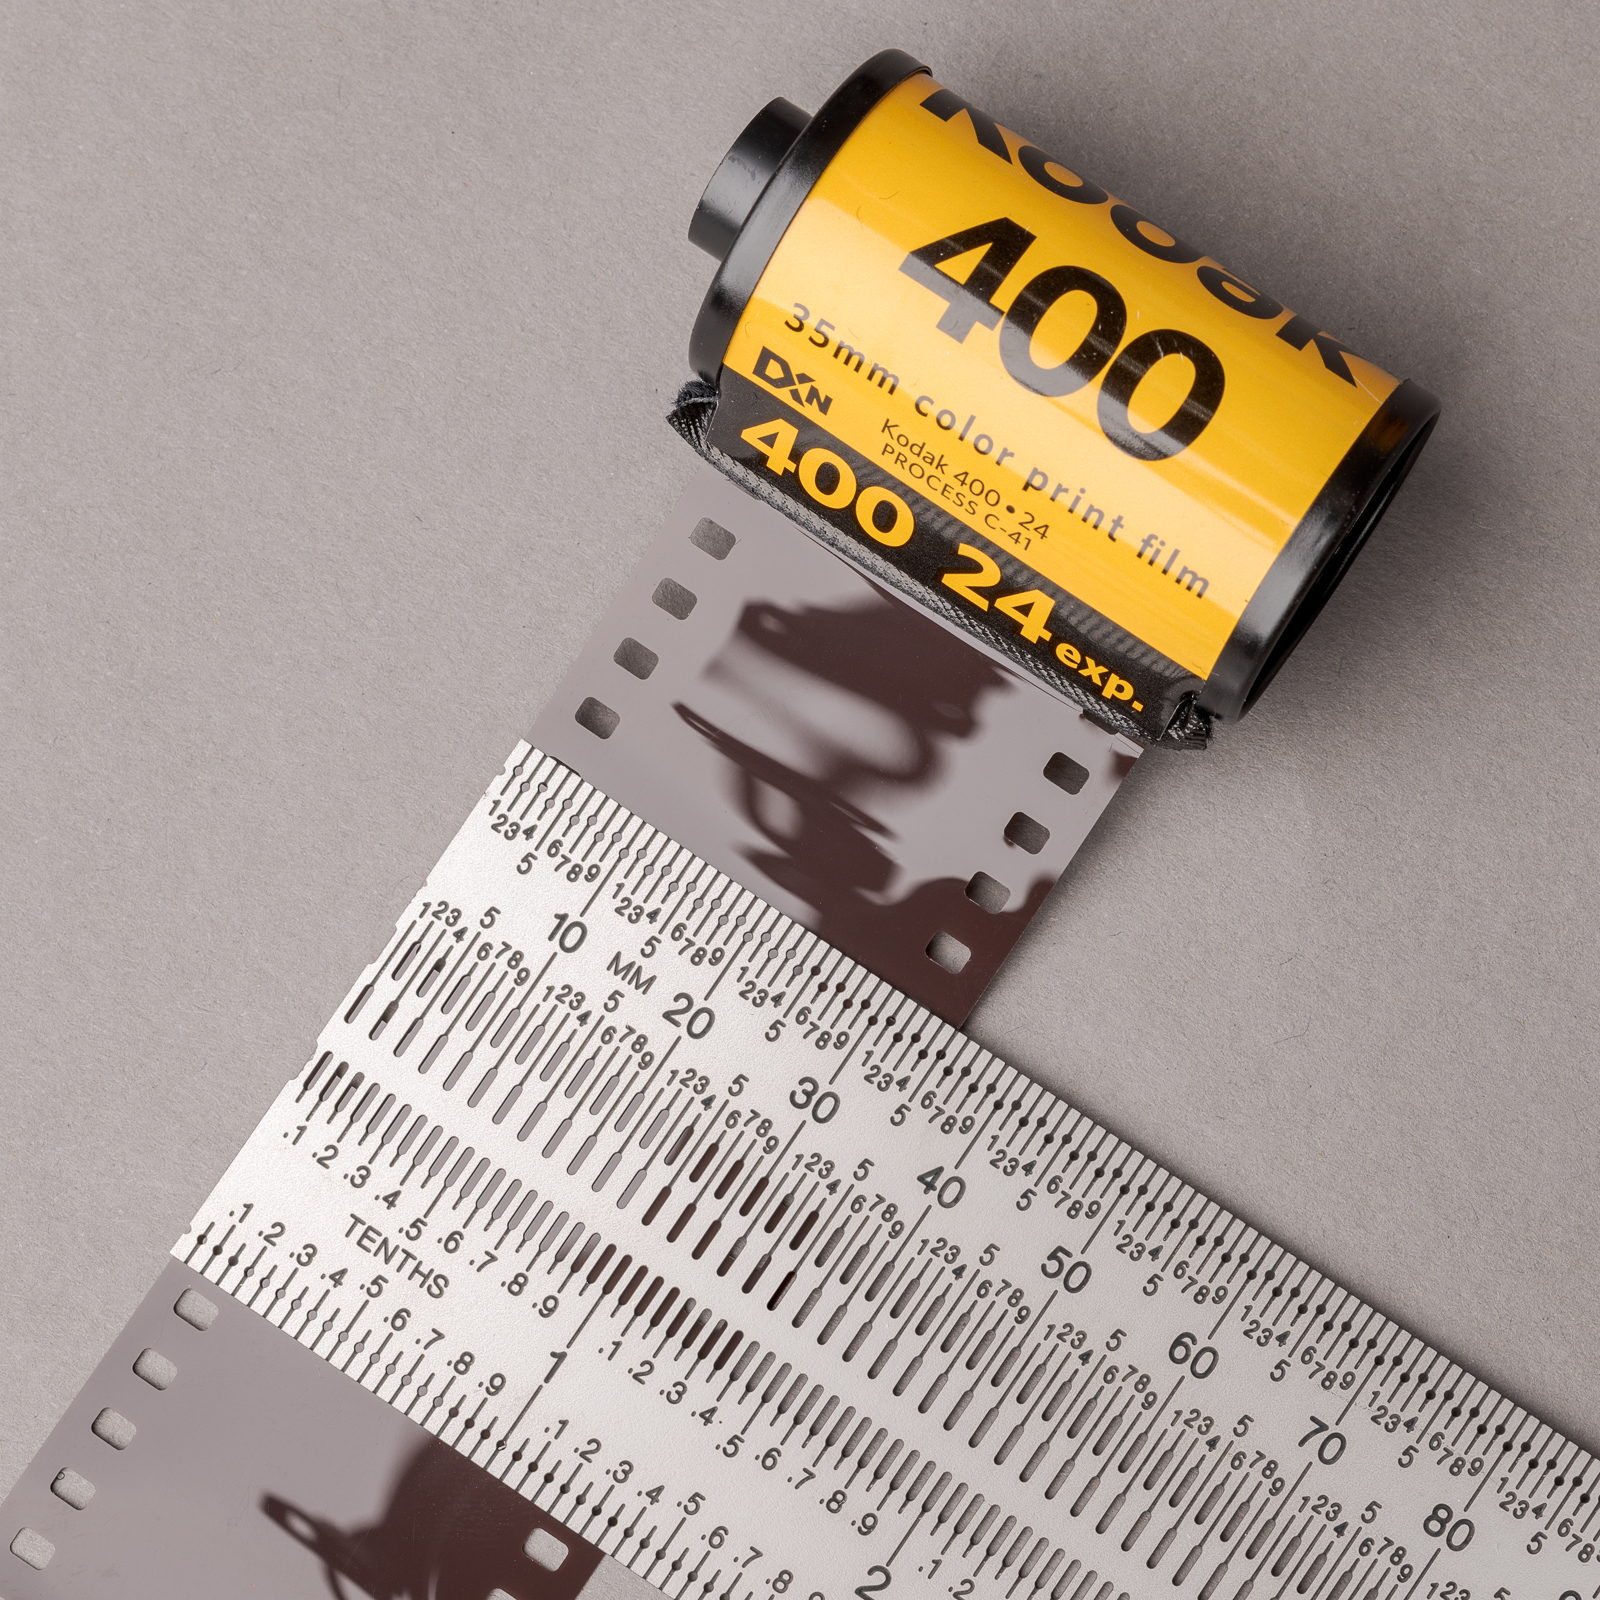
A subject lit from any light source (natural or artificial) coming from the direction of the camera toward the subject is said to be front lit.  Front lit subjects are easy to expose for since the light is flat and even. That’s why in the film days, the little paper in the box with a roll of Kodak film recommended shooting with the sun at your back. Although the result was a dull, flat, two-dimensional look, the lighting was so predictable that even using the full Auto mode would nail the exposure.

To give the impression of three dimensions in a two-dimensional medium requires a combination of light and shadows. As noted landscape photographer and teacher Chas Glatzer stresses, “Light Illuminates, Shadow Defines”.

For subjects that are not shiny, front lighting yields consistent color, but lacks texture. (Shiny subjects reflect glare with most front lighting—a subject for a future post.) For lighter colored subjects, the best way to show that texture is to have a light skim across the textured surface from the side. (Black textured objects respond differently. This will also be addressed in a future post.)

Although it’s unlikely you’ll be asked to photograph sponges, they are easily accessible subjects to use to practice bringing out textured surfaces in a photograph. I came across this demonstration in the excellent book Light: Science and Magic, 5th Ed. by Hunter, et al.

For this first image, I held the head of a Nikon SB-910 flash in Remote mode along the barrel of the lens at its bottom right. (You can tell where the flash head was placed by looking at the hard-edged shadow along the top and left side of the sponge.) That flash was triggered by another SB-910 flash mounted in the hot shoe on top of the camera’s pentaprism. It was set to Master mode with its own flash light turned off so only the remote flash fired. [Click on the image to enlarge, then click on the back arrow to return to this post.]

Made with Nikon D850 with ZEISS 50 mm f/2 macro lens at f/10, 1/200 sec, ISO 64. Remote Nikon SB-910 flash head at lower right of lens barrel, fired by deactivated Master SB-910 in camera hot shoe.

To make the second image, I put the remote SB-910 on a light stand to the right of the camera at a height between the end of the lens and the top of the sponge. I aimed the head of that flash across the face of the sponge. Again, the shape and location of the shadows show where the light was placed. As with the first image, that flash was triggered in Remote mode by the flash in the camera’s hot shoe set in Master mode with its own flash head turned off. [Click on the image to enlarge, then click on the back arrow to return to this post.]

Made with Nikon D850 with ZEISS 50 mm f/2 macro lens at f/10, 1/200 sec, ISO 64. Remote Nikon SB-910 flash head low and well off to the right of lens, fired by deactivated Master SB-910 in camera hot shoe.

Both images were made with the same manual exposure mode and with the same manual flash exposure mode. Moving the light to the side resulted in both light and shadows, giving the sponge a three-dimensional appearance in a two-dimensional photograph.

You can see similar results using a sponge and a flashlight, but it’s worth duplicating these photographs yourself to understand how to use light to emphasize or minimize any texture you encounter. Illustrating texture is all about the amount and direction of the light—which you can control.

Remember to Think Light (and Shadow).

Photo Composition: Too Much Wasted Space

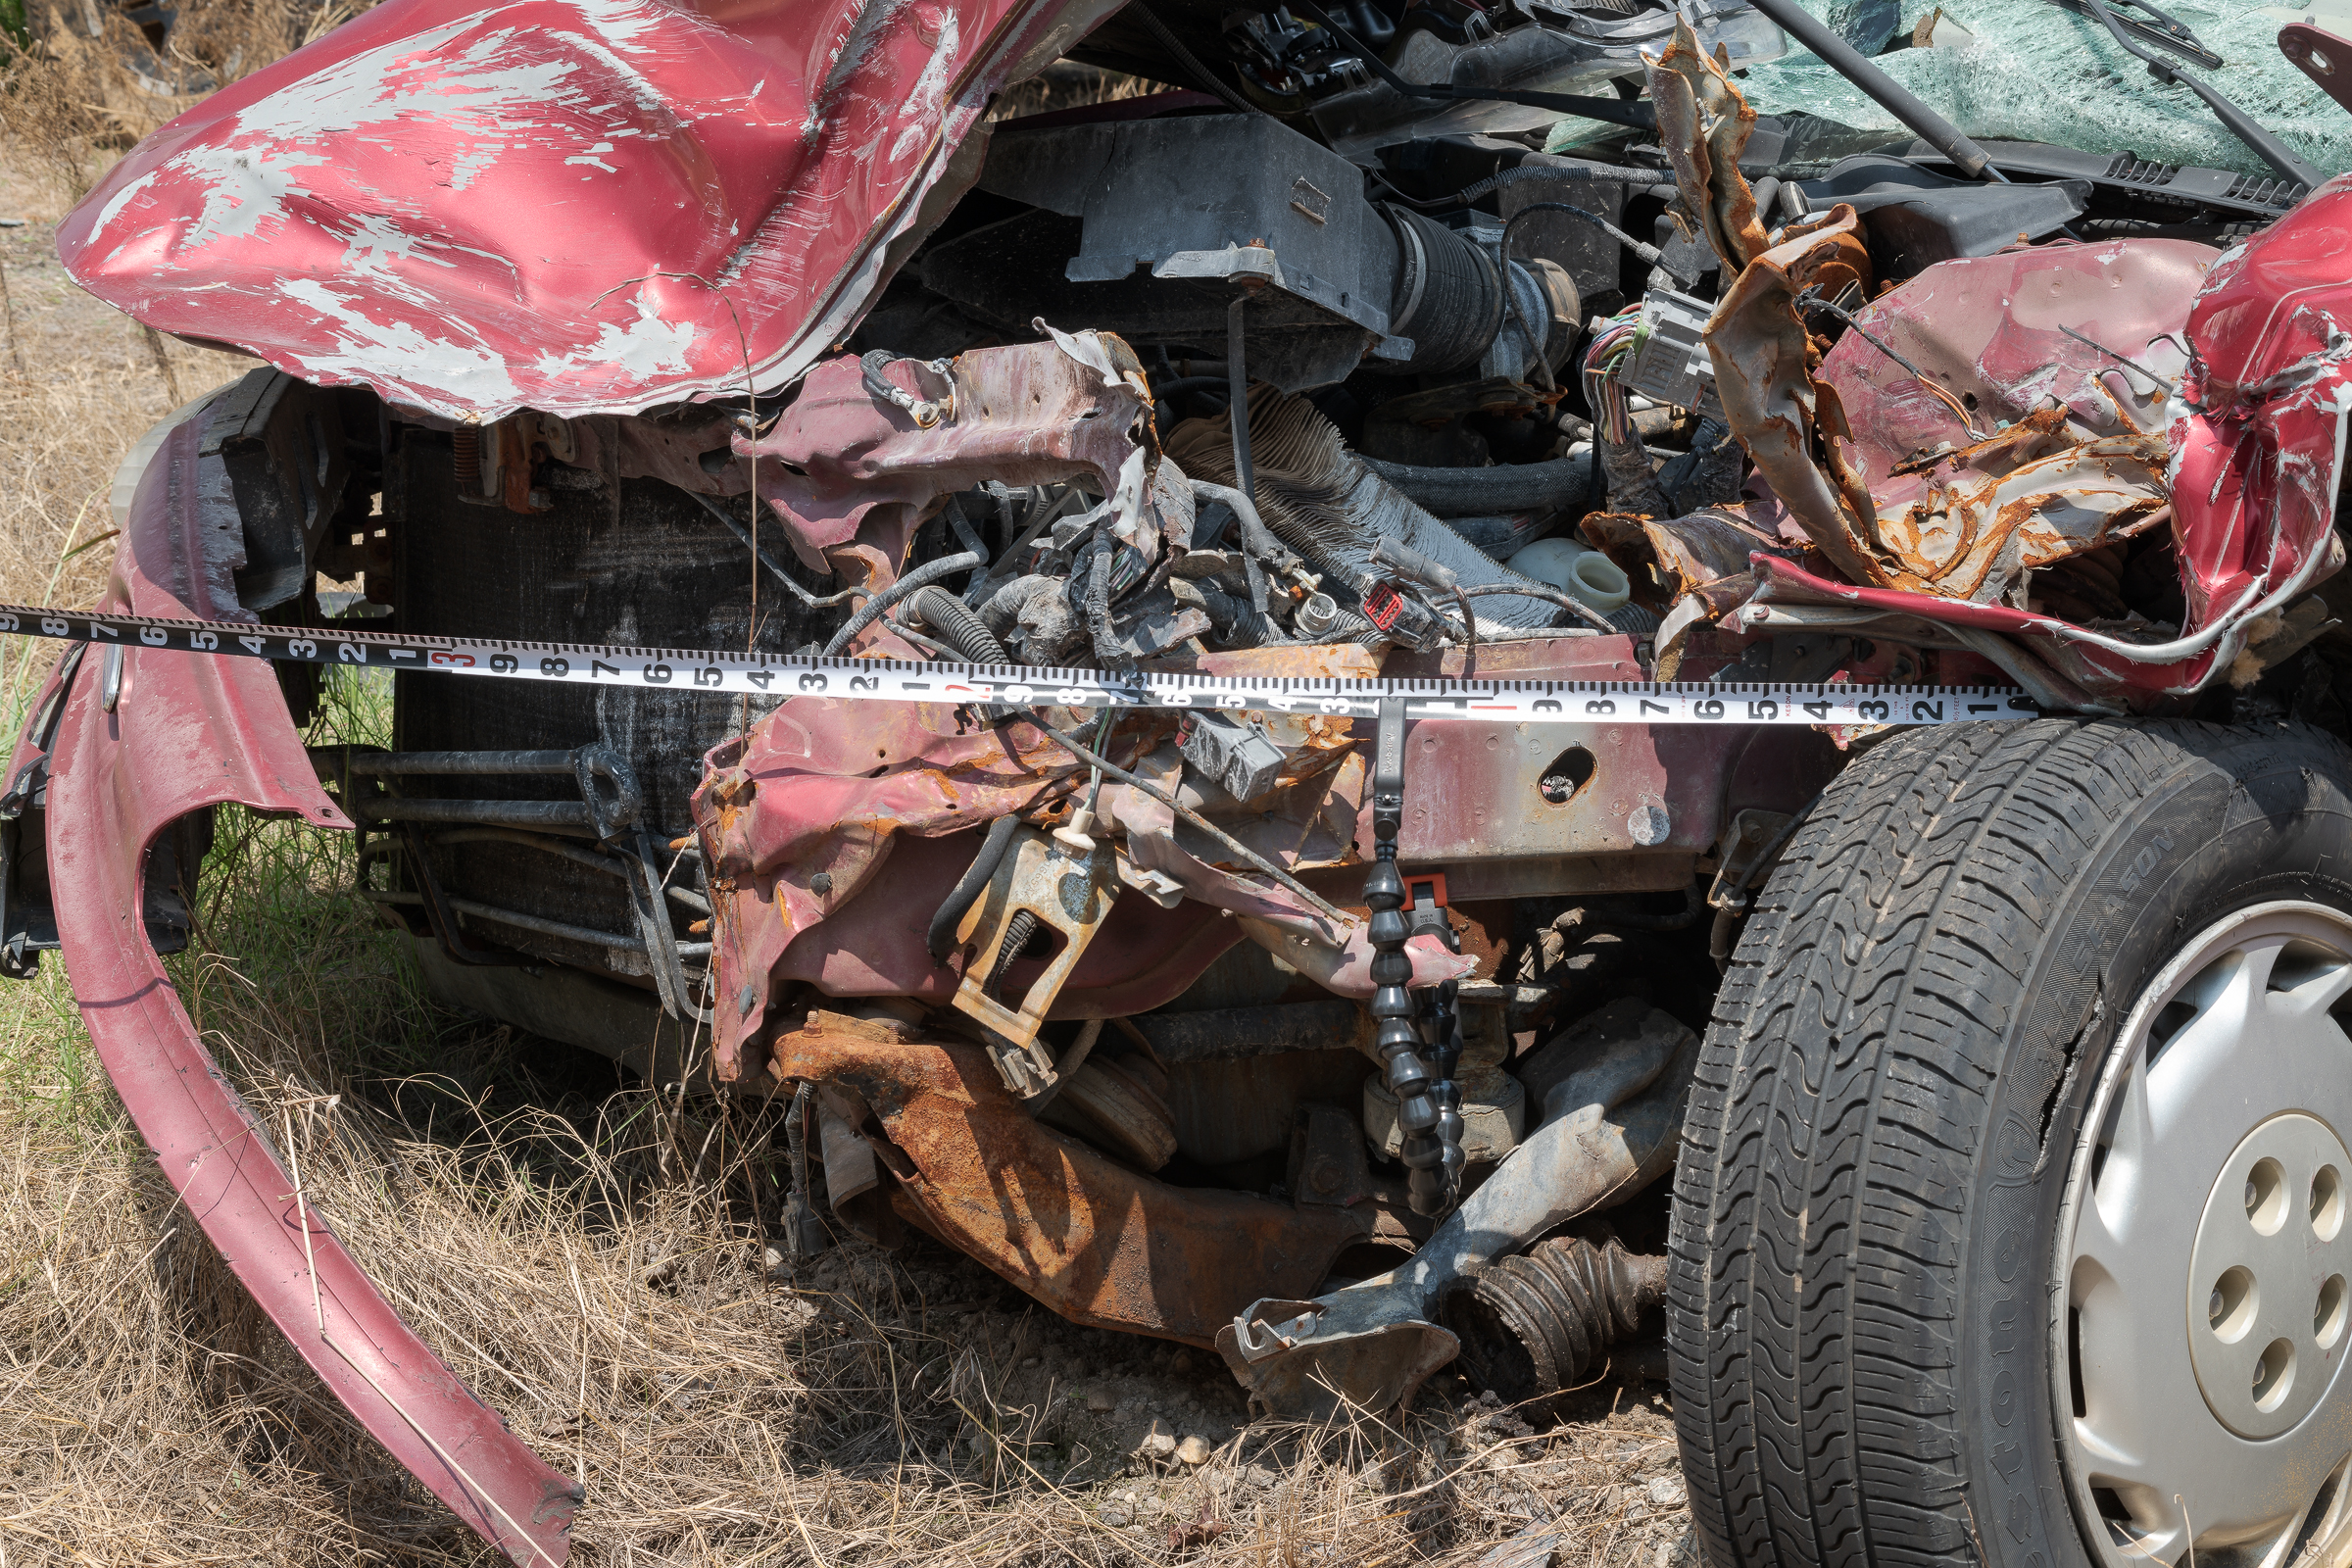
I’m sure you’ve seen many photos like the one below. [Click on image to enlarge, then click back arrow to return to this post.]

Left front of truck with bad composition. (Nikon D850 with ZEISS Milvus 50 mm f/2 macro lens and Nikon SB-910 fill flash.)

What is the subject? The tire and wheel? The intruding part at the upper right (which was actually from an unrelated truck)? The gravel? Is there something important that I should be seeing in the gravel?

It was actually the tire and wheel. But if you draw a vertical line down the middle of the photo, almost the entire right half of it is unrelated to the subject.

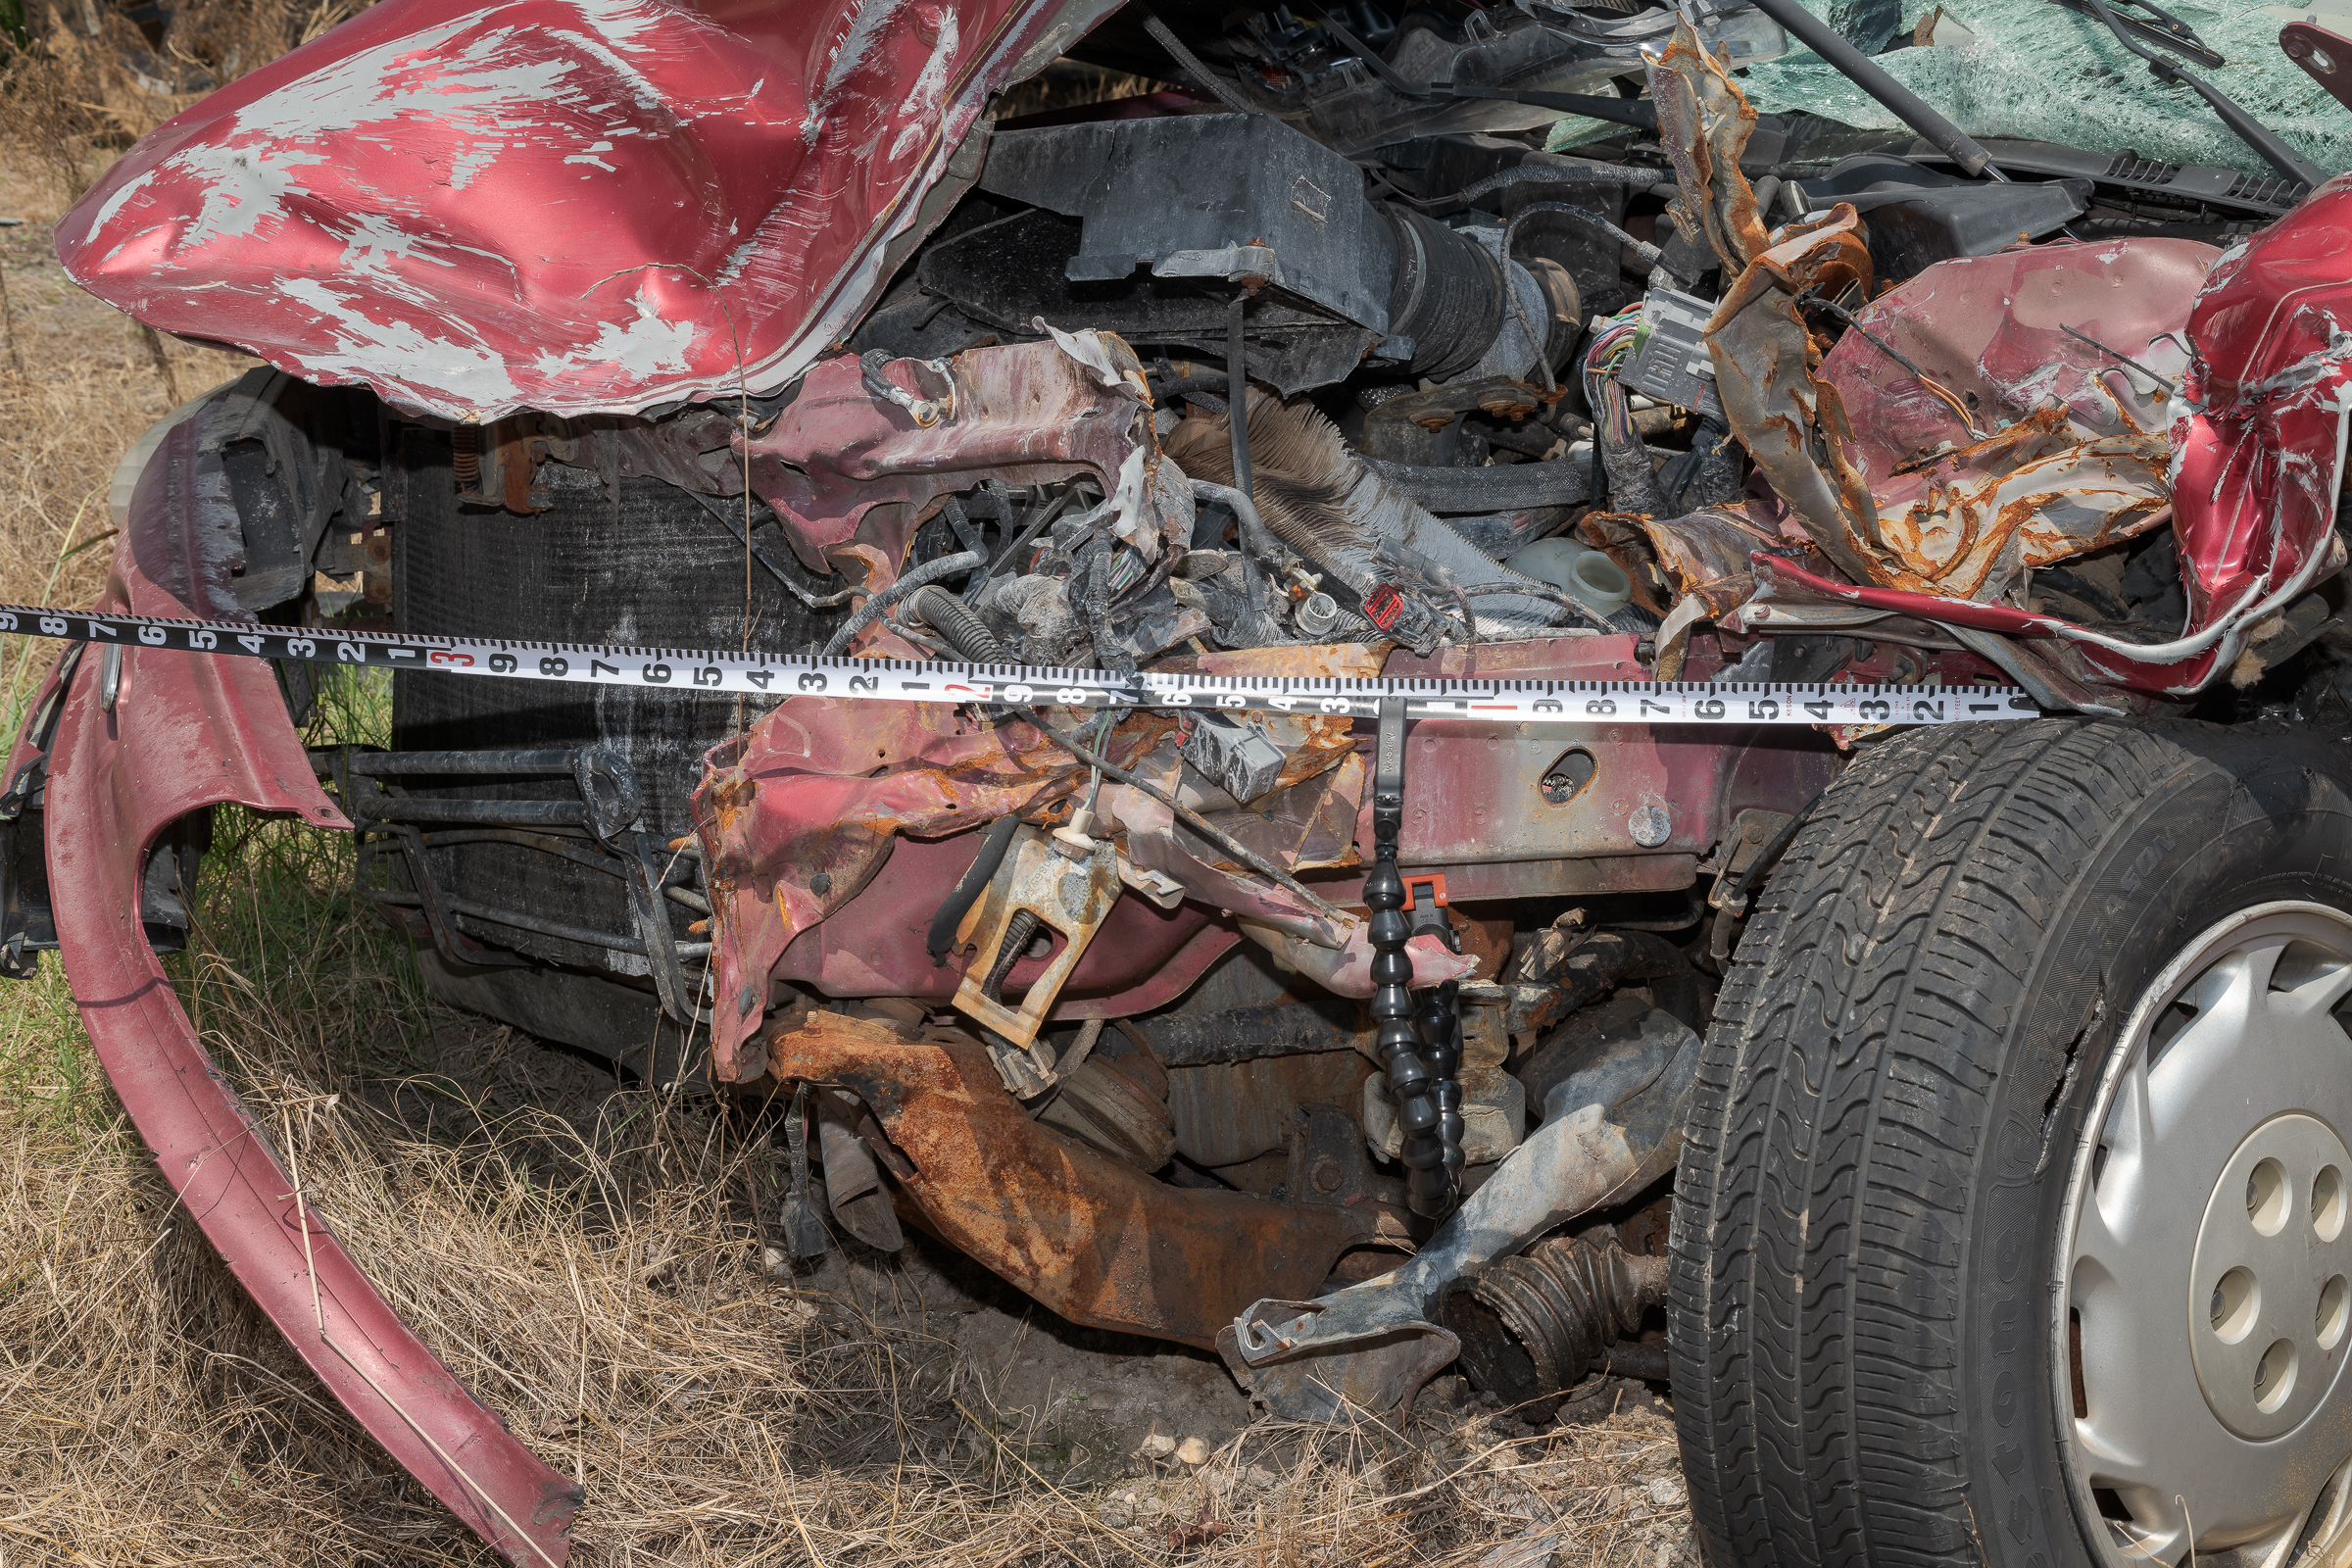
In the image below, the tire and wheel are still featured, but now you can see how they relate to part of the truck’s frame rail and steering system, too. [Click on image to enlarge, then click back arrow to return to this post.]

Left front of truck with good composition. (Nikon D850 with ZEISS Milvus 50 mm f/2 macro lens and Nikon SB-910 fill flash.)

This photo makes more sense and eliminates unnecessary and confusing elements. It’s easy to pay so much attention to your subject that you forget what it looks like in the frame. Make sure you haven’t included too much empty space or too many unrelated elements that are not only distracting and confusing, but look sloppy, careless, and unprofessional.

Using a Polarizer on a Large RV

I posted an example earlier illustrating the effects of using a polarizer and a fill flash on a car in a junk yard. In this post, you’ll see the effect of a polarizer on a large, slab-sided vehicle like a trailer or an RV.

Many people believe that polarizers are only effective on sunny days, and when the sun is at a 90° to the camera lens. But as these examples will show, a polarizer is just as effective in multiple directions on a heavy overcast day.

These images will also show that, just as on sunny days, the polarizer eliminated different amounts of reflected glare depending on the angle of the camera to the RV. As you will see when you look through and rotate a polarizer, the glare effectively moves around the scene. It’s up to you to decide what is the most important part of your image, and to rotate the polarizer until you eliminate the glare or get it just where you want it.

I inspected this RV in a salvage yard in Florida on a very cloudy day. [Click on the image to enlarge it, then click on the back arrow to return to the post.]

RV with polarizer minimized. (Nikon D850 with ZEISS Milvus 50 mm f/2 macro lens and Nikon SB-910 fill flash.)

As with all of my vehicle photos, I used both a polarizer and a fill flash. In this image, you can see the thick overcast sky and the bright glare reflected on the side of the RV. I had the polarizer on my lens, but for illustration, I rotated it to minimize its effect. That’s what the RV looked like to the naked eye.

Keeping the camera and fill flash settings the same, I rotated the polarizer while looking through the viewfinder until I reduced the glare as I wanted. [Click on the image to enlarge it, then click on the back arrow to return to the post.]

RV with polarizer optimized. (Nikon D850 with ZEISS Milvus 50 mm f/2 macro lens and Nikon SB-910 fill flash.)

As you can see, there was very little glare left along the side of the RV, which allowed its true colors to show through.

Moving around toward the 3/4 right rear position, I made another pair of photographs to illustrate the effect from a different angle. First the polarizer is minimized. Again, notice the reflections and the glare. [Click on the image to enlarge it, then click on the back arrow to return to the post.]

RV with polarizer minimized. (Nikon D850 with ZEISS Milvus 50 mm f/2 macro lens and Nikon SB-910 fill flash.)

From this angle, I could not completely eliminate the glare regardless of how much I rotated the polarizer, so I chose the area where I wanted to eliminate the glare, and set it there. [Click on the image to enlarge it, then click on the back arrow to return to the post.]

RV with polarizer optimized. (Nikon D850 with ZEISS Milvus 50 mm f/2 macro lens and Nikon SB-910 fill flash.)

From the right front, the side of the RV was again partially obscured by glare. [Click on the image to enlarge it, then click on the back arrow to return to the post.]

RV with polarizer minimized. (Nikon D850 with ZEISS Milvus 50 mm f/2 macro lens and Nikon SB-910 fill flash.)

From this angle, I was able to rotate the polarizer into a position that eliminated the glare on both the right side and the front end. Notice how you can even see through the side windows now. [Click on the image to enlarge it, then click on the back arrow to return to the post.]

RV with polarizer optimized. (Nikon D850 with ZEISS Milvus 50 mm f/2 macro lens and Nikon SB-910 fill flash.)

Here are the takeaways:

-1- Use a polarizer when you want to eliminate reflected glare off of vehicles.

-2- Use fill flash with a polarizer to bring out detail in vehicle photos.

-3- Polarizers are effective on overcast days when light is scattered everywhere. Polarizers are not just for sunny days.

-4- Polarizers can be effective at angles other than 90° to the light source.

-5- The only way to determine the best setting for a polarizer is to rotate it until it gives you the effect you want.

-6- Last but most important, you MUST rotate your polarizer before each shot to get the desired effects.

Another Example of Using a Polarizer at an Accident Site

In a post last year, I showed an example illustrating the importance of using a polarizing filter when photographing skidmarks at a wreck site. As you rotate a polarizer while looking through it, you can watch the glare either move or disappear entirely, depending on the subject and the angles involved.

Below is a photograph of two lanes on an Interstate that don’t appear to have any tire marks. (Click on photo to enlarge, then click back arrow to return to post.)

No polarizing filter used. Skidmarks aren’t visible. (Made with Nikon D850 with ZEISS Milvus 50 mm f/2 macro lens.)

No tire marks were visible to the naked eye either, but they could be seen through polarized sunglasses.

Just adding a polarizer on a lens might not have any effect until it is rotated. It cannot be said enough: You must rotate a polarizer before every shot if you’ve moved the camera even a little bit.  Fortunately, the effect is easy to see looking through the filter before putting on to your lens, or through the viewfinder or when using Live View once it’s on the lens.

Here is the same view using a polarizer rotated for maximum effect (Click on photo to enlarge, then click back arrow to return to post.):

Polarizing filter rotated until glare removed from skidmarks. (Made with Nikon D850 with ZEISS Milvus 50 mm f/2 macro lens.)

In this example, if I hadn’t used a polarizer, I couldn’t have captured the skidmarks shown here. Also notice there is now enough contrast that you can see the police paint marks in the tire marks.

Most polarizers lose between one and two stops of light. Because polarizers are dark filters—like polarized sunglasses—you must compensate for that loss of light by increasing your exposure by opening your aperture (losing depth of field) or slowing your shutter speed (making it harder to handhold) or raising your ISO sensitivity (adding noise and reducing dynamic range). A one-stop polarizer costs more money, but it is money well spent—especially when light levels are low (like on overcast days and near sunrise or sunset). Note that since I always use a tripod, I always choose a slower shutter speed, since the camera will remain steady no matter how slow the shutter speed is.

Next to a camera and lens, a tripod and a polarizer are your two most important tools for outdoor photography, especially accident sites and buildings.

Focus Stacking Close-up Images

Even when stopping down a macro lens to f/16, you often won’t have enough depth of field (DOF) to keep your entire close-up subject sharp. Fully stopping down a macro lens to, say, f/22 or smaller won’t yield a meaningful increase in DOF, but will likely make your entire image appear less sharp due to diffraction.

Here is an example photo of the rusted ends of steel belt cords made at f/16:

Broken steel belt edges – single shot at f/16. (Made with Nikon D850 with Nikon 60 mm macro lens.) Click on image to enlarge, then click on back arrow to return to post.

Some of the ends of the cords are sharp, but both the wires closer to the camera and the rubber skim coat of the belt farther away were soft. Focusing closer to the ends of the wires would make everything below them more out of focus. Focusing on the belt rubber would cause all the wire ends to be soft.

The solution is to take a series of photographs using a middle aperture (usually between f/5.6 and f/11) starting with the focus on the part of the subject closest to the camera. Focus slightly further away from the camera for each subsequent photo until you’ve focused on the part of your subject furthest from the camera. All exposure settings should be set manually and held constant for each frame; only focus should be changed.

For larger subjects including vehicles and accident sites, only two or three frames might be needed. More on that in another post. But close-up or macro images will typically need several more.

To create an image with all the belt edge wires sharp, I made thirteen photos at f/11, changing only focus. I started by focusing on the tip of the wire closest to the camera. Subsequent photos were made focusing slightly further from the camera with each frame.

All thirteen images were brought into Photoshop through Adobe Camera Raw as individual layers into a single image. All layers were auto aligned, then combined in a stack. As you can image, thirteen 45 megapixel Nikon D850 images brought into a single image resulted in a gigantic file. In fact, at five gigabites(!), it was too big to save as a PSD (Photoshop Document) file; I had to save it as a PSB (Photoshop Big) file. Of course, I flattened it, reduced its size, and saved it as a JPEG to send to my client and (even smaller) to post here:

Broken steel belt edges – thirteen stacked images f/11. (Made with Nikon D850 with Nikon 60 mm macro lens.) Click on image to enlarge, then click on back arrow to return to post.

If you look closely, there are some small artifacts around the edges of some wires. With a bit of work, these can be removed, but they are unobtrusive enough to ignore, unless an image will be used as a trial exhibit.

As alternatives to Photoshop, I also use Zerene Stacker and Helicon Focus to process stacked images. Different software processes create different artifacts, so sometimes I’ll process the stacked images in all three, then choose the best.

If you already own Photoshop, it’s well worth practicing focus stacking. It’s an effective tool that can produce images that can’t be captured in a single shot. I use it regularly for tires and products, and have even used it at accident sites on occasion (usually, as mentioned, with only two or three images stacked).

How to Save Your Default Settings in Adobe Camera Raw (ACR) 12.2 Update

After upgrading to Adobe Camera Raw (ACR) 12.2, I opened a folder of raw images and noticed they all looked darker and more contrasty than they did last time. At first, I thought something was wrong with my monitor calibration until I opened one of the images in ACR. All of my default presets were gone! My usual Adobe Neutral profile had been replaced with Adobe Color, and all of my preset adjustments—in several panels—were reset to Adobe’s default values. ProPhoto color space at 16-bits had been replaced by Adobe RGB at 8-bits.

I spent a few hours over a couple days fruitlessly trying to get Edit > Camera Raw Preferences to work in Bridge and ACR, and searching the web for solutions, to no avail. I even posted to an Adobe forum with no reply.

Thanks to this upgrade, what used to be done with a one-click “Save Defaults” option now apparently required undocumented machinations to save presets—if they could be saved at all.

After waiting on hold for 25 minutes, I spent over a half hour on the phone with a clueless Adobe tech support agent who was telling me in turn (then repeated, in turn) either it couldn’t be done, or I’d have to use Lightroom to get to ACR (huh?), or to just use Lightroom (and figure out how to save presets there), or I’d have to buy third party presets (!!!). While on the phone watching the agent hopelessly searching for any presets on my computer, I figured out how and where to save the ACR presets. Here’s how:

Open any raw image in ACR. Make all of the default adjustments you want in every tab, including assigning a Profile in the Basic tab. Make sure you choose your color space and bit depth options below the image. Then in the drop down menu at the upper right of the “Basic” tab, click on “Save Settings”. Choose the settings you want to save from the checkbox list. Then click to save with the option of saving them as an XMP file. In Windows 10, save them here: This PC > Windows (C:) > Users > [Your User Name] > AppData > Roaming > Adobe > CameraRaw > Settings. Name the XMP file something you’ll recognize as an ACR default. I chose the incredibly creative file name of DefaultCameraRaw.xmp.

Then in ACR (in its toolbar) or Bridge (Edit > Camera Raw Preferences), choose Raw Defaults. Under “Master:”, use the drop down menu to Choose Preset. Choose the file you saved above and you’re good to go. (See, wasn’t that obvious?) Mac users, you’re on your own.

It’s bad enough when software companies remove essential, easy-to-use, long-standing fundamental features—features they once touted (such as setting and saving your own defaults)—but to do so without clear instructions on how to now do it is inexplicable. Then having a “tech” rep spewing nonsense just to get you off the phone is an insult to your customers.

Fortunately, this is not the norm with Adobe, Photoshop (PS), Bridge, or ACR. I’ve been happily using PS since Version 5.0 (way before CS 5!) back in 1999, and have been teaching PS/Bridge/ACR since the early 2000’s. I use it almost every day and couldn’t imagine processing images from raw to print any other way. I highly recommend getting a subscription where you get PS, Bridge, ACR, and Lightroom for about $10 per month. By subscribing, you always have the latest versions, which usually create no issues, but often offer bug fixes, new features, and/or support additional cameras.

Back to processing images. Hope this helps!

Be Careful When Processing a Photo

1989 Toyota 4Runner photo from print ad. (Click on image to enlarge, then back arrow to return to post.)

In 2016, I bought a Toyota 4Runner TRD Pro. Almost four years later, if I had it to do all over again, I’d buy the exact same one. You can’t ask for anything more when buying a vehicle. It’s great on and off the road, and is the perfect size inside and out for everyday use, my personal landscape photography trips, and for traveling for work. About the only thing I use my beloved F-150 for now is to haul tires and wheels between my warehouse and my Studio Lab in my home office.

When I was researching the history of the 4Runner, I came across this photo that was used in a print ad by Toyota for a first generation model in 1989. While it is a nice image, right away I noticed something was wrong.

If the 4Runner was moving with its tires rotating, its body could only have stayed sharp if the photographer panned the camera with the vehicle as the shutter was clicked. But then the foreground and background would have blurred as the camera moved along with the vehicle. If they were rotating fast enough, the tires could still have shown up as rotating blurs, but there would likely have been streaks behind them.

If the 4Runner was moving and the photographer used a high enough shutter speed, all motion—including rotating wheels—could have been frozen. Here, the 4Runner was not moving in relation to the foreground or background, yet the right side wheels and tires appear to be spinning. If the tires were spinning but the vehicle was not moving, the tires should have been kicking up dirt, which they are not.

More importantly, on closer inspection you can also see that neither left side tire is rotating.  It’s obvious the vehicle was not moving when the photograph was made, but a radial blur filter was applied to the right side wheels and tires in post-processing.

Unlike advertising creatives, project testing engineers and litigation consultants must make only real photographs using proper camera settings.  Never attempt to submit modified images as actual photographs.

That being said, modified photographs can be quite useful for demonstrative exhibits for a trial or to illustrate behavior during testing conditions, but they must be presented as such. Any modifications should be kept as layers in Photoshop, and both the modified and original photos should be presented .

Nailing an Ultra Macro Photo

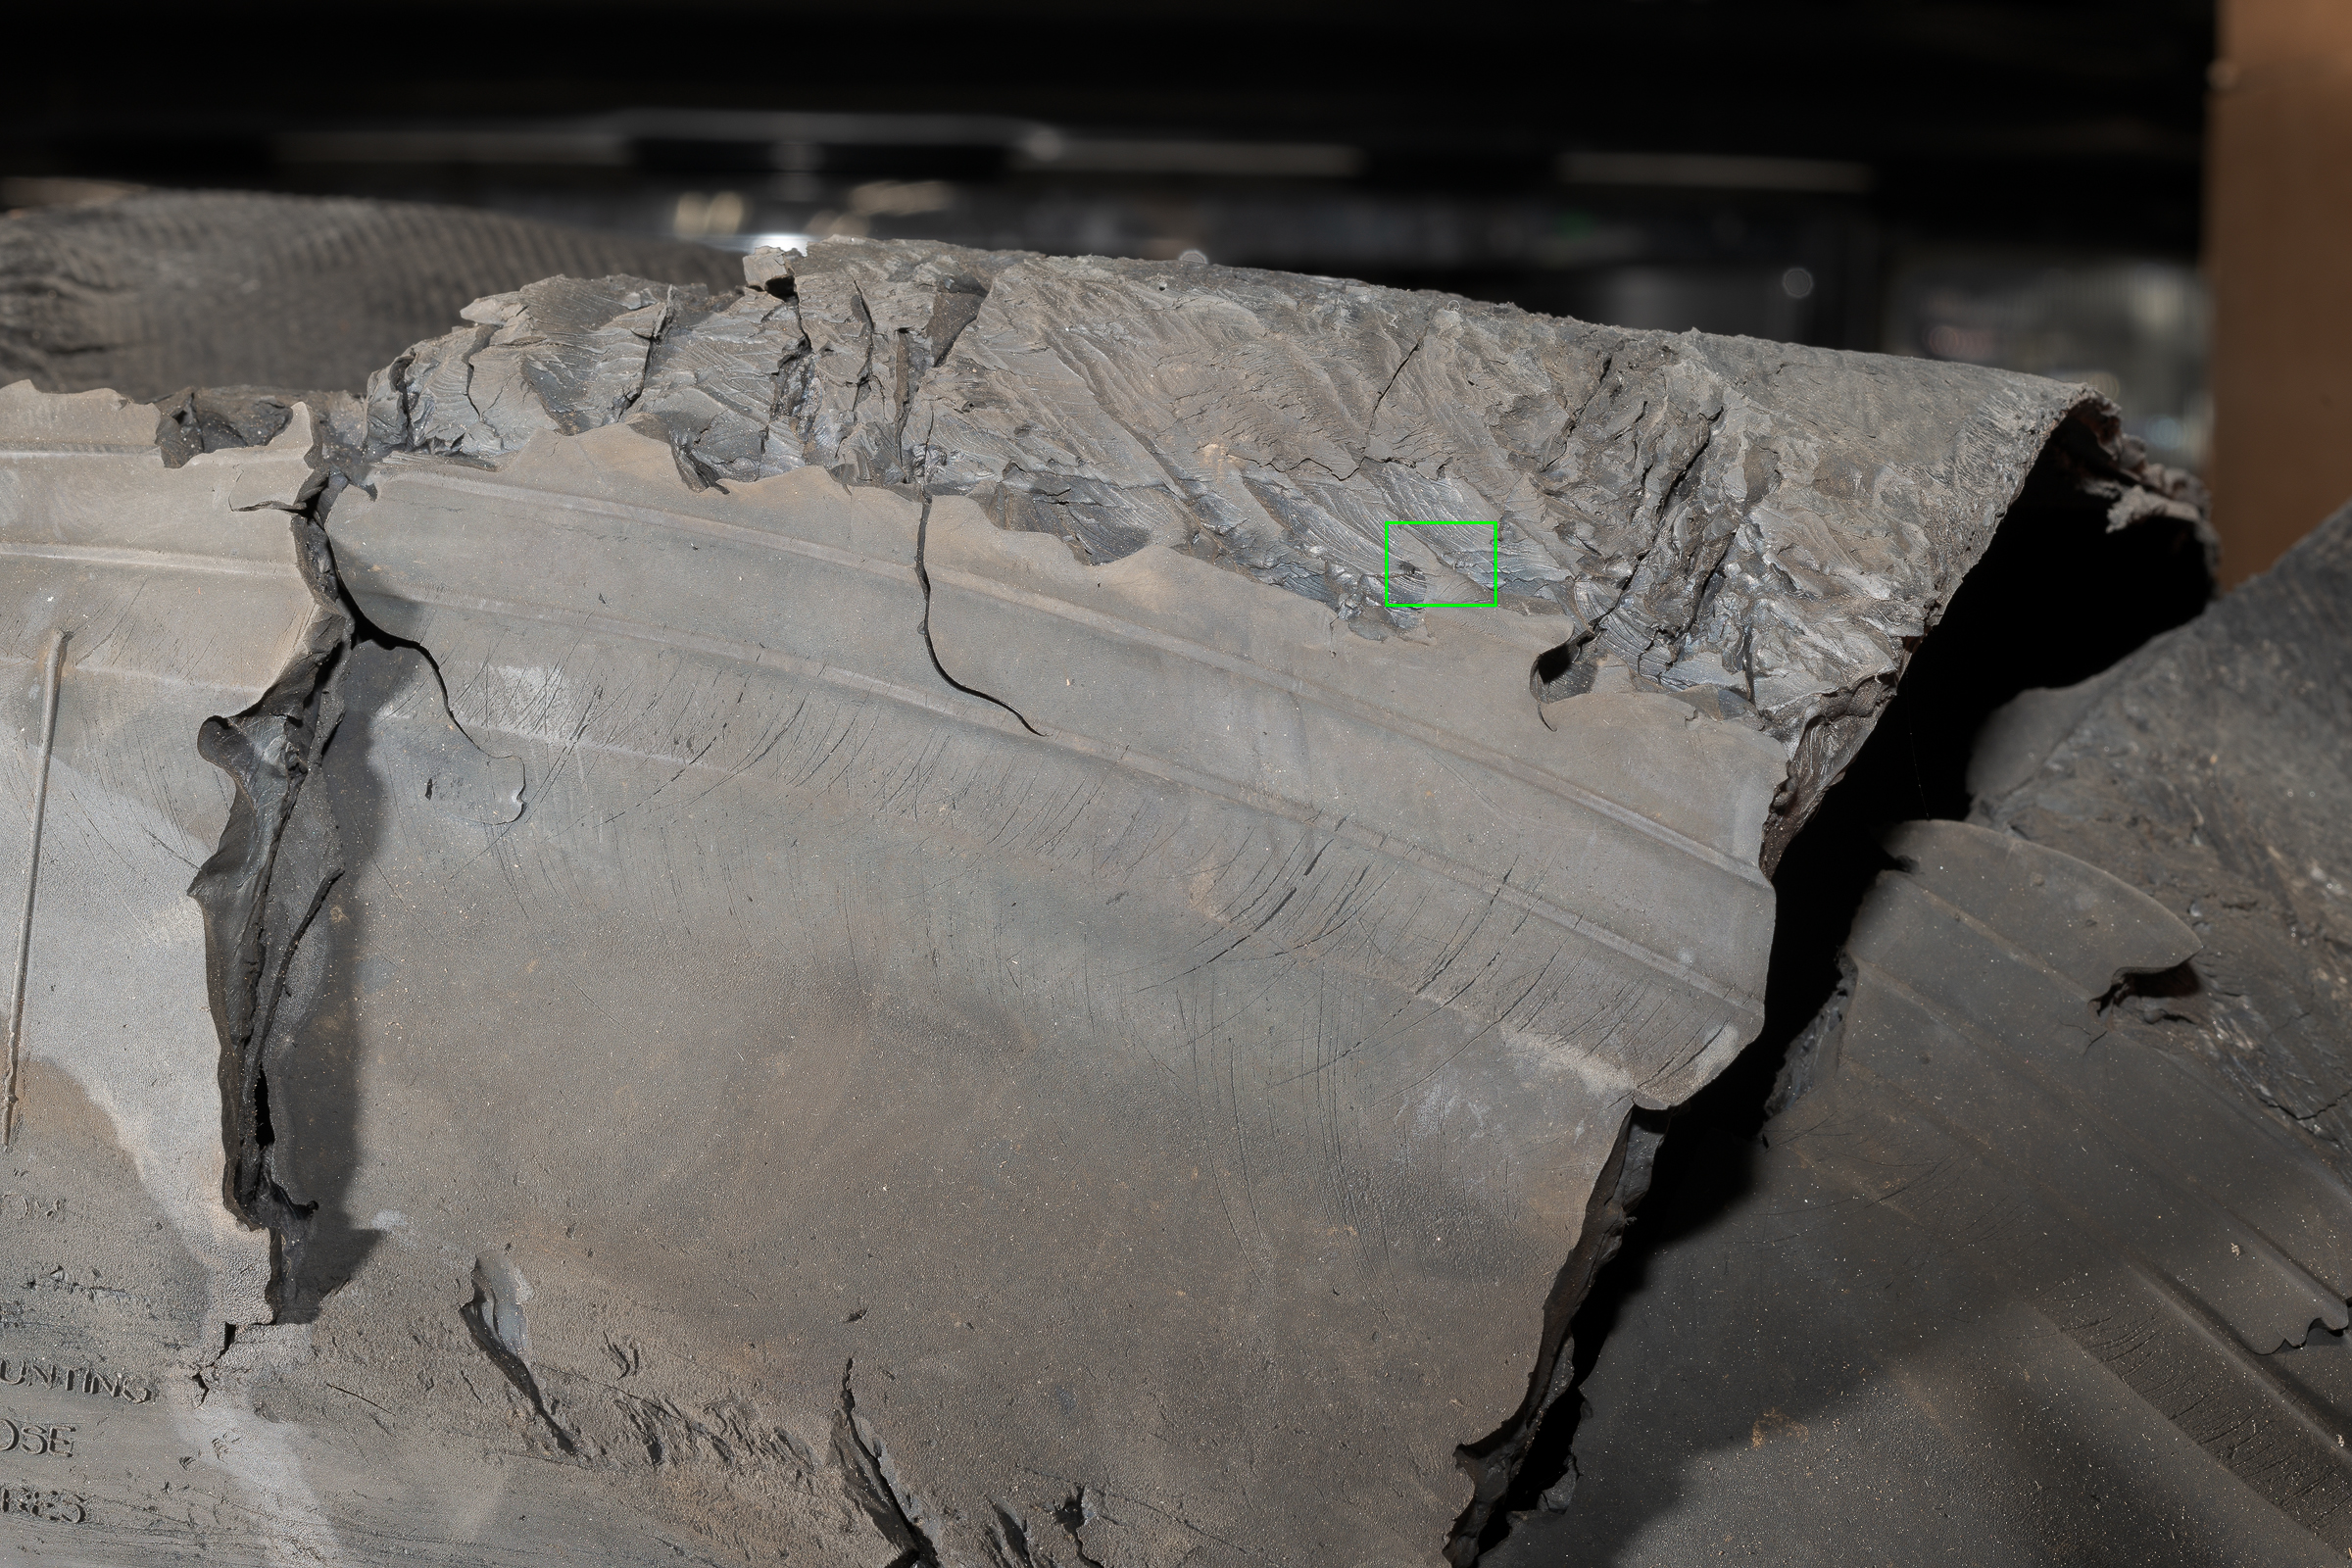
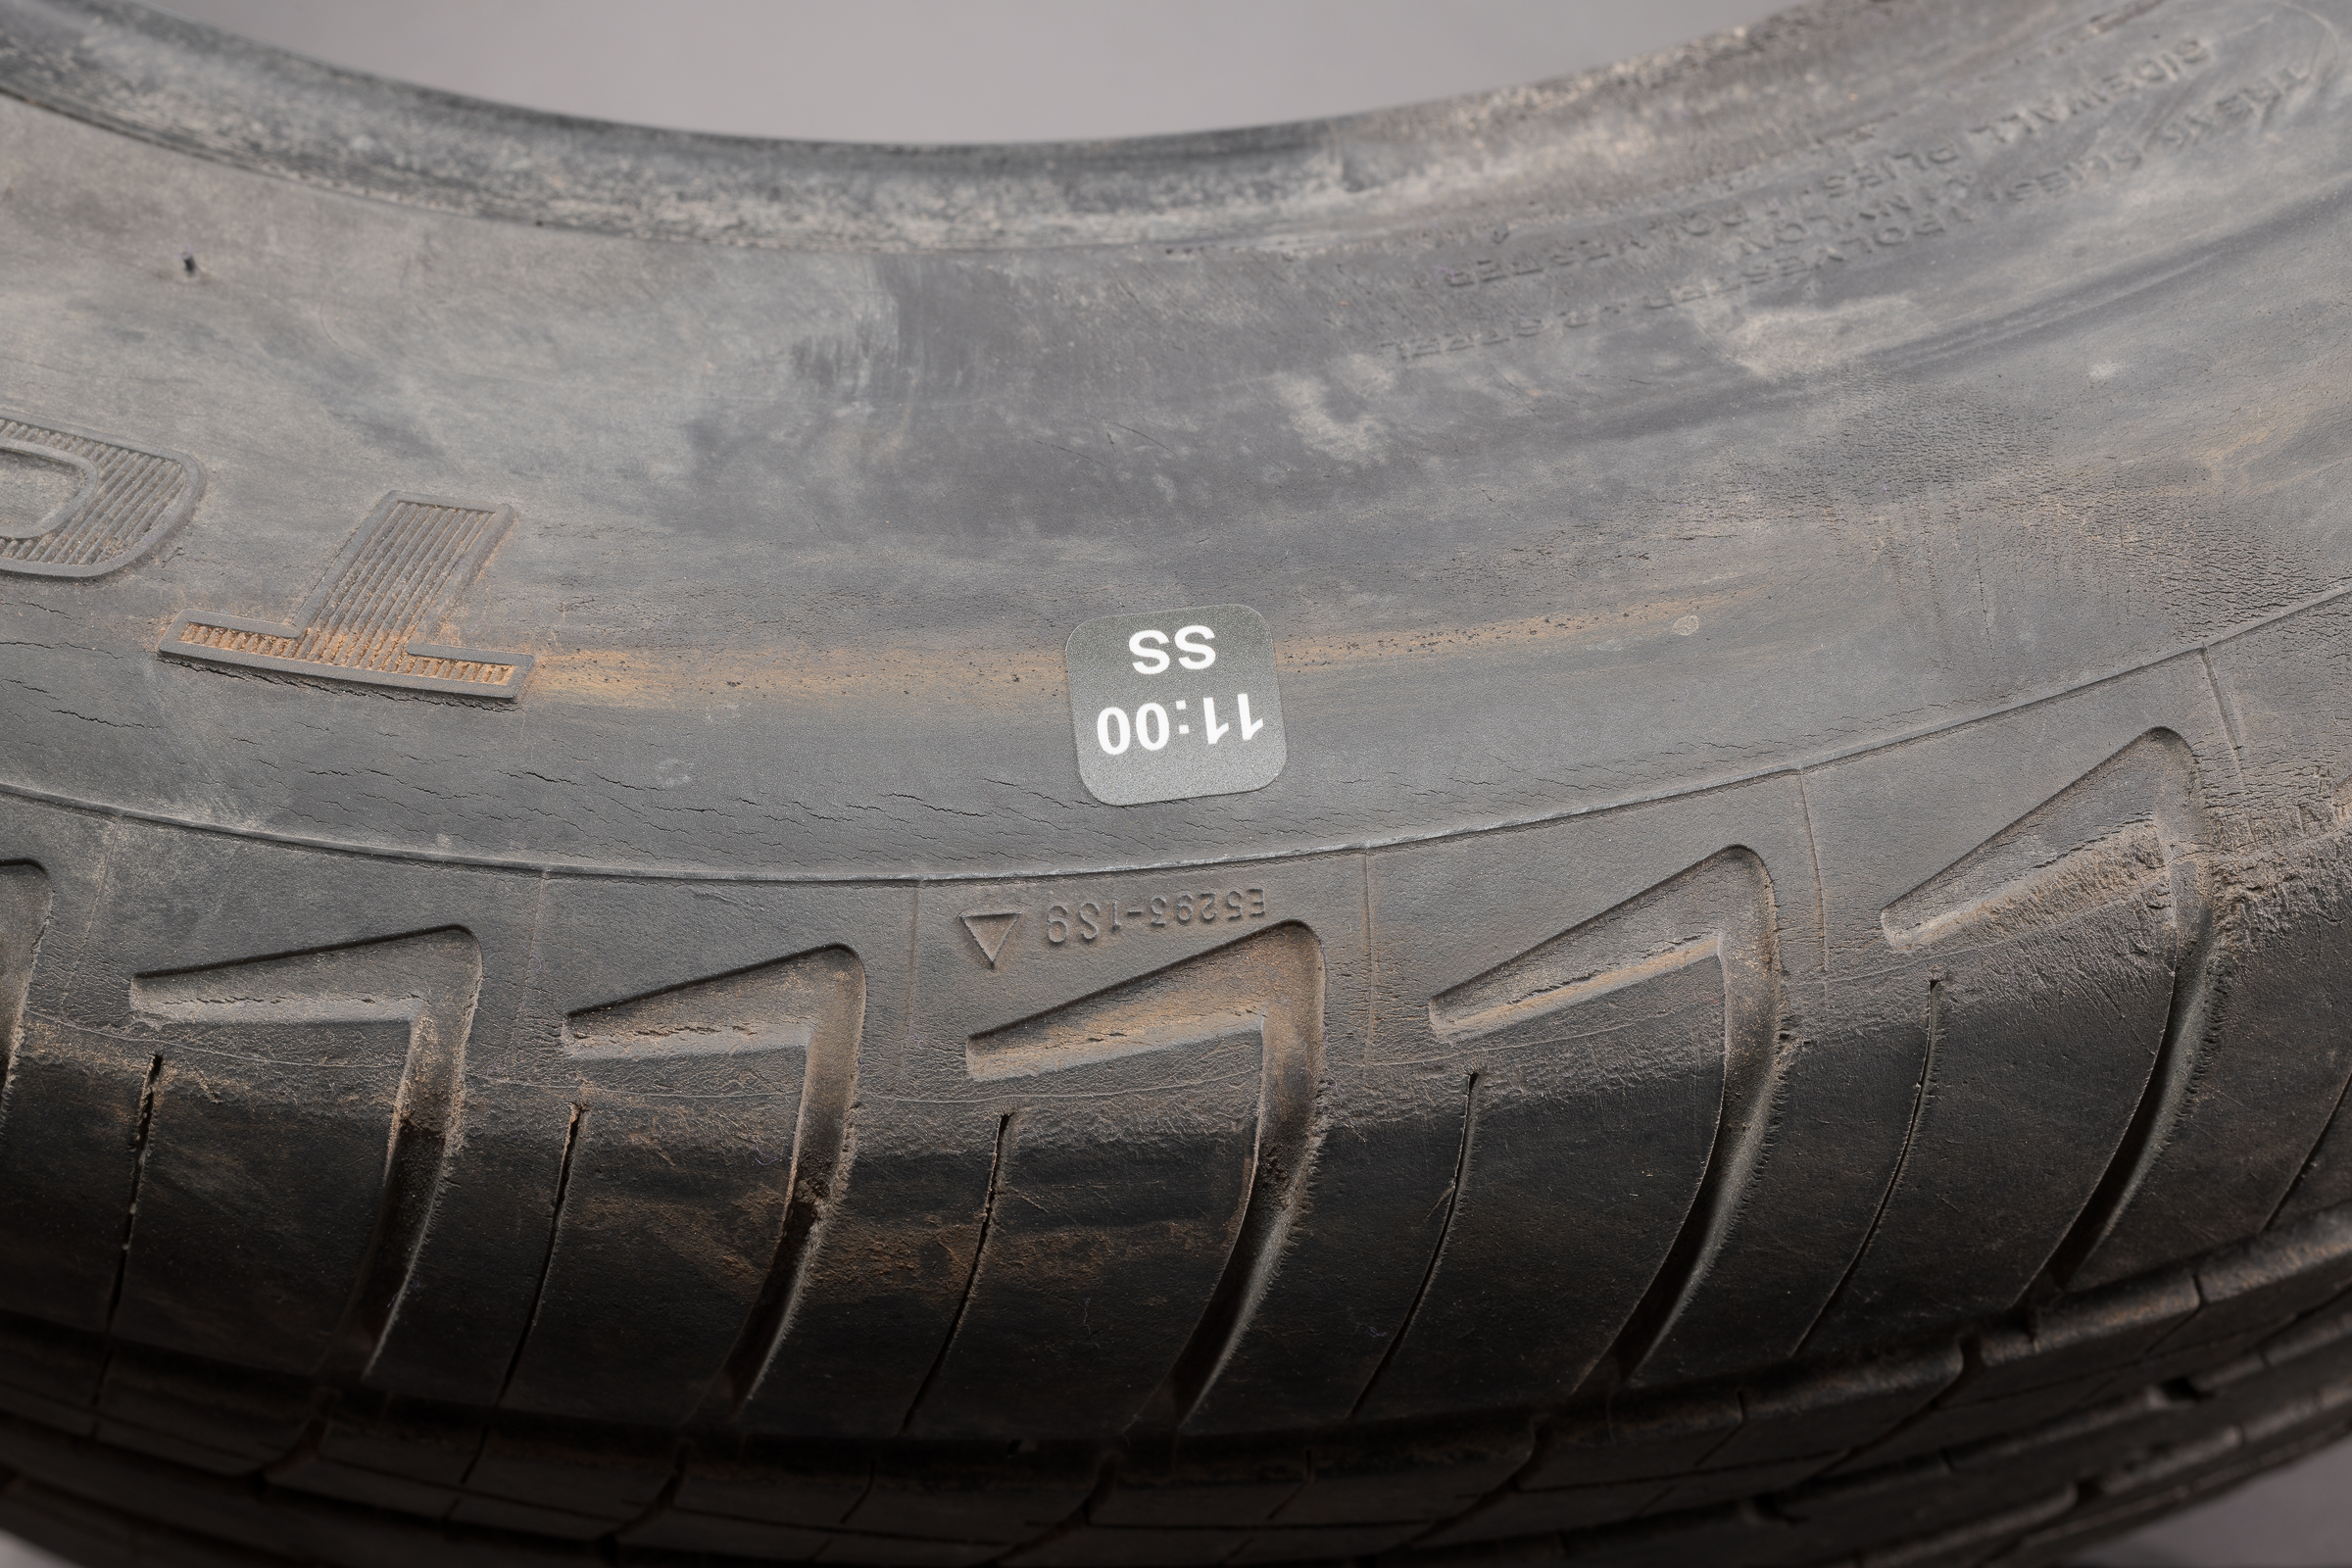
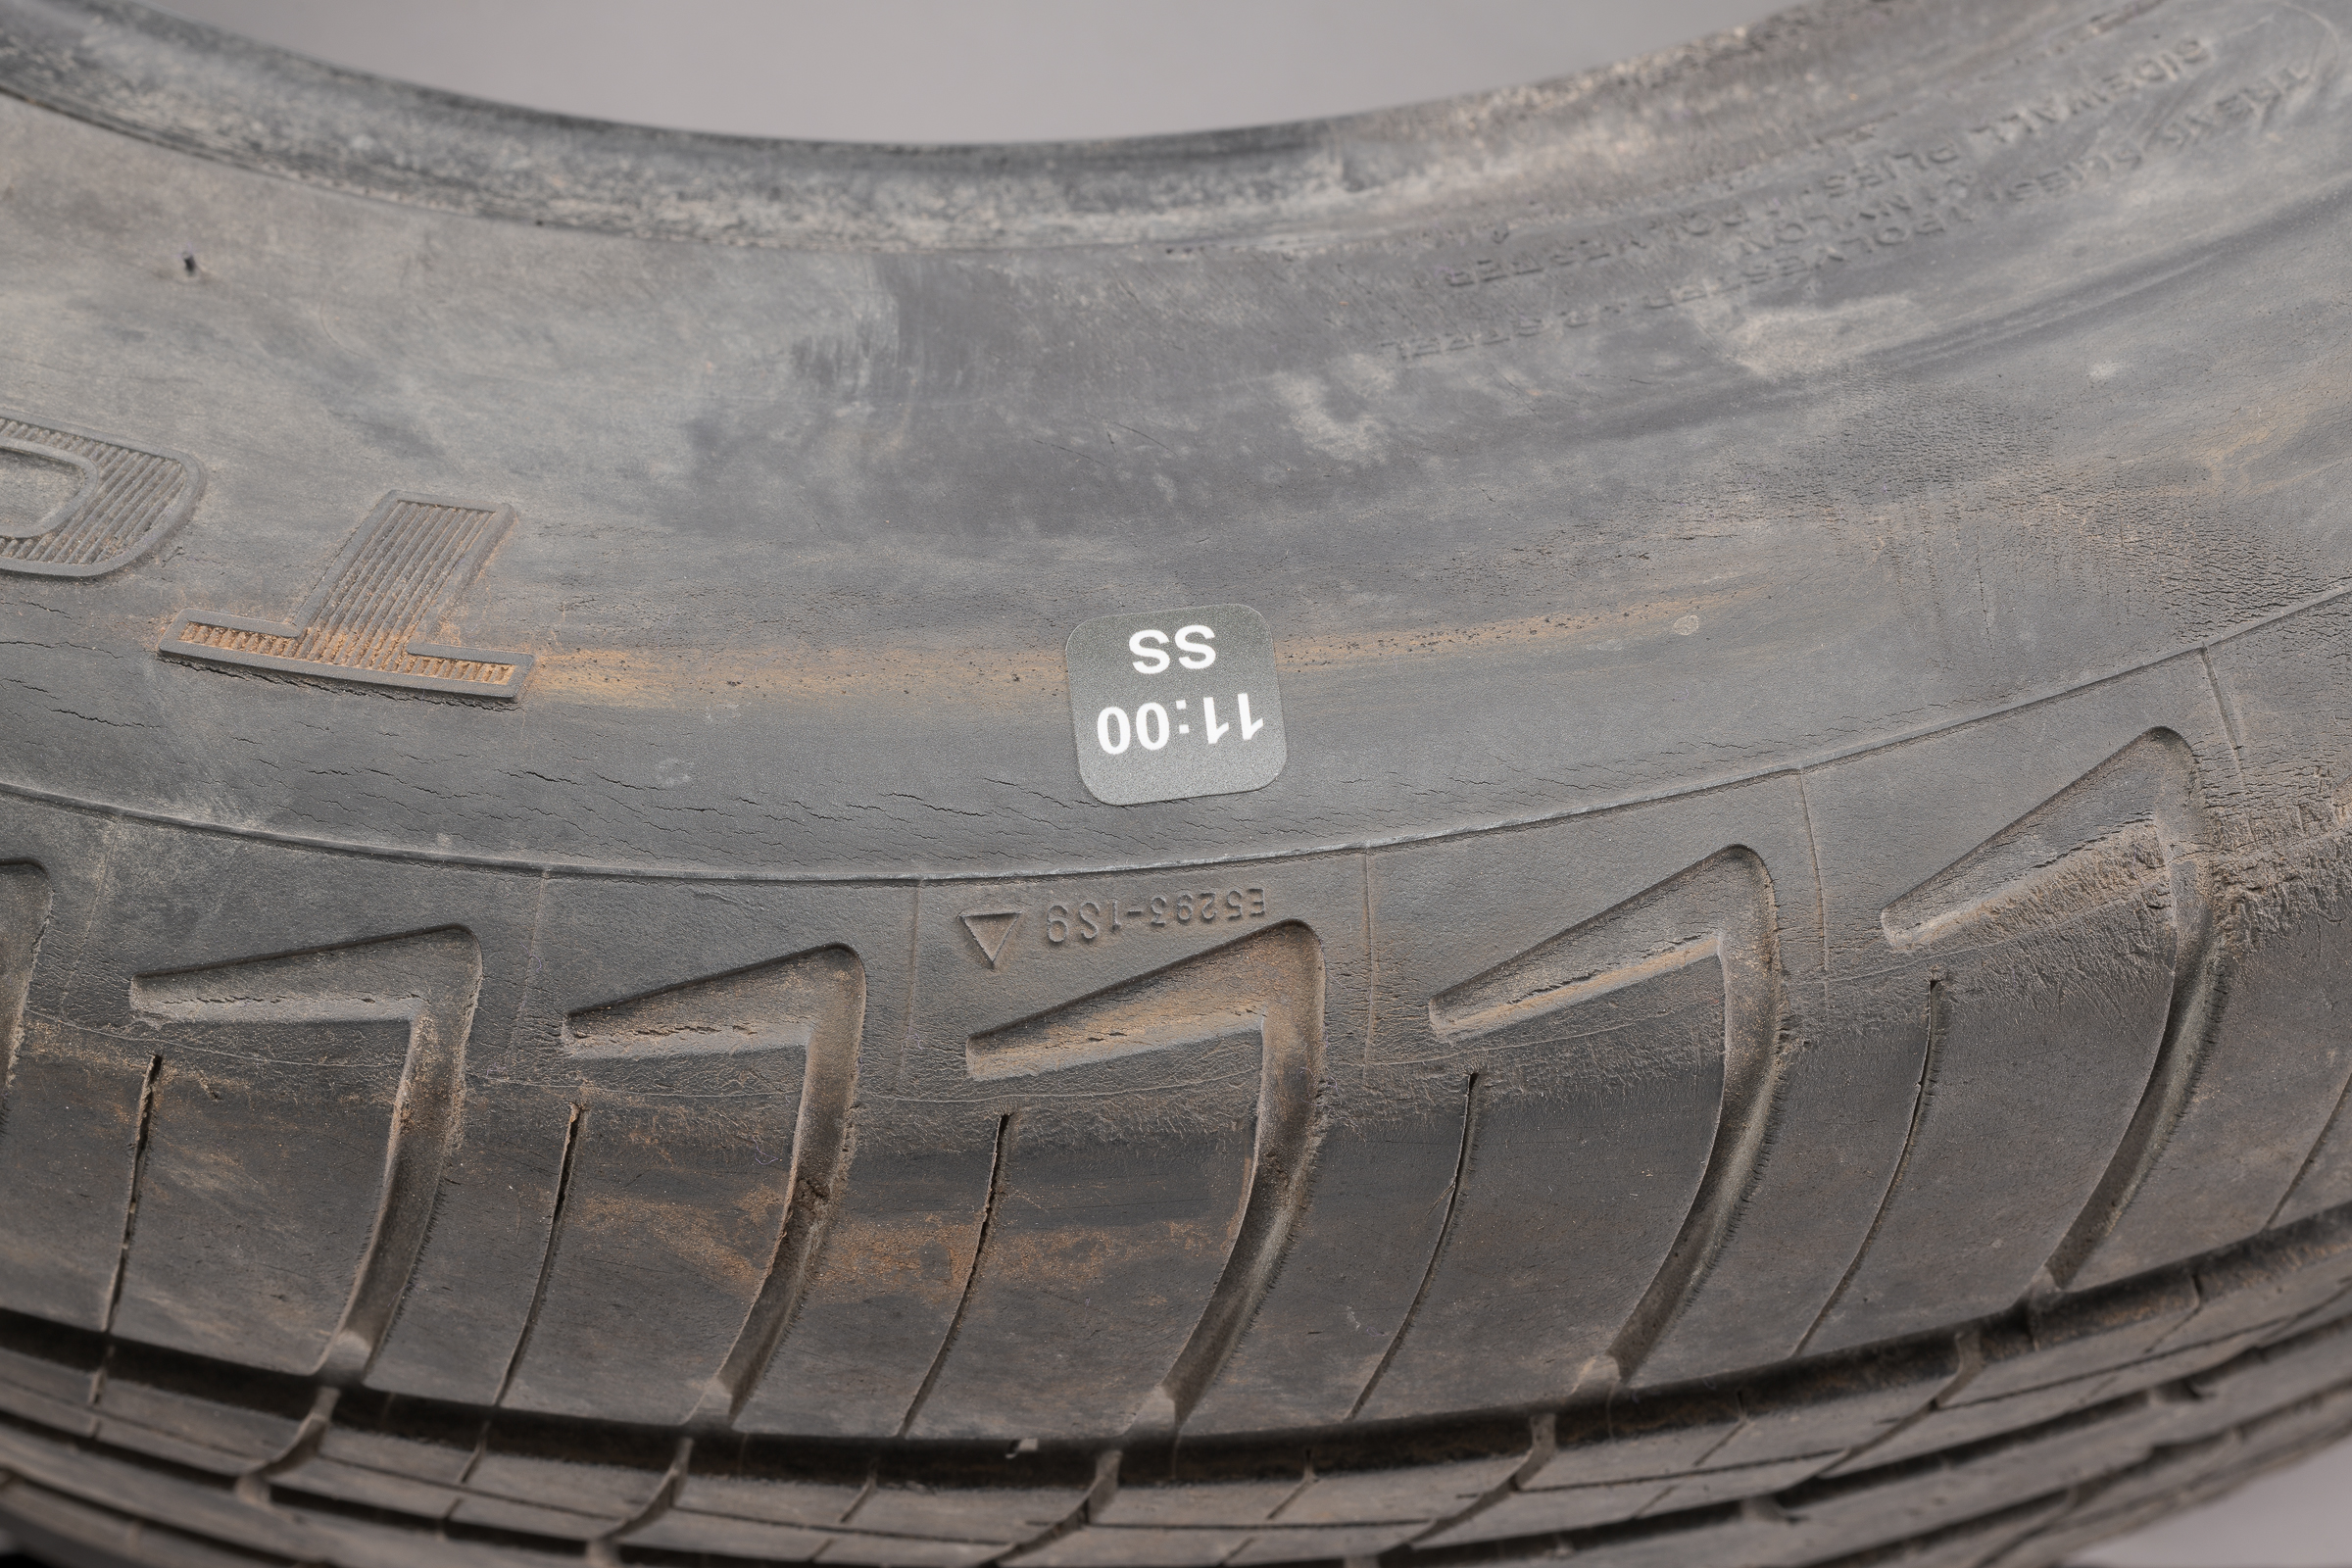
During my analysis of a failed tire, I noticed what looked like a tiny, tiny nail in one of the sidewalls. I looked inside the tire, but couldn’t see if the tip had penetrated the innerliner. I gingerly felt around the inside to detect if the tip had protruded through. It had. Now I had to document that.

Photographing the head of the nail on the outside was easy, but photographing the tiny tip on the inside was quite a challenge. It was both minuscule and inaccessible. Here is a photo  of the nail made with my usual lens, the ZEISS Milvus 50 mm f/2 macro. (Click on any image to enlarge. Then click on back arrow to return to the post.)

Arrow highlights point of tiny nail through tire innerliner. (ZEISS Milvus 50 mm f/2 macro lens on Nikon D850.)

Even with the arrow, it’s impossible to get any useful information about the nail tip from this photo.

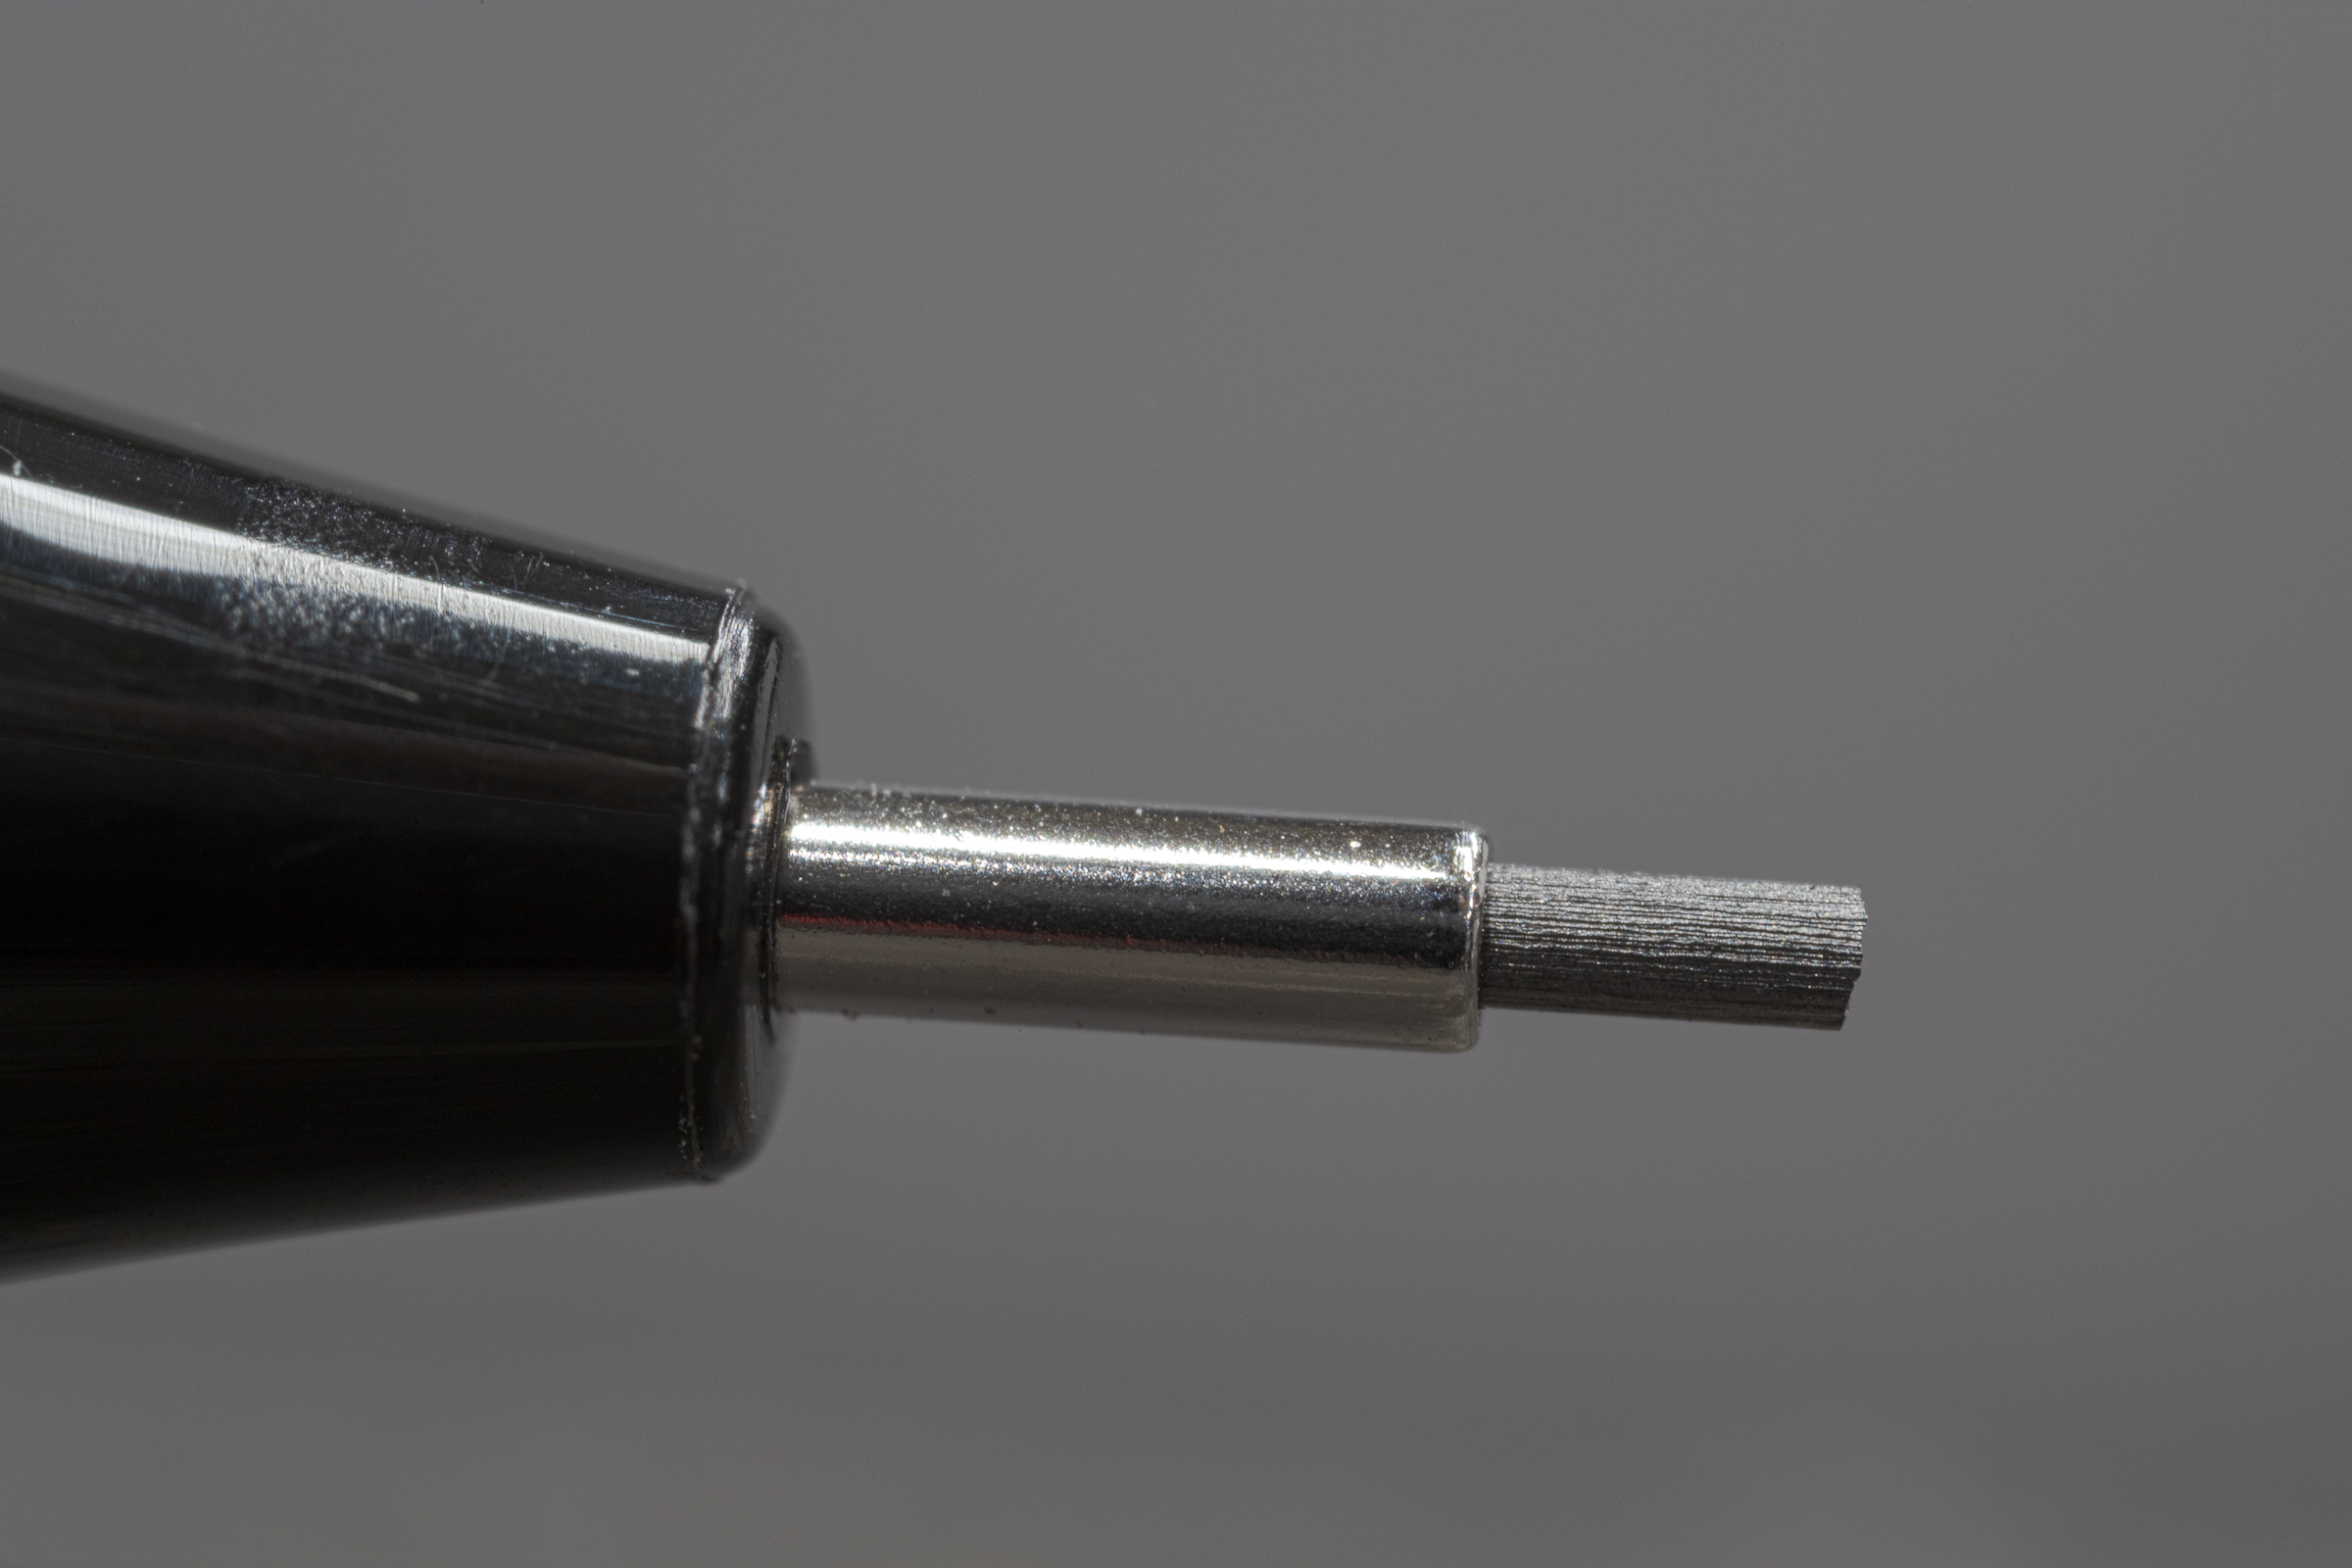
I photographed that nail tip with several other combinations of lenses, lights, and camera supports, but couldn’t get close enough to it optically. Then I remembered my beanbag called “The Pod” (now sold as either The Red Pod or The Green Pod) to which I had added an Arca-Swiss-type quick release clamp.

The Pod beanbag with Arca-Swiss style quick release clamp. (ZEISS Milvus 50 mm f/2 macro lens on Nikon D850.)

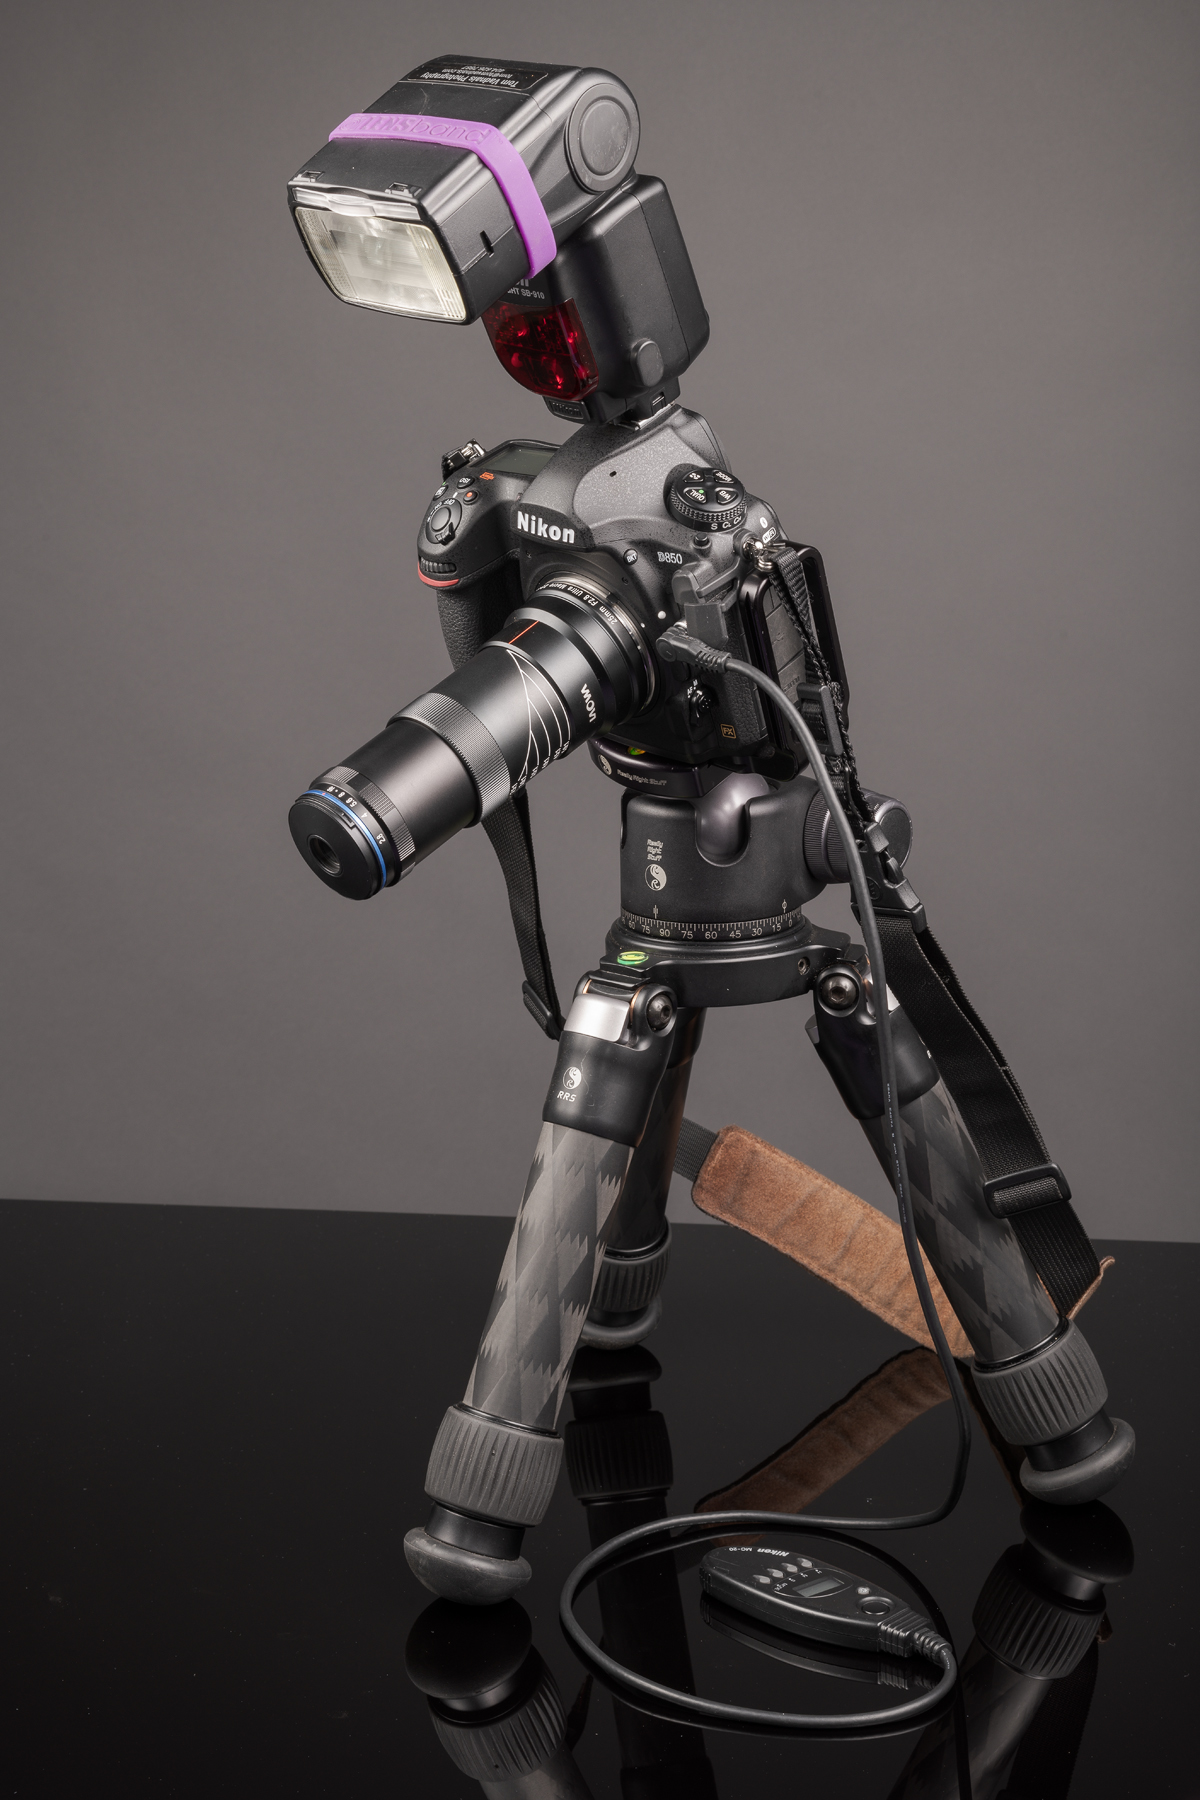
To get the camera lens closer to the nail, I propped the beanbag with a mounted Nikon D850 and the Laowa 25 mm 2.5 to 5x Ultra Macro lens (which I discussed and showed in previous posts) on the opposite side bead. I removed two Nikon SB-R200 macro flashes from the R1C1 ring and placed them on either side of the nail tip. This photo shows the positions of The Pod and the flashes with the camera, lens, and on-camera SB-910 flash removed.

Setup for tiny nail end using The Pod and two Nikon SB-R200 flash units. Laowa 25 mm 2.5 to 5x Ultra Macro lens on Nikon D850 removed from The Pod to show setup. (ZEISS Milvus 50 mm f/2 macro lens on Nikon D850.)

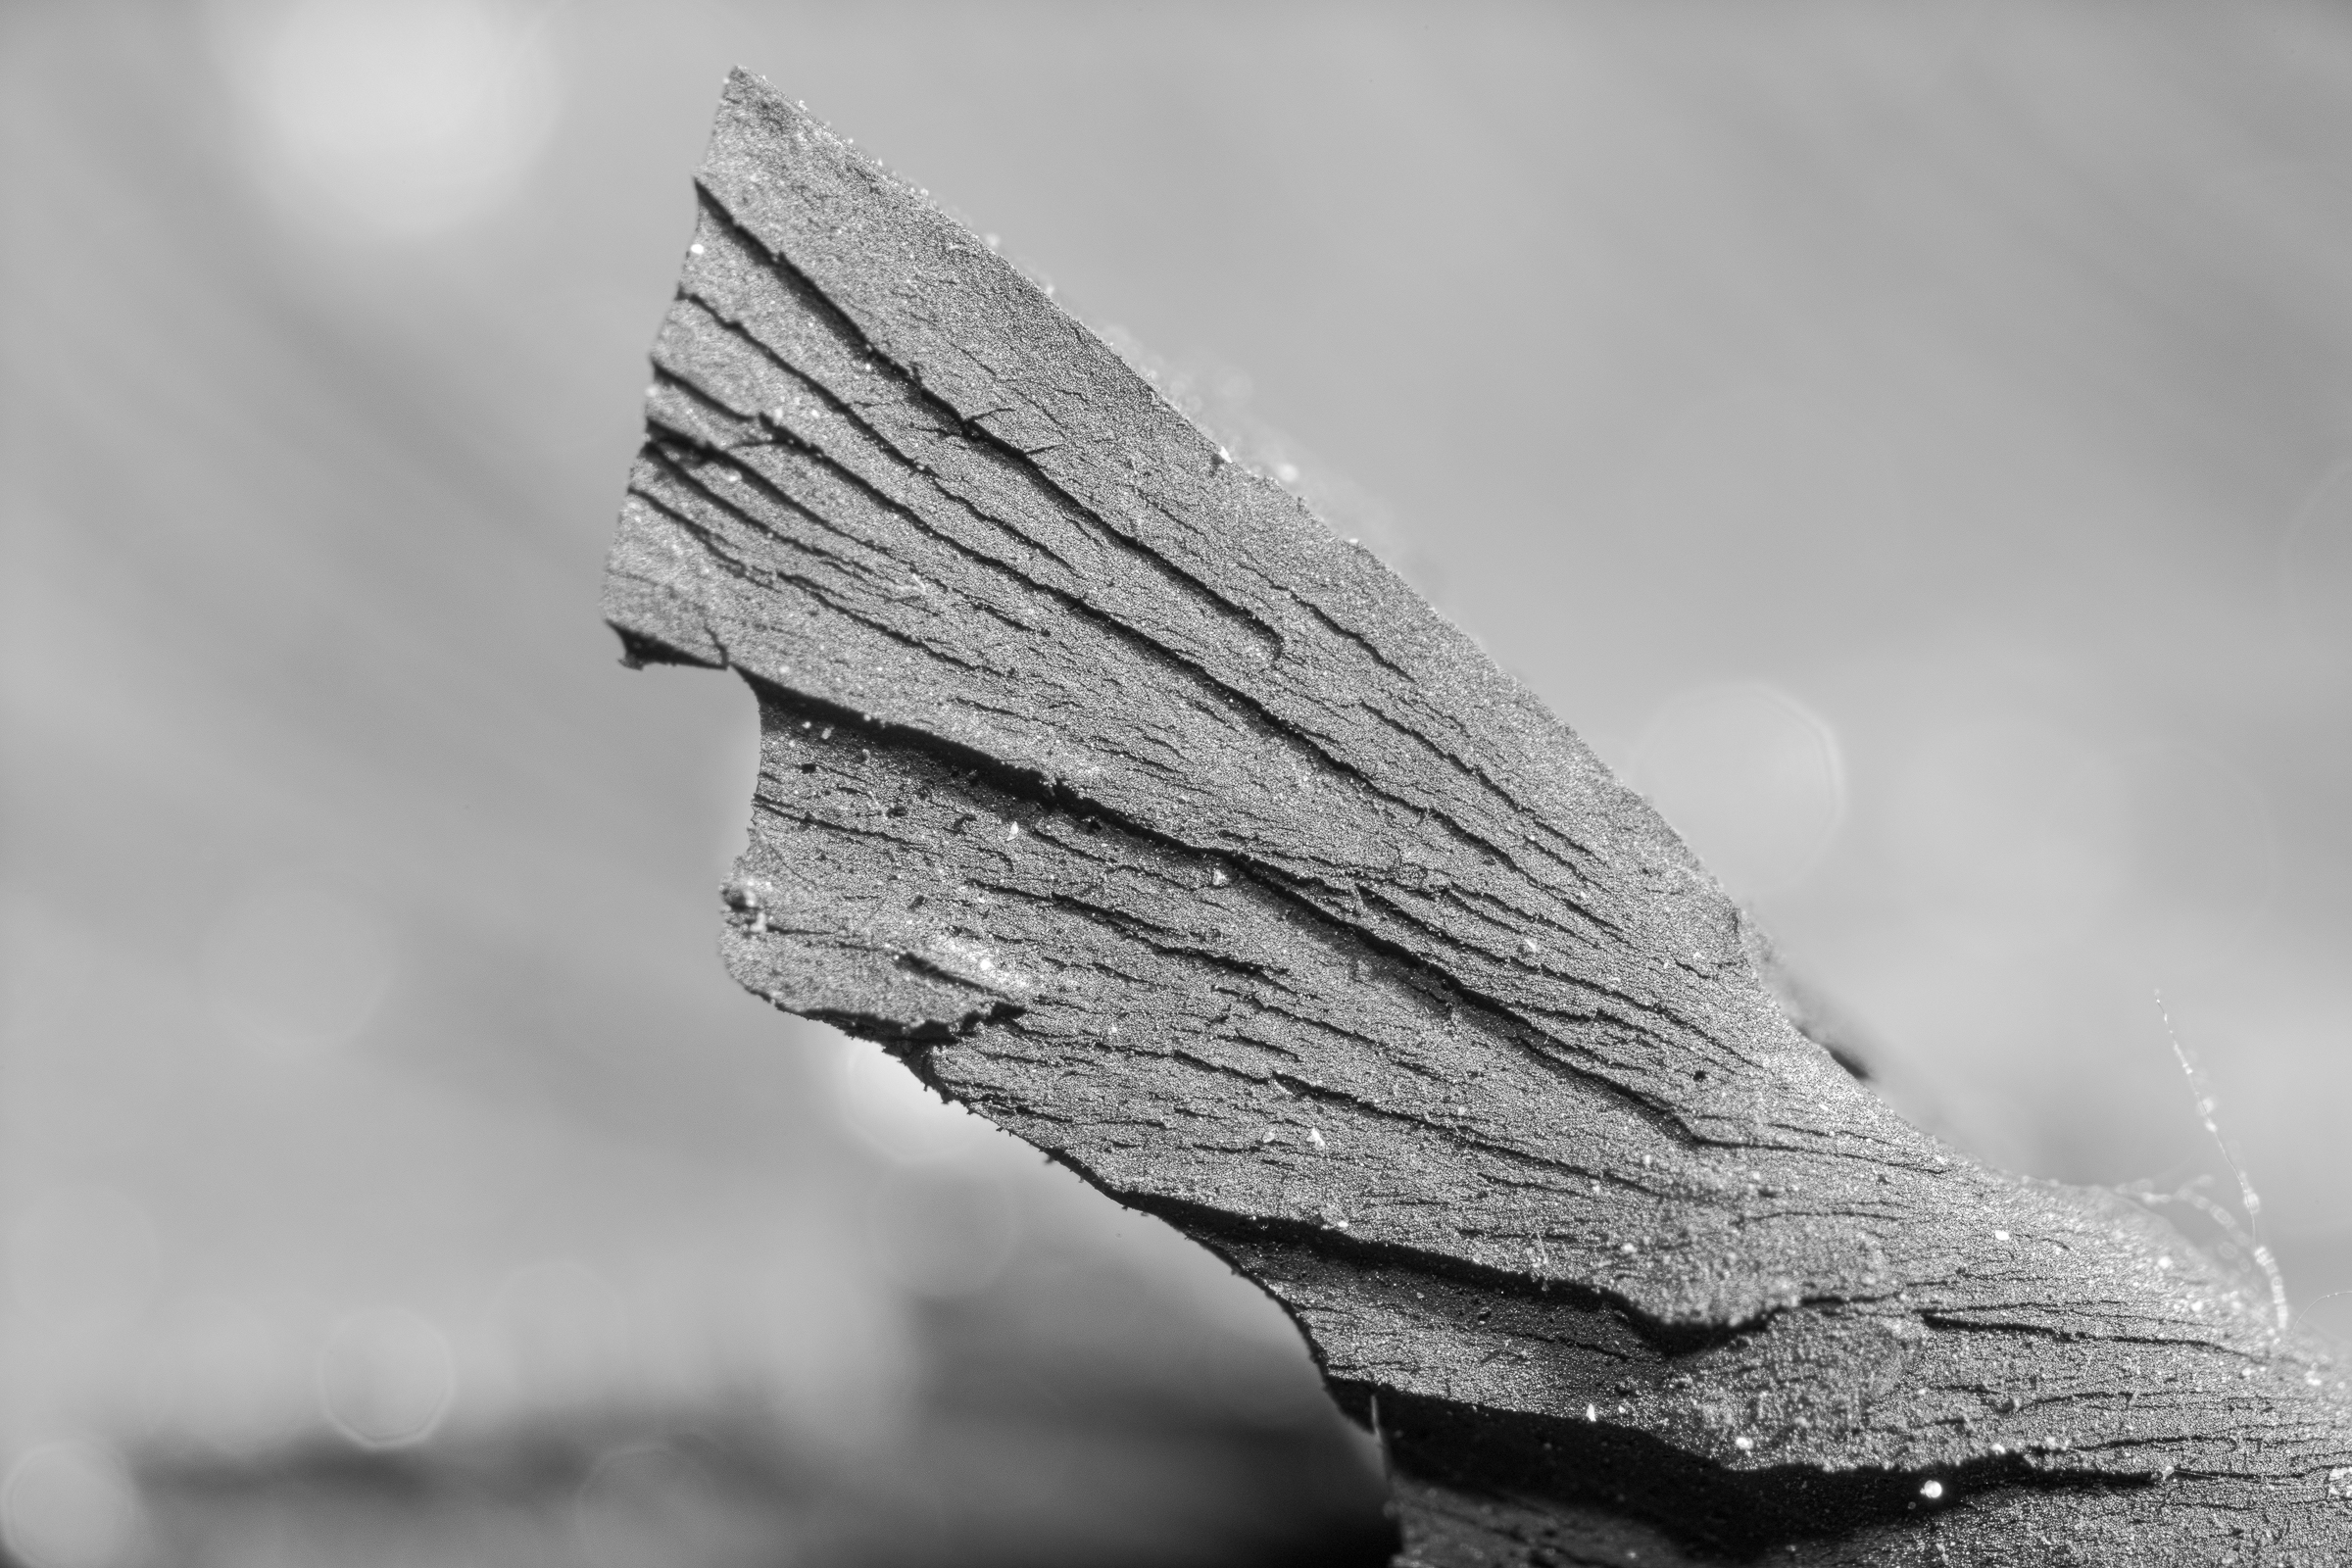
Below is the resulting single-shot, uncropped, full-frame image with the incredible Laowa Ultra Macro lens. A single shot was necessary because the beanbag setup was not rigid enough to allow for focus stacking of multiple images.

Full frame, uncropped close-up of tiny nail. (Laowa 25 mm 2.5 to 5x Ultra Macro lens on Nikon D850.)

Compare the size of the nail tip in the the top and bottom photos, and recall both were full-frame, uncropped images. Considering there was such a significant enlargement of the subject, the detail in the bottom photo was remarkable despite the limited depth of field and the less-than-rigid support from the beanbag as opposed to a tripod.  I’d say that about nailed it!

Use a Polarizer at Accident Sites

Except when making night photographs, I almost always use a polarizing filter (polarizer) when photographing accident sites. Rotating a polarizing filter removes glare and increases saturation relative to the angle of rotation.

Fortunately, to determine the amount of rotation you need for the effect you want, simply look through the polarizer (through the threaded side if you’re holding it, or through the viewfinder or rear LCD once it’s mounted on your lens) as you turn the outside ring. There are no settings or calculations or other analysis you have to do to get the effect you want. But, like polarized sunglasses, polarizing filters decrease the light, so you will have to adjust your exposure accordingly. Most polarizers require an additional one-to-two stops of exposure to compensate.

Speaking of sunglasses, make sure you remove your sunglasses—especially if they are polarized—before looking through your polarizer. Otherwise, you won’t be seeing the actual effect of your filter. In fact, if they line up, you won’t see anything; it will all go black.

While a polarizer will take the glare off of roads, grass, and trees at accident sites, it has its greatest effect on tire marks. In this first image, you can tell there are multiple tire marks on the road, but they lack definition. The photograph is properly exposed, but glare obscures any detail. (Click on an image to enlarge. Click on back arrow to return to this post.)
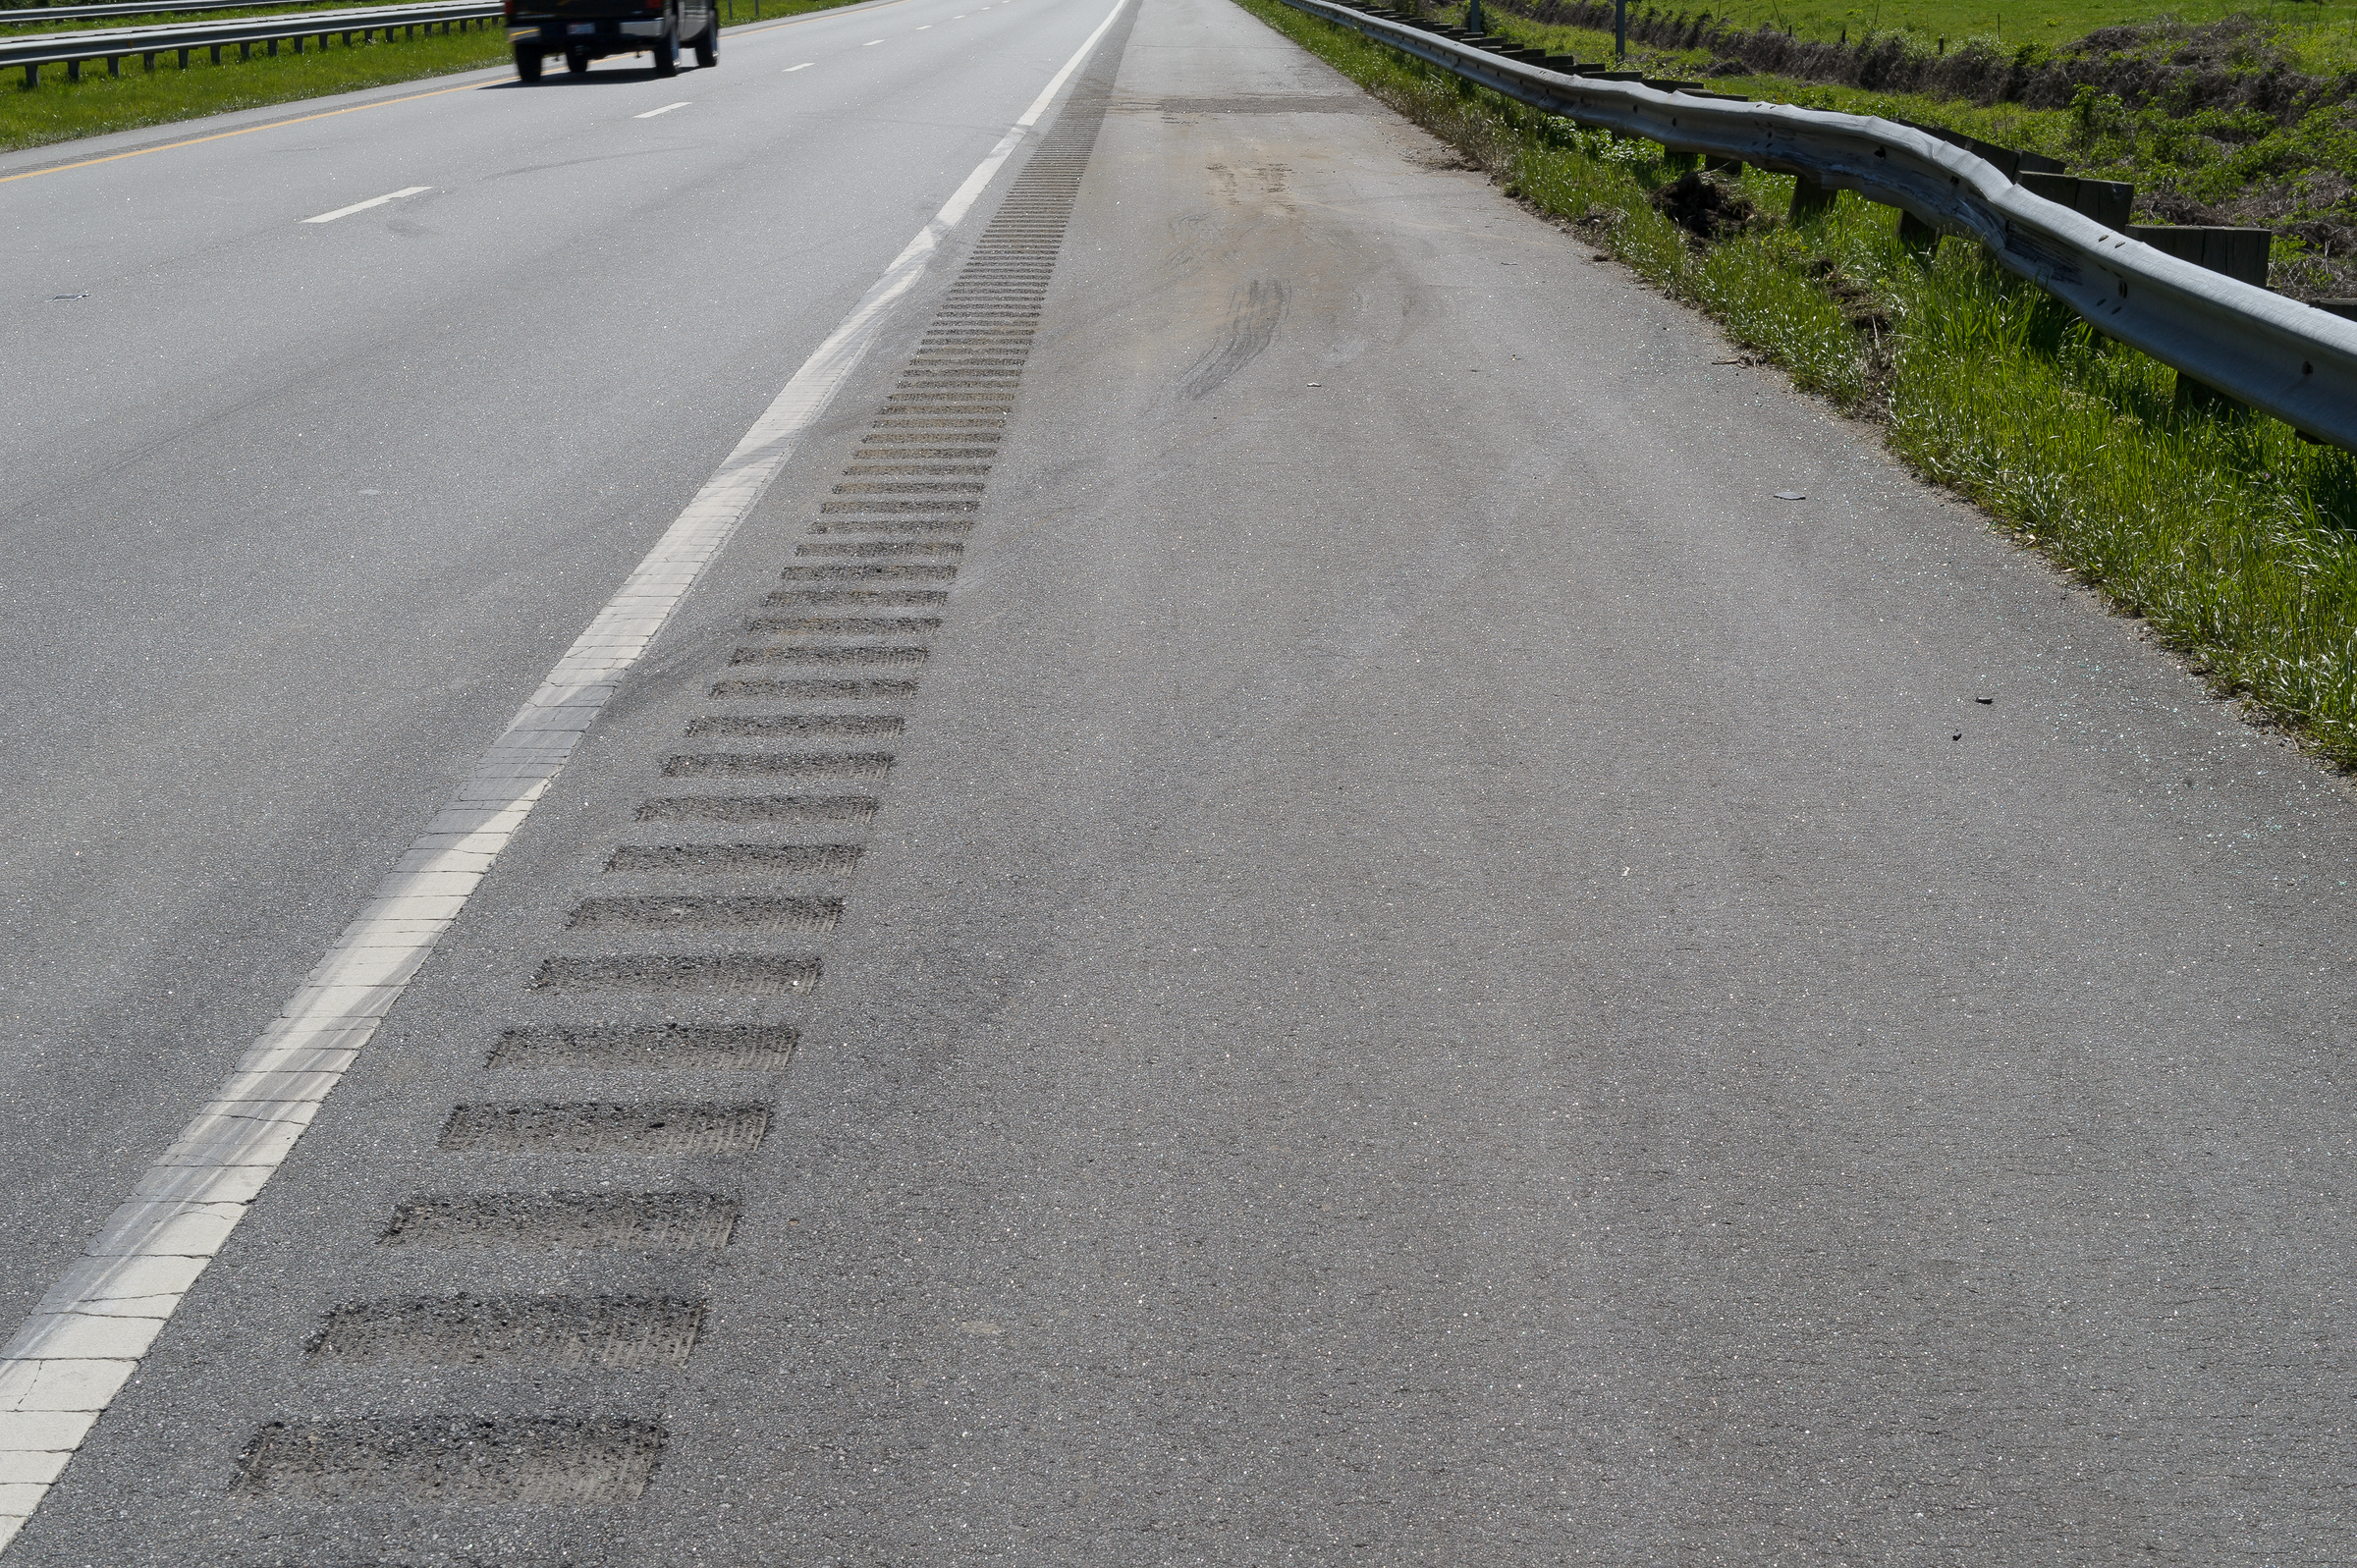
Tire marks without polarizer. (Nikon 24-70 mm lens on Nikon D3s.)

For this second image, I attached a polarizer to the front of the lens, and rotated it until I got the maximum detail in the tire marks. I had to brighten the exposure to compensate for the light lost with the polarizer. This is rarely an issue when your camera is on a tripod, but if your polarizer loses two stops of light, it might be difficult to keep the shutter speed high enough to handhold the camera.
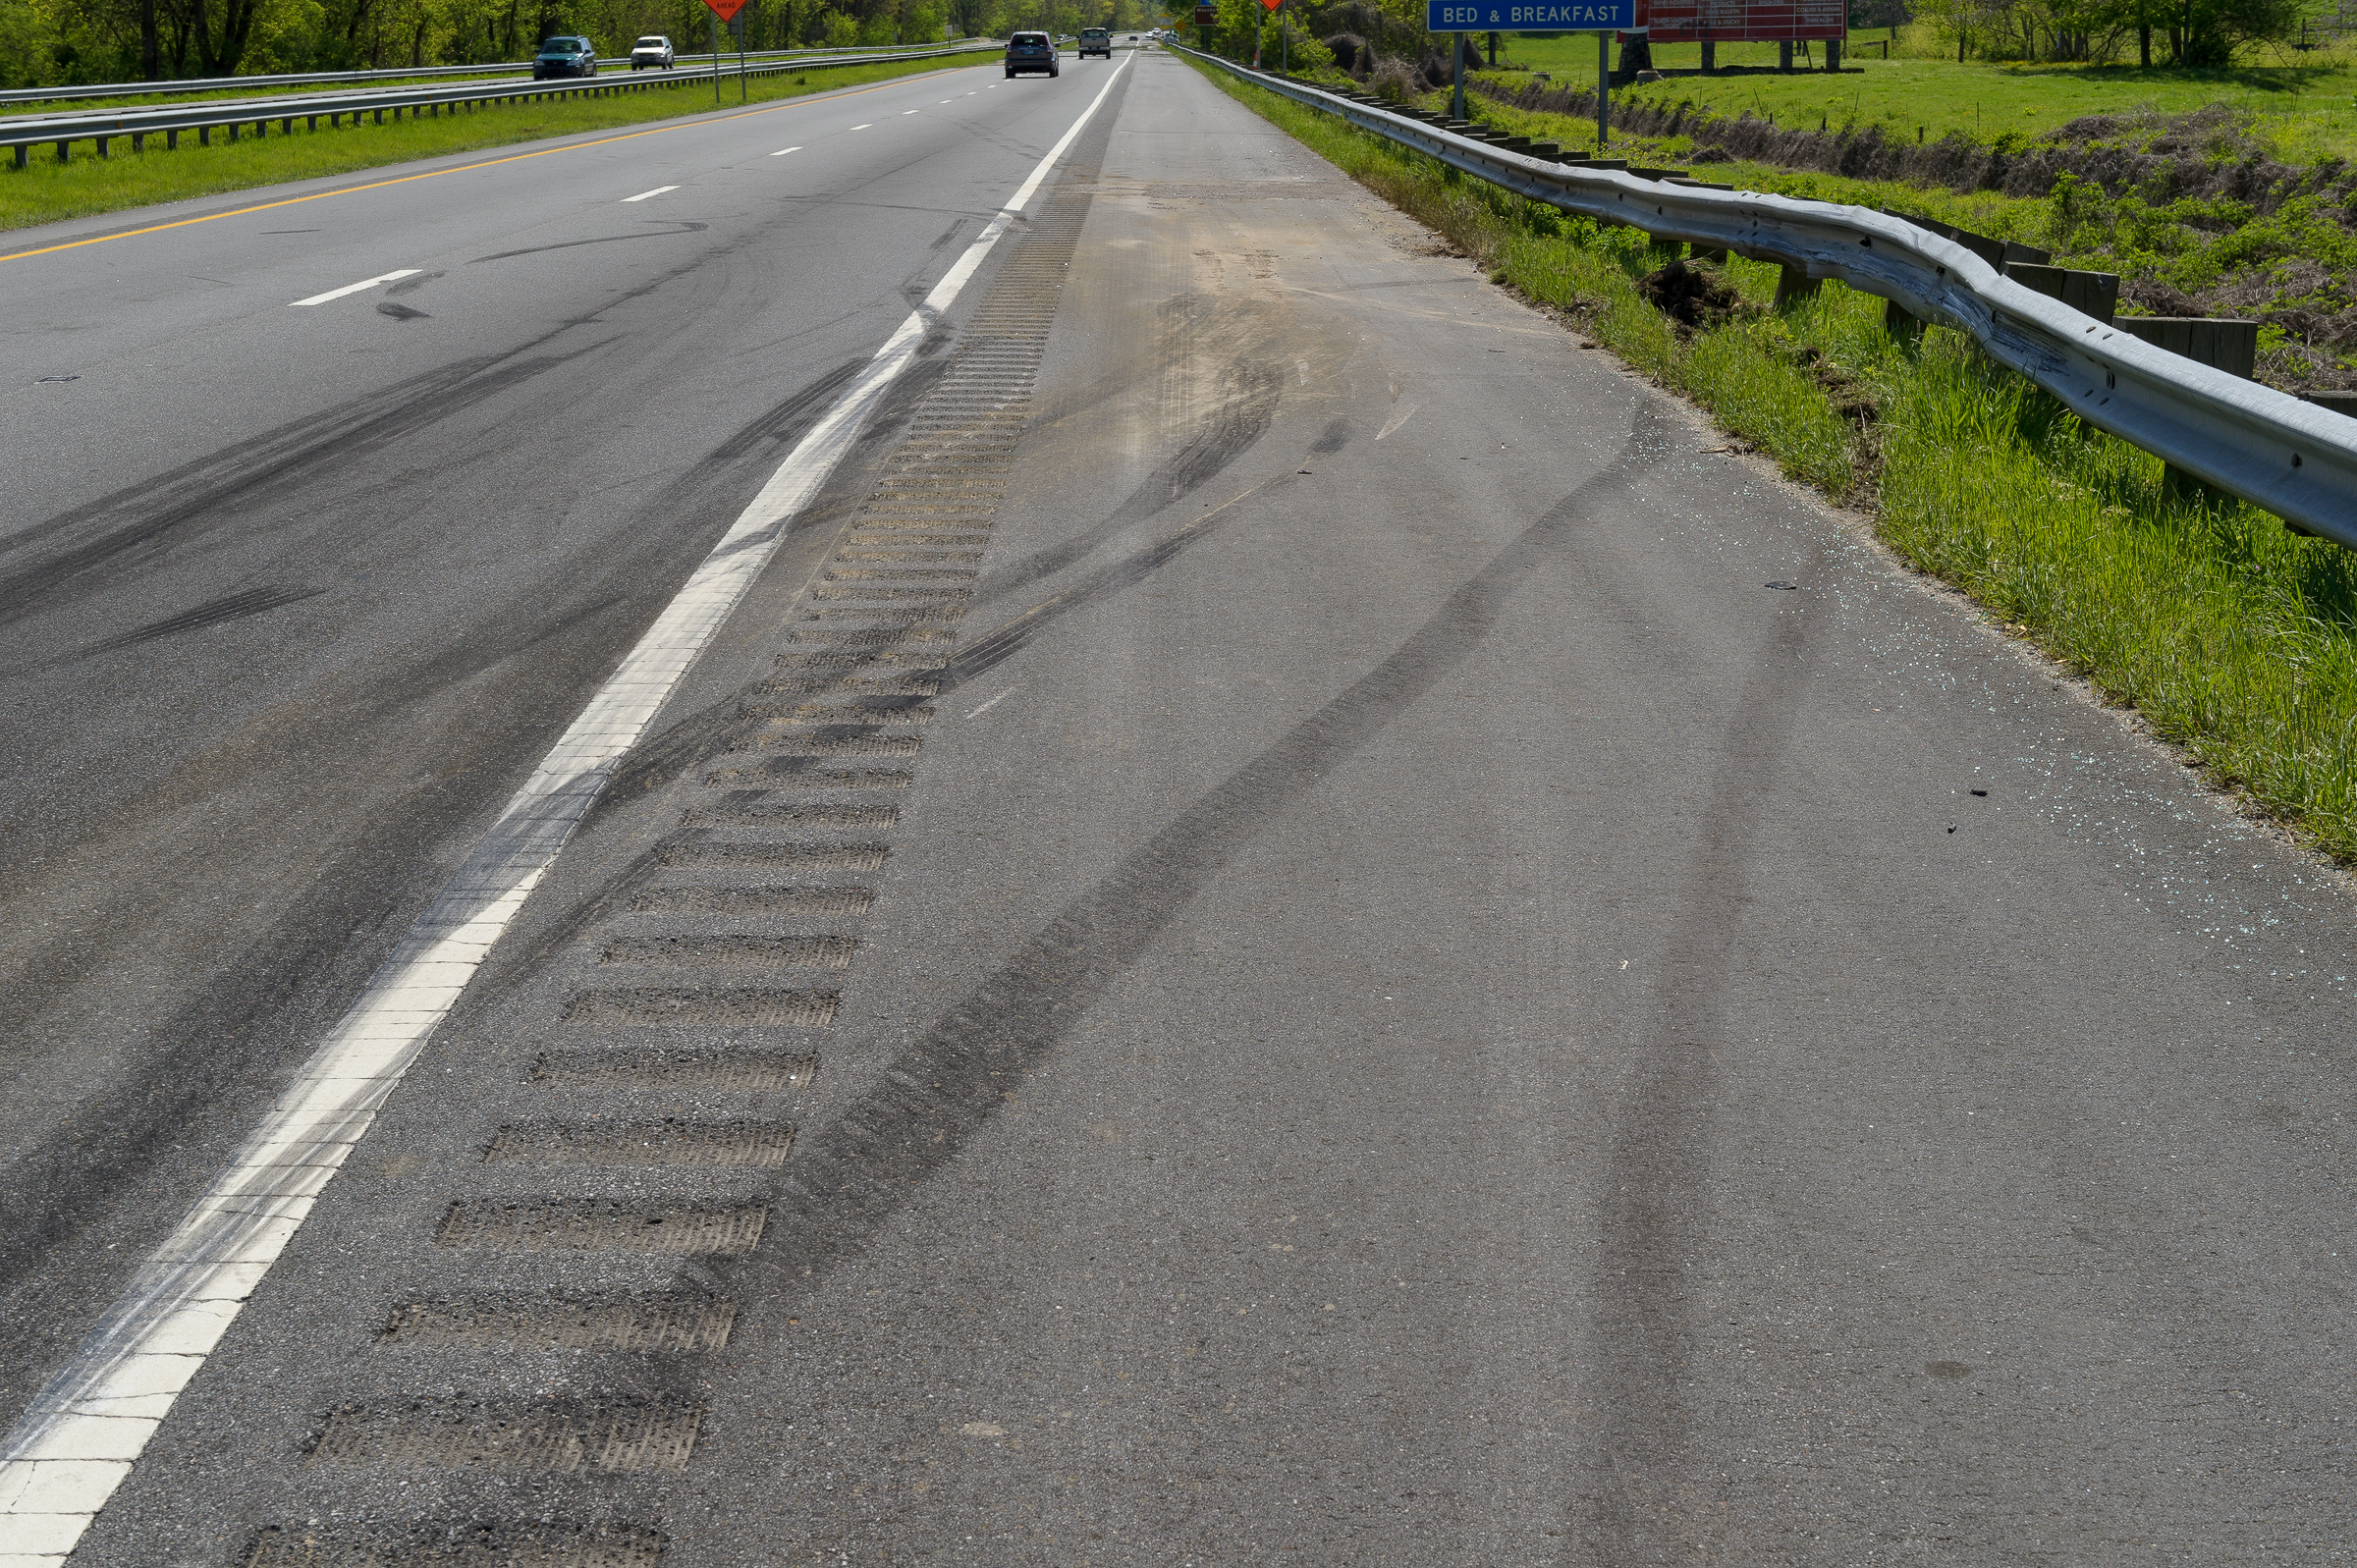
Tire marks with polarizer. (Nikon 24-70 mm lens on Nikon D3s.)

This photograph obviously shows much more detail than you could ever extract from the first image. This increase in detail from reduction of glare is what makes a polarizer one of the three most important accessories for automotive forensic photography, along with flash and a tripod.

It’s important to remember to rotate the polarizer between each shot, and to compensate for any light loss by adjusting your exposure. It is also important to remember that a polarizer is the only filter whose effects you can’t replicate in post-processing.
Use a Polarizer and Fill Flash for Vehicle Photos

Many times, we can’t choose when we will inspect vehicles or accident sites. That means you’ll have to deal with whatever light conditions you encounter. It’s up to you as a professional to come back with good photographs, despite the adverse light.

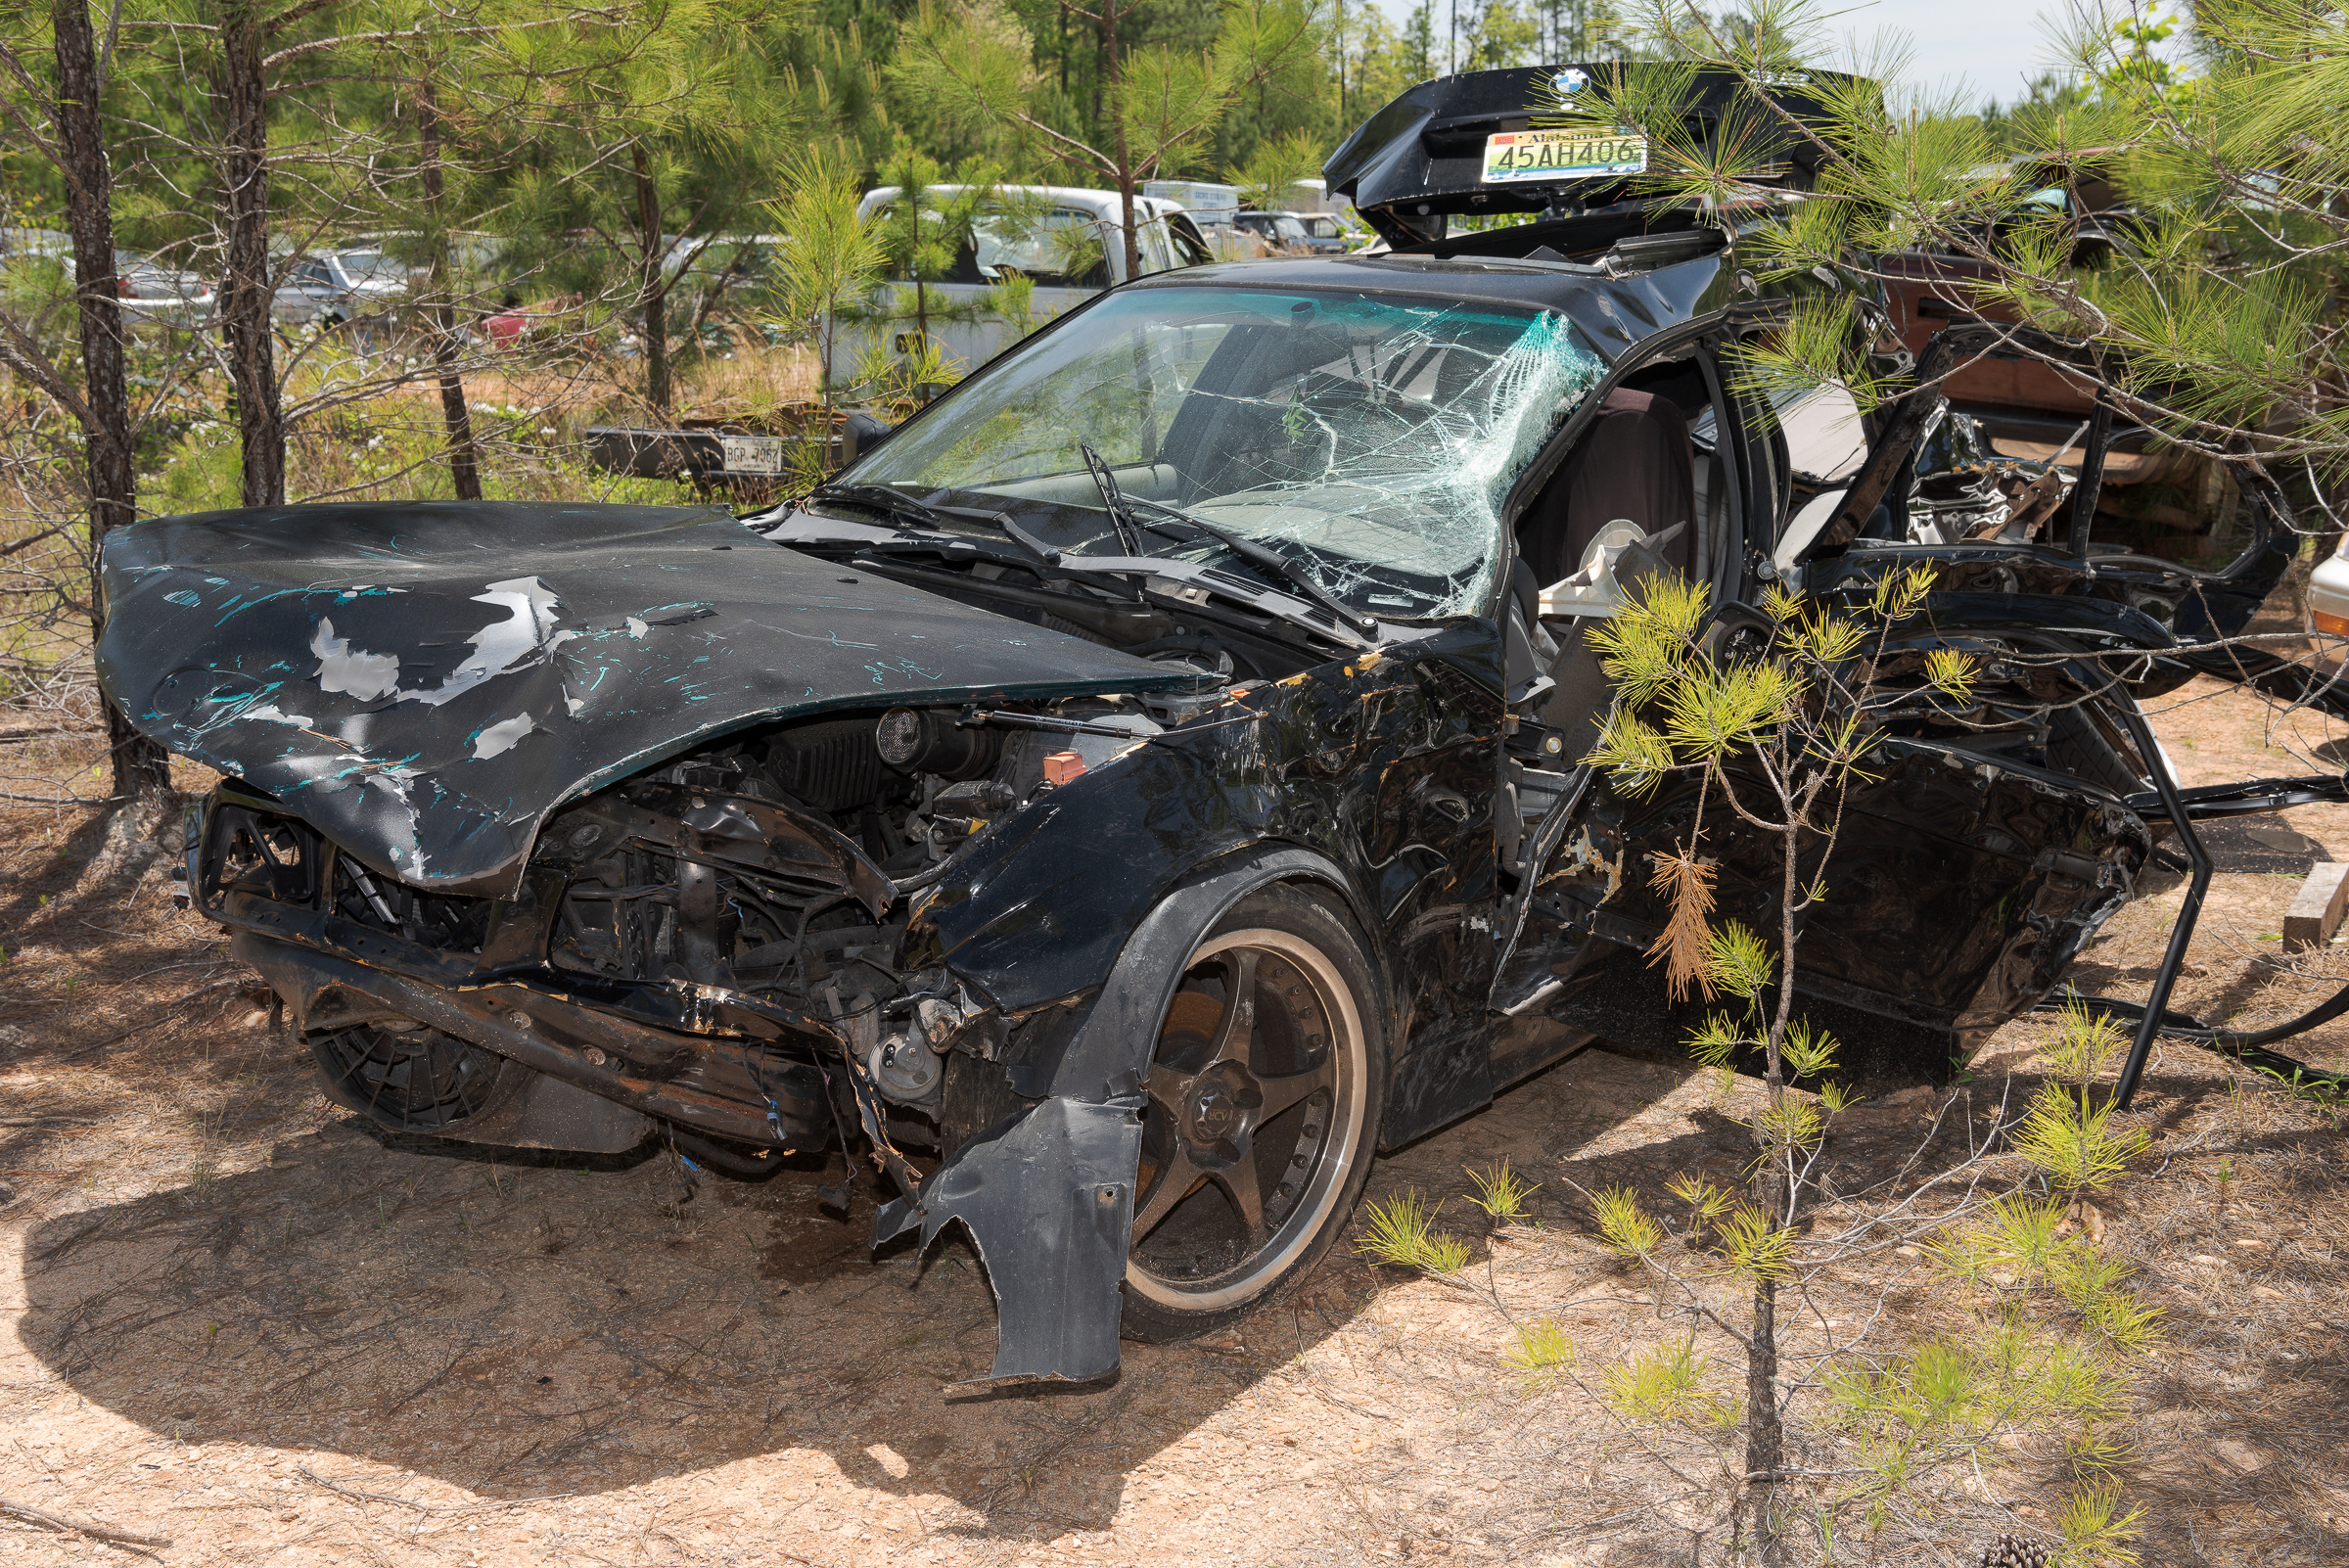
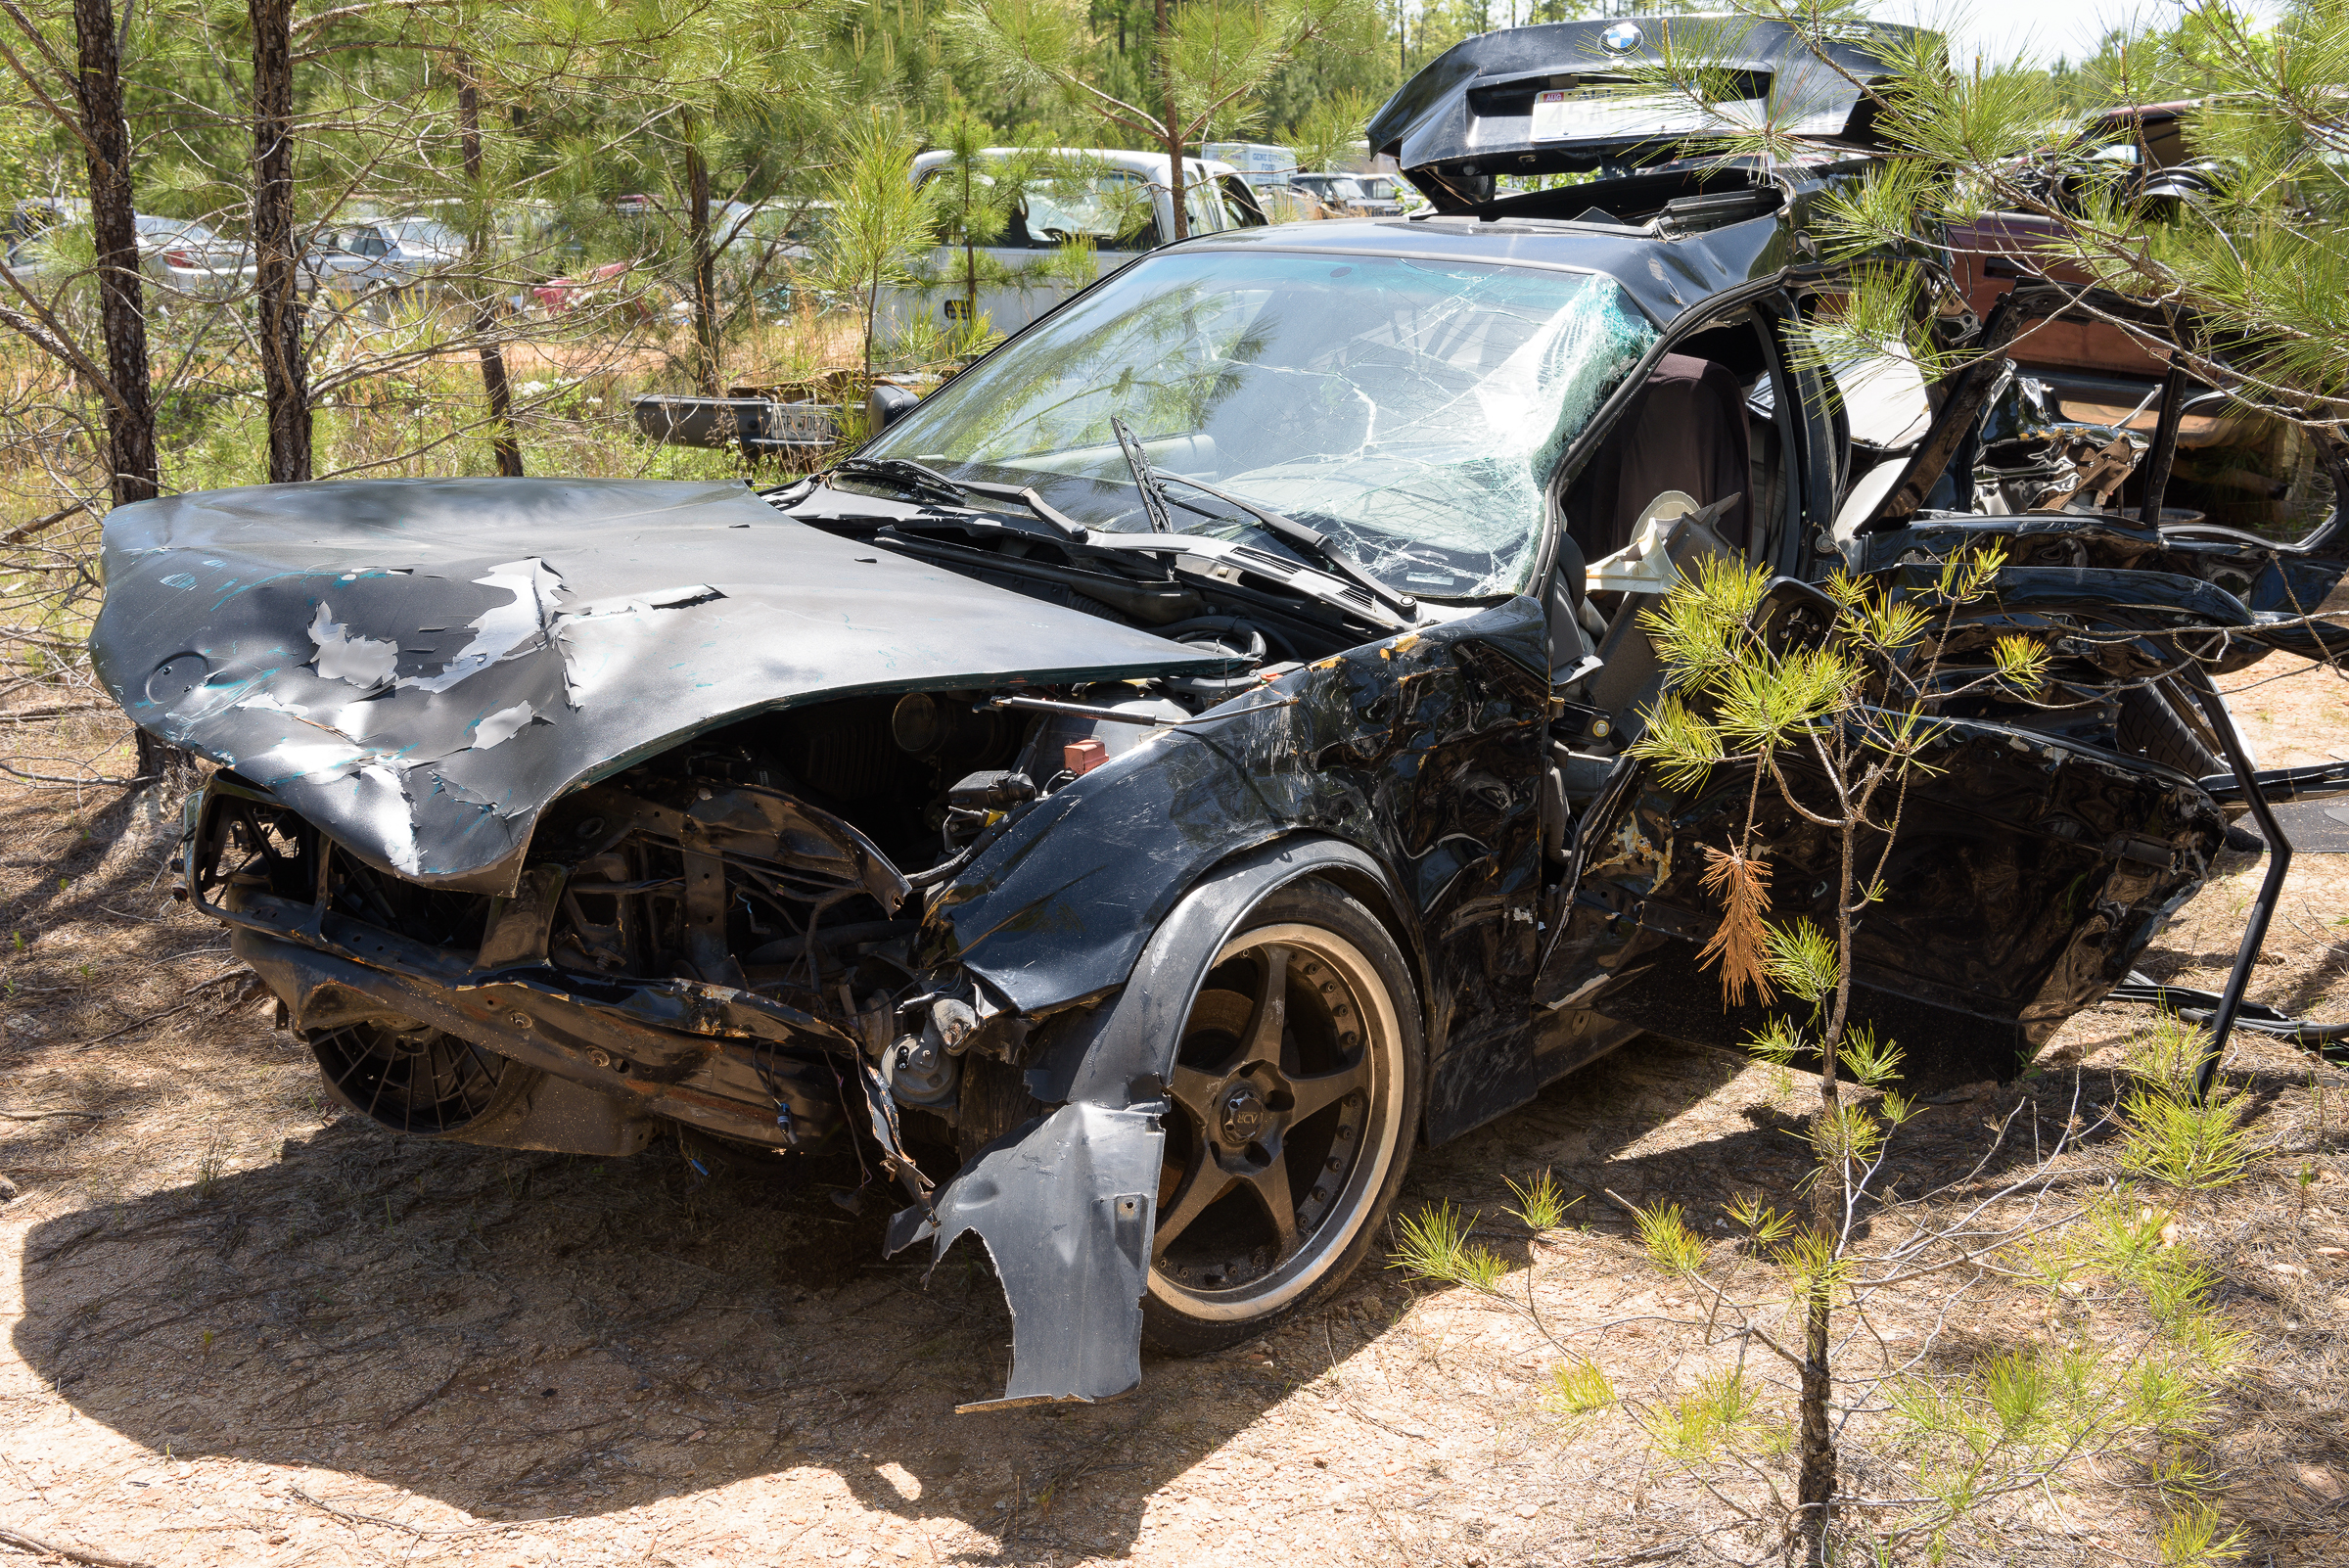
One example was a black BMW in a tow yard field on a blindingly bright day close to noon. As you can tell from the hard edge of the shadow under the car, the sun was almost directly overhead. Any details in the upper body panels were obscured by glare, while the shadows were too dark to show any details. (Click on an image to enlarge. Click on back arrow to return to post.)

BMW in sun at tow yard. No flash, no polarizer. (Nikon 24-70 mm f/2.8G lens on Nikon D810. Exposure: f/13, 1/60 sec, ISO 160.)

Even though this image was properly exposed, between the glare and the blocked shadows, you can’t get much information about the damage to the car. That defeats the purpose of even making the photo.

To counteract the glare, I used a polarizing filter and rotated it until most of the glare was gone. To open up the shadows, I added a flash in the hot shoe of the camera to create fill flash under the hood and down the left side.

BMW in sun at tow yard. Fill flash and polarizer. (Nikon 24-70 mm f/2.8G lens on Nikon D810. Exposure: f/10, 1/60 sec, ISO 160.)

This second photograph was also properly exposed, even though it was 1/3 stop darker overall—by choice. This image demonstrated that the combination of the polarizer for the glare and fill flash for the shadows yielded a much more balanced image which showed details that just couldn’t be recorded without those tools.

It should be noted that I use a one-stop polarizer. This means you only lose about one stop of light when using it. Many (most?) polarizers cost you about two stops of light.  Also note that fill flash, being fill and not the main light source, did not affect the overall exposure; it just brought out detail in the shadows.

Besides using a tripod, regular use of both a polarizer and fill flash for vehicle photos ensure you’ll consistently capture all the data you’ll need to show details in your vehicle photos.