In the last post, I showed some lighting solutions to use when your subject is in low light. In this post, I will briefly describe some of the supports and the lights I referred to. Flash is a big and interesting subject, and I have an entire module on flash photography in the photography class I teach for SAE (SAE C1729). Or, I should say, will resume teaching once this pandemic eases.
I will expand on each of these in future posts, but wanted to give the basics here. First and foremost is using a good tripod. There is nothing better you can do to improve your photographs than to use a tripod. I use a tripod in any kind of light for almost every image of any subject, including accident sites, vehicles, tires, and other products. A good tripod is even more essential when the light levels are low.
It used to be unusual to see someone with a tripod at an inspection. But with so many scanners now being used, tripods have become quite common. So there goes one excuse for not carrying and using one!
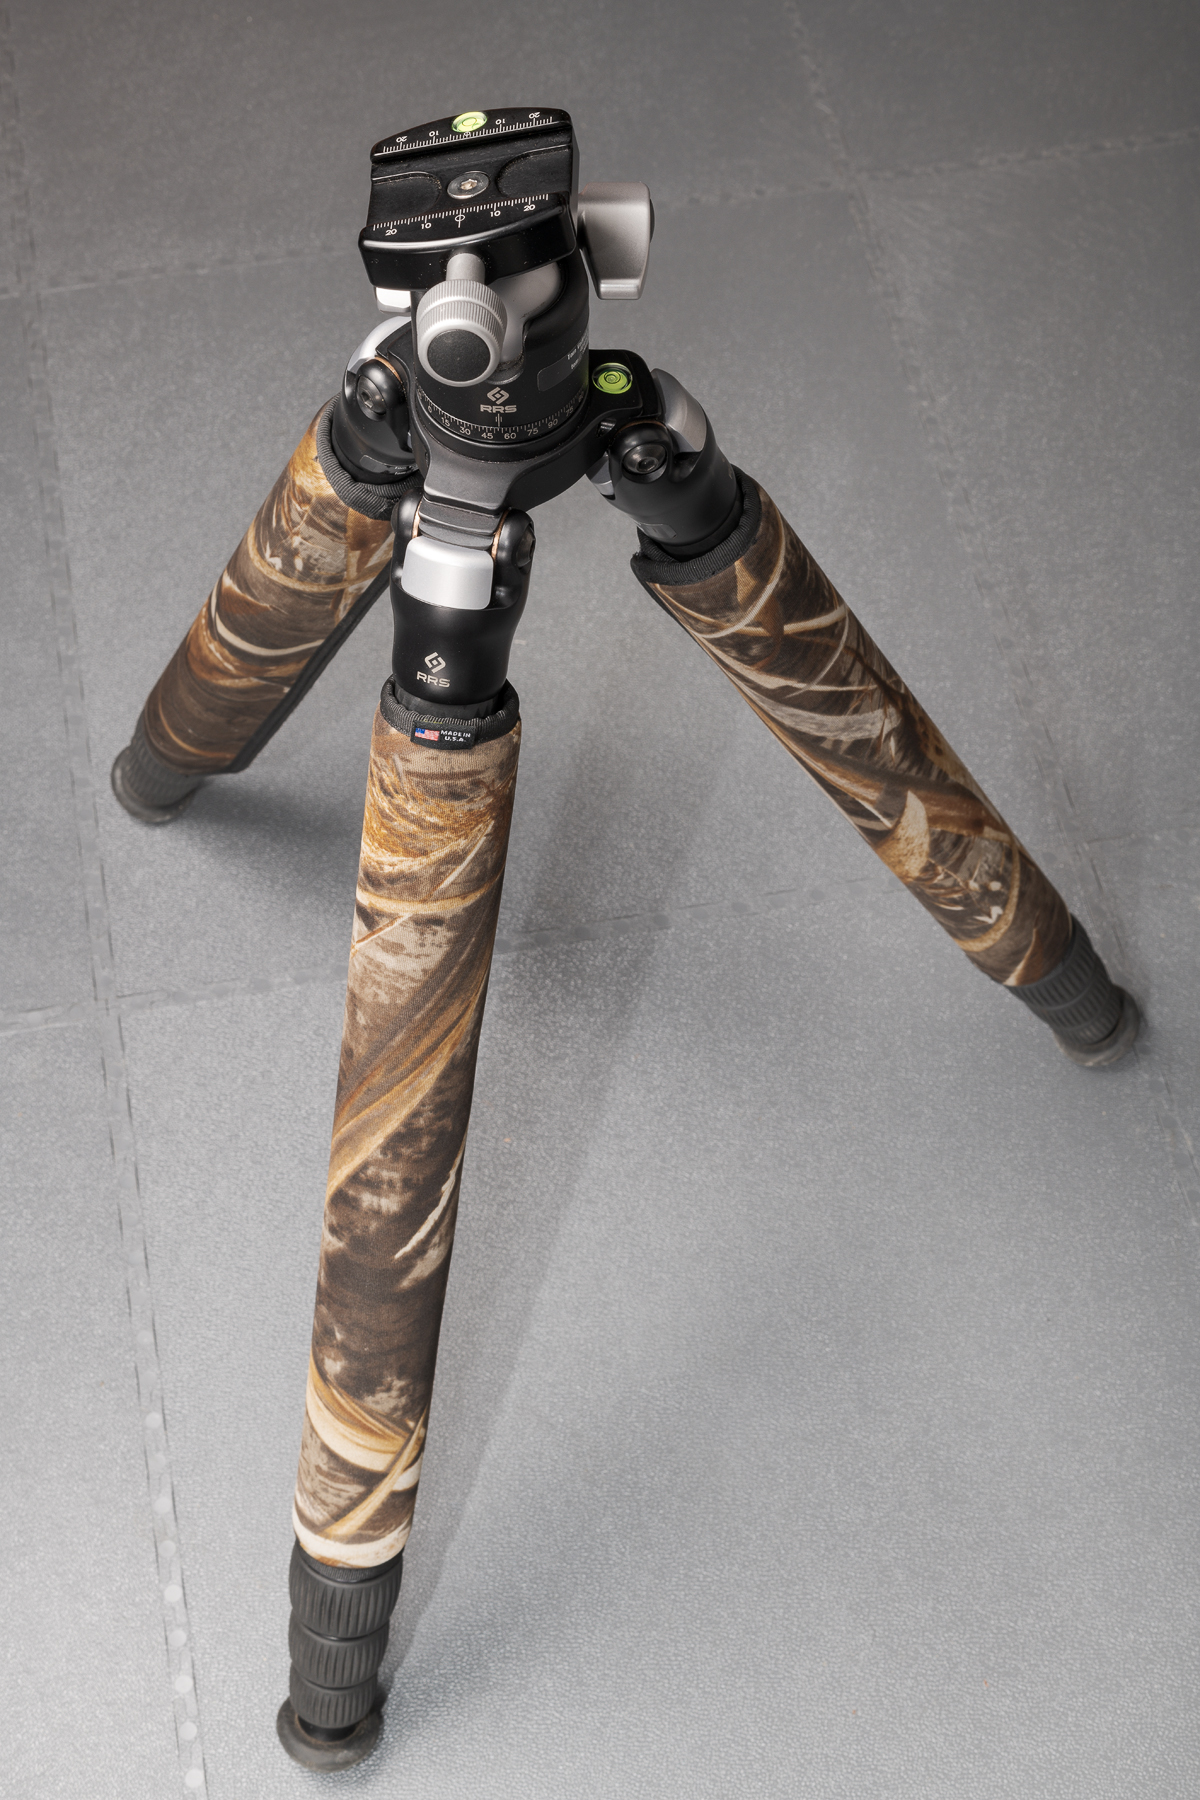
I have a post all about tripods in the works, but for now I’ll just mention the Really Right Stuff (RRS) TVC-24L with a RRS BH-40 ball head that I use for all inspections out of my Studio Lab. It is compact and lightweight, yet it extends quite high, which is essential. All of my tripods have LensCoat LegWraps for insulation (from both hot sun and freezing temperatures) and for comfort in carrying. (Click on image to enlarge, then click on back arrow to return to this post.)
While future posts (and classes) will discuss flash techniques in detail, in this post I will focus on the equipment I used in the previous post.
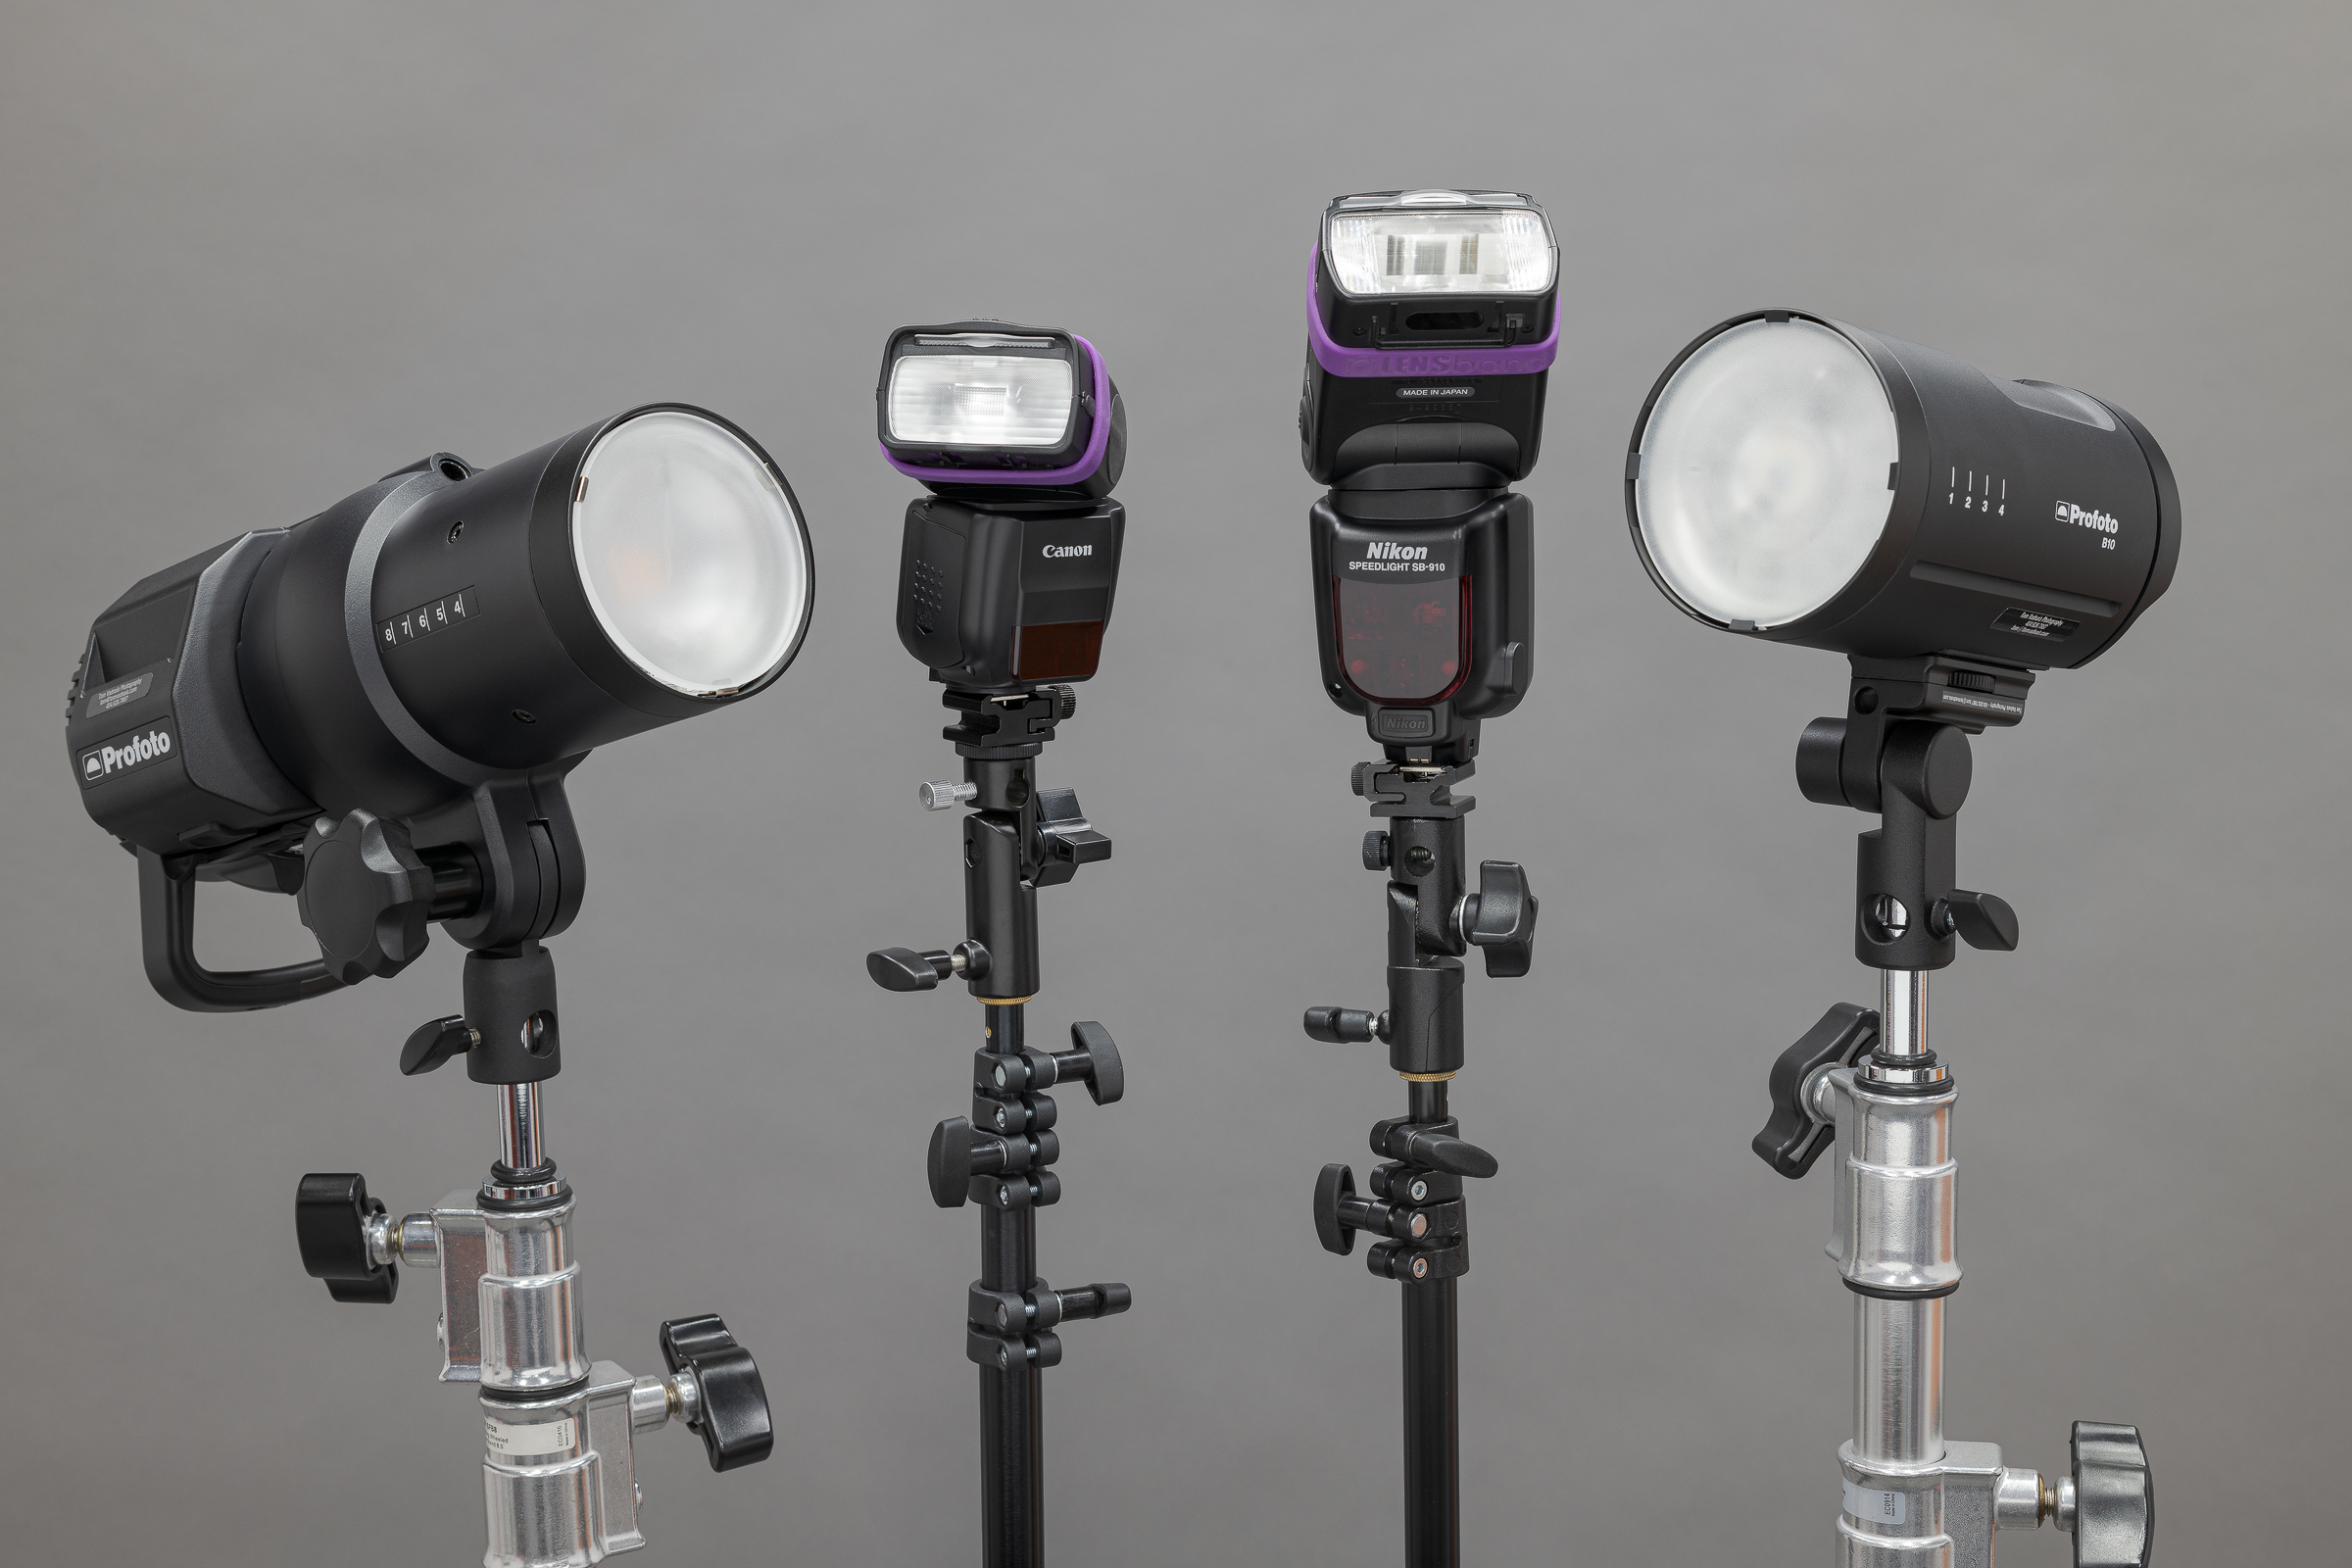
Flashes that fit in your camera’s hot shoe are generically called speedlights or flashes. In fact, Nikon calls their flashes Speedlights while Canon calls theirs Speedlites. Larger studio-type flashes are referred to as strobes. Here are some examples from the front. All are battery powered. (Click on image to enlarge, then click on back arrow to return to this post.)
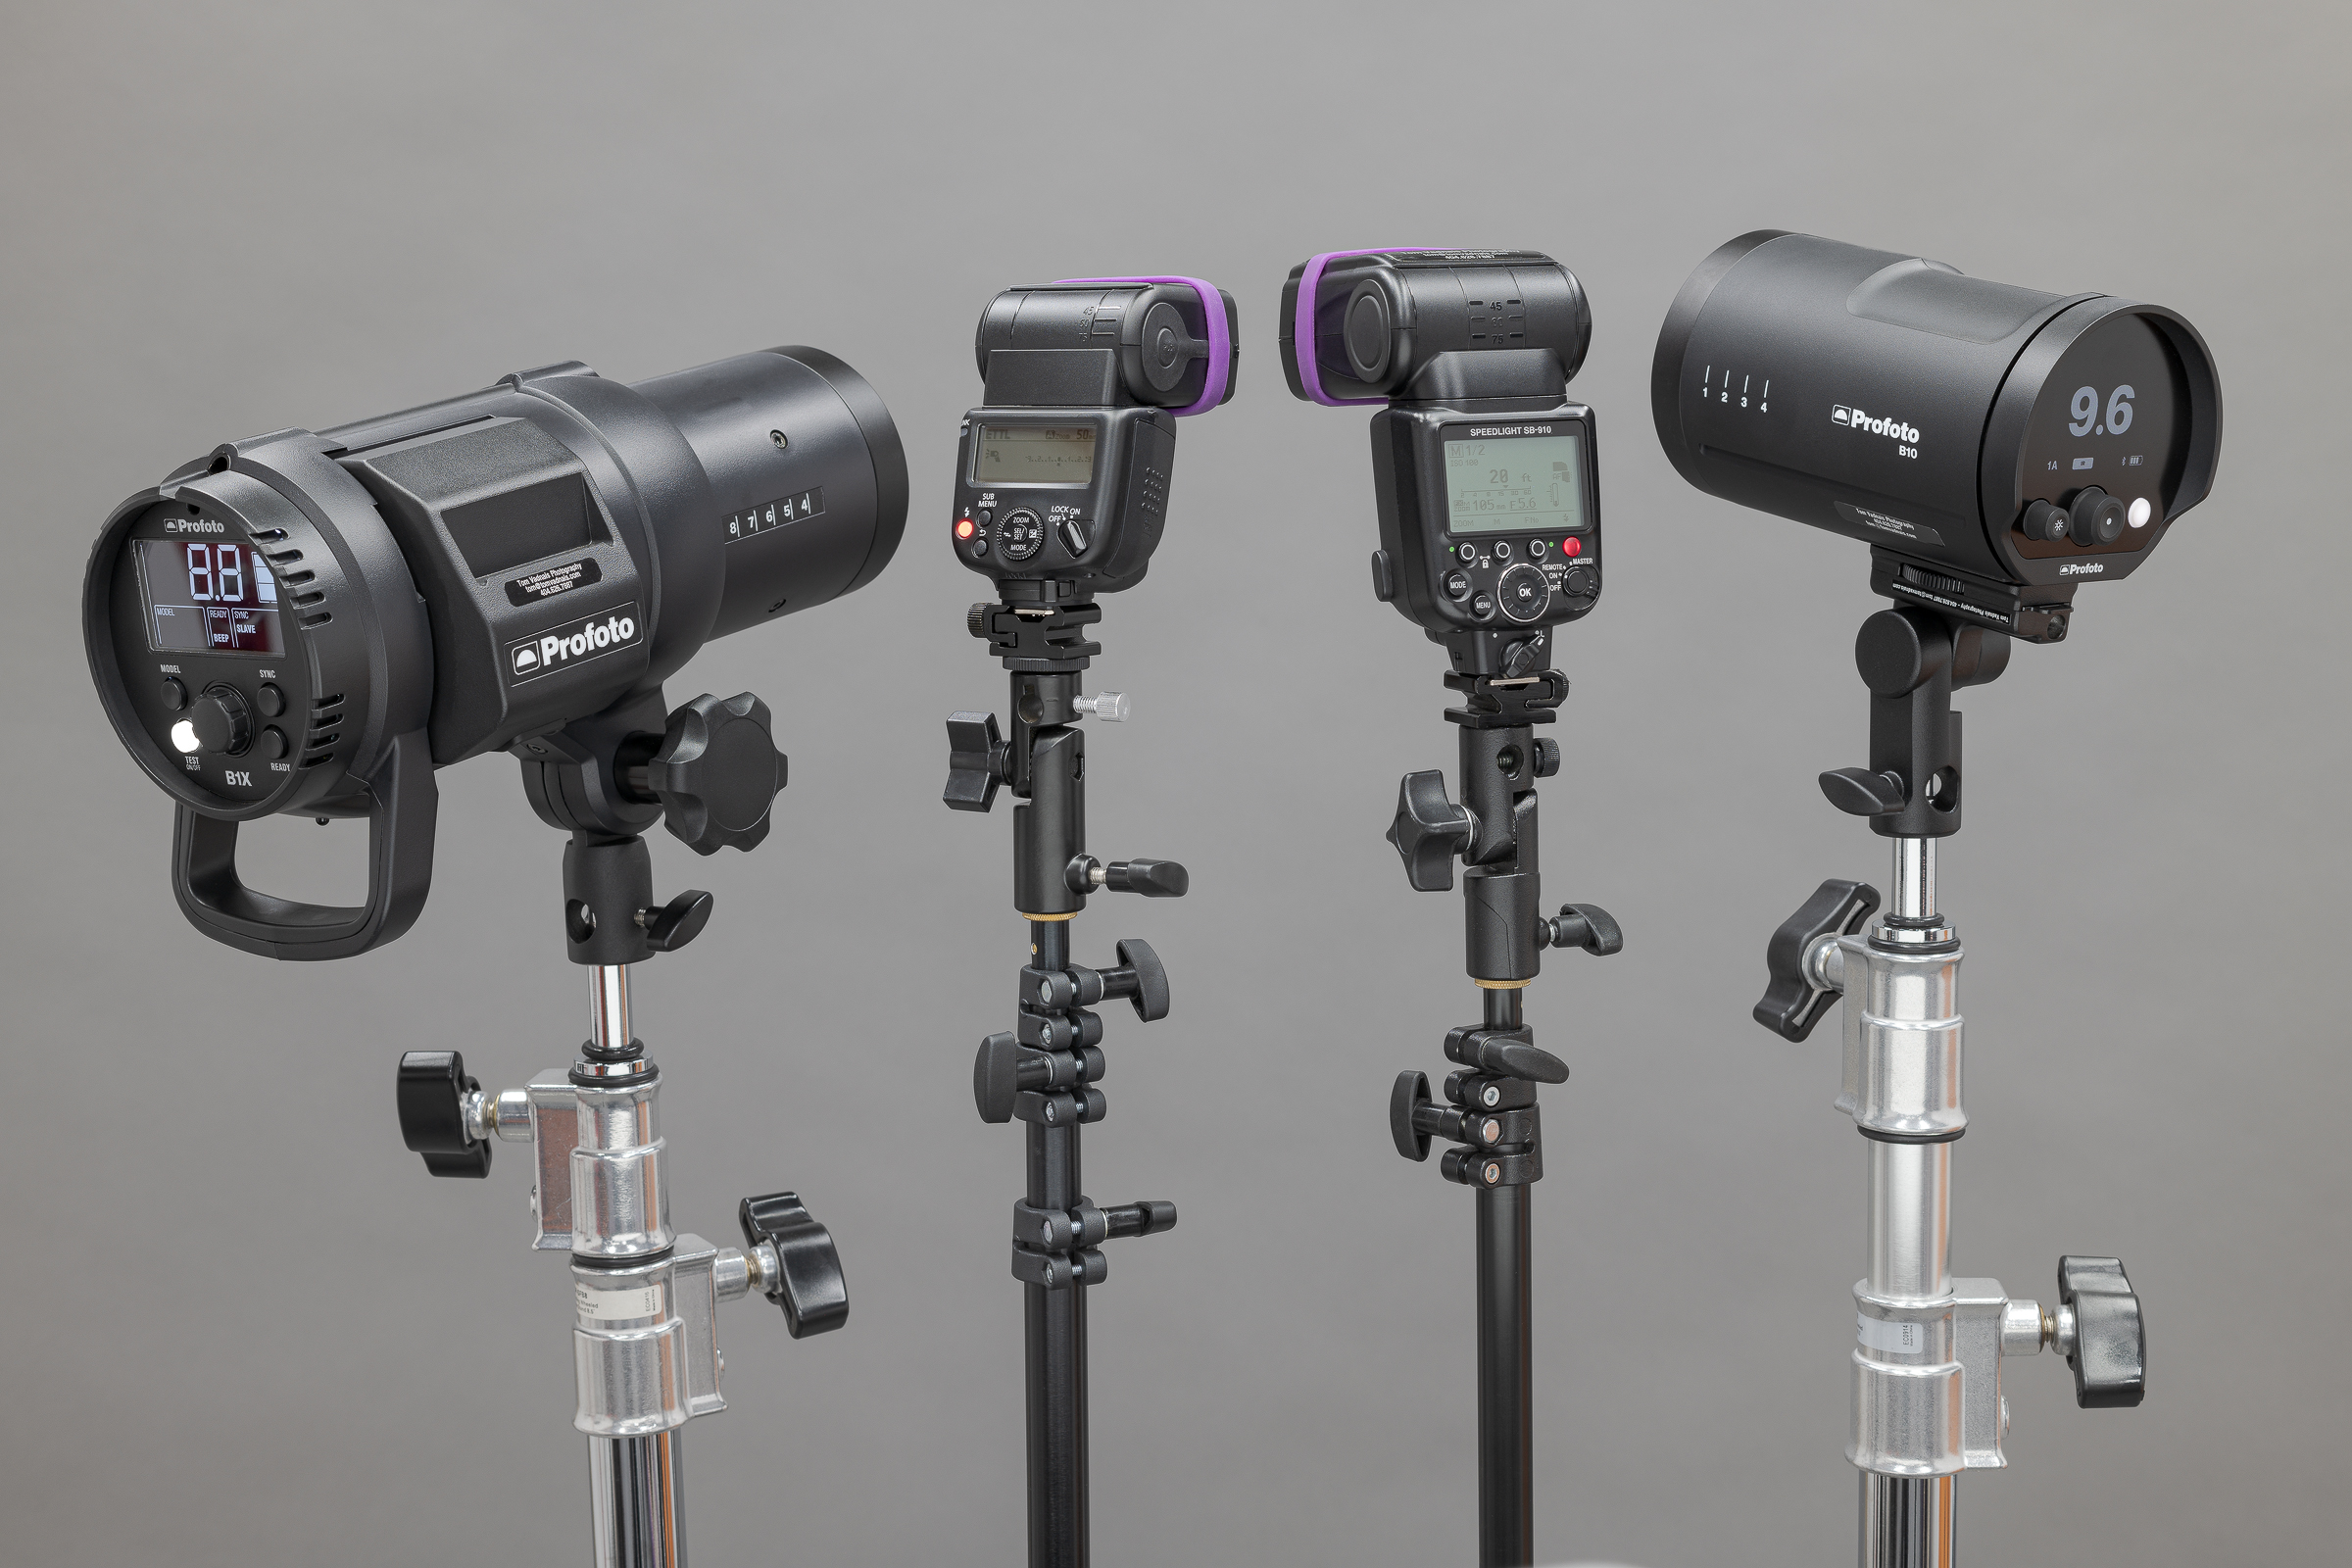
And here they are from the rear. Note that the speedlight flashes can be mounted in a camera hot shoe or on a light stand. (Click on image to enlarge, then click on back arrow to return to this post.)
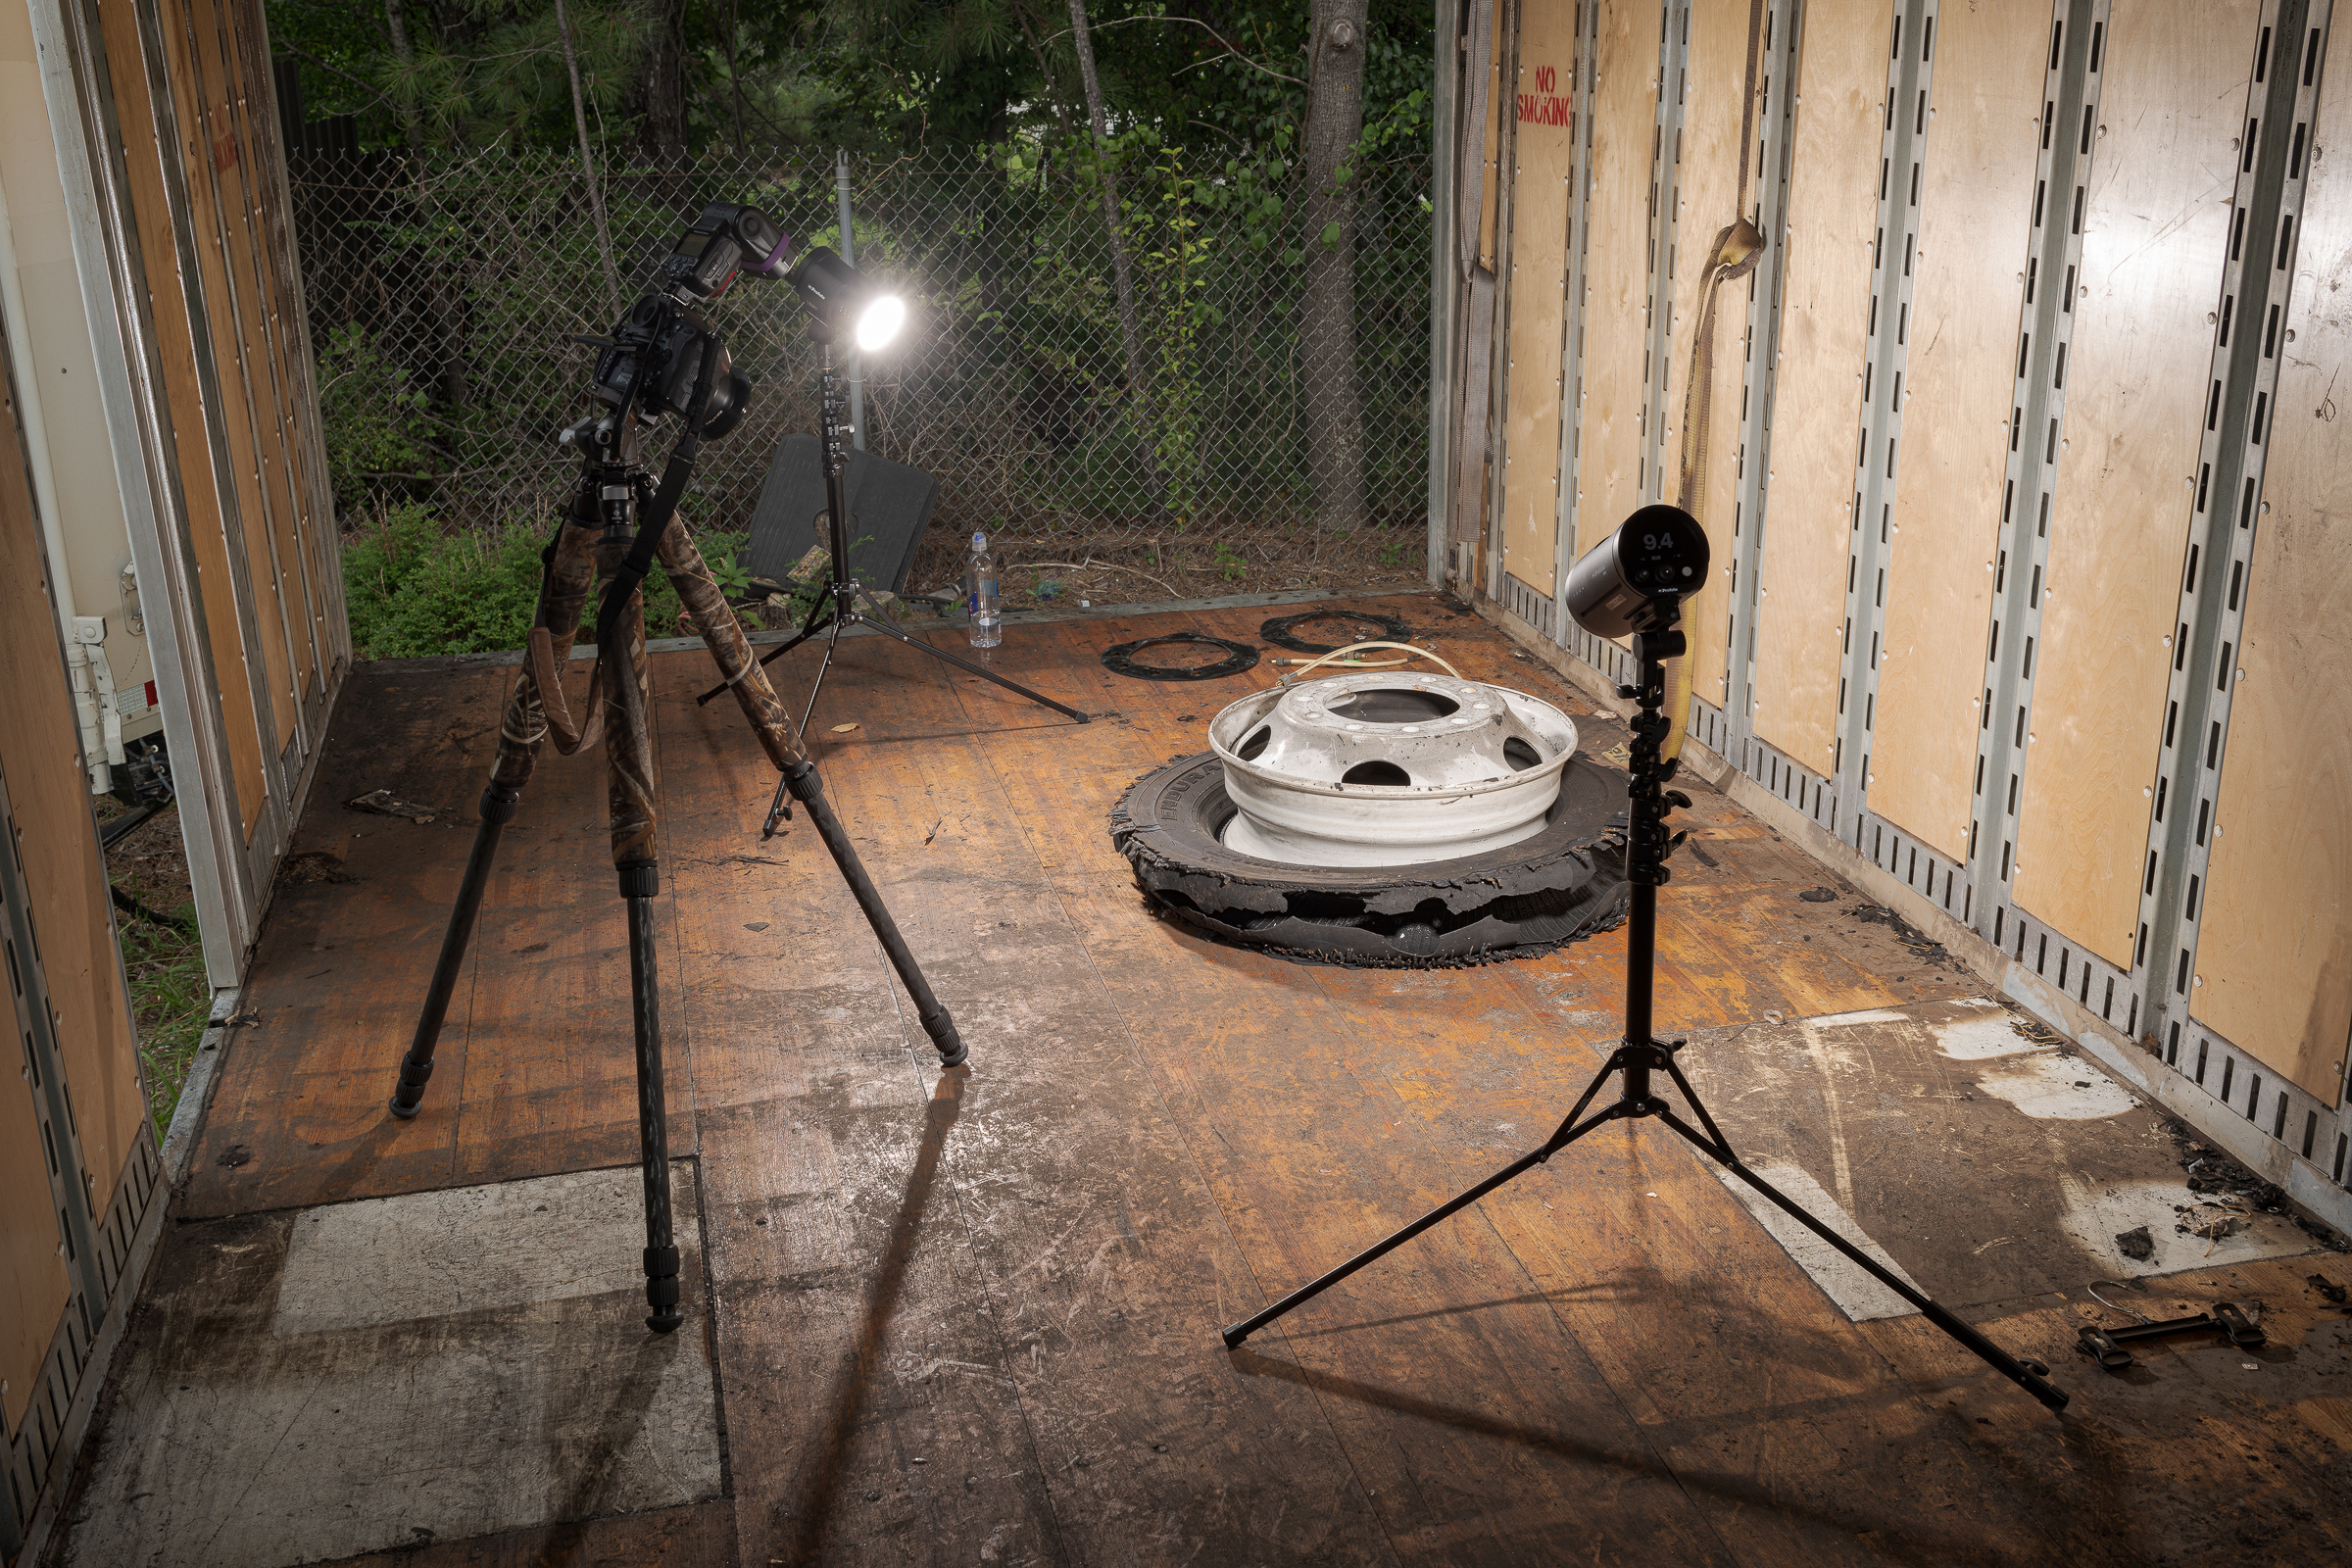
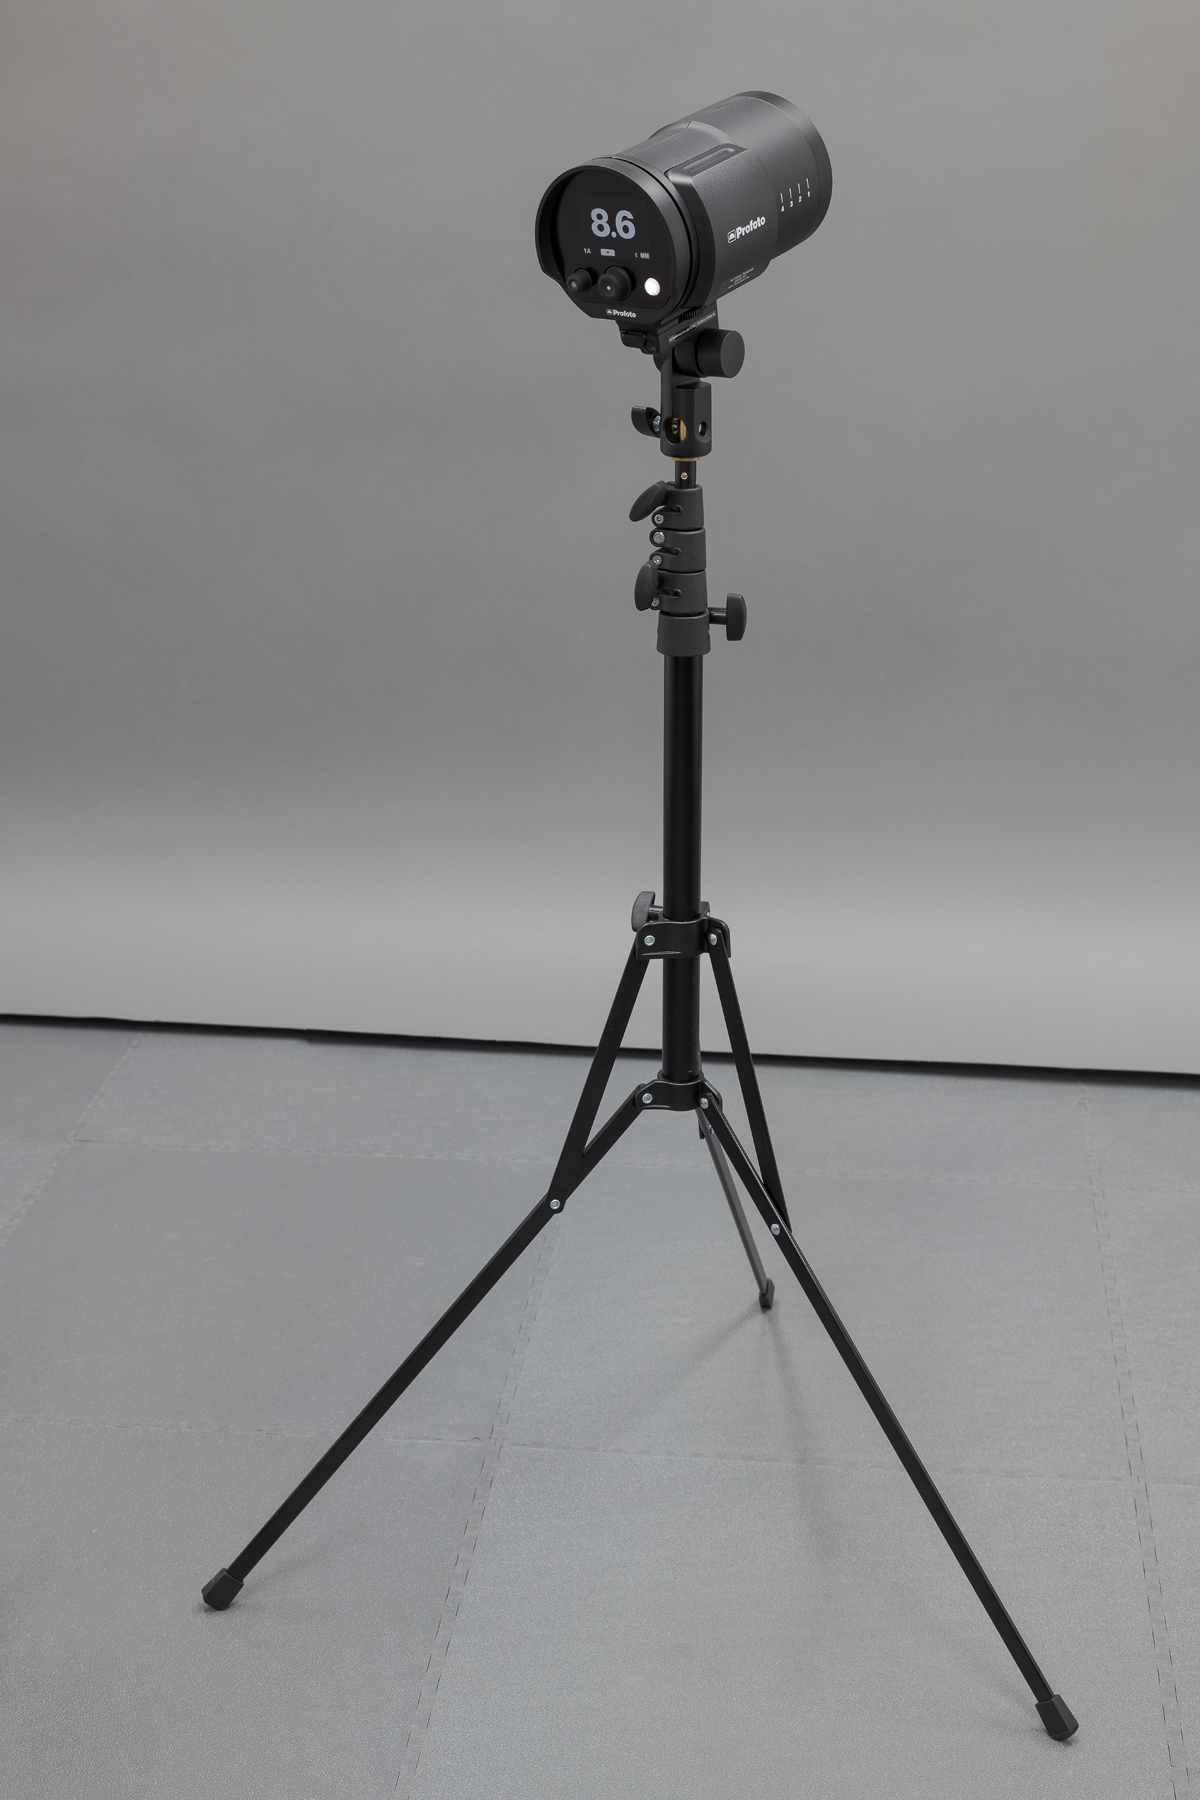
In the photograph of the lighting setup in the previous post, there was a Nikon SB-910 Speedlight in the camera hot shoe and two Profoto B10 strobes on Manfrotto 5002-M travel light stands. These stands are lightweight and fold up small, yet are quite sturdy. (Click on image to enlarge, then click on back arrow to return to this post.)
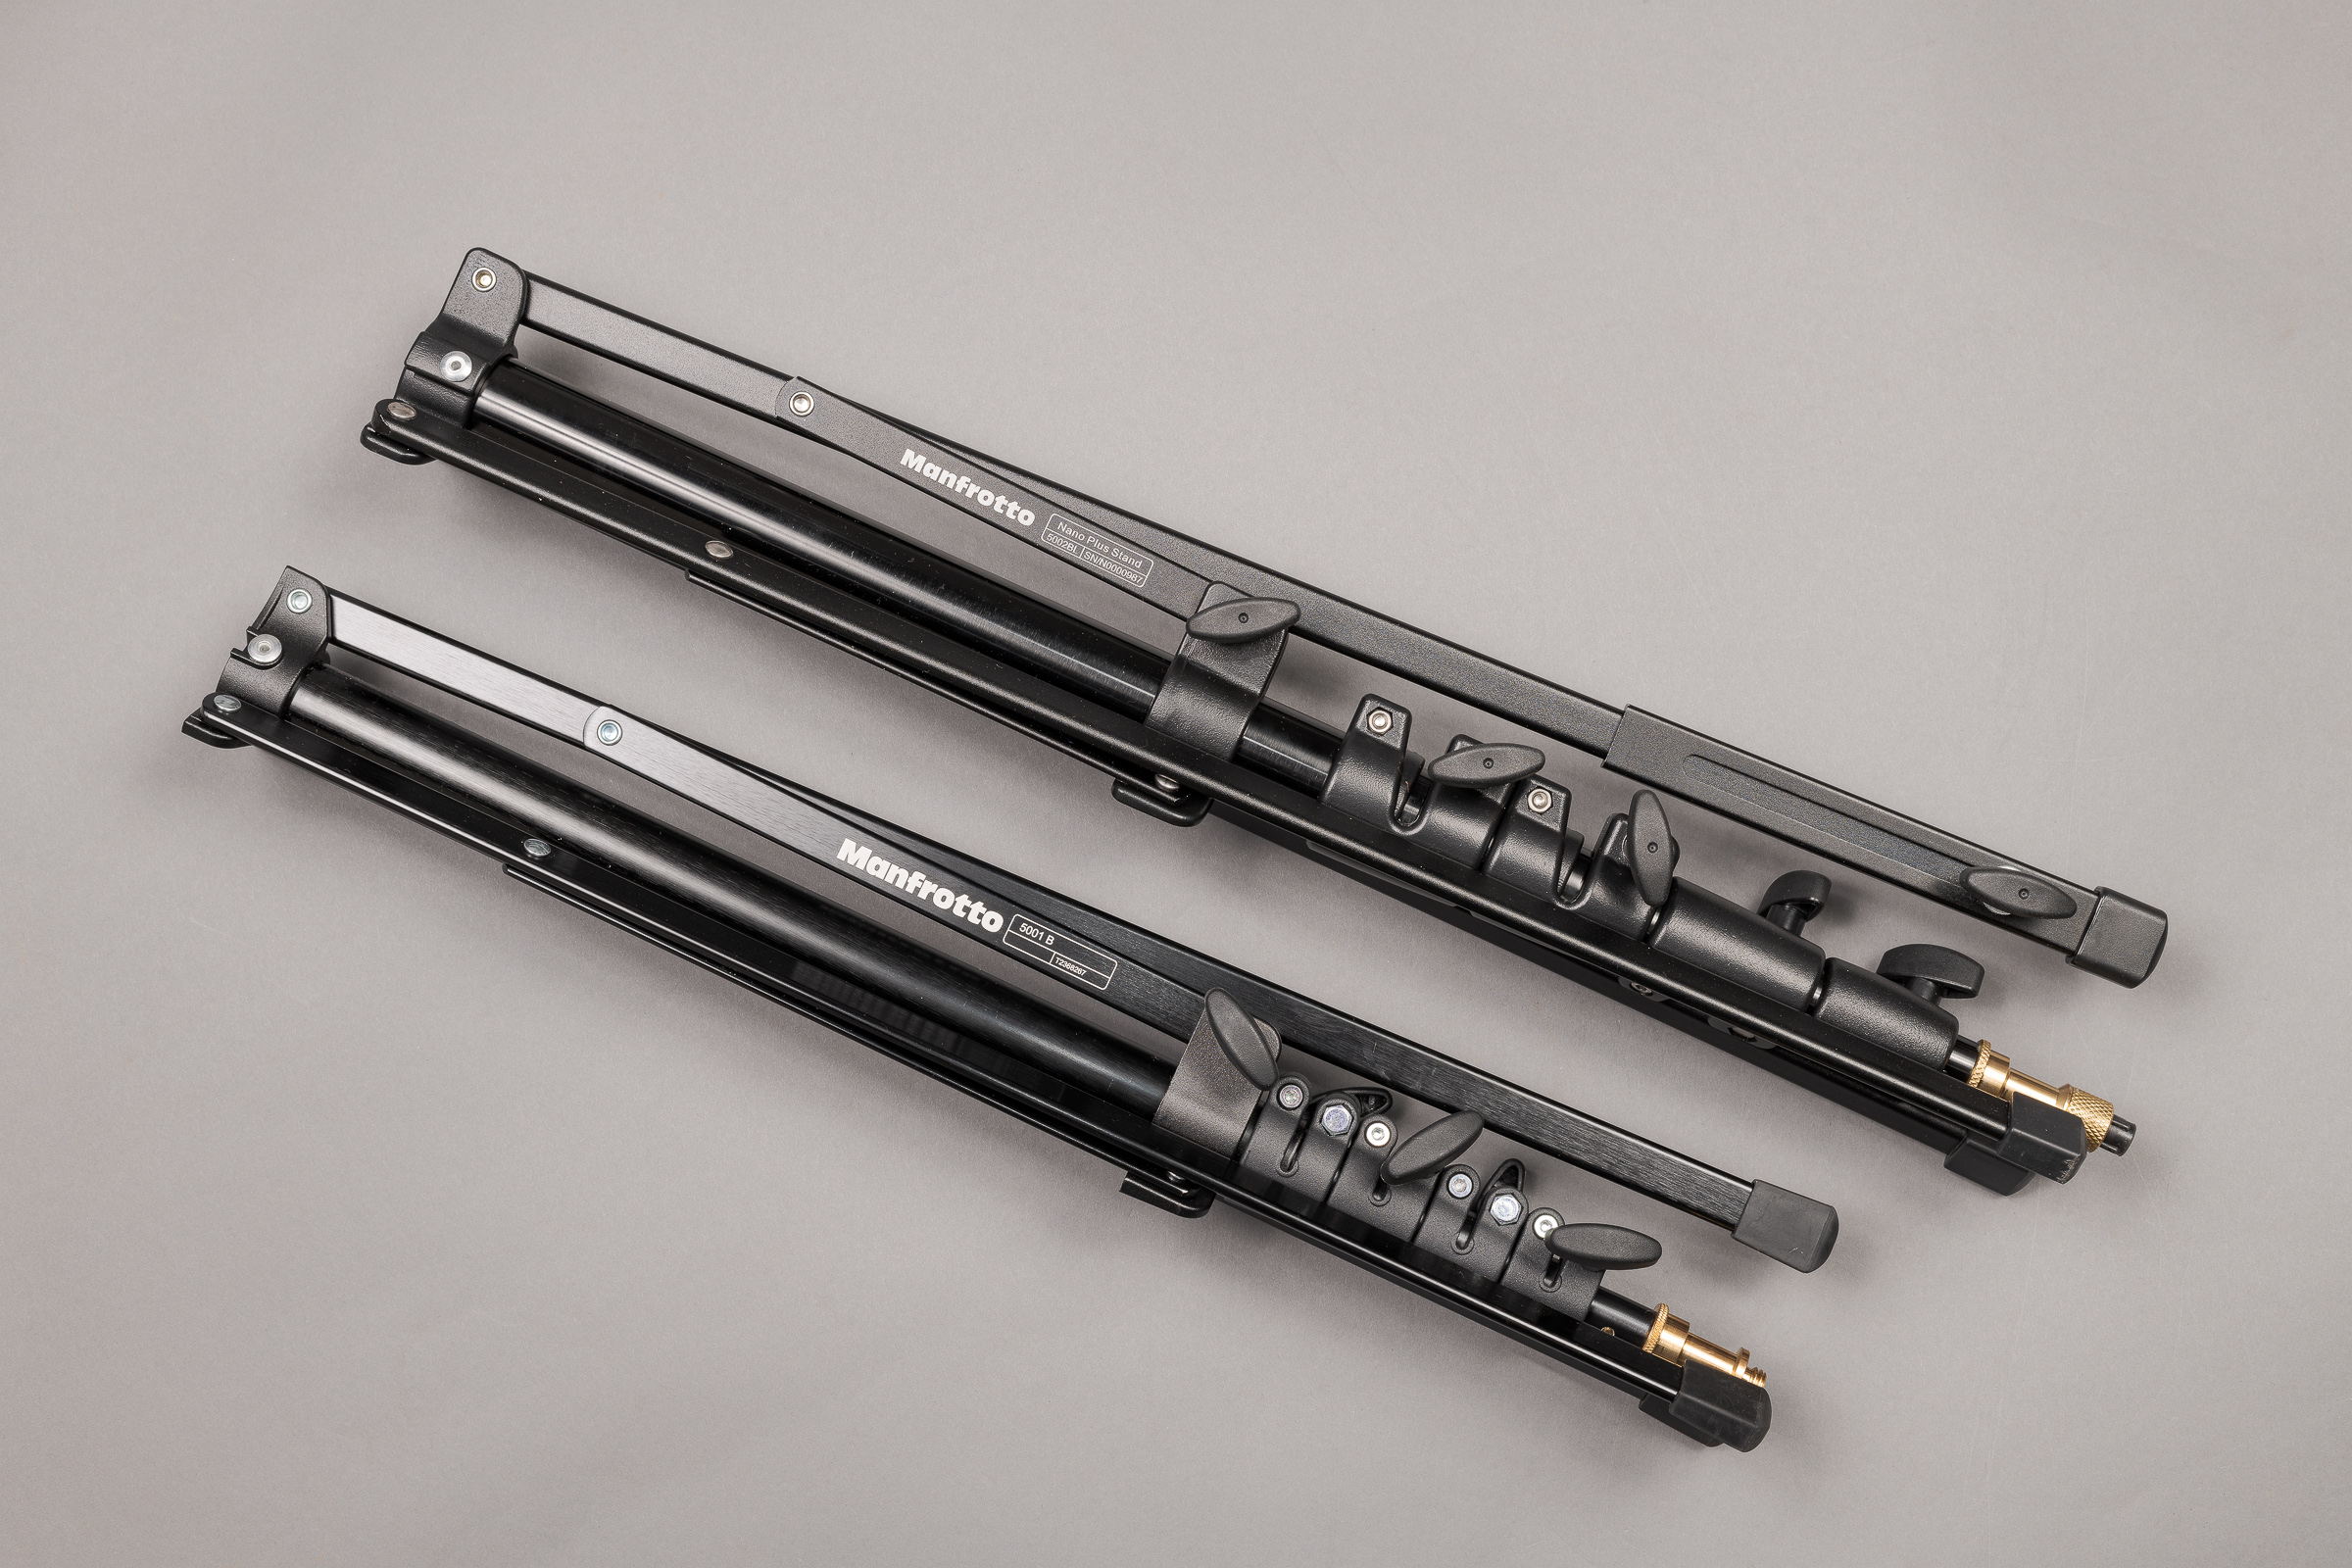
This final image shows a Profoto B10 mounted on a Manfrotto 5001, which is slightly smaller and slightly less sturdy (though still sufficient) than a 5002-M. (Click on image to enlarge, then click on back arrow to return to this post.)
In the previous post, the two B10’s were fired through their infrared slave sensors when they sensed light from the on-camera Nikon flash. All three flashes and the camera’s exposure settings were all manually set.
Why use strobes when you can use speedlights? Power is the answer. Mid-to-high end speedlights typically have power outputs between 60 and 150 Watt-seconds (Ws), while the Profoto B10 and B1x are 250 and 500 Ws, respectively. This means you’d need two-to-eight speedlights to equal one Profoto strobe. For example, you’d need sixteen 60 Ws mid-range flashes to equal the power output of the two 500 Ws strobes I use for tire photos in my Studio Lab. Not only would those be unwieldy to set up, but think of how many AA batteries you’d need!
Why is flash power important? Every one stop increase in exposure requires doubling of the light power. For forensic or testing photographs, you want to minimize noise by using the lowest ISO you can, and you want a deep depth of field by using a smaller (higher number) aperture. Both a lower ISO and a smaller aperture result in less light reaching the sensor. Consequently, the flash has to be powerful enough to ensure a proper exposure without raising ISO or opening up your aperture.
Future posts will go deeper into exposure both with and without flash. We will be using this equipment throughout.
